
Snowflake Sugar Cookies That Hold Their Shape

These snowflake sugar cookies are the cut-out cookie you can count on. The dough chills fast, rolls smooth, and bakes into cookies with crisp, clean edges every time.
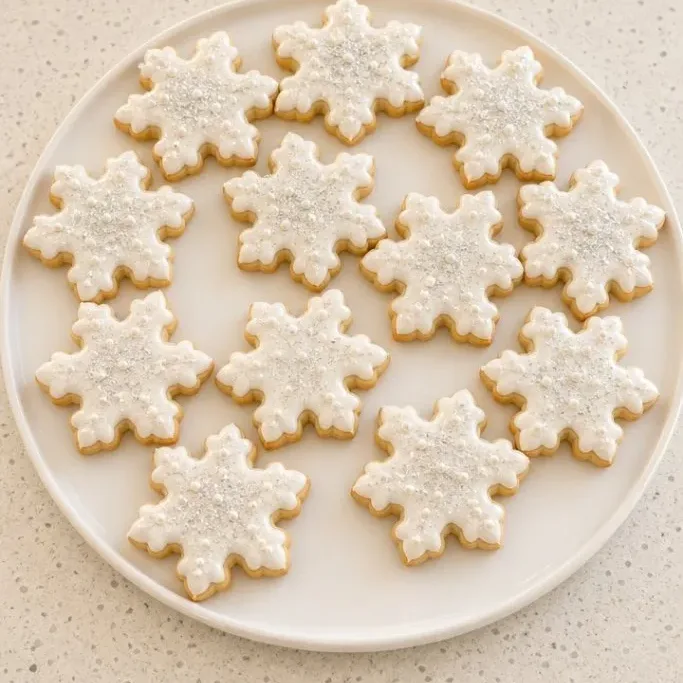
A simple powdered sugar icing and a shower of sparkling sugar turn them into festive snowflakes that look impressive but come together with very little fuss.
What Makes These Cookies So Reliable
The dough is buttery without being greasy. A short chill in the fridge keeps the butter cold enough that the cookies don’t spread in the oven, so every snowflake point stays sharp.
The icing, just powdered sugar and a splash of milk, sets with a thin, pretty glaze that holds sprinkles without cracking. Stacked, packed, or mailed, they hold up beautifully.
Ingredients
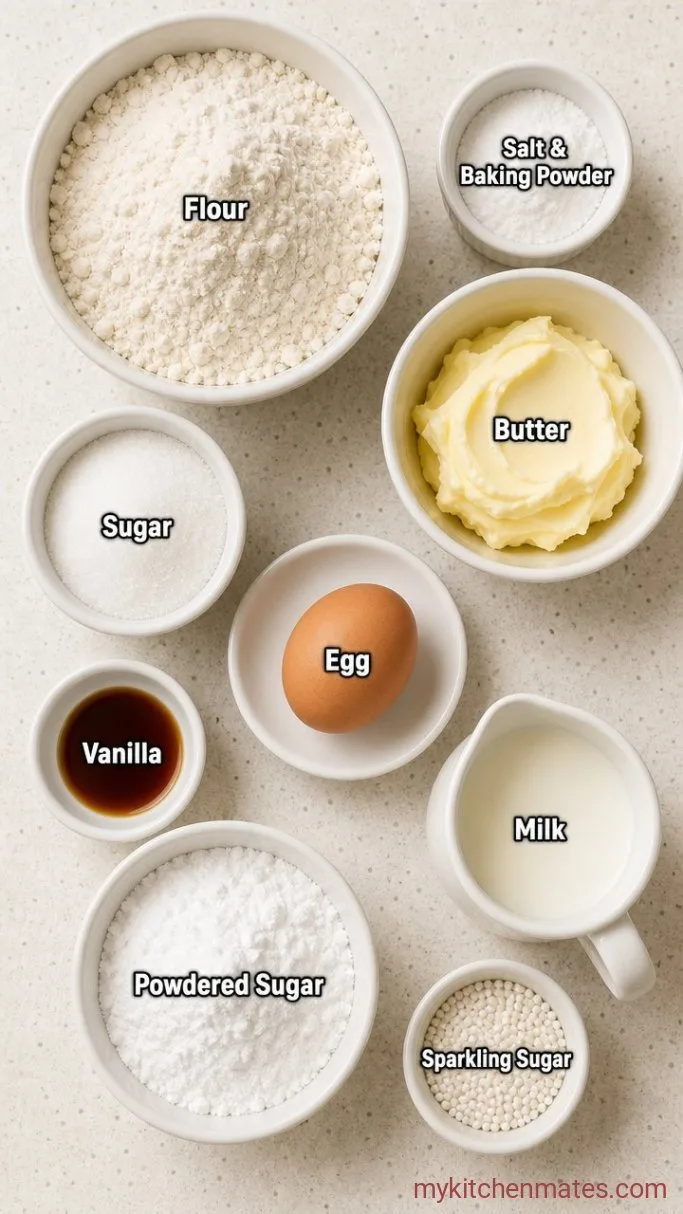
For the Cookies
- 2 1/2 cups all-purpose flour, spooned and leveled: a light hand keeps the cookies tender
- 1/2 tsp baking powder: gives them a tiny lift without puffing too much
- 1/4 tsp salt: balances the sweetness
- 1 cup unsalted butter, softened: cold butter is the secret to no-spread cookies
- 1 cup granulated sugar: creams into a fine, even crumb
- 1 large egg: binds everything together
- 2 tsp vanilla extract: use the real stuff for the warmest flavor
For the Icing
- 1 1/2 cups powdered sugar: sift it if it’s lumpy
- 2 to 3 tbsp milk: add slowly until you get a thick but spreadable glaze
- 1/2 tsp vanilla extract
Variations / Substitutions
- Almond extract: swap half the vanilla for almond extract for a bakery-style note
- Citrus zest: rub a teaspoon of lemon or orange zest into the sugar before creaming for a bright edge
- Gluten-free flour: a 1:1 all-purpose gluten-free blend works, though the edges may be slightly less crisp
- Dairy-free: use vegan butter sticks and a tablespoon of nondairy milk in the icing
- Shapes: no snowflake cutter? Stars, rounds, or trees are just as pretty. The dough bakes evenly no matter the shape.
Soft Almond Sugar Cookies are another dessert you’d probably love if you enjoy these cookies.
How to Make Snowflake Sugar Cookies
Step 1: Cream the Butter and Sugar
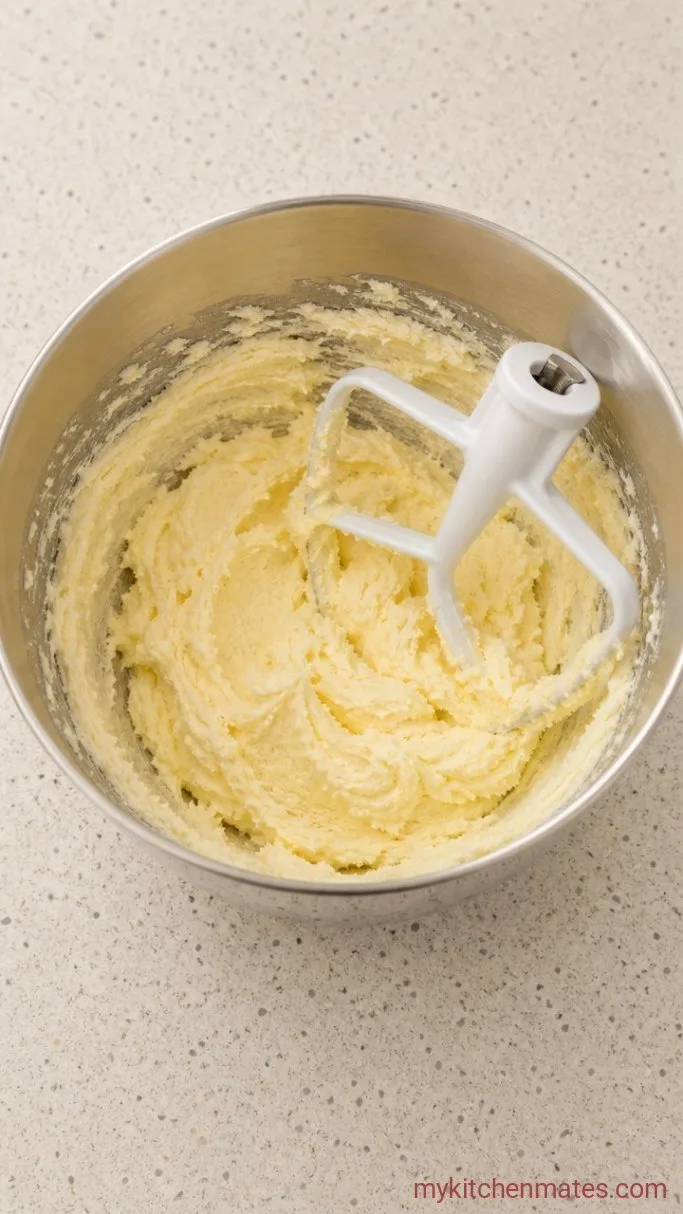
Beat the softened butter and the cup of granulated sugar together in a large bowl with an electric mixer on medium speed. Keep going until the mixture looks light and fluffy, about 2 minutes. Scrape down the sides of the bowl so everything blends evenly.
The butter will go from dense and yellow to pale and airy. That texture is your sign it’s ready to hold the egg.
Step 2: Beat in the Egg and Vanilla

Crack in the egg and pour in the 2 teaspoons of vanilla extract. Beat on medium until the egg is fully mixed in and the mixture looks smooth and a little glossy. Scrape the bowl again if you need to.
A well-mixed dough at this stage will have no streaks of egg white.
Step 3: Mix in the Dry Ingredients
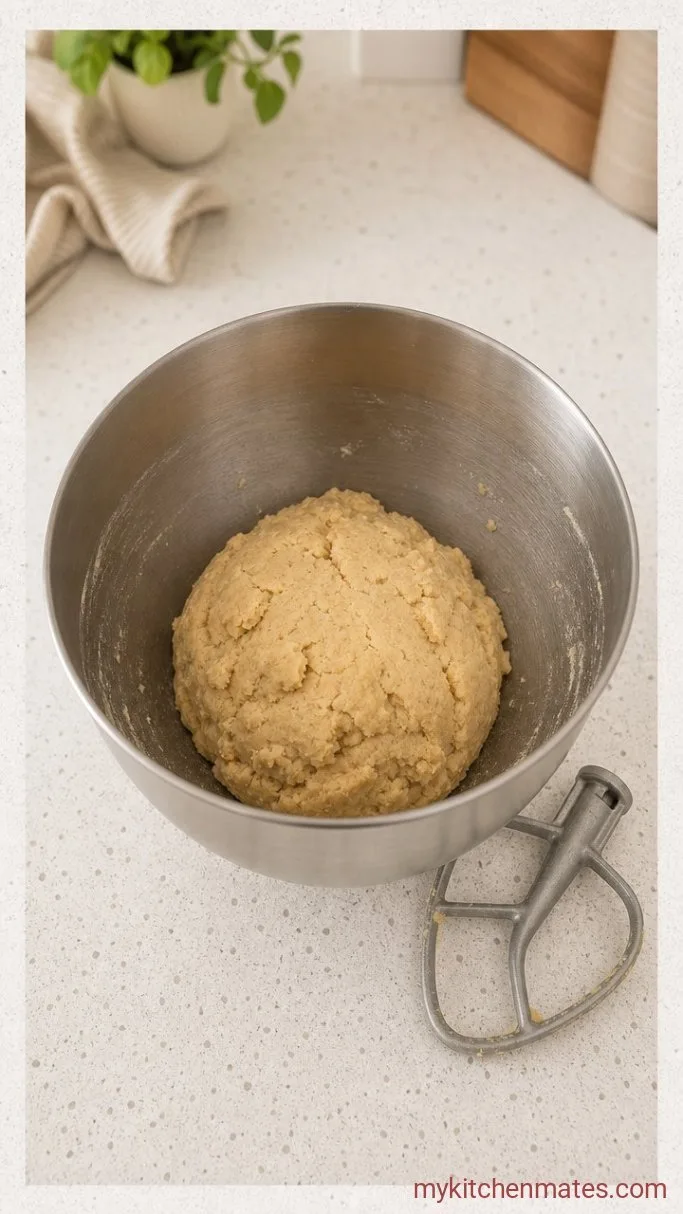
Whisk the 2 1/2 cups flour, 1/2 teaspoon baking powder, and 1/4 teaspoon salt together in a separate bowl. With the mixer on low, add the dry mix a scoop at a time until just combined. Stop as soon as the dough pulls away from the sides of the bowl.
Overmixing at this point can make the cookies tough, so a few floury streaks left in the bowl are fine before you bring it together by hand.
Step 4: Shape and Chill the Dough
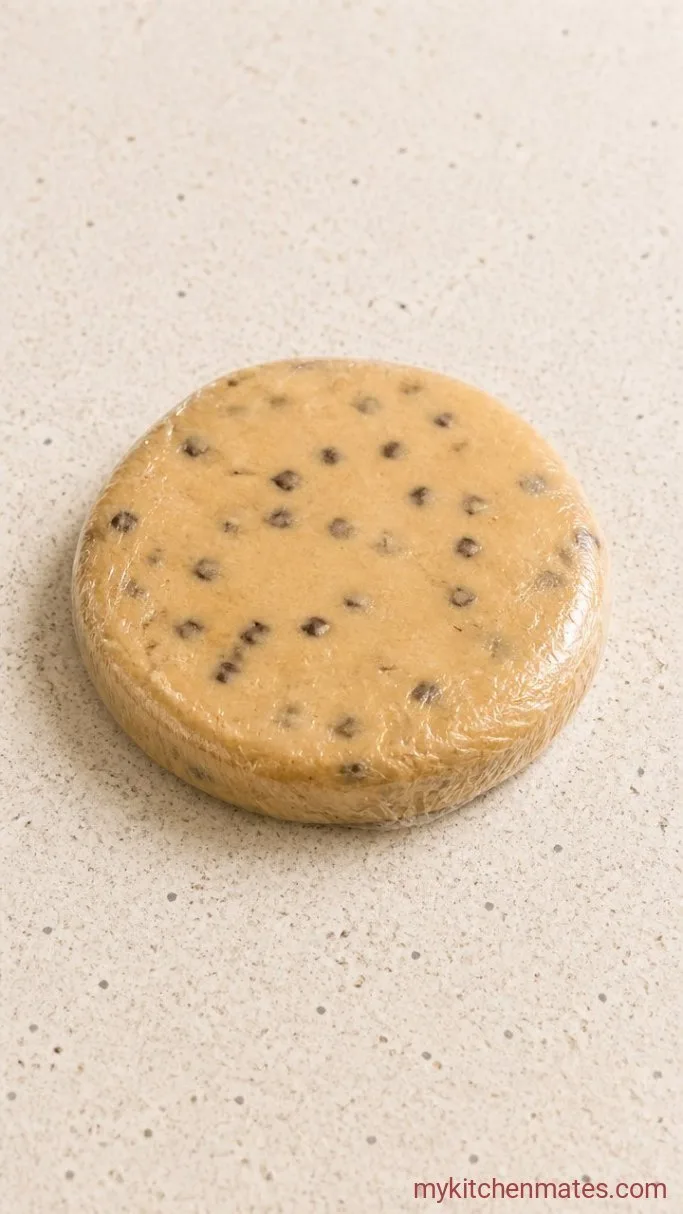
Turn the dough out onto a clean surface and divide it in half. Pat each half into a flat disc about an inch thick, wrap them tightly in plastic, and refrigerate for at least 30 minutes. The dough should feel firm and cold, not sticky.
Chilling the dough now keeps the butter solid, which stops the cookies from melting into puddles in the oven. You can leave it overnight if you’re baking the next day.
Step 5: Roll, Cut, and Bake the Snowflakes
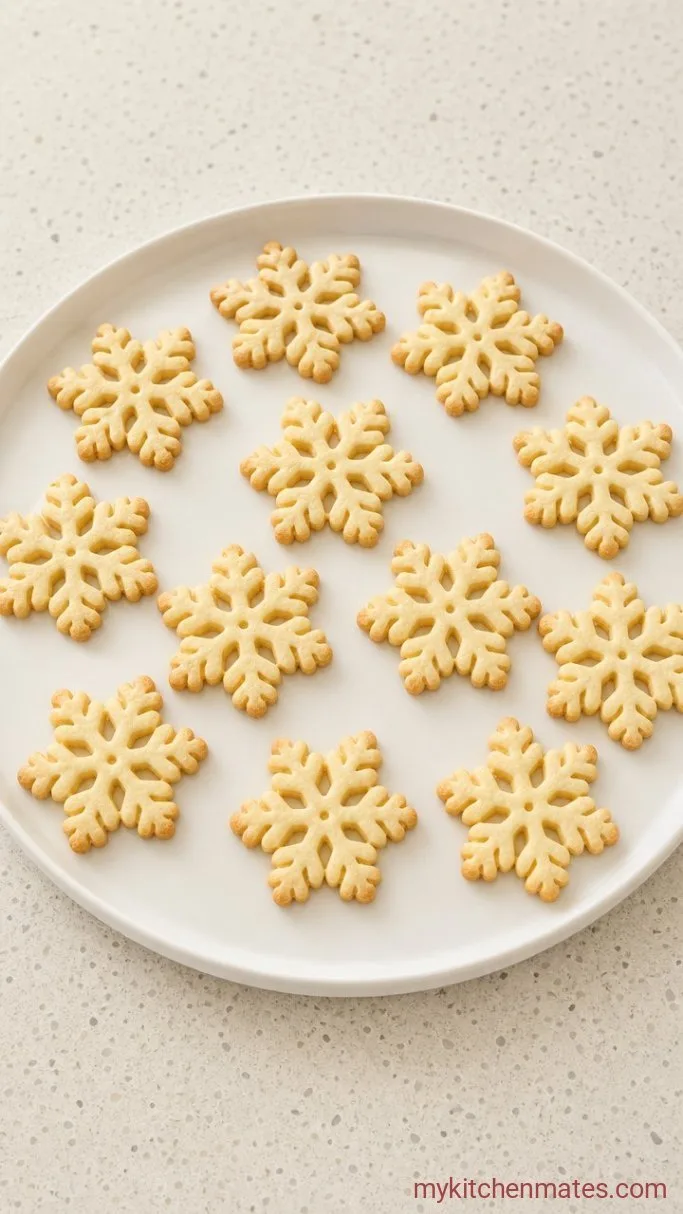
Preheat the oven to 350°F (175°C) and line two baking sheets with parchment paper. Work with one disc of dough at a time, keeping the other in the fridge. Roll the dough on a lightly floured piece of parchment paper to a 1/4-inch thickness. Cut out snowflake shapes and lift them carefully onto the prepared sheets, an inch apart. Bake one sheet at a time on the middle rack for 8 to 10 minutes, until the edges are just starting to turn golden.
The cookies will look pale and slightly puffed when they come out, which is exactly right. Let them rest on the hot sheet for 2 minutes, then move them to a wire rack to cool completely.
Step 6: Decorate with Icing and Sparkle
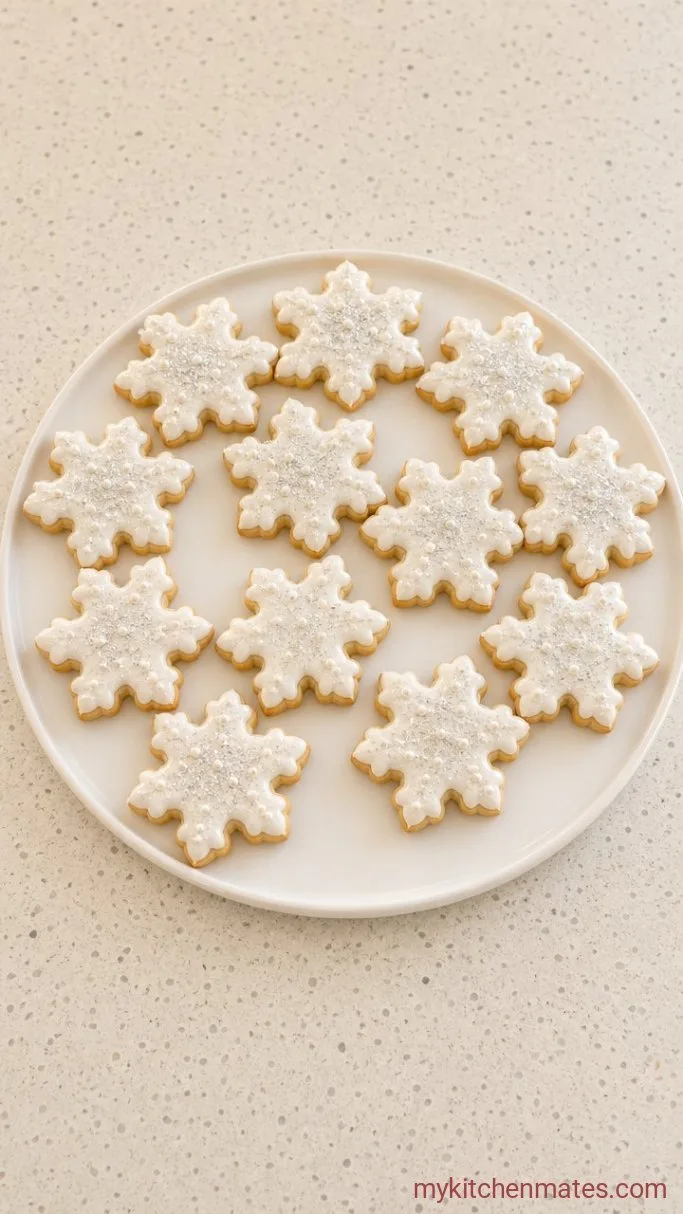
Whisk the 1 1/2 cups powdered sugar, 2 tablespoons of milk, and 1/2 teaspoon vanilla together in a small bowl. Add more milk a teaspoon at a time until the icing is thick but spreadable, like loose yogurt. Use a small spoon or the back of a butter knife to spread icing over each cooled cookie, then scatter with sparkling sugar or snowy sprinkles right away. Let them sit on the rack until the icing sets and loses its shine, about 20 minutes.
The finished snowflakes will have a glossy, crackled glaze that catches the light, perfect for a cookie platter or a gift box.
Tips for Clean Snowflake Cookies
- Roll the dough between two sheets of parchment instead of on a floured counter. Extra flour can dry the dough and make the cookies tough.
- Use a ruler to check your dough thickness. Even thickness means every cookie bakes in the same time.
- If the dough gets sticky while you are cutting shapes, slide it still on the parchment onto a tray and pop it back in the fridge for 10 minutes.
- Bake on the middle rack to promote even browning and avoid dark bottoms.
- The icing can be tinted with a drop of blue food coloring for a frosty winter look, or leave it white for classic snow.
Bake times by dough thickness:
| Dough Thickness | Bake Time | Cookie Texture |
|---|---|---|
| 1/4 inch | 8 to 10 minutes | Tender with crisp edges |
| 3/8 inch | 10 to 12 minutes | Softer, a little more chew |
Storing Leftover Snowflake Cookies
Keep baked cookies in an airtight container at room temperature for up to 5 days, with sheets of wax paper between layers. The icing stays set as long as they are stored in a single layer or with paper.
You can freeze the unbaked dough discs for up to 2 months. Wrap them in a layer of plastic and then foil. Thaw in the fridge overnight before rolling.
Frequently Asked Questions
Can I make the dough ahead of time?
Yes, the dough can be wrapped and kept in the fridge for up to 2 days. Let it sit at room temperature for 10 to 15 minutes before rolling if it feels too firm.
Why did my cookies spread in the oven?
Spreading almost always means the butter got too warm. Make sure the dough is well chilled before cutting, and pop the whole tray of cut cookies back in the fridge for 5 to 10 minutes just before baking.
What is the best icing for snowflake cookies?
The simple powdered sugar glaze here sets with a pretty sheen and is very forgiving. If you want to pipe fine details, make a batch of stiff royal icing instead and use that for decorating.
Can I freeze the iced cookies?
Yes. Freeze them in a single layer on a tray until the icing is solid, then stack with parchment and store in a freezer bag for up to 3 months. Thaw uncovered at room temperature.
Snowflake Sugar Cookies Recipe
Ingredients
Method
- Cream the butter and sugar on medium speed until light and fluffy, about 2 minutes.
- Beat in the egg and 2 tsp vanilla until smooth.
- Whisk flour, baking powder, and salt. With mixer on low, gradually add the dry mix until the dough pulls away from the bowl.
- Divide dough in half, shape into discs, wrap, and chill at least 30 minutes.
- Preheat oven to 350°F (175°C). Roll one disc on floured parchment to 1/4 inch thick. Cut snowflakes and place on parchment-lined sheets. Bake 8 to 10 minutes until edges are barely golden. Cool on rack.
- Whisk powdered sugar, 2 tbsp milk, and remaining 1/2 tsp vanilla. Add milk by teaspoon until spreadable. Ice cooled cookies and top with sparkling sugar. Let set, about 20 minutes.
Notes
