
Santa Sugar Cookies That Keep Their Shape

These Santa sugar cookies are the kind you can roll, cut, and ice without frustration. The dough keeps its shape in the oven, so your Santa faces stay crisp.
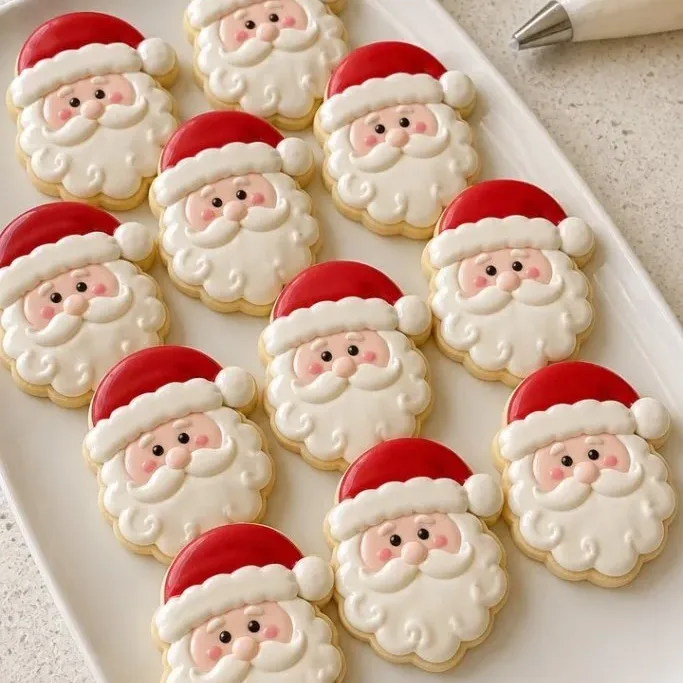
They’re soft in the middle with enough structure to hold a royal icing beard, hat, and rosy cheeks. Bake a batch and let the whole family decorate.
Why These Cookies Keep Their Shape
I wanted a dough that would not puff or spread into a blob ten minutes into baking. This one uses a higher ratio of flour to butter and only a tiny bit of baking powder, so the cookies hold every crisp edge.
The dough gets a good rest in the fridge, which relaxes the gluten and keeps the butter cold. That double layer of defense means your Santas come out looking like the cutters you spent time pressing.
The texture stays tender and just a little bit short, with a clean vanilla flavor that doesn’t compete with the icing. They are blank canvases for red hats, white beards, and pink cheeks.
Ingredients

- 2 ½ cups all-purpose flour, spooned and leveled: use the spoon-and-level method so you don’t pack in too much
- ½ teaspoon baking powder: just enough for a light lift without spreading
- ¼ teaspoon salt: fine sea salt or table salt
- ¾ cup unsalted butter, softened to cool room temperature: should dent when pressed, not be greasy
- ¾ cup granulated sugar: standard white sugar, not powdered
- 1 large egg: cold from the fridge is fine
- 1 ½ teaspoons vanilla extract: pure vanilla tastes best
- ¼ teaspoon almond extract (optional): adds a subtle bakery note, skip if you prefer plain vanilla
- 2 ½ cups powdered sugar: for the royal icing
- 2 tablespoons meringue powder: found in the baking aisle, helps the icing set firm
- 3 to 4 tablespoons water: room temperature
- Gel food coloring (red, white, black, pink): gel colors give bright results without thinning the icing too much
Variations / Substitutions
- Gluten-free flour: swap in a 1-to-1 gluten-free baking flour blend, and the dough will still hold its shape.
- Lemon zest: add 1 teaspoon finely grated zest with the butter and sugar for a citrus note, then skip the almond extract.
- Vegan option: use plant-based butter sticks and replace the egg with 3 tablespoons aquafaba, plus replace meringue powder in the icing with 1 tablespoon aquafaba powder.
- Pre-made icing: royal icing can be replaced with a stiff decorator’s buttercream, but the finish will be thicker and less smooth.
Peppermint Candy Milkshake goes great with these cookies when you want something to sip.
How to Make Santa Sugar Cookies
Step 1: Mix the Dry Ingredients
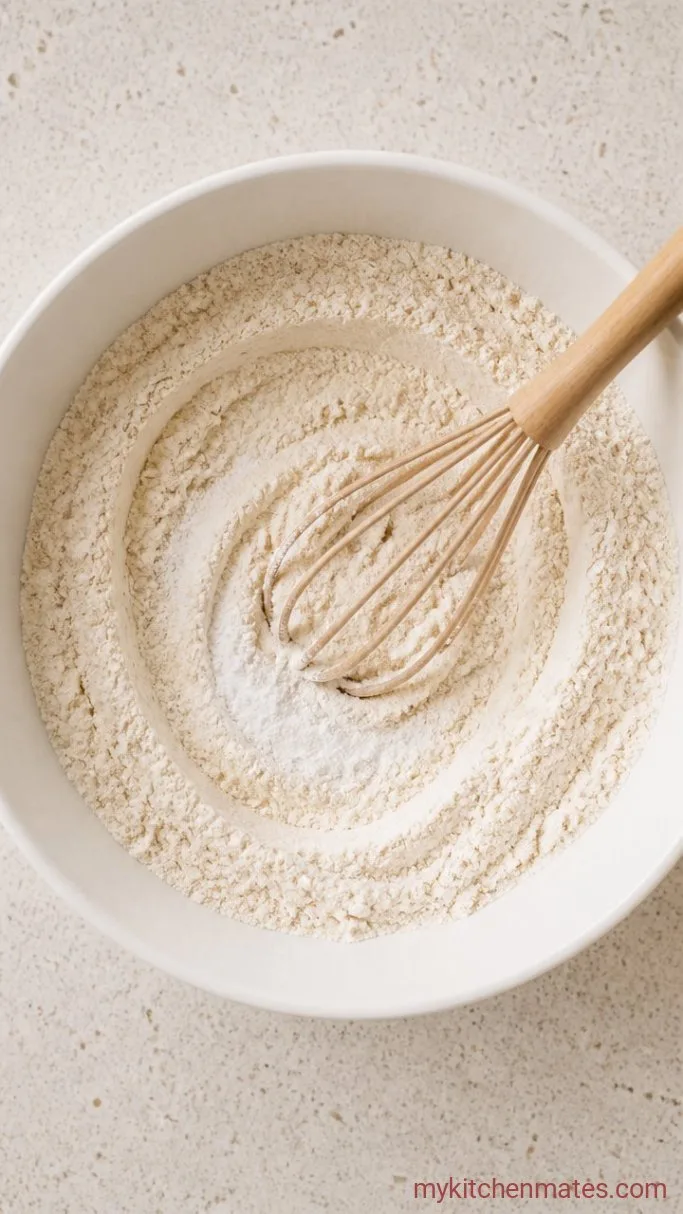
Whisk the 2 ½ cups flour, ½ teaspoon baking powder, and ¼ teaspoon salt together in a medium bowl. This takes about 20 seconds and guarantees the leavening is evenly distributed, so no one cookie puffs more than another.
The mixture should look uniform with no visible streaks of powder. If you skip this, you might get tiny craters on the surface after baking.
A whisk works better than a spoon here because it aerates the flour slightly, which helps the dough come together without overmixing later.
Step 2: Cream the Butter and Sugar

In a large bowl, beat the softened ¾ cup butter and ¾ cup sugar with an electric mixer on medium speed for 2 to 3 minutes. Stop when the mixture looks pale and fluffy and starts to cling to the sides of the bowl.
Scrape down the bowl once halfway through. This step is what gives the cookies a tender crumb instead of being dense, so don’t rush it.
If the butter is too cold it won’t cream properly, and if it’s too soft the dough will spread. Aim for butter that leaves a gentle thumbprint with some resistance.
Step 3: Add the Egg and Vanilla
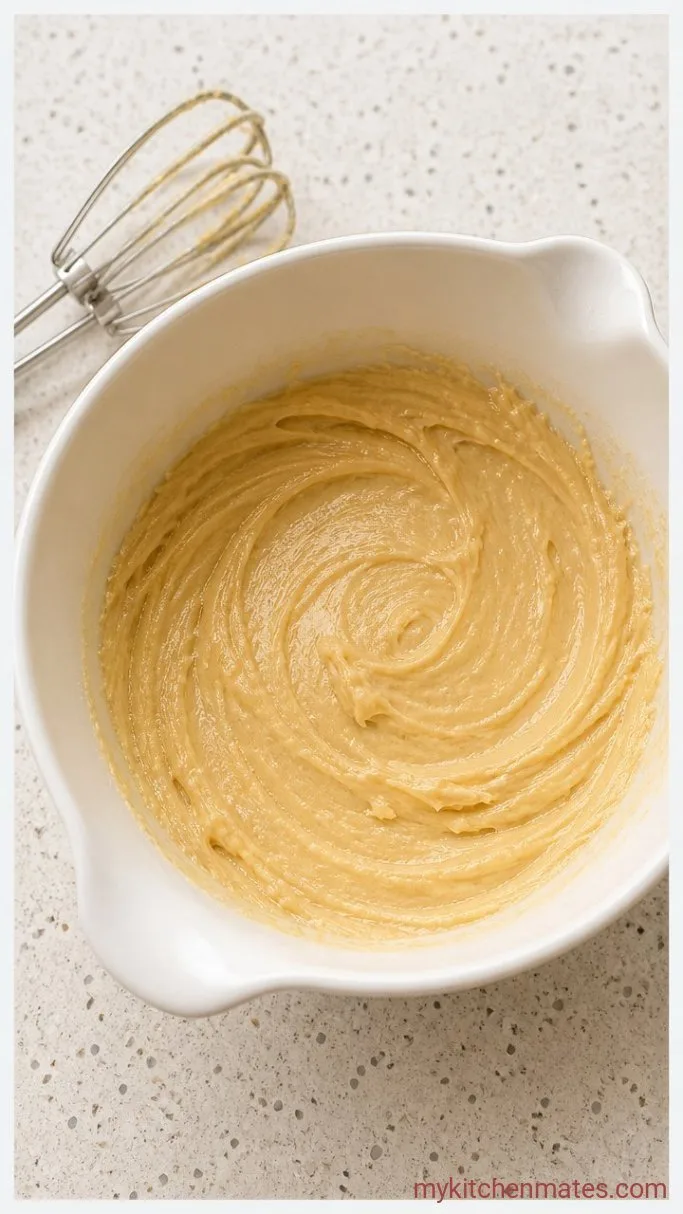
Crack the 1 large egg straight into the butter mixture, add the 1 ½ teaspoons vanilla and ¼ teaspoon almond extract if using, then beat on low just until combined, about 30 seconds. The dough will look a little curdled at first, then smooth out.
That’s normal. The emulsion will come together with the flour in the next step, so don’t panic if it looks separated.
Keep the speed low here to avoid whipping too much air into the dough. Extra air makes the cookies puff and lose detail later.
Step 4: Form the Dough and Chill
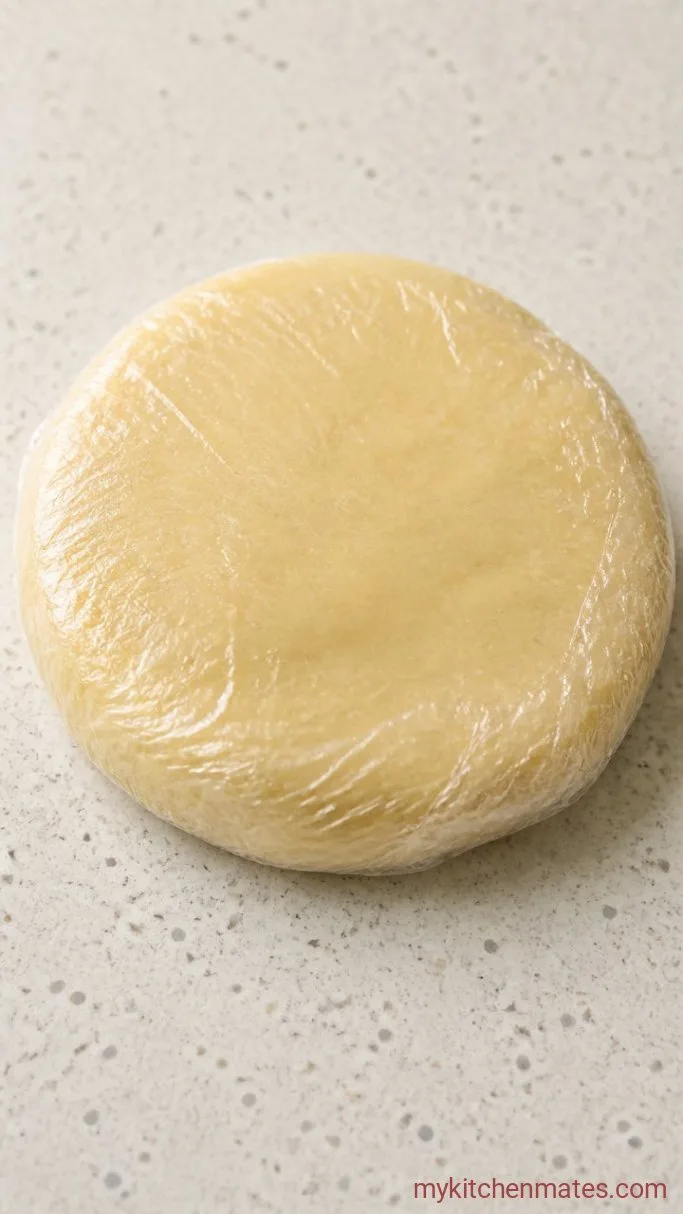
Add the flour mixture all at once and mix on the lowest speed until no dry pockets remain, about 30 to 45 seconds. Stop as soon as the dough clumps. It will be soft but not sticky.
Divide the dough into two flat discs, wrap each in plastic wrap, and refrigerate for at least 1 hour, or up to 3 days. Chilling is non-negotiable if you want crisp edges.
If you are in a hurry you can speed-chill in the freezer for 25 minutes, but the fridge gives the gluten more time to relax and makes rolling easier.
Step 5: Roll and Cut the Shapes
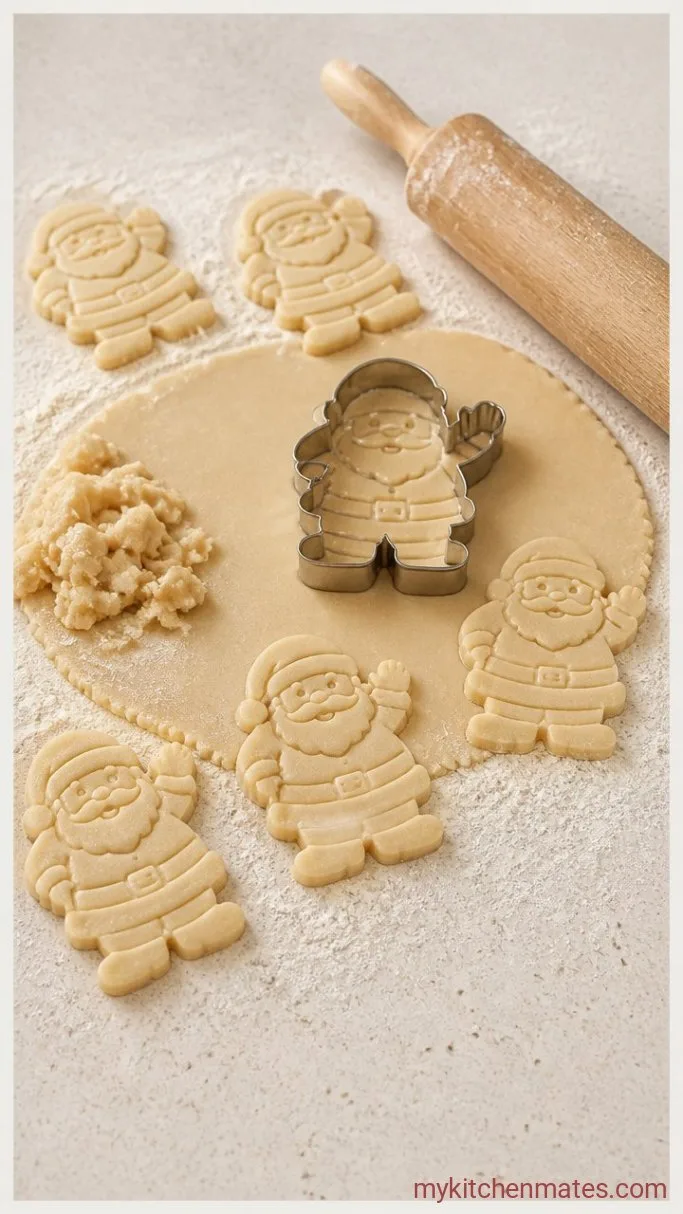
Preheat the oven to 350°F (175°C) and line two baking sheets with parchment paper. Working with one disc at a time, roll the dough on a lightly floured surface to a ¼-inch thickness. Dip your cutter in flour, press straight down without twisting, and lift gently.
Twisting the cutter seals the edges and causes uneven rising. A straight-down press and clean lift keeps the sharp lines you want for Santa’s beard and hat.
If the dough warms up and feels sticky, slide it onto a parchment-lined tray and chill for 5 minutes before cutting again. Bake the cookies spaced about 2 inches apart; they barely spread.
Step 6: Bake the Cookies
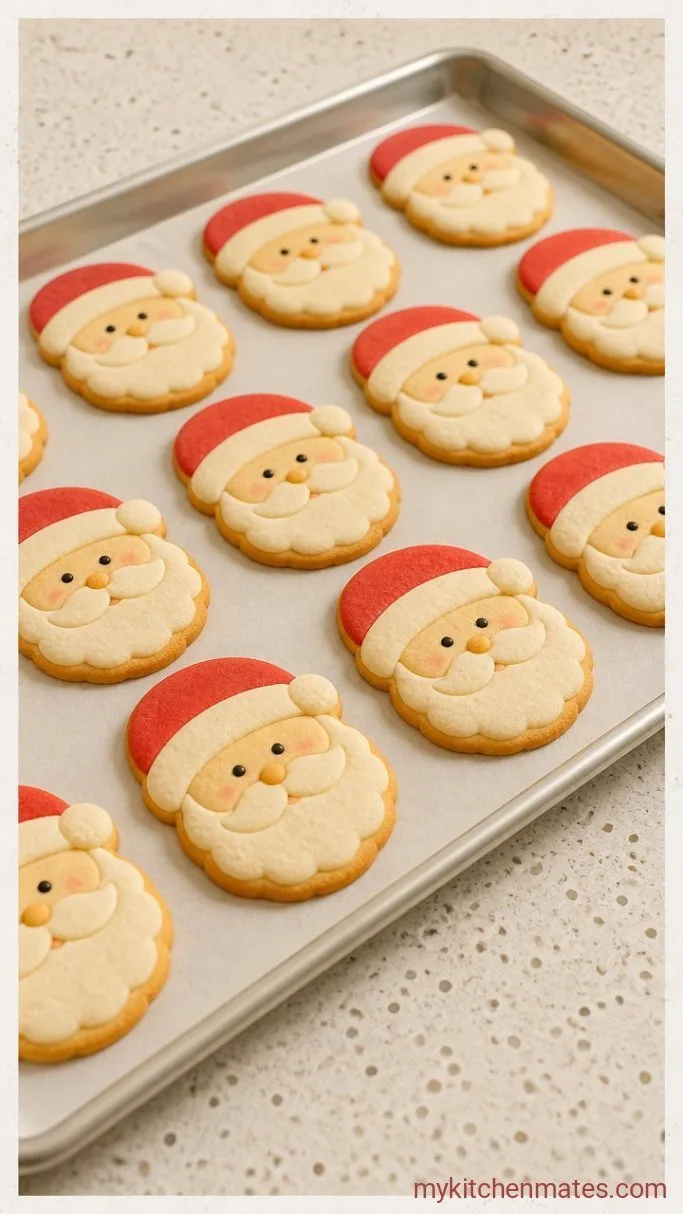
Bake one sheet at a time on the middle rack for 8 to 10 minutes, depending on thickness. The cookies are done when the tops look dry and the bottoms are just barely golden. Start checking at 8 minutes.
They will feel soft coming out of the oven but firm up while they cool. Let them rest on the baking sheet for 3 minutes, then transfer to a wire rack to cool completely before icing.
Baking one sheet at a time ensures even heat circulation. The second sheet can go in as soon as the first comes out.
Step 7: Decorate with Royal Icing
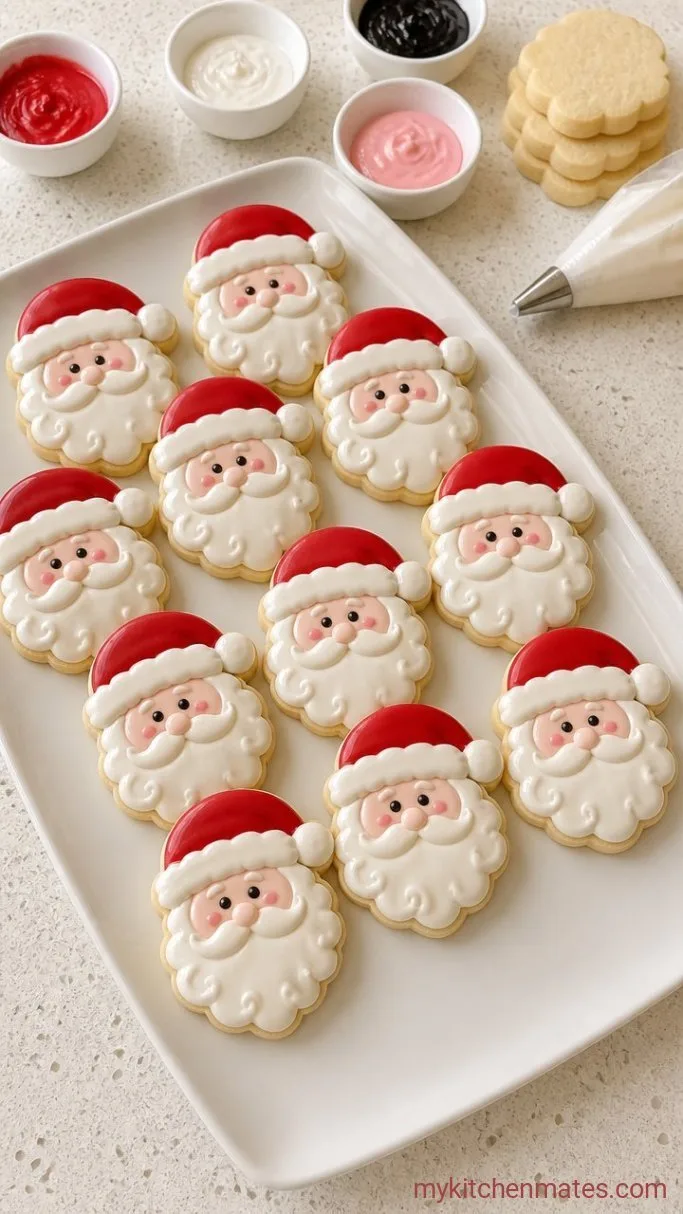
In a clean bowl, beat the 2 ½ cups powdered sugar and 2 tablespoons meringue powder with 3 tablespoons water on low until smooth. Add water a few drops at a time to reach a consistency that slowly flattens back into itself when you lift the beater, about 10 seconds. Divide the icing into bowls and tint with gel colors: red for hats, white for beards, black for eyes, pink for cheeks.
Fill piping bags fitted with small round tips and outline each cookie first, then thin a portion of each color with a drop or two of water to flooding consistency. Fill in the outlines with a toothpick to spread the icing into corners. Let the base coat set for 15 minutes, then add piped details like hat trim, beard swirls, and rosy cheeks.
Work one color at a time so the icing doesn’t form a skin before you flood it. The cookies look most charming when the icing has a slight dome and a matte finish. Leave them on a rack at room temperature until the icing is completely hard, about 2 hours. Then your Santas are ready to share.
Tips for Santa-Worthy Cookies
- If your kitchen is warm, place the rolled and cut dough on the baking sheet in the fridge for 10 minutes before baking. This extra chill seals the edges.
- To keep white icing truly white, add a tiny drop of violet gel color. It cancels the yellow tint from the butter and egg in the cookies.
- When decorating with kids, give each one a small bowl of icing and a clean paintbrush instead of piping bags. It’s less precise but a lot more fun.
- For deep red icing, use super red gel and let the color develop for 10 minutes before flooding. The hue darkens slightly as the icing sets.
Bake times by thickness:
| Dough thickness | Bake time at 350°F |
|---|---|
| ⅛ inch | 6 to 7 minutes |
| ¼ inch | 8 to 10 minutes |
| ⅜ inch | 10 to 12 minutes |
Storing Your Santa Cookies
- Refrigerate: Store the undecorated cookies in an airtight container at room temperature for up to 5 days. Once decorated with royal icing, keep them in a single layer in a covered container at room temperature for up to 1 week. The icing acts as a seal, so they stay soft inside.
- Freeze: You can freeze the baked, undecorated cookies for up to 2 months. Thaw them completely before icing. You can also freeze the wrapped dough discs for up to 3 months; thaw overnight in the fridge before rolling.
Frequently Asked Questions
Can I use store-bought frosting instead of royal icing?
Yes, but the look will be softer and less crisp. A stiff buttercream works if you pipe it, though it won’t dry hard, so it’s harder to stack.
How do I get the red icing really bright?
Use gel food color and let it sit 10 minutes before adjusting. A tiny touch of red liquid color added at the end can push it to a vivid Santa-hat red.
Why did my icing crack overnight?
Royal icing cracks when it dries too fast. Avoid placing the cookies near a heater or in a draft. Once set, storing them in a covered container with a slice of bread helps regulate humidity and prevents cracking.
Can I skip the almond extract?
Of course. Use 2 full teaspoons of vanilla extract instead, and the cookies will still have a lovely flavor.
Santa Sugar Cookies Recipe
Ingredients
Method
- Whisk the flour, baking powder, and salt in a medium bowl.
- Beat the butter and sugar with an electric mixer on medium until pale and fluffy, 2 to 3 minutes.
- Beat in the egg, vanilla, and almond extract on low until combined.
- Mix in the flour mixture on low until a soft dough forms. Divide into two discs, wrap, and refrigerate at least 1 hour.
- Preheat the oven to 350°F. Roll one disc to ¼-inch thickness on a floured surface. Cut shapes, place on parchment-lined sheets, and bake one sheet at a time for 8 to 10 minutes.
- Cool on the sheet for 3 minutes, then transfer to a rack to cool completely.
- Beat the powdered sugar, meringue powder, and 3 tablespoons water until smooth. Tint with gel colors and thin as needed. Outline and flood the cooled cookies, then add piped details once the base sets. Let the icing harden completely before storing.
Notes
