
4-Ingredient Rustic Italian Bread

This rustic Italian bread needs only four basic ingredients, and every step is forgiving enough that it works the first time. You get a loaf with a crackling crust and a chewy, open crumb from your own oven with almost no active effort.
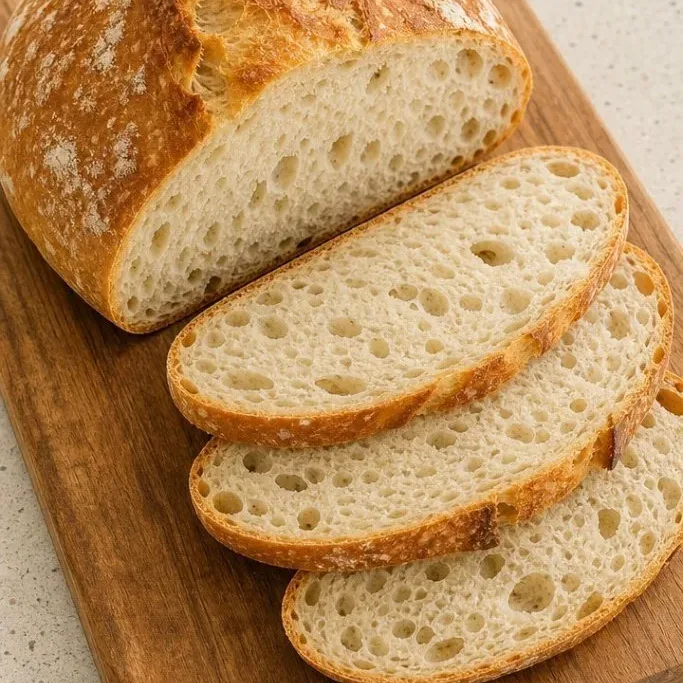
No stand mixer, no preferment, no stress. If you can stir flour and water, you are already on your way to a bakery-worthy loaf.
What Makes This Bread So Good
A long, slow rise does all the heavy lifting. The dough ferments at room temperature for about two hours, building the subtle tang and holey texture that define proper rustic bread.
Baking inside a hot Dutch oven traps steam, which gives you that deep mahogany crust without misting or spraying your oven. The payoff is a loaf that crackles when you pull it apart and stays soft inside for a couple of days.
Ingredients
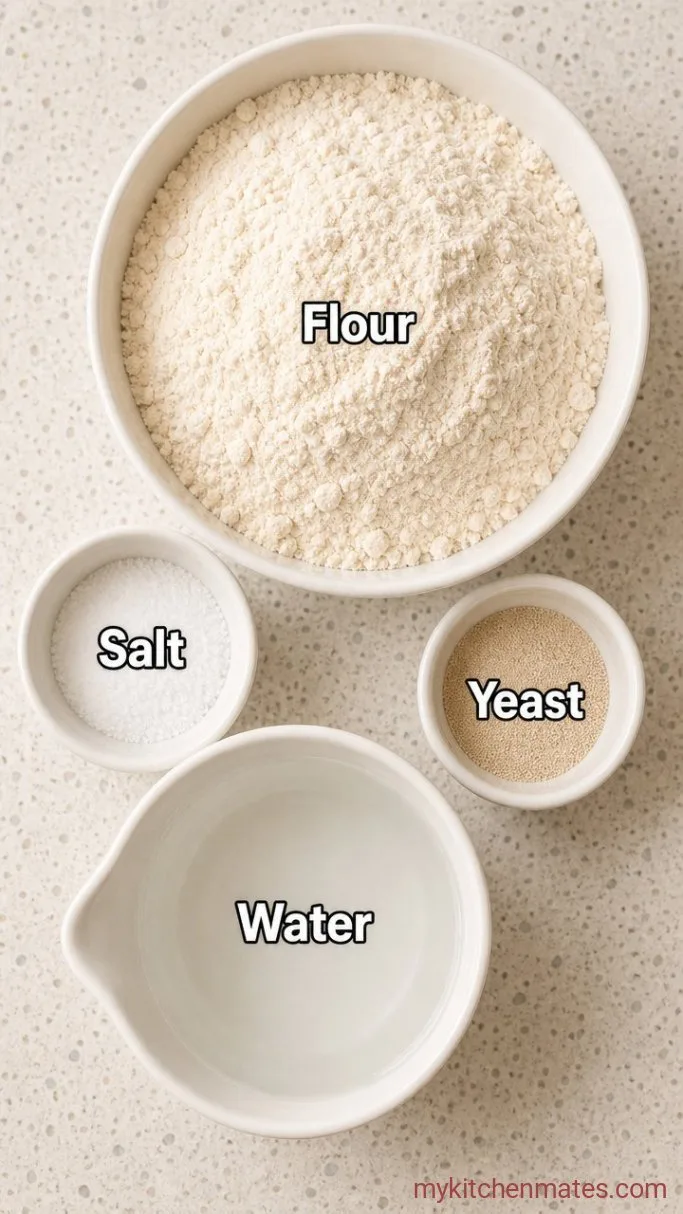
- 4 cups (512 g) bread flour: higher protein gives the chewy structure you want; all-purpose works but the crumb will be softer
- 2 tsp fine sea salt: brings the flavor forward and controls the rise
- 1 tsp instant yeast: use fresh yeast; proof it in warm water first if you are unsure
- 1 3/4 cups (420 ml) warm water: around 100°F (38°C), no hotter than body temperature
Variations / Substitutions
- All-purpose flour: swap in the same weight and expect a slightly tighter crumb, but still a solid crust
- Herbed version: fold in 1 tbsp chopped rosemary and 2 garlic cloves minced during the first mix
- Whole-grain twist: replace 1/2 cup of the bread flour with whole-wheat or rye for a nuttier, denser loaf
- Make it dairy-free: it already is, but if you want to brush the top with olive oil instead of butter for shine, do that
Rustic Italian Bean Soup makes a comforting soup to pair with this bread.
How to Make Rustic Italian Bread
Step 1: Mix the Dough
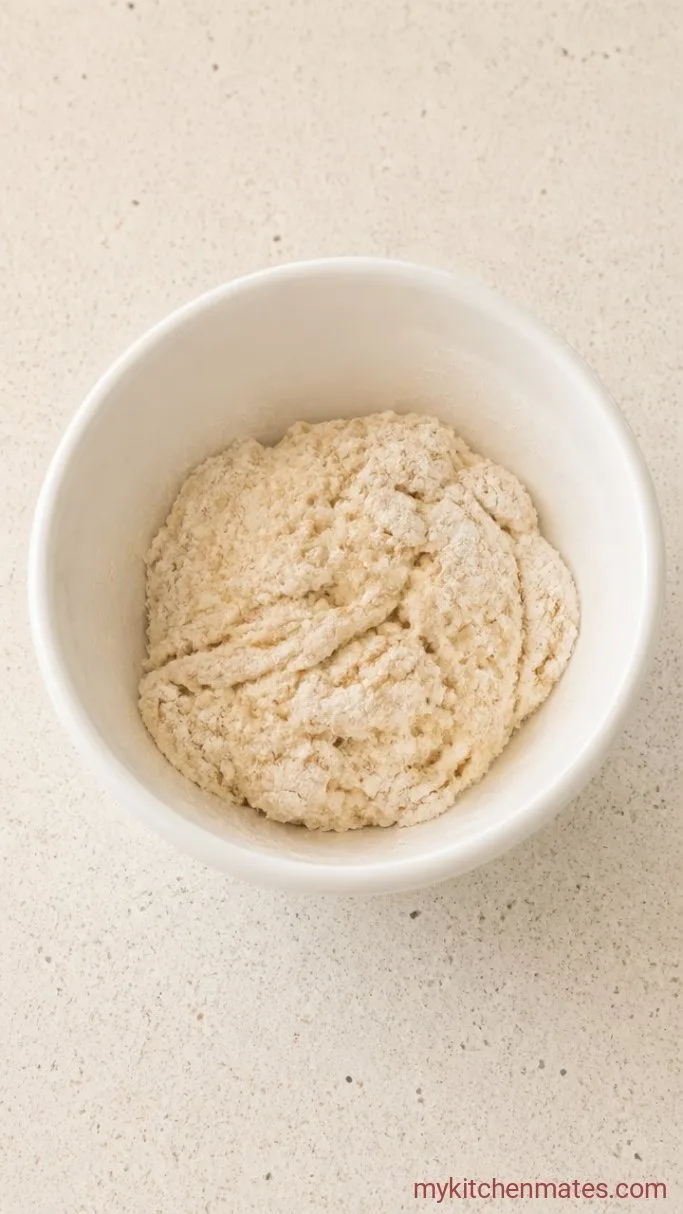
Stir the 4 cups bread flour, 2 tsp salt, and 1 tsp instant yeast together in a large bowl. Pour in the 1 3/4 cups warm water and mix with a wooden spoon until no dry flour patches remain and everything comes together in a shaggy, sticky mass. This takes about 30 seconds of stirring, and the dough will look rough.
Stop mixing as soon as it is uniform. No kneading right now, just a scraggly ball that clings to the bowl.
Step 2: Let the Dough Rise
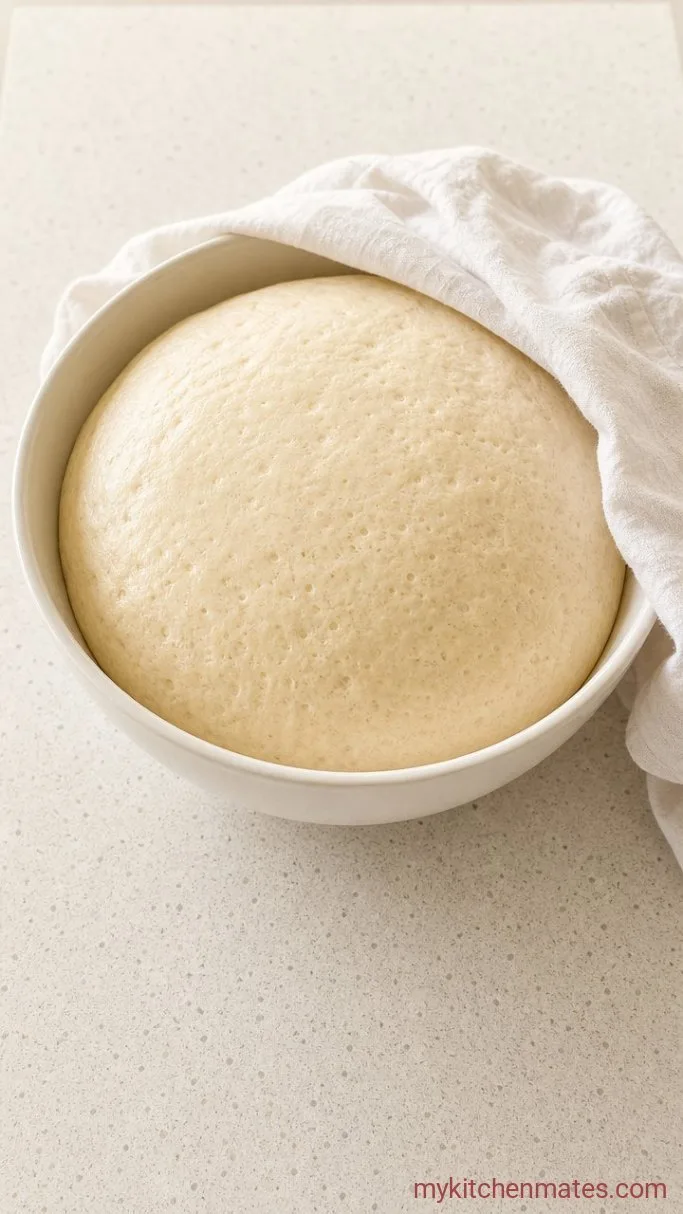
Cover the bowl tightly with plastic wrap or a damp tea towel. Place it somewhere warm and out of drafts. Let the dough rise until it doubles in volume and the surface is dotted with bubbles, which takes about 1 1/2 to 2 hours at a room temperature around 72°F (22°C).
If your kitchen runs cold, it might need a bit longer. You want the dough to jiggle when you nudge the bowl, and you should smell a faint yeasty, slightly sour note.
Step 3: Shape the Loaf
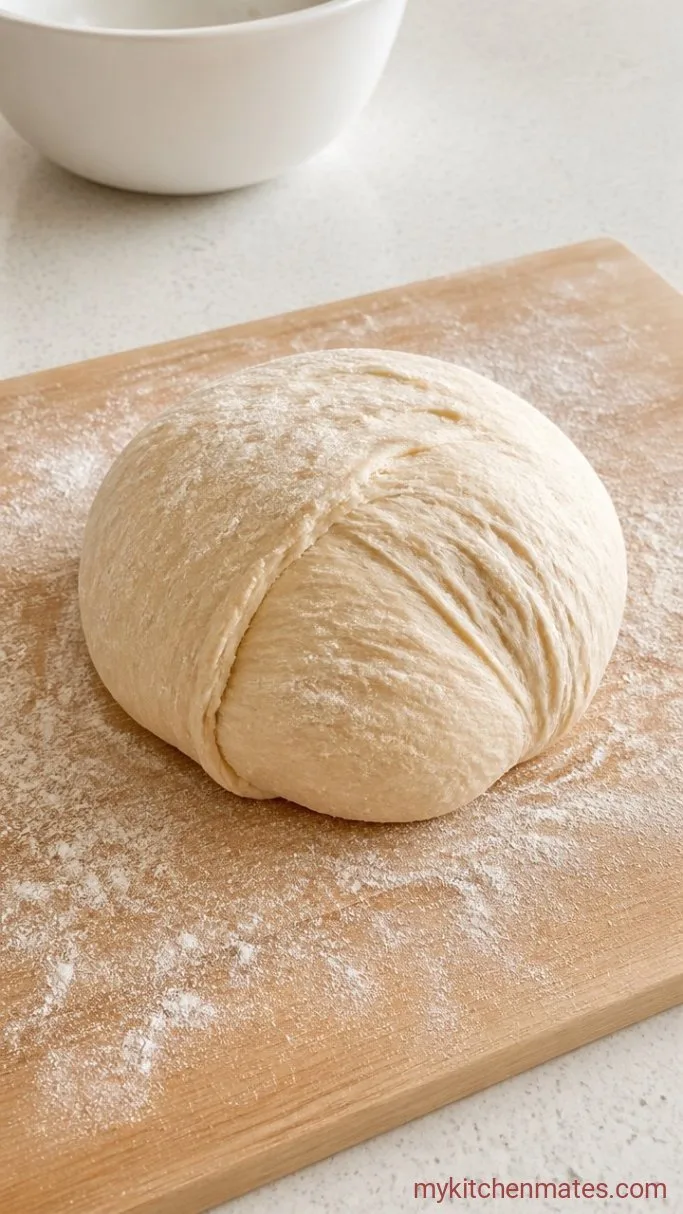
Scrape the risen dough onto a lightly floured work surface. With wet hands, fold the edges toward the center a few times to form a rough ball, rotating as you go. Do not try to flatten the dough or knock all the air out. You want to keep as much of that structure as possible so the crumb stays open.
The dough will be slack and sticky; that is perfect. Shape it into a taut-ish round and transfer it seam-side down onto a sheet of parchment paper. Slip the parchment onto a cookie sheet for easy moving.
Step 4: Proof the Loaf
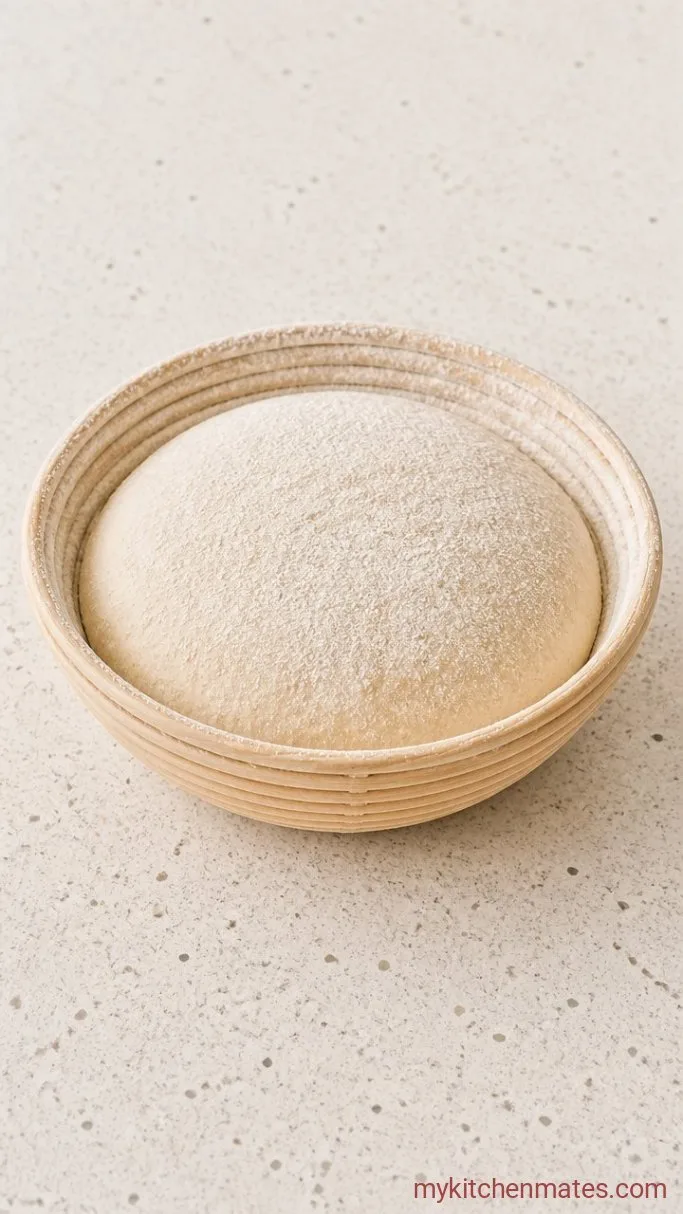
Let the shaped loaf rest, uncovered this time, while the oven heats. Place the cookie sheet in a cozy spot and leave it for about 30 minutes, until the dough relaxes and puffs up noticeably. The surface should feel soft and pillowy, and if you poke it gently, the indentation springs back slowly.
While the loaf proofs, set a 5-6 quart Dutch oven with its lid inside the oven and preheat to 450°F (230°C). You want the pot and the oven fully hot before the dough goes in.
Step 5: Score and Bake
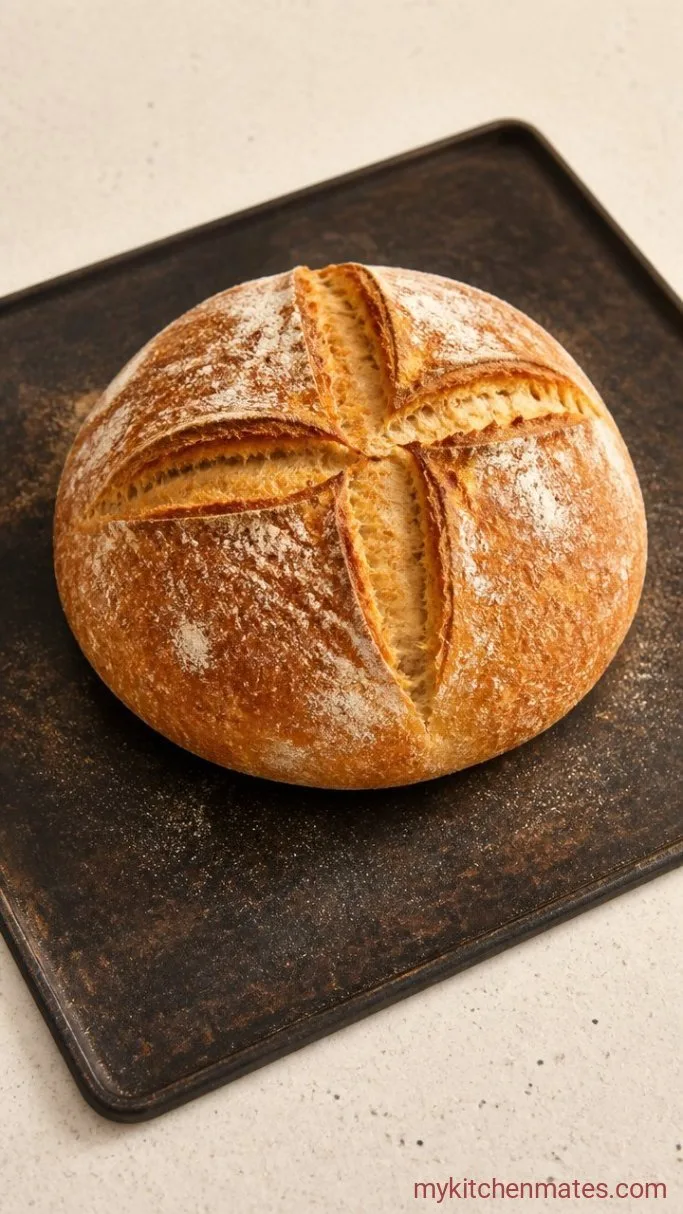
When the Dutch oven is fiercely hot and the loaf looks puffy, carefully remove the pot from the oven and take off the lid. Lift the parchment by its edges and lower the dough, paper and all, into the Dutch oven. Using a sharp blade or kitchen scissors, cut one deep slash across the top of the loaf, about 1/2 inch deep. This controls how the bread expands and gives it that rustic ears.
Cover with the lid and slide the pot back into the oven. Bake covered for 30 minutes. Then remove the lid and continue baking for another 10 to 15 minutes, until the crust is deep amber and the loaf sounds hollow when tapped on the bottom. The internal temp should reach about 205°F (96°C).
Step 6: Cool and Slice
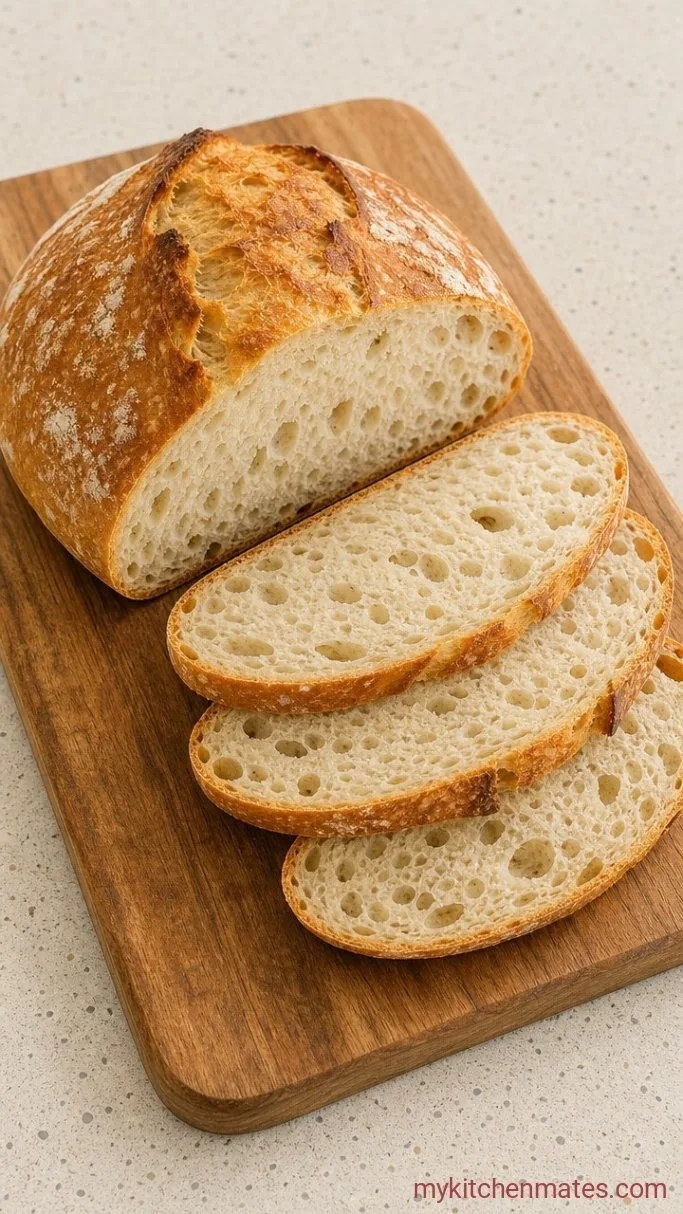
Carefully lift the loaf out of the Dutch oven by the parchment edges and transfer it to a wire rack. Let it cool completely before you slice in, at least 1 hour. Cutting too soon steams the crumb and turns it gummy, so hold off.
Once cooled, the crust will be loud and brittle. Slice with a serrated knife and serve with good olive oil or butter.
Tips for the Best Crust and Crumb
- Check your yeast: dissolve a pinch in warm water with a pinch of sugar; if it foams within 10 minutes, it is alive.
- Do not short the covered bake: the initial steam inside the pot sets the crust and gives oven spring. Skipping the lid makes a dull crust.
- Use the parchment sling: it saves you from burned fingers and keeps the shape intact.
- Cool completely: a warm loaf is tempting, but the texture only sets as it cools. Waiting is the hardest step.
Double it for a crowd:
| Loaves | Bread flour | Water | Instant yeast | Fine sea salt |
|---|---|---|---|---|
| 1 loaf | 4 cups (512 g) | 1 3/4 cups (420 ml) | 1 tsp | 2 tsp |
| 2 loaves | 8 cups (1024 g) | 3 1/2 cups (840 ml) | 2 tsp | 4 tsp |
Keeping the Bread Fresh
Store the loaf cut-side down on a cutting board under a clean towel for 2 days at room temperature. After that, slice and freeze the rest. To refresh, spritz a frozen slice with water and reheat it in a 350°F oven for 5 minutes, or toast it from frozen.
What To Serve With Rustic Italian Bread
This bread wants something simple. A bowl of minestrone or a pot of lentil soup lets you dunk and soak up every drop. It is also the right partner for a cheese and charcuterie board, where the open crumb gives just enough grip for a soft brie. For breakfast, a thick slice toasted and rubbed with a cut garlic clove and ripe tomato makes a quick bruschetta.
Frequently Asked Questions
Can I use all-purpose flour instead of bread flour?
Yes. The loaf will be a little less chewy and the crumb a touch finer, but the crust still gets properly crisp.
My dough didn’t double in two hours. Is it ruined?
Probably not. If your kitchen is cold, move the bowl to a warmer spot like an off oven with the light on. Cold dough rises slowly but still works.
How do I get larger holes in the crumb?
Handle the dough gently after the first rise, and avoid any heavy kneading or pressing. A wetter dough also helps, so try adding an extra tablespoon of water next batch.
Can I skip the Dutch oven?
You can bake on a preheated sheet pan or stone, but the steam from the Dutch oven is what creates that thin, shattering crust. Without it, the crust will be thicker and duller.
How do I store the loaf if I live somewhere humid?
Pop the cut loaf in a paper bag, not plastic, and keep it at room temperature. If it starts to soften on the second day, toast to bring the crunch back.
Rustic Italian Bread Recipe
Ingredients
Method
- Stir flour, salt, and yeast in a large bowl. Add warm water and mix until a shaggy, sticky dough forms.
- Cover and let rise in a warm place until doubled and bubbly, about 1 1/2 to 2 hours.
- Turn dough onto a floured surface and fold edges into the center to form a ball, keeping air inside. Place seam-side down on parchment.
- Let shaped loaf rest uncovered for 30 minutes while preheating a Dutch oven and lid at 450°F (230°C).
- Carefully lower the parchment and dough into the hot pot. Score the top with one deep slash. Cover and bake 30 minutes, then uncover and bake 10-15 minutes more until deep golden.
- Remove loaf to a rack and cool completely, at least 1 hour, before slicing.
Notes
