
Royal Icing Christmas Cookies That Stay Crunchy for Weeks

These royal icing Christmas cookies are the ones I keep coming back to, year after year. The icing sets to a glossy, hard shell that stays crunchy even in humid weather, and the cookie underneath stays tender without turning soft.

I’ve stacked them, shipped them, and left them on a platter for days with no bleeding colors or weeping icing. The recipe uses a sturdy butter dough that holds its shape in the oven, so every star, tree, and snowflake stays crisp-edged. And the royal icing comes together with meringue powder so it’s safe, stable, and easy to tint. If you’ve ever been nervous about decorating, this is the place to start.
Why This Recipe Works Every Year
I love that the cookie base has just the right ratio of butter to flour. It rolls out smoothly after a short chill and bakes up flat, with no puffing or spreading, so your final shapes look just like the cutter.
The icing is the real standout here. A little corn syrup keeps it from drying into a rock, so it has a nice, gentle snap. And because you control the consistency with a few drops of water, you can pipe fine outlines or flood entire surfaces with the same batch.
Most importantly, these cookies taste like a good butter cookie, not just a sugar vehicle. The almond extract gives the icing a hint of bakery-shop flavor, but you can swap in vanilla or lemon if you prefer.
Ingredients
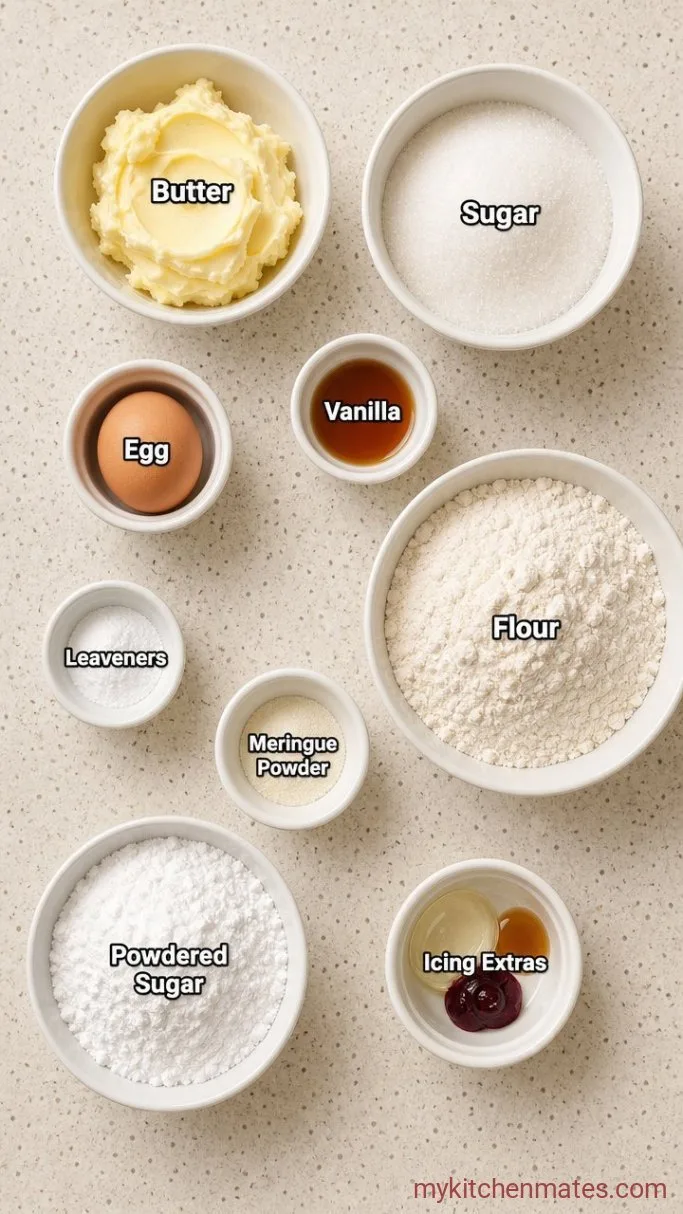
- Unsalted butter, softened: 1 cup (2 sticks), at cool room temperature for easy creaming.
- Granulated sugar: 1 cup
- Large egg: 1
- Vanilla extract: 1 teaspoon
- All-purpose flour: 2 1/2 cups, spooned and leveled
- Baking powder: 1/2 teaspoon, for a tiny lift without spread
- Salt: 1/2 teaspoon
- Meringue powder: 3 tablespoons, for stiff, stable icing
- Confectioners’ sugar: 4 cups (about 1 pound), sifted if lumpy
- Warm water: 6 to 8 tablespoons, divided
- Light corn syrup: 1 tablespoon, optional (keeps icing from getting rock-hard)
- Almond extract: 1 teaspoon, for flavoring the icing
- Gel food coloring: for tinting, optional
Variations / Substitutions
- Use raw egg whites: replace meringue powder with 3 pasteurized egg whites and skip the water; beat until stiff.
- Switch up the flavor: use lemon, orange, or peppermint extract in the icing instead of almond.
- Go dairy-free: use a plant-based butter stick that is at least 70% fat for the cookies.
- Natural color: add a pinch of freeze-dried berry powder for pink, or matcha for green, instead of food coloring.
Soft and Chewy Christmas Snickerdoodle Cookies are another dessert you’d probably love if you enjoy these cookies.
How To Make Royal Icing Christmas Cookies
Step 1: Cream the Butter and Sugar
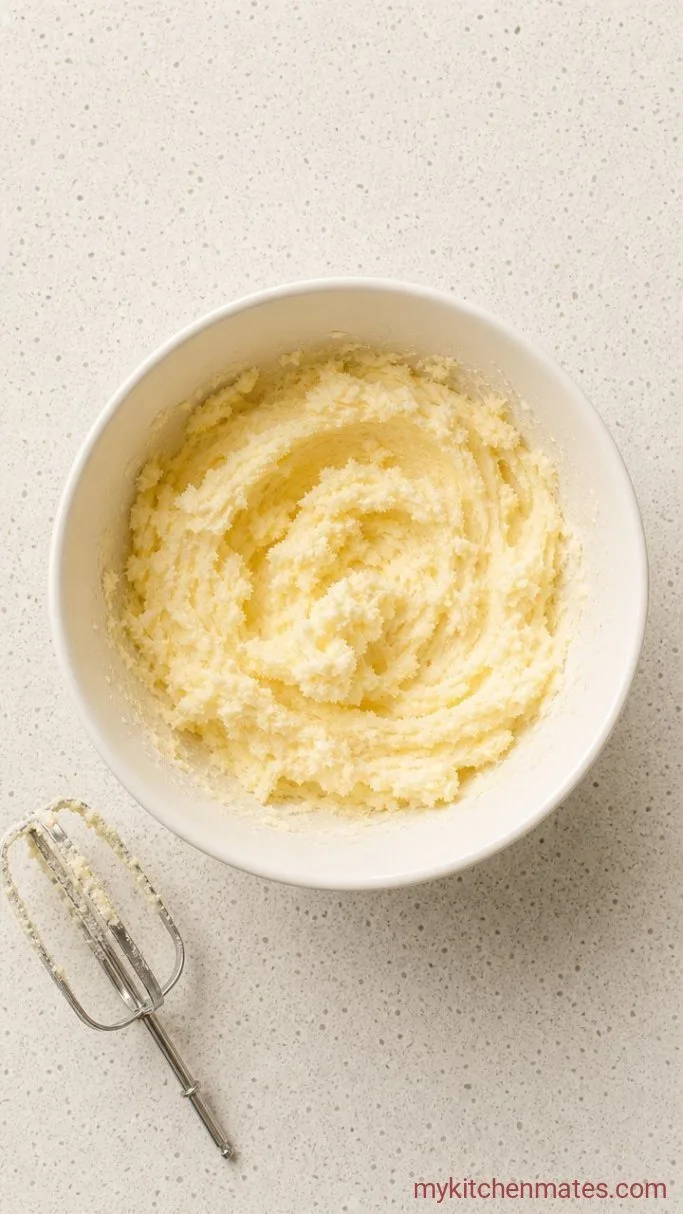
Preheat your oven to 350°F (175°C) and line two baking sheets with parchment paper. In a large bowl, beat the softened 1 cup butter with the 1 cup granulated sugar using a hand mixer or stand mixer on medium speed until the mixture looks pale and fluffy, about 2 minutes.
You’ll know it’s ready when the butter and sugar cling to the sides of the bowl in a thick, creamy ribbon. Scrape down the bowl, add the egg and 1 teaspoon vanilla, and beat just until combined.
Step 2: Mix the Dough
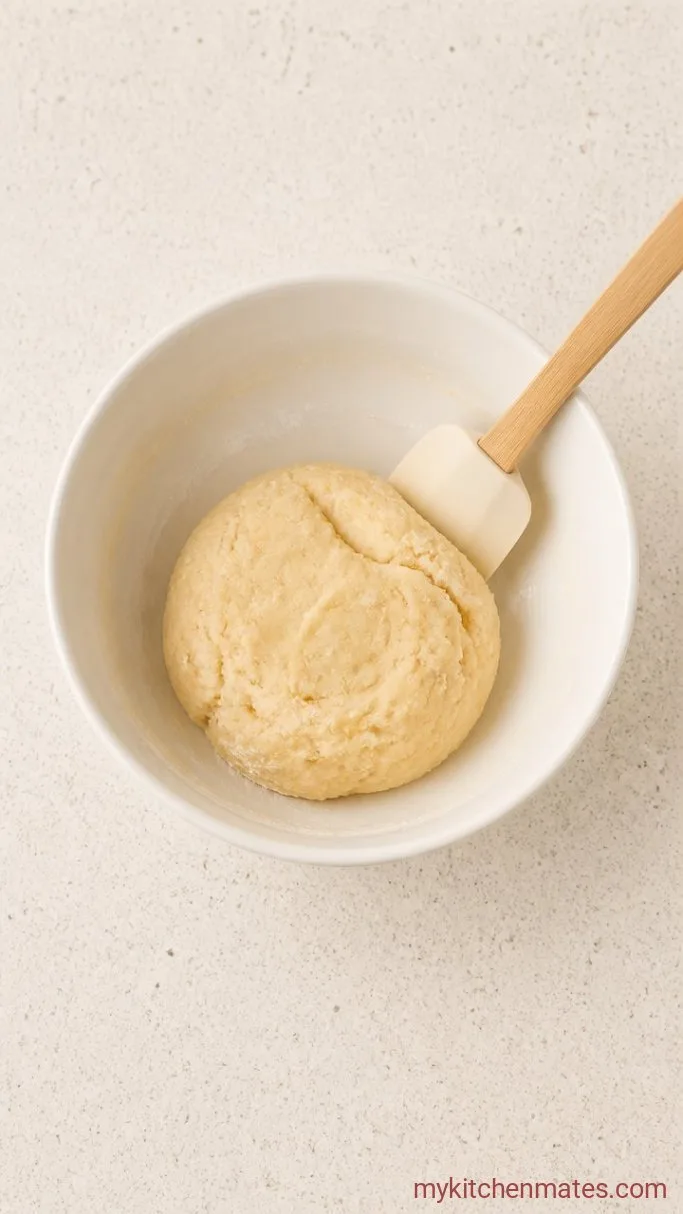
Whisk the 2 1/2 cups flour, 1/2 teaspoon baking powder, and 1/2 teaspoon salt together in a separate bowl. With the mixer on low, add the dry ingredients to the butter mixture in two additions, mixing until no dry streaks remain. The dough will look crumbly at first, then come together into a soft, pliable mass.
If it feels too sticky to handle, wrap it in plastic and pop it in the fridge for 10 minutes before rolling.
Step 3: Roll and Cut the Cookies

Divide the dough in half. Roll one portion between two large sheets of parchment paper to a thickness of about 1/4 inch (6 mm). Slide the parchment-wrapped dough onto a cookie sheet and chill in the refrigerator for at least 20 minutes so the cutouts hold their shape. Repeat with the second half.
Once firm, peel off the top parchment and cut out your Christmas shapes with floured cutters. Lift the cutouts with a thin spatula and place them 1 inch apart on the lined baking sheets. Gather any scraps, re-roll, and chill again before cutting.
Step 4: Bake the Cookies

Bake one sheet at a time on the middle rack for 10 to 12 minutes, until the edges are just barely golden. The centers will look set but pale. Let the cookies cool on the baking sheet for 5 minutes, then transfer them to a wire rack to cool completely before you ice them.
If your oven runs hot, start checking at the 9-minute mark. Overbaked cookies become dry and brittle, so pulling them as soon as the edges hint at color keeps them tender inside.
Step 5: Whip the Royal Icing
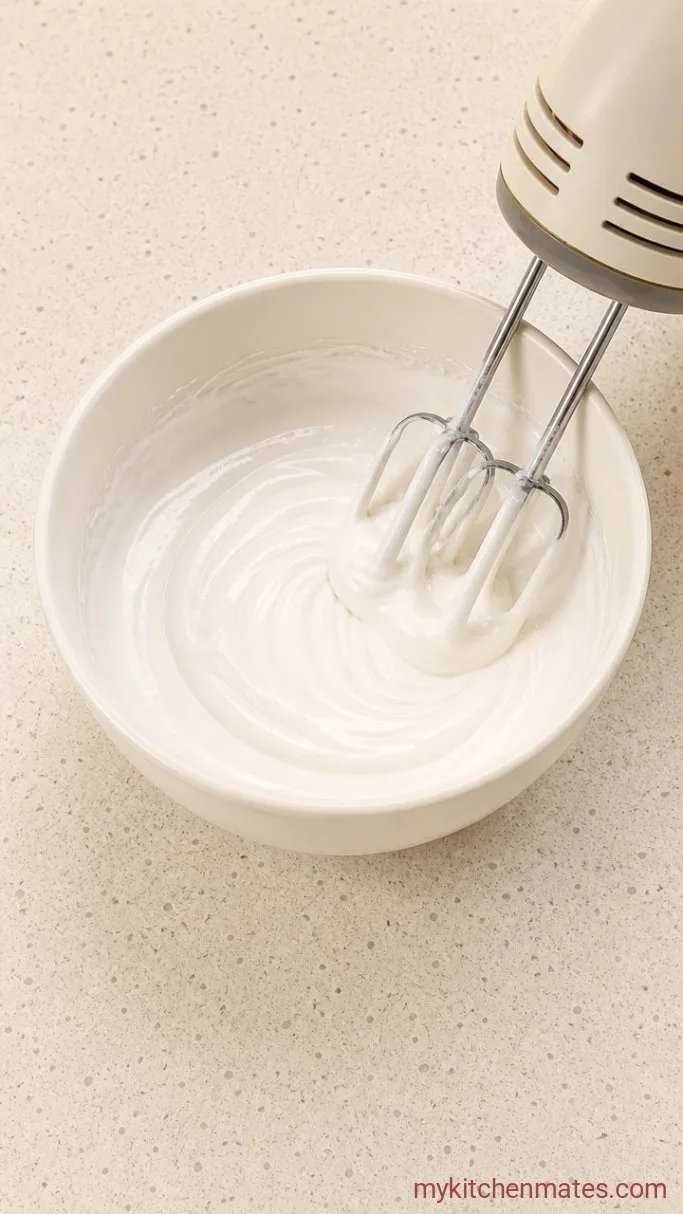
In a clean, grease-free bowl, combine the 3 tablespoons meringue powder, 4 cups confectioners’ sugar, and 6 tablespoons of the warm water. Beat with the whisk attachment on low speed until the sugar is moistened, then raise the speed to medium-high and whip for 4 to 5 minutes. The icing should turn bright white and hold stiff peaks.
At this point, add the 1 teaspoon almond extract and the 1 tablespoon corn syrup, if using, and beat for another 30 seconds. You’ll have a thick, pipeable icing. Cover the bowl with a damp paper towel and plastic wrap so a crust doesn’t form while you work.
Step 6: Pipe and Flood the Cookies

Divide the icing into small bowls and tint each with a drop of gel food coloring. For outlining and details, keep some icing at the thick, toothpaste-like consistency. For flooding, thin the rest with extra water a few drops at a time until it flows smoothly off a spoon but still holds its shape. Aim for a ribbon that dissolves back into the surface in about 10 seconds.
Spoon the thicker icing into a piping bag fitted with a small round tip, or use a squeeze bottle. Outline each cookie, then thin the flooding icing a bit more and pipe or spoon it inside the outline. Use a toothpick to guide it into corners and pop any air bubbles. Set the cookies aside on a wire rack, uncovered, to dry. They’ll be ready to package or stack once the icing is completely hard and glossy, about 6 hours.
Tips for Icing That Sets Without Cracks
- Let them dry somewhere airy, then store airtight.: Once the icing is hard, stack the cookies between sheets of parchment in a tin. If you seal them too early while any moisture remains, the icing goes soft.
- Use gel or powder colors, not the liquid drops from the grocery store.: Liquid water-based color can thin the icing too much and cause bleeding between colors.
- If your outlines look messy, try a stiffer piping consistency.: You want the icing to hold a sharp peak when you pull the spatula away, not slump over. You can always add a fraction of a teaspoon of confectioners’ sugar to thicken it.
- Pop stubborn air bubbles with a clean toothpick or the tip of a scribe tool while the icing is still wet.: This prevents little craters in the dried surface.
Match the icing to your decorating task:
| Use | Consistency | How to Test |
|---|---|---|
| Outlines and details | Thick, like toothpaste | Lifts in stiff peaks from the beater |
| Flooding base | Thin, like honey | A ribbon dripped from the spoon dissolves in 10 seconds |
| Lettering or fine work | Medium, between the two | Holds its shape when piped but doesn’t drag |
Keeping Decorated Cookies Crunchy
Store the completely dried cookies in an airtight tin with parchment between layers at room temperature for up to 2 weeks. For longer storage, freeze them for up to 3 months. Let them thaw uncovered so condensation doesn’t ruin the icing, and they’ll still be crunchy when you bite in.
Frequently Asked Questions
Can I use raw egg whites instead of meringue powder?
Yes, you can. Swap in 3 pasteurized egg whites and omit the water. Whip to stiff peaks before adding the sugar gradually.
Why did my royal icing turn cloudy or splotchy?
Cloudiness usually comes from humidity or overbeating. Make sure your equipment is completely grease-free, and dry the cookies in a low-humidity room, not a steamy kitchen.
My flooding icing spread over the outline. How do I fix it next time?
Your icing was too thin. Add a teaspoon of confectioners’ sugar at a time until a test ribbon holds its shape for 10 seconds before melting back into itself.
Can I freeze decorated cookies?
Absolutely. Once the icing is bone-dry, layer the cookies between wax paper in an airtight container and freeze for up to 3 months. Thaw them uncovered at room temperature.
Royal Icing Christmas Cookies Recipe
Ingredients
Method
- Preheat oven to 350°F. Cream butter and sugar until fluffy, then beat in egg and vanilla.
- Whisk flour, baking powder, and salt; mix into butter mixture until dough forms.
- Roll between parchment, chill 20 minutes, and cut shapes.
- Bake 10 to 12 minutes until edges just golden; cool completely.
- Whip meringue powder, confectioners’ sugar, water, and extract until stiff peaks; adjust consistency.
- Tint icing; pipe outlines, flood with thinner icing, and dry at least 6 hours.
Notes
