
No-Bake Red Velvet Ice Cream Cake

A red velvet ice cream cake sounds like a production, but this one leans on a few smart shortcuts so you can pull it off on a weeknight without ever turning on the oven. Crumbled red velvet cake, soft vanilla ice cream, and a quick cream cheese swirl do all the heavy lifting.
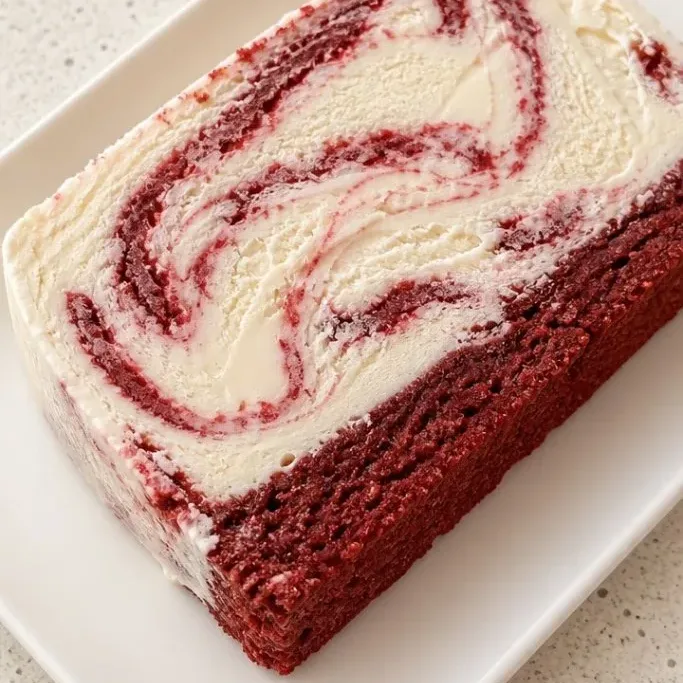
The whole thing comes together in about 20 minutes. After that, the freezer handles the rest, leaving you with a dessert that slices into neat, stripy pieces with that tangy red velvet flavor everyone loves.
What Makes This Cake So Good
The cake layers taste like proper red velvet because they are proper red velvet. You bake a simple box mix or grab a store-bought loaf, crumble it up, and pack it tight. Nothing dry or fussy, just that soft cocoa crumb doing its thing.
Swirling a simple cream cheese mixture straight into the ice cream gives you ribbons of that classic frosting tang without having to make a separate frosting layer. Every bite has the right balance of sweet, creamy, and a tiny bit of tart.
Because you build it in a loaf pan and freeze it solid, the slices come out clean and impressive with almost no effort. It stays firm enough to serve outside on a warm evening but softens on the tongue almost immediately.
Ingredients
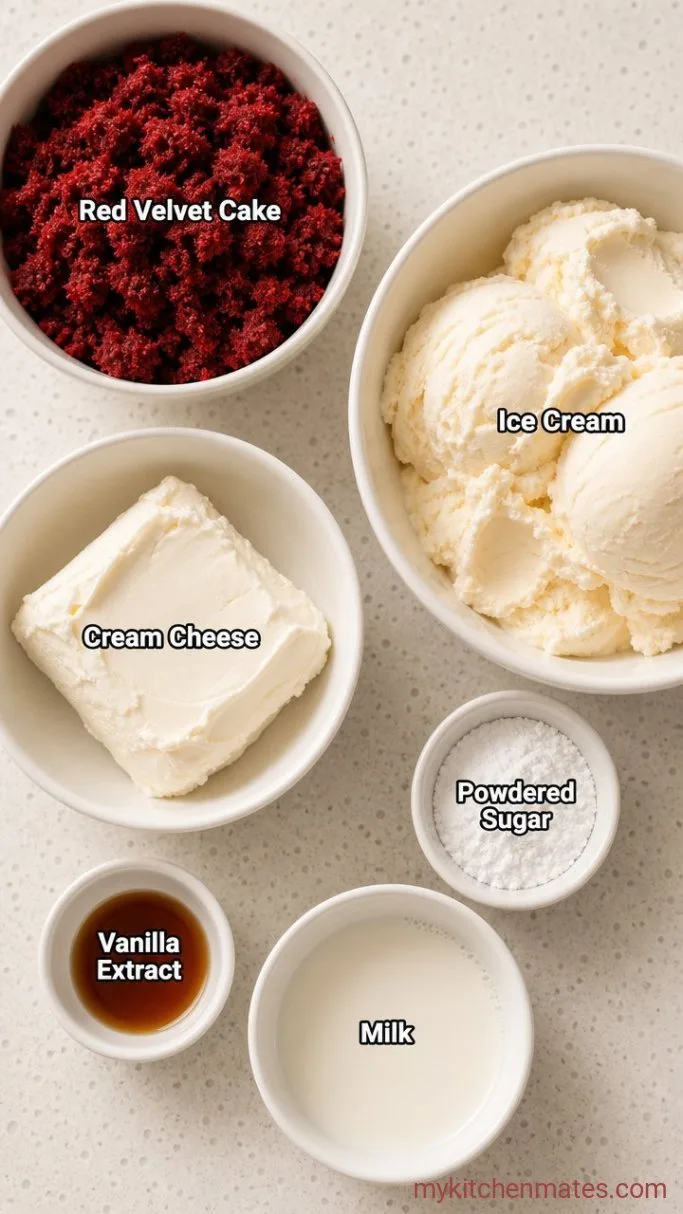
- 1 baked red velvet cake (about 4 cups crumbled): use a box mix baked according to the package or a plain store-bought loaf, fully cooled.
- 1.5 quarts vanilla ice cream: a good-quality brand softens smoother; let it sit at room temperature until spreadable.
- 8 oz cream cheese, softened: full-fat gives the richest ribbon.
- 1/2 cup powdered sugar: the amount is flexible if you like a tangier or sweeter swirl.
- 1 teaspoon vanilla extract: pure vanilla brings a little warmth.
- 2 tablespoons milk: any kind works, just enough to loosen the cream cheese so it swirls easily.
Variations & Substitutions
- Chocolate ice cream: swap the vanilla for chocolate ice cream for a deeper, fudgier slice.
- Chocolate cake: use the same amount of crumbled chocolate cake instead of red velvet for a black-and-white version.
- Dairy-free: choose a coconut-based vanilla ice cream and a plant-based cream cheese alternative; the layers still set up well.
- Skip the swirl: leave out the cream cheese mixture and spoon hot fudge or caramel between the layers instead.
No-Bake Blueberry Cream Pie is next on our list if this cake is your kind of dessert.
How to Make No-Bake Red Velvet Ice Cream Cake
Step 1: Crumble and Press the Cake
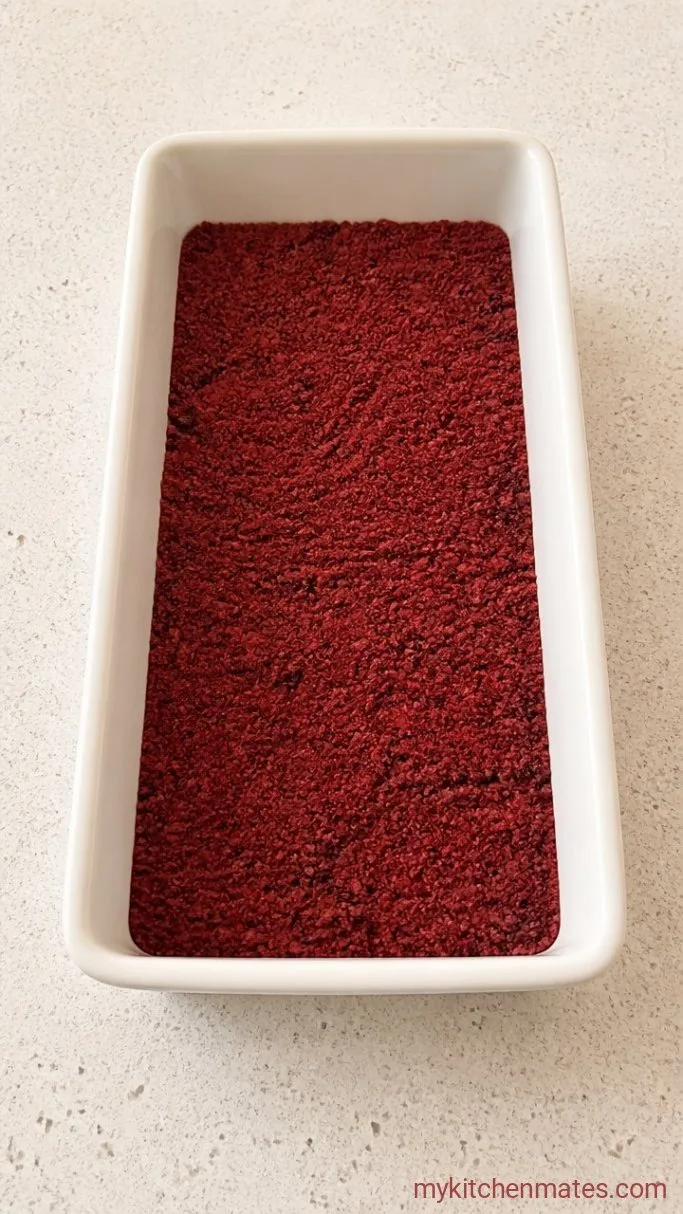
Line a standard 9×5-inch loaf pan with parchment paper so the edges hang over the long sides. Crumble the baked red velvet cake into a large bowl until you have about 4 cups of coarse crumbs. Spoon half of those crumbs into the lined pan and press them down firmly with the back of a spoon or a flat-bottomed cup for about 1 minute, until the layer is compact and about 1/2 inch thick.
You want the bottom layer packed tight enough that it holds together when you slice later but not so dense it turns into a brick. A little give is fine; the ice cream will fill any small gaps.
Step 2: Spread the Ice Cream
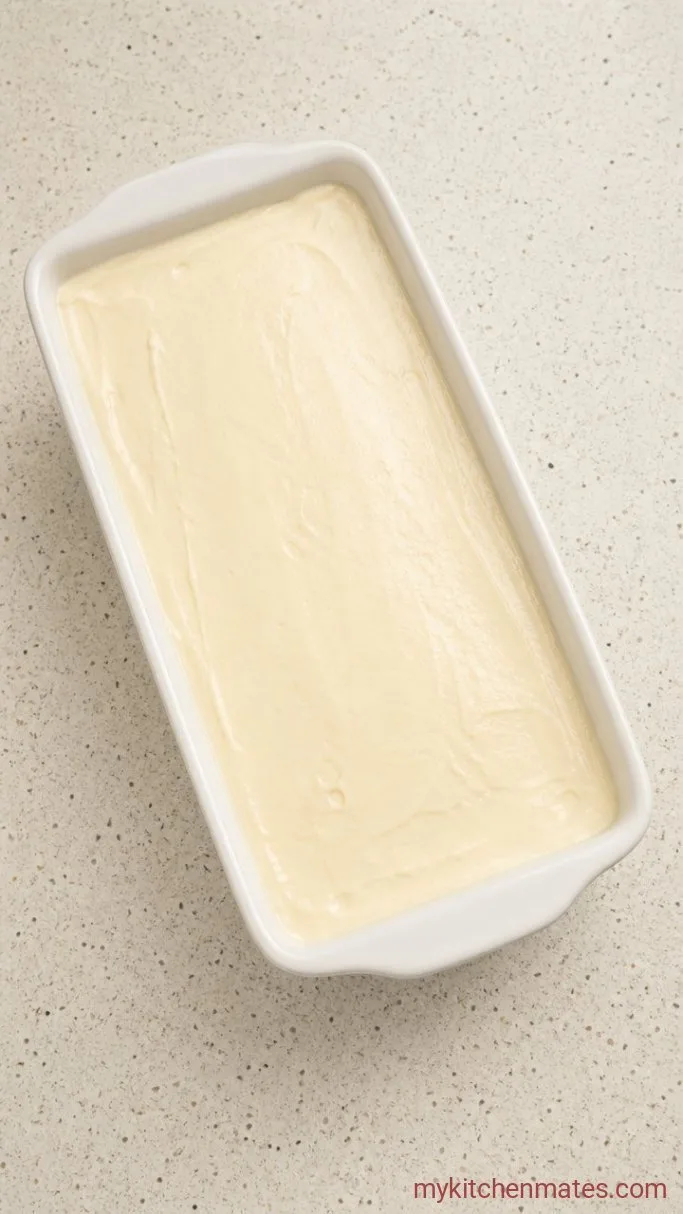
Let the 1.5 quarts of vanilla ice cream sit at room temperature for 10 minutes until it is soft enough to scoop and spread without tearing the cake layer. Spoon half of that softened ice cream over the packed cake base and use an offset spatula or the back of a spoon to nudge it into an even layer about 1 inch thick. Work gently so you do not mix the red crumbs into the white ice cream.
You will see a few crumbs pop up no matter how careful you are; that is normal and will just look like red velvet freckles in the finished slice. Pop the pan into the freezer for 15 minutes while you make the swirl so the ice cream firms up a little.
Step 3: Swirl in the Cream Cheese
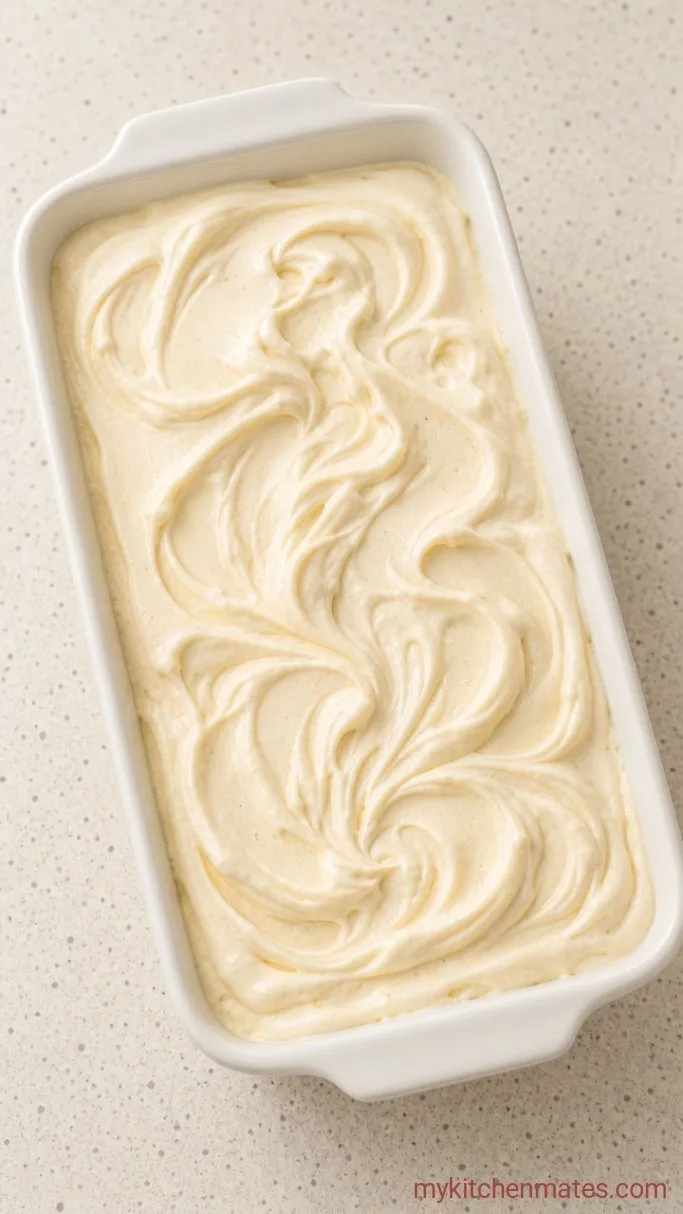
Beat the softened 8 oz cream cheese, 1/2 cup powdered sugar, 1 teaspoon vanilla extract, and 2 tablespoons milk together until smooth. Spoon half of this mixture in small dollops over the chilled ice cream layer, then use a butter knife to swirl it around for about 30 seconds. Do not over-mix or the cream cheese will fully blend in; stop when you see distinct ribbons and pockets.
Repeat the layers with the remaining cake crumbs, the remaining softened ice cream, and the remaining cream cheese mixture. Cover the pan tightly with plastic wrap and freeze for at least 4 hours, or overnight, until the cake is completely firm.
Step 4: Slice and Serve
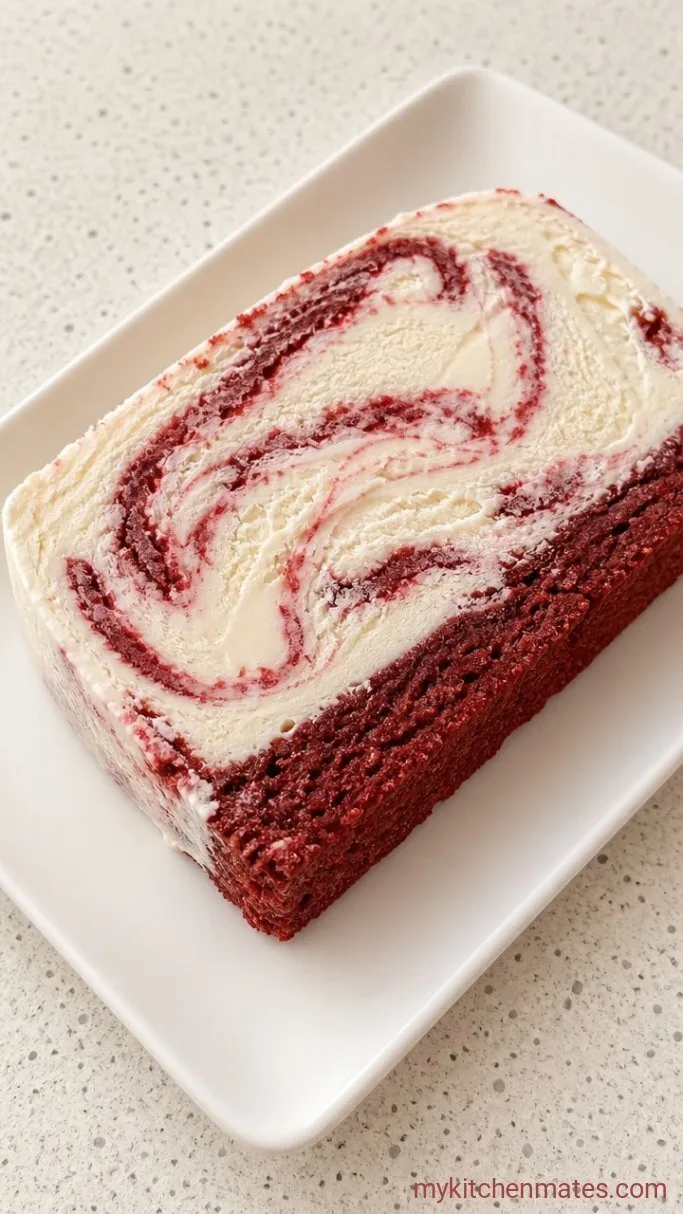
When you are ready to serve, lift the whole cake out of the pan using the parchment overhang and set it on a cutting board. Peel away the parchment. Run a sharp knife under hot water, wipe it dry, and slice the cake while it is still frozen solid. Clean the knife between cuts for the neatest pieces.
The slices will show off those red layers, white ice cream bands, and creamy swirls. Serve right away while everything holds its shape.
A Few Tips Before You Start
- Chill the cream cheese mixture for 10 minutes after mixing so it does not melt the ice cream on contact.
- If your kitchen runs warm, work next to the open freezer and slide the pan back in whenever a layer looks soft.
- For a taller cake with thinner stripes, use a smaller 8×4-inch loaf pan and pack the layers just a bit thinner.
Scale it to your pan size:
| Pan Size | Cake Crumbs Needed | Ice Cream Needed |
|---|---|---|
| 9×5-inch loaf | 4 cups | 1.5 quarts |
| 8×8-inch square | 6 cups | 2 quarts |
| 9-inch round springform | 7 cups | 2.5 quarts |
Storing Leftover Ice Cream Cake
Wrap leftover slices individually in plastic wrap and store them in a freezer bag for up to 1 week. A whole uneaten cake can stay in the pan, wrapped airtight, for the same amount of time. There is no need to thaw slices before eating; just pull them straight from the freezer and enjoy.
Frequently Asked Questions
Can I use homemade red velvet cake?
Yes. Bake your favorite recipe, let it cool completely, and crumble enough to get 4 packed cups. The texture will be a little softer than a box mix, but it freezes just as well.
Do I have to use a loaf pan?
No. Any freezer-safe container with straight sides works, as long as it holds the volume. A springform pan or a deep glass dish both give you clean slices.
Can I swap the vanilla ice cream for another flavor?
Absolutely. Chocolate, strawberry, or even a cream cheese ice cream would pair nicely. Just make sure the ice cream is a scoopable, full-fat style so it holds together when frozen.
How far ahead can I assemble this cake?
You can make it up to 2 days ahead and keep it tightly wrapped in the freezer. The texture is best within the first 3 days, but it will still taste great for up to a week.
No-Bake Red Velvet Ice Cream Cake Recipe
Ingredients
Method
- Line a 9×5-inch loaf pan with parchment. Crumble the cake to get 4 cups of crumbs. Press half of the crumbs firmly into the bottom of the pan.
- Soften the ice cream for 10 minutes, then spread half over the cake layer. Freeze for 15 minutes.
- Beat the cream cheese, powdered sugar, vanilla, and milk until smooth. Dollop half over the ice cream and swirl with a butter knife. Repeat all three layers with the remaining ingredients. Cover and freeze at least 4 hours.
- Lift the cake out using the parchment, peel it off, and slice with a hot dry knife. Serve immediately.
Notes
