
Easy 6-Ingredient Red Velvet Cake Balls

These easy red velvet cake balls start with a box of cake mix and a handful of pantry ingredients, then get mixed with tangy cream cheese frosting and dipped in white chocolate. They’re a low-effort way to make a batch of festive, bite-sized treats.
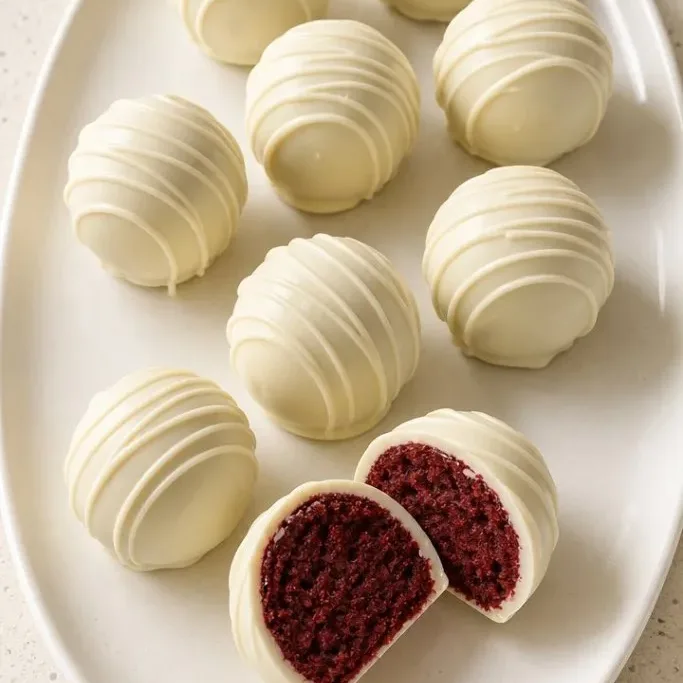
Perfect for parties, holiday trays, or just because you’re craving something sweet, they come together in about an hour of active time, most of it hands-off while the cake bakes and cools.
Why These Red Velvet Cake Balls Work
The texture is the real star here. A tender red velvet crumb, moistened with rich cream cheese frosting, gets rolled into neat little spheres and given a creamy white chocolate shell. The cake stays soft for days, so they’re great for making ahead.
That slight cocoa note from the red velvet pairs beautifully with the tangy frosting, and the white chocolate adds a clean sweetness without overwhelming everything. It’s the kind of treat that looks like you spent all day on it but actually couldn’t be simpler.
Ingredients
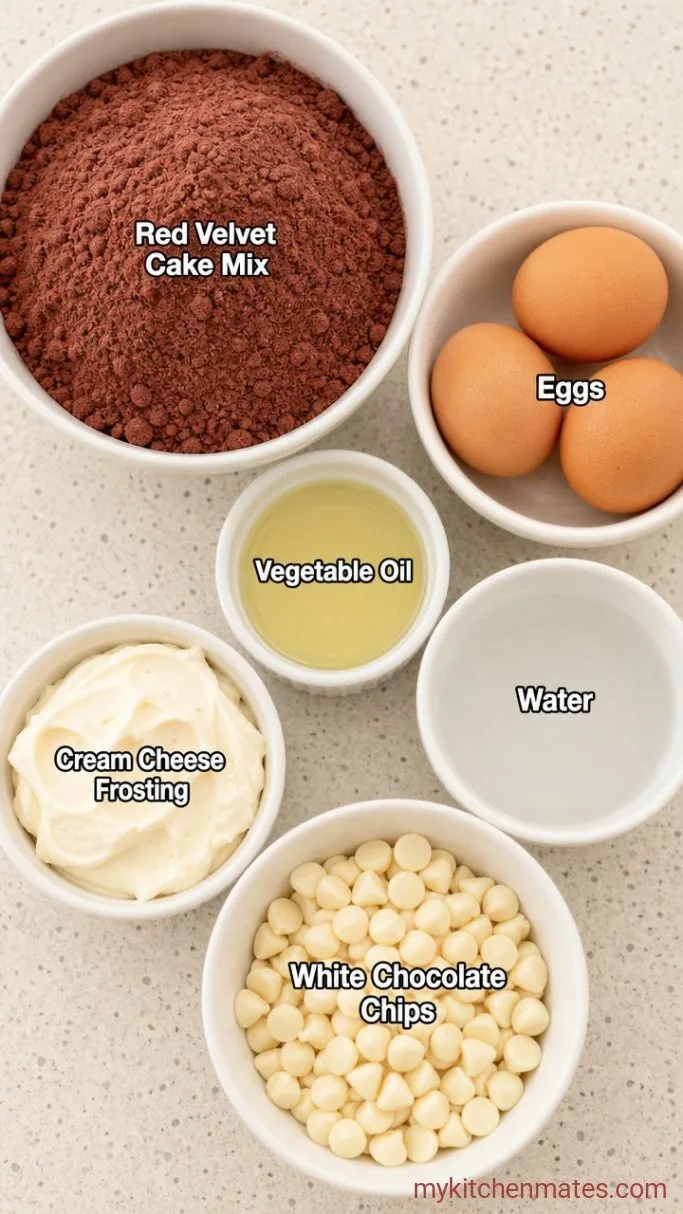
- 1 box red velvet cake mix (about 15.25 oz): use any brand you like
- 3 large eggs: at room temperature for better mixing
- 1/2 cup vegetable oil: or canola oil, for a moist crumb
- 1 cup water: as called for on the cake mix box
- 1 cup prepared cream cheese frosting: store-bought or homemade, at room temperature
- 12 oz white chocolate chips or candy melts: for dipping
Variations / Substitutions
- Swap the chocolate: Use dark or milk chocolate chips for a different flavor.
- Make it from scratch: Use a homemade red velvet cake and cream cheese frosting if you prefer; just bake a 9×13-inch cake and let it cool.
- Gluten-free option: Use a gluten-free red velvet cake mix and check that your frosting and chocolate are gluten-free.
- Add a drizzle: After dipping, drizzle with a contrasting melted chocolate for decoration.
Soft Red Velvet Cinnamon Rolls are a sweet bake to enjoy alongside this cake.
How to Make Easy Red Velvet Cake Balls
Step 1: Bake the Red Velvet Cake
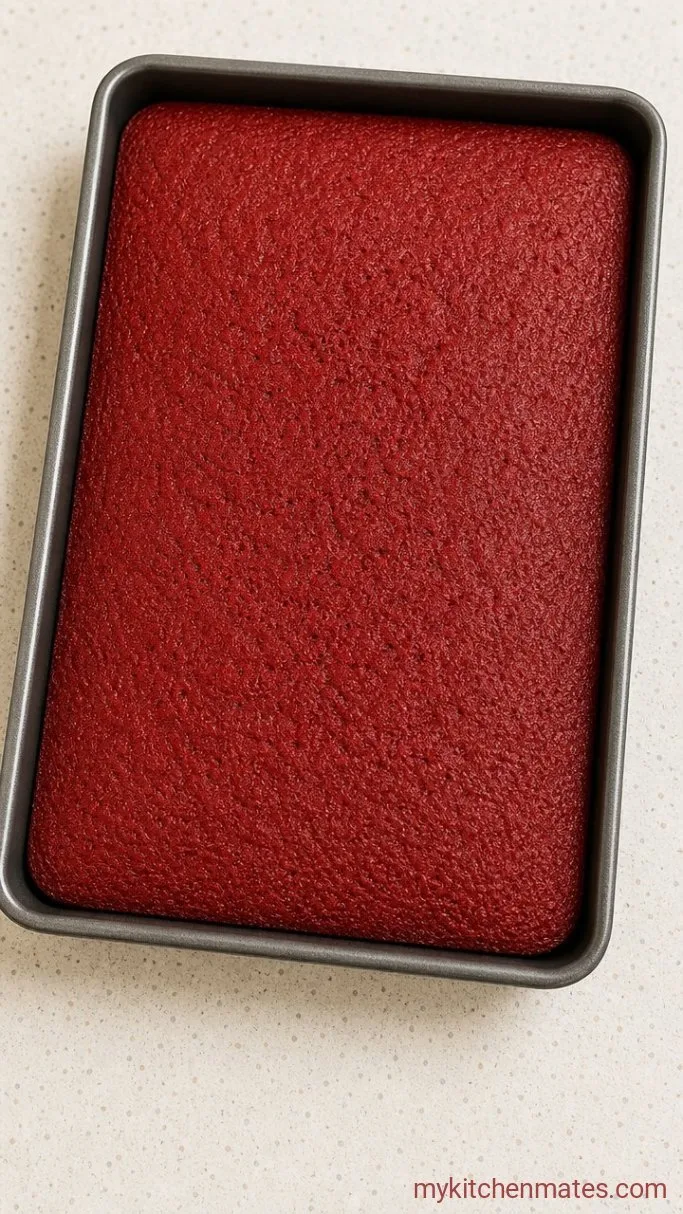
Preheat the oven to 350°F (180°C) and grease a 13×9-inch baking pan. Prepare the cake mix with the 3 eggs, 1/2 cup oil, and 1 cup water according to the package directions, then pour the batter into the prepared pan. Bake for 25 to 30 minutes, until a toothpick inserted in the center comes out clean.
Let the cake cool completely in the pan on a wire rack. The cake needs to be fully cool before you crumble it, or the crumbs will be too gummy. This usually takes about an hour, but you can speed it up by popping the pan in the fridge after 20 minutes of cooling on the counter.
Step 2: Crumble the Cake
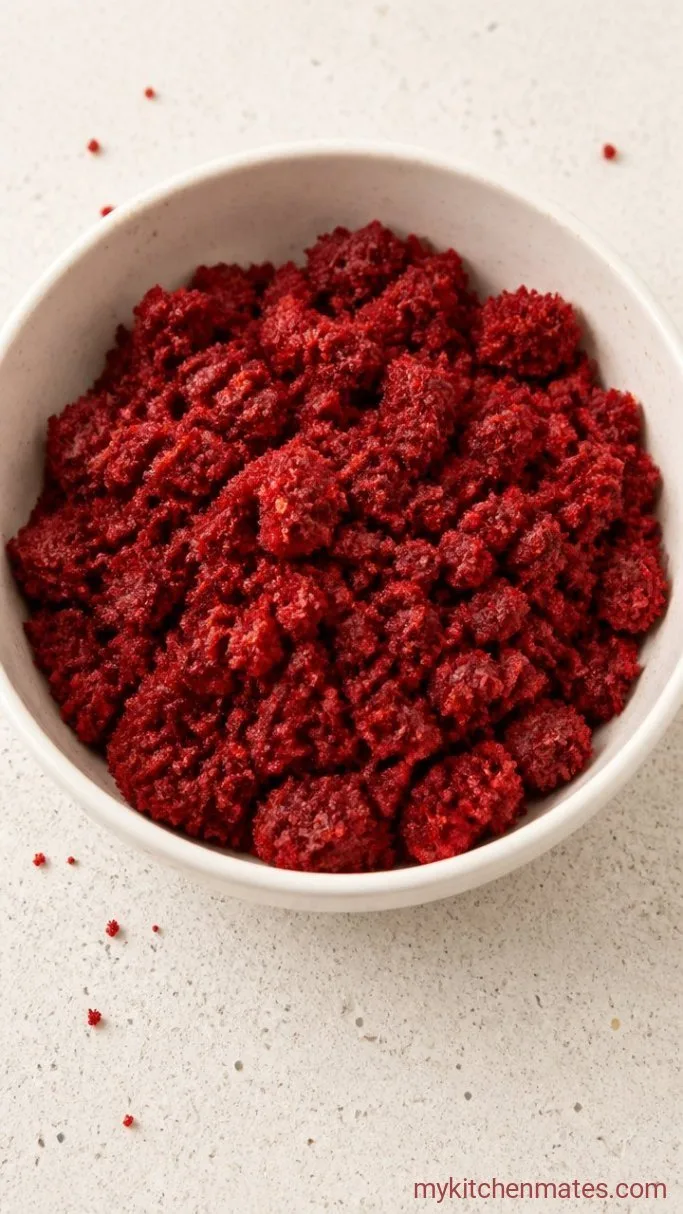
Once the cake is completely cool, break it into large chunks and place them in a large mixing bowl. Use your hands or a fork to break the cake down into fine, even crumbs. You want no big pieces left, just a bowl of fluffy red crumbs.
The texture should look like damp sand. If you find any hard bits from the edge of the cake, discard them so they don’t throw off the smoothness of the balls. This step takes about 5 minutes.
Step 3: Mix in the Cream Cheese Frosting
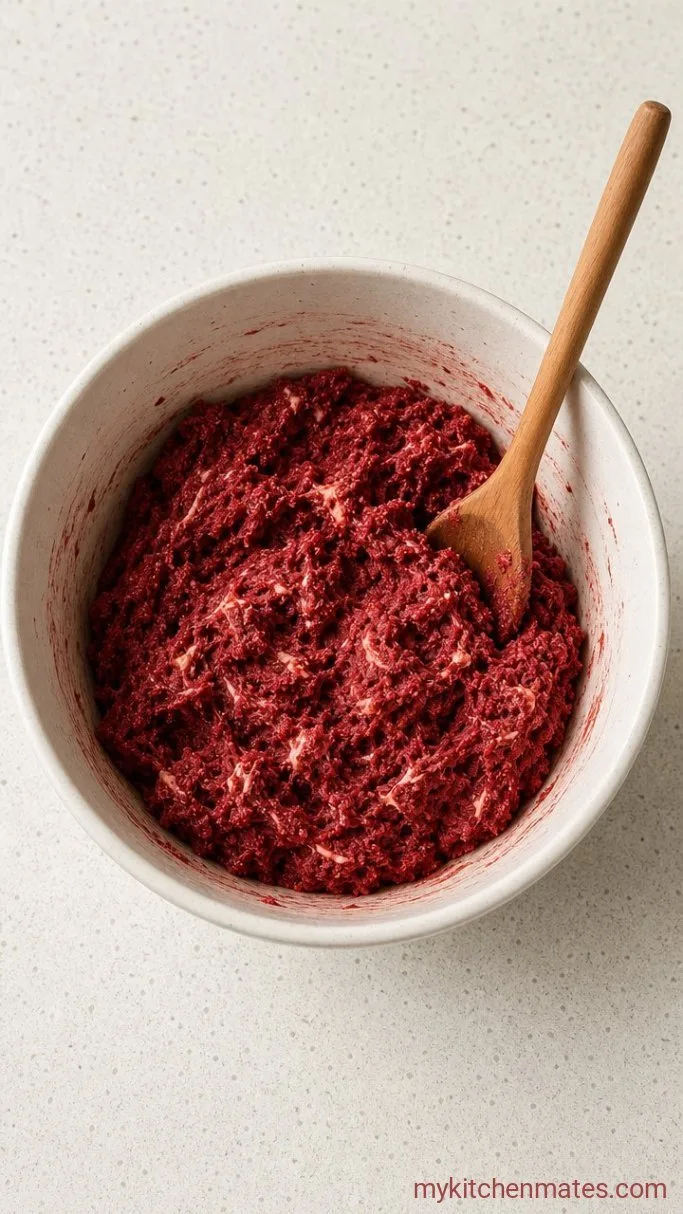
Add the 1 cup of cream cheese frosting to the bowl of crumbs. Stir it in with a rubber spatula or use your hands to mix until you have a uniform dough-like consistency that holds together when you squeeze a handful. The mixture should be moist but not sticky or greasy.
If it seems too dry and won’t hold a ball, add a little more frosting, a tablespoon at a time. If it’s overly sticky, let it chill in the fridge for 20 minutes before you start rolling. The right balance comes when you can form a compact ball without it crumbling.
Step 4: Roll the Cake Balls
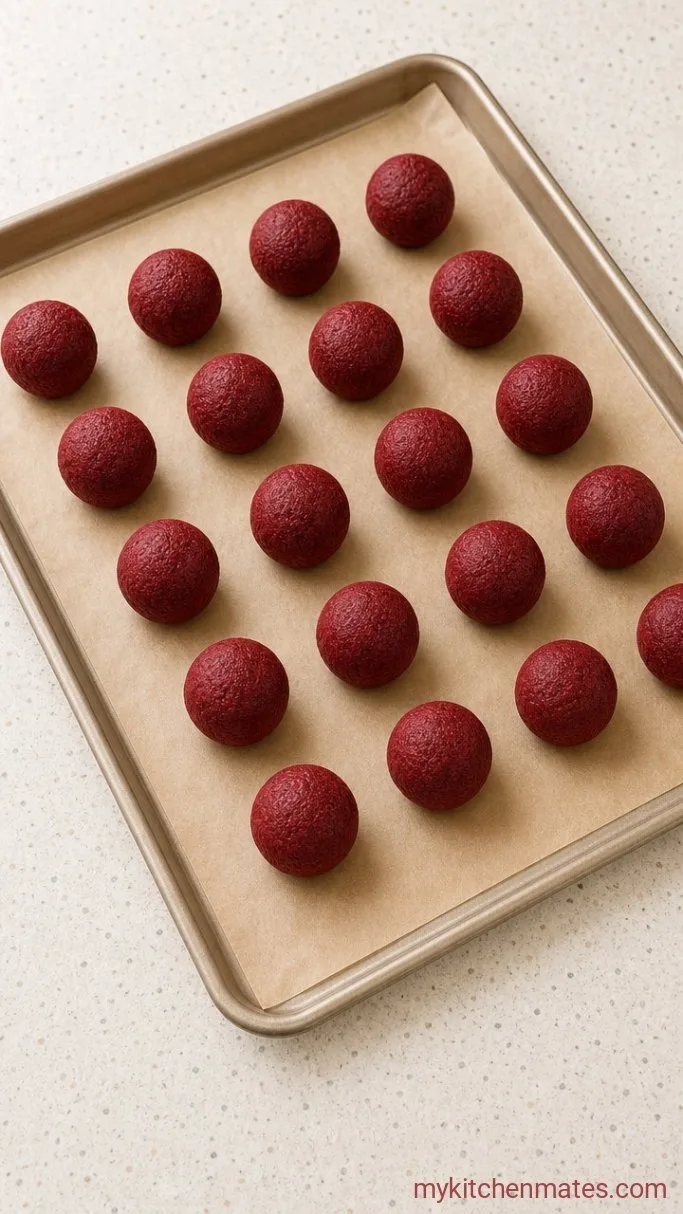
Line a baking sheet with parchment paper. Scoop out about a tablespoon of the cake mixture and roll it between your palms into a smooth, round ball. Place each ball on the prepared sheet, leaving a little space between them.
You’ll get around 36 to 40 balls from one batch. Once all are rolled, transfer the tray to the fridge and chill for at least 1 hour until the balls are firm. Chilling prevents them from falling apart when you dip them in warm chocolate.
Step 5: Dip the Cake Balls
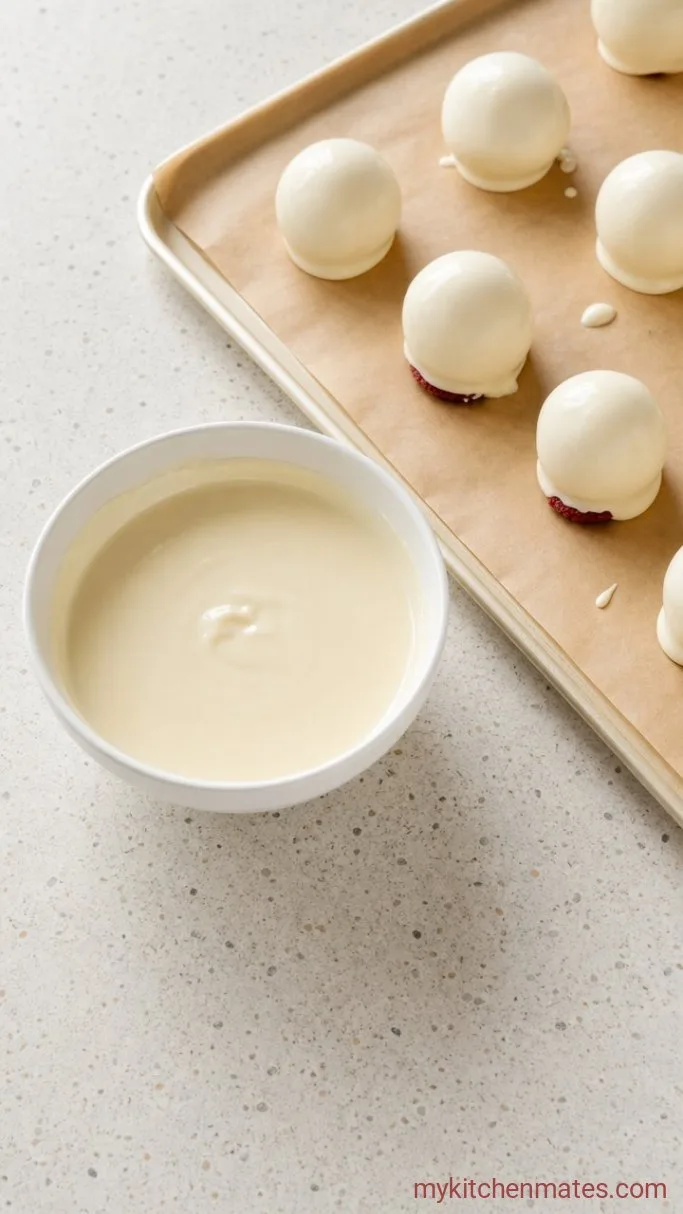
Melt the 12 oz of white chocolate chips in a microwave-safe bowl, heating in 20-second bursts and stirring after each, until completely smooth. Don’t overheat, or the chocolate can seize. If you prefer candy melts, follow package directions.
Using a fork or a dipping tool, lower one chilled ball into the melted chocolate, turning to coat it fully. Lift it out and gently tap the fork on the side of the bowl to let excess chocolate drip back. Place the dipped ball back onto the parchment-lined sheet. Repeat with all balls.
Step 6: Drizzle and Set
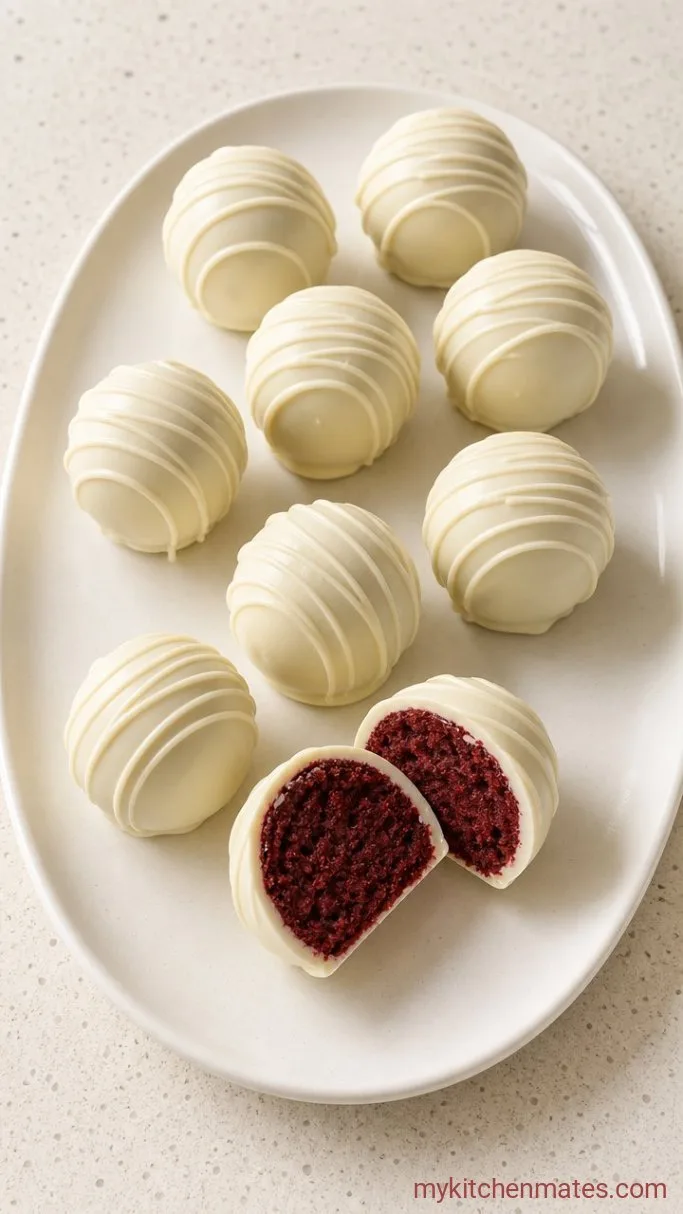
If you’d like, you can drizzle a little extra melted chocolate over the coated balls for decoration. Use a spoon or a piping bag with a tiny hole to add thin lines. While the chocolate is still wet, you can also add sprinkles if you’re making these for a celebration.
Let the cake balls sit at room temperature until the chocolate sets completely, about 15 to 20 minutes. You can also put them in the fridge for 10 minutes to speed it up. Once firm, they’re ready to serve. They look best arranged on a platter with a few scattered crumbs for a homemade feel.
Tips for the Best Cake Balls
- Use room temperature frosting so it blends evenly with the cake crumbs. Cold frosting won’t mix in smoothly and can leave lumps.
- If your mixture feels too sticky to roll, chill the bowl for 20 minutes before shaping. Your hands will also stay cleaner if you lightly coat them with a bit of oil or wear disposable gloves.
- Melt the white chocolate slowly and stir often. A low, gentle heat prevents it from burning or becoming grainy.
- For a shinier finish, try adding a teaspoon of coconut oil or vegetable shortening to the melted chocolate—it thins the chocolate slightly and gives a glossier coat.
- If you’re making these ahead, wait to add any drizzles or sprinkles until just before serving if you want the decoration to stay crisp.
Storing Red Velvet Cake Balls
- Refrigerate: Store cake balls in an airtight container in the fridge for up to 1 week. Place parchment paper between layers to keep them from sticking.
- Freeze: Freeze in a single layer on a baking sheet until firm, then transfer to a zip-top bag or container for up to 3 months. Thaw overnight in the fridge before serving.
What to Serve With Red Velvet Cake Balls
A glass of cold milk or a scoop of vanilla bean ice cream balances the tangy sweetness of the cake balls. For a coffee break, pair them with a hot cappuccino; the bitter coffee contrast makes the white chocolate taste even creamier.
Frequently Asked Questions
Can I use a homemade cake instead of a box mix?
Yes, just bake a 9×13-inch red velvet cake from scratch, cool it completely, and crumble it. The rest of the recipe stays the same.
Why are my cake balls falling apart?
The mixture likely needs more frosting to bind the crumbs. Add an extra tablespoon at a time until you can squeeze a handful and it holds together.
Why did my chocolate coating crack?
The cake balls were probably too cold when dipped, causing the chocolate to contract as it set. Let the chilled balls sit at room temperature for 5 to 10 minutes before dipping so the temperature difference isn’t so extreme.
Can I skip the white chocolate?
Definitely. You can use dark, milk, or even candy melts in any color. Just make sure whatever you use melts smoothly and sets firm.
Red Velvet Cake Balls Recipe
Ingredients
Method
- Preheat oven to 350°F. Grease a 13×9-inch pan. Mix cake mix with eggs, oil, and water, then pour into pan and bake 25-30 minutes until a toothpick comes out clean. Cool completely.
- Crumble the cooled cake into fine crumbs in a large bowl.
- Mix in cream cheese frosting until the mixture holds together when squeezed.
- Roll tablespoon-sized portions into balls, place on parchment-lined sheet, and chill 1 hour until firm.
- Melt white chocolate, then dip each ball to coat, tapping off excess.
- Drizzle with extra chocolate or sprinkles if desired, then let set until firm. Serve.
Notes
