
30-Minute Pumpkin Chocolate Chip Muffins (Moist & Fluffy)

These pumpkin chocolate chip muffins take less than ten minutes to stir together and bake up with a soft, tender crumb that stays moist for days. The warm spice and melted chocolate pockets make them a fall favorite any time of year.
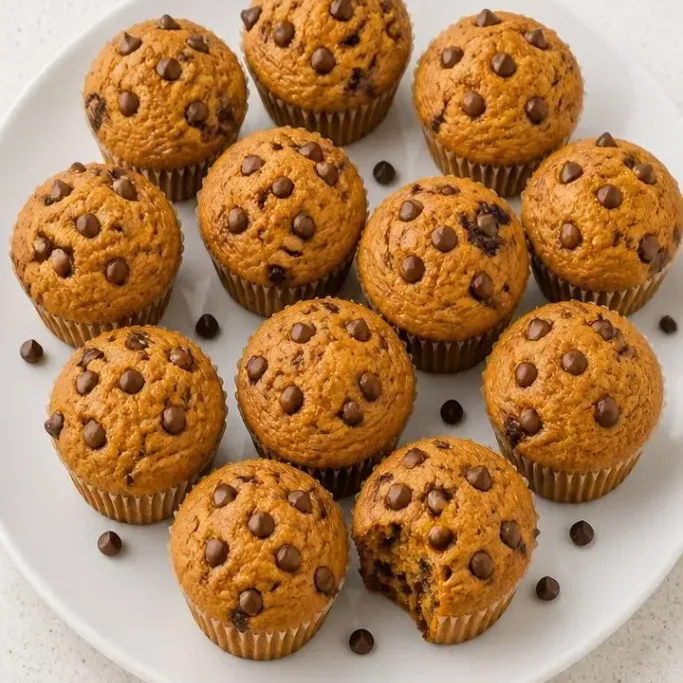
You only need one bowl for the wet ingredients and another for the dry, so cleanup is quick. By the time the oven is hot, you’re already scooping batter into the tin.
What Makes These Muffins So Good
Canned pumpkin purée carries all the moisture these muffins need, so you get a soft, pillowy texture without butter or sour cream. That keeps the crumb light, not dense.
The chocolate chips are semisweet because their slight bitterness balances the sweet pumpkin and spice. Every bite has a little ribbon of melted chocolate and a flurry of cinnamon.
They taste even better the next day after the spices settle. You can warm one in ten seconds and it’s as good as fresh from the oven.
Ingredients
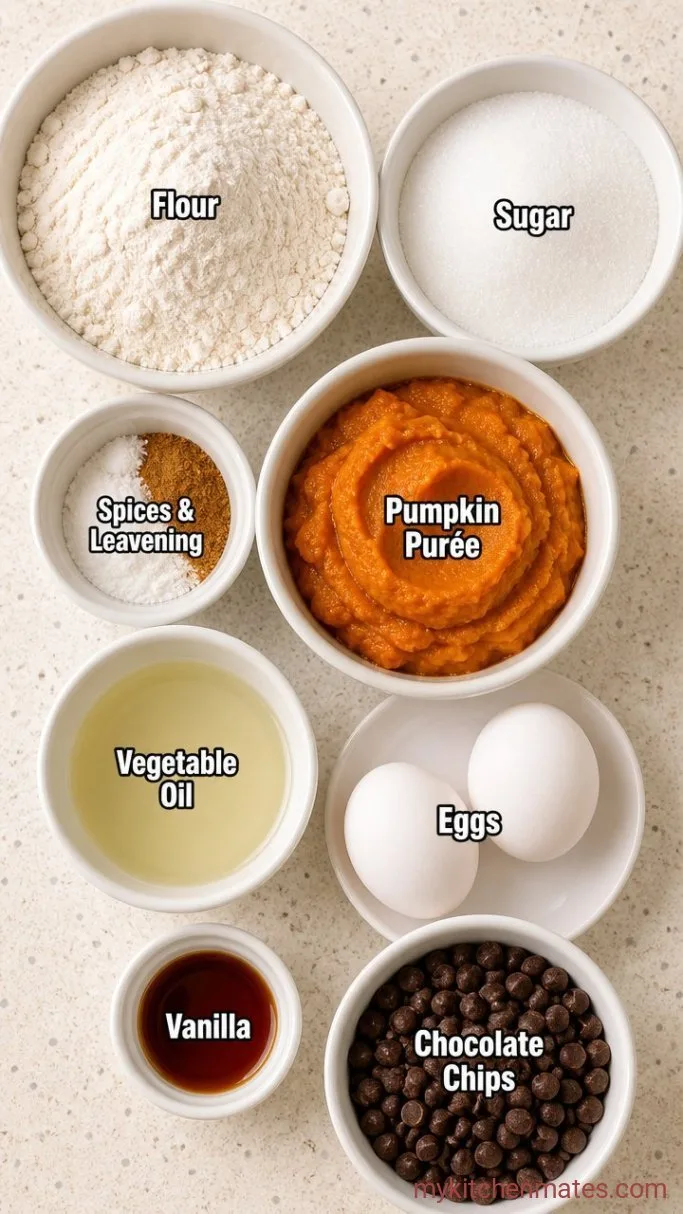
- 1 3/4 cups all-purpose flour: spooned and leveled, not scooped
- 1 cup granulated sugar: standard white sugar, or substitute half with brown sugar for a deeper molasses note
- 1 teaspoon baking soda: helps the muffins rise and brown
- 1/2 teaspoon baking powder: adds an extra lift
- 1/2 teaspoon fine sea salt: balances the sweetness
- 2 teaspoons pumpkin pie spice: a blend of cinnamon, ginger, nutmeg, and cloves; or use 1 teaspoon cinnamon, 1/2 teaspoon nutmeg, 1/4 teaspoon ginger, and 1/4 teaspoon cloves
- 1 cup canned pumpkin purée: not pumpkin pie filling, which is sweetened and spiced
- 1/2 cup vegetable oil: or any neutral oil like canola or avocado
- 2 large eggs: at room temperature for easier mixing
- 1 teaspoon vanilla extract: the real stuff, if you have it
- 1/2 cup semisweet chocolate chips: plus a small handful to press on top
- Extra chocolate chips for the tops: makes them look bakery-style
Variations / Substitutions
- Make them with white chocolate: swap in white chocolate chips for a sweeter, creamier bite.
- Add toasted pecans or walnuts: fold in 1/3 cup of chopped nuts with the chocolate chips for crunch.
- Go gluten-free: use a 1-to-1 gluten-free flour blend that contains xanthan gum; the texture will be slightly more tender.
- Use mini chocolate chips: mini chips distribute more evenly so every bite gets chocolate, and they weigh down the batter less.
- Dairy-free option: most semisweet chocolate chips are already dairy-free, but check the label. The muffins themselves have no dairy.
Soft Pumpkin Chocolate Chip Cookies make a lovely sweet pairing for these muffins.
How to Make Pumpkin Chocolate Chip Muffins
Step 1: Mix the Dry Ingredients
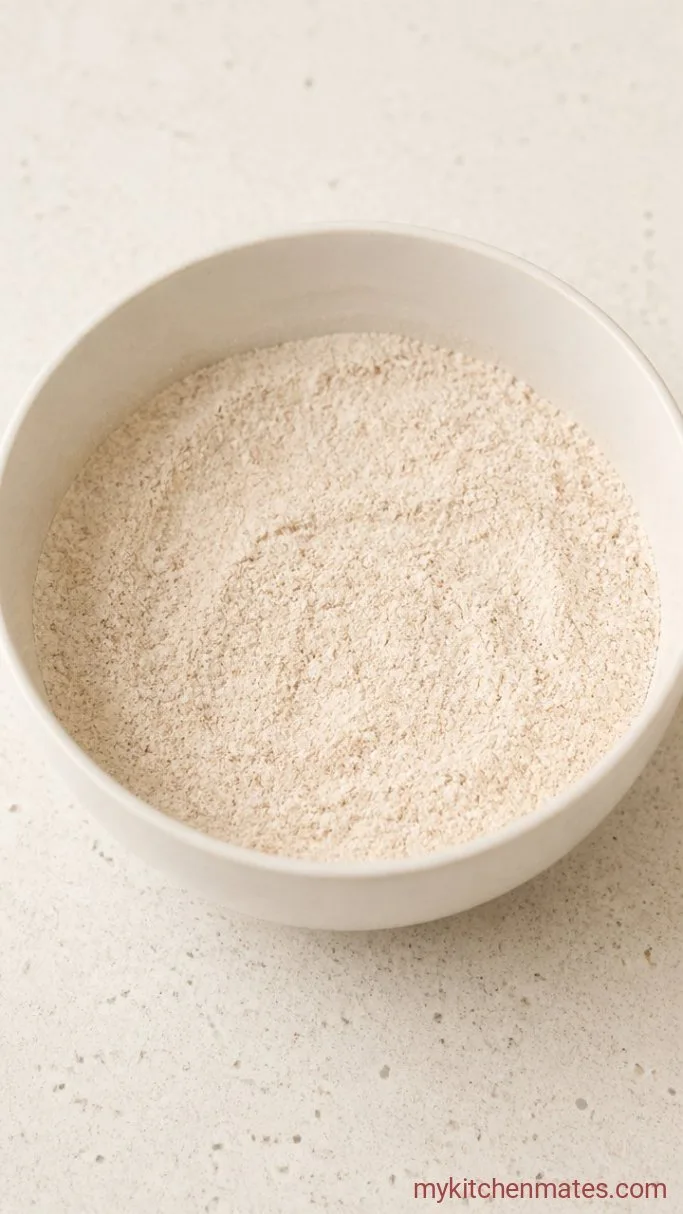
Preheat the oven to 375°F (190°C) and line a 12-cup muffin tin with paper liners. In a large bowl, whisk together the 1 3/4 cups flour, 1 cup sugar, 1 teaspoon baking soda, 1/2 teaspoon baking powder, 1/2 teaspoon salt, and 2 teaspoons pumpkin pie spice.
The dry mixture will look pale and speckled with spice. Whisk for about 30 seconds so the leaveners and salt are evenly distributed, which helps every muffin rise the same way. A quick whisk here means no sifting needed.
Step 2: Whisk the Wet Ingredients

In a medium bowl, combine the 1 cup pumpkin purée, 1/2 cup oil, 2 eggs, and 1 teaspoon vanilla. Whisk for about 30 seconds until the mixture is smooth and no streaks of egg white remain.
The pumpkin should be glossy and fully blended; if your eggs were cold, it may take a few extra stirs. This step is forgiving, so don’t worry about a few tiny lumps of pumpkin.
Step 3: Fold the Wet into the Dry
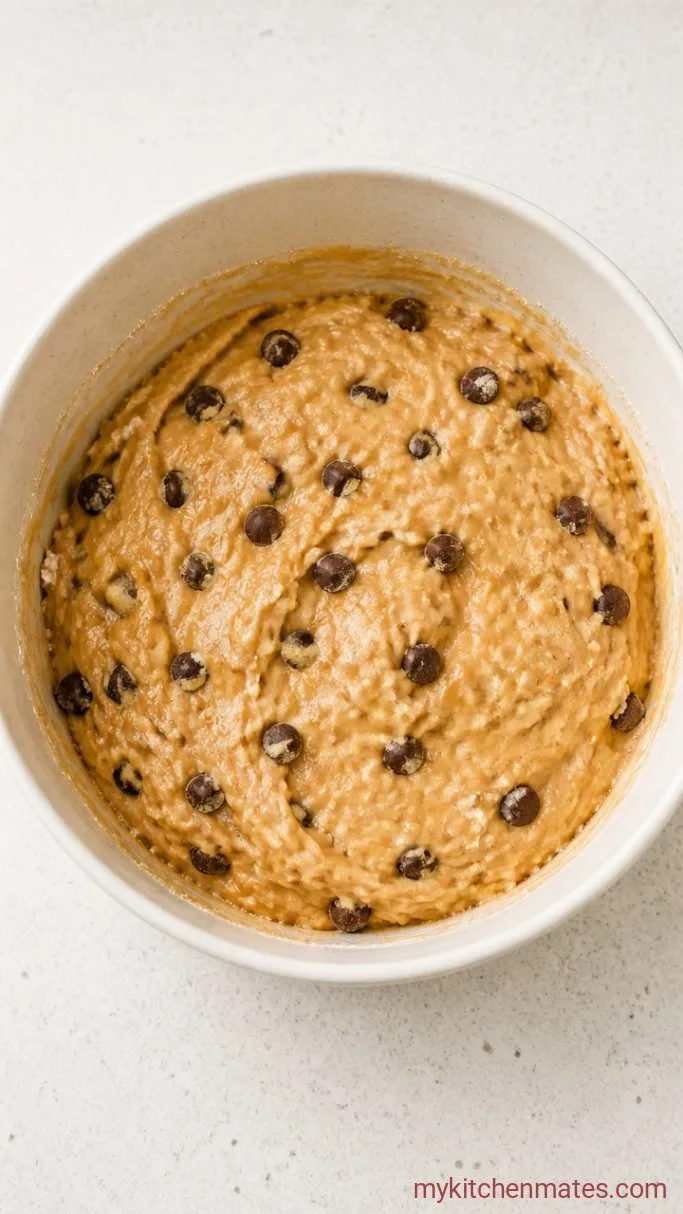
Pour the wet mixture into the bowl of dry ingredients. Stir with a rubber spatula until just combined, about 10 to 12 strokes. A few small streaks of flour are perfectly fine. Then gently fold in the 1/2 cup chocolate chips.
The batter will be thick and orange-gold. Stop the second it comes together—overmixing wakes up the gluten and makes muffins tough and tunneling. The chocolate chips will look like dark flecks scattered through.
Step 4: Scoop and Bake
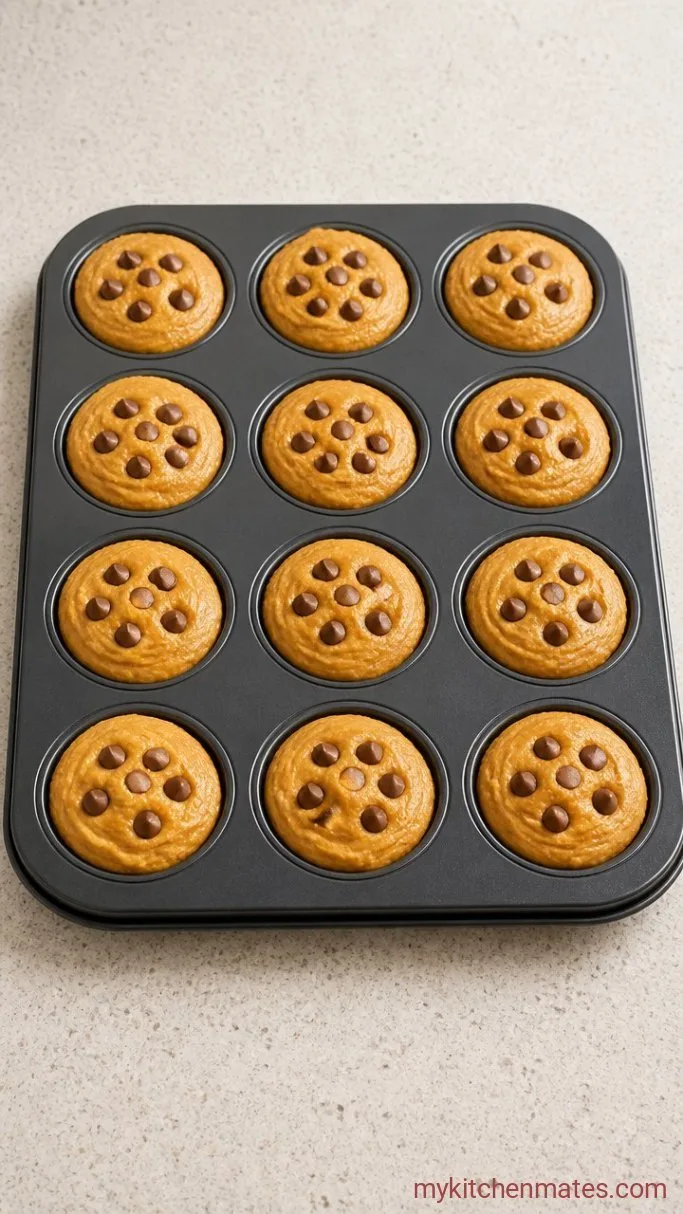
Divide the batter evenly among the 12 lined cups, filling each one nearly to the top. Press a few extra chocolate chips onto the surface of each muffin. Bake for 18 to 22 minutes, until the tops are domed and a toothpick inserted in the center comes out with a few moist crumbs but no wet batter.
The muffins will puff up high and the tops will crack slightly around the chocolate chips. The kitchen will smell like cinnamon and warm pumpkin. Rotate the pan halfway through baking if your oven has hot spots.
Step 5: Cool and Serve
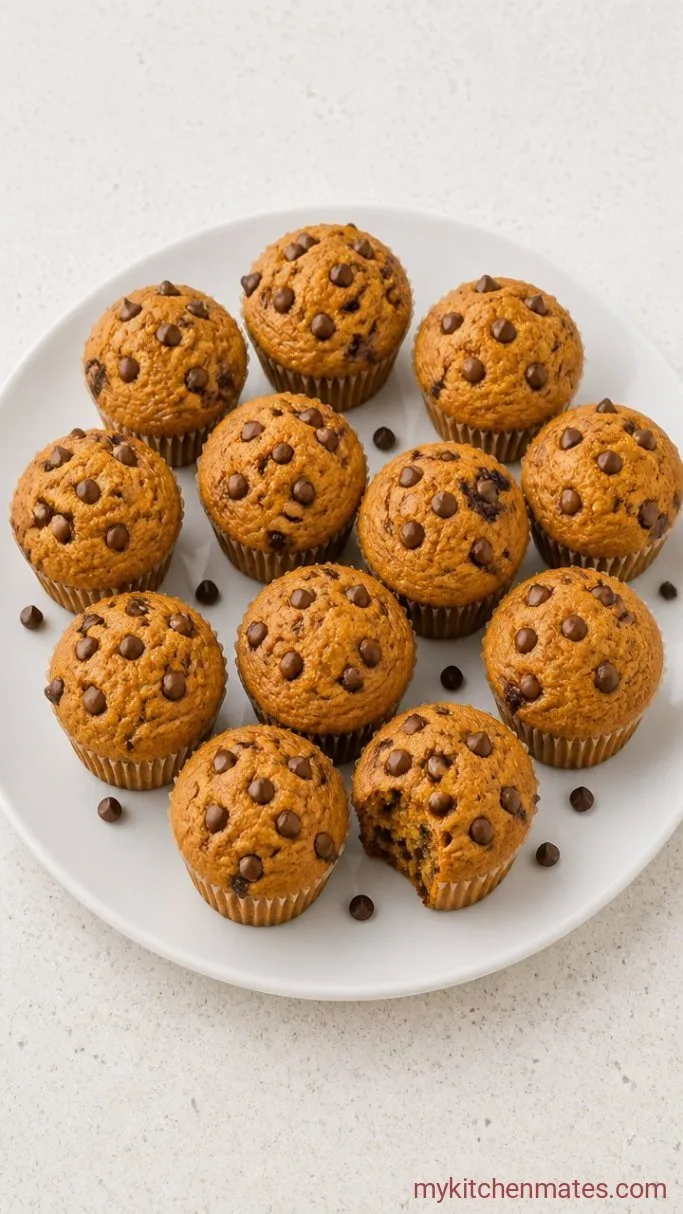
Let the muffins cool in the pan for 5 minutes, then transfer them to a wire rack. Serve them warm, or let them cool completely.
Right out of the pan, the paper liners peel away easily and the muffin is soft and steamy inside. A warm muffin with melting chocolate is the best reason to not wait.
Tips for Bakery-Style Muffins
- Fill the liners to the top: this gives you tall, domed muffins. If you underfill, they’ll be flat and squat.
- Add chocolate on top: the extra chips you press on before baking will stay slightly exposed, so the muffins look as good as a coffee shop’s.
- Let the batter rest: if you have 10 minutes to spare, let the filled muffin tin sit on the counter before baking. The flour hydrates a little more and the crumb is even more tender.
- Check your oven temperature: an oven thermometer is cheap insurance. A too-hot oven dries muffins out, and a too-cool one makes them pale and dense.
Bake times can shift depending on your pan:
| Pan type | Oven temperature | Bake time |
|---|---|---|
| Light metal pan | 375°F (190°C) | 18 to 20 minutes |
| Dark nonstick pan | 350°F (175°C) | 20 to 22 minutes |
| Silicone muffin pan | 375°F (190°C) | 20 to 22 minutes |
Storing Leftover Muffins
- Room temperature: keep in an airtight container for up to 2 days. A paper towel under the lid absorbs excess moisture and keeps the tops from getting sticky.
- Refrigerate: store in a sealed container for up to 5 days. The cold firms up the chocolate, which some people actually prefer.
- Freeze: wrap individually in plastic and place in a freezer bag for up to 3 months. Thaw at room temperature or microwave straight from frozen for 30 to 45 seconds.
Frequently Asked Questions
Can I use fresh pumpkin purée instead of canned?
Yes, but you’ll need to drain it first. Fresh pumpkin has more water, so press it in a cheesecloth or paper towels until it’s as thick as canned purée, or your muffins may turn out gummy.
Why didn’t my muffins rise?
The most common reason is old baking soda or powder. Check the expiry dates. Also avoid overmixing, which deflates the air you just whisked in.
Can I make these as mini muffins?
Yes, spoon the batter into a greased or lined mini muffin tin and bake at 375°F (190°C) for 10 to 12 minutes. Check early the first time because mini muffins bake fast.
How do I get the chocolate to stay soft in the middle?
The heat of the muffin keeps chocolate melty for a few minutes after baking. To reset that effect later, microwave a muffin for 10 to 15 seconds.
Can I use coconut oil instead of vegetable oil?
Yes, melt it and let it cool slightly so it’s liquid but not hot. The muffins will have a faint coconut aroma, which pairs well with the pumpkin spice.
Pumpkin Chocolate Chip Muffins Recipe
Ingredients
Method
- Preheat the oven to 375°F (190°C) and line a 12-cup muffin tin with paper liners. In a large bowl, whisk together the flour, sugar, baking soda, baking powder, salt, and pumpkin pie spice.
- In a medium bowl, whisk the pumpkin purée, oil, eggs, and vanilla until smooth.
- Pour the wet ingredients into the dry ingredients and stir with a spatula until just combined, about 10 to 12 strokes. Fold in the 1/2 cup chocolate chips.
- Divide the batter among the lined cups, filling each nearly to the top. Press a few extra chocolate chips onto the surface of each muffin. Bake for 18 to 22 minutes, until a toothpick comes out with a few moist crumbs.
- Cool in the pan for 5 minutes, then transfer to a wire rack. Serve warm or at room temperature.
Notes
