
Flaky Puff Pastry Apple Pie (No Homemade Dough)

This puff pastry apple pie is the quickest route to a flaky, golden dessert with no rolling pin anxiety. Store-bought puff pastry does all the lamination work, so you get a shatteringly crisp crust in half the time.
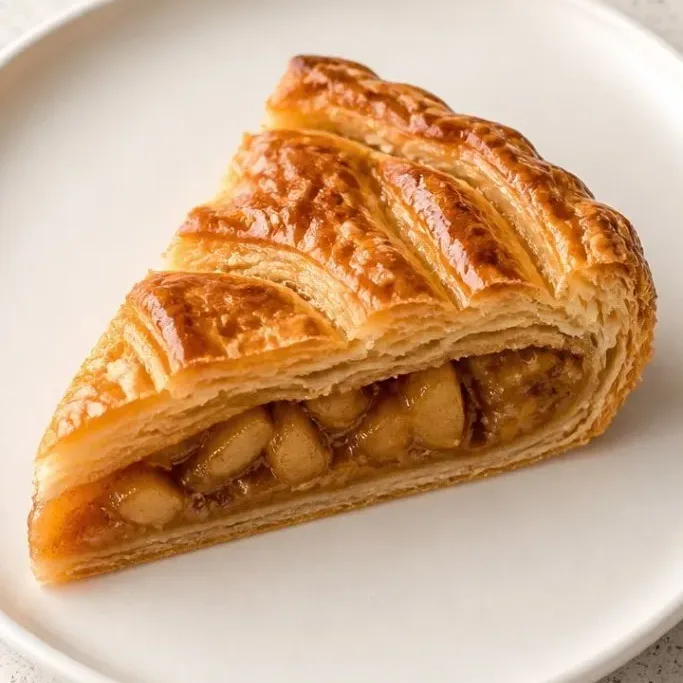
The filling is a simple toss of tart apples, cinnamon, and just enough sugar to turn the juices into a glossy, jammy syrup as it bakes. It looks like a bakery window pie with a fraction of the effort.
Why This One Stays in the Rotation
I love that the puff pastry shatters into a thousand buttery layers while the apples soften into a cinnamon-spiced, not-too-sweet center. It’s the kind of dessert that feels special but comes together with under 30 minutes of hands-on work.
Because puff pastry is already laminated, you skip the stress of cutting in cold butter and crimping a traditional crust. It’s forgiving, and the edges puff up into a dramatic golden crown every single time.
Ingredients
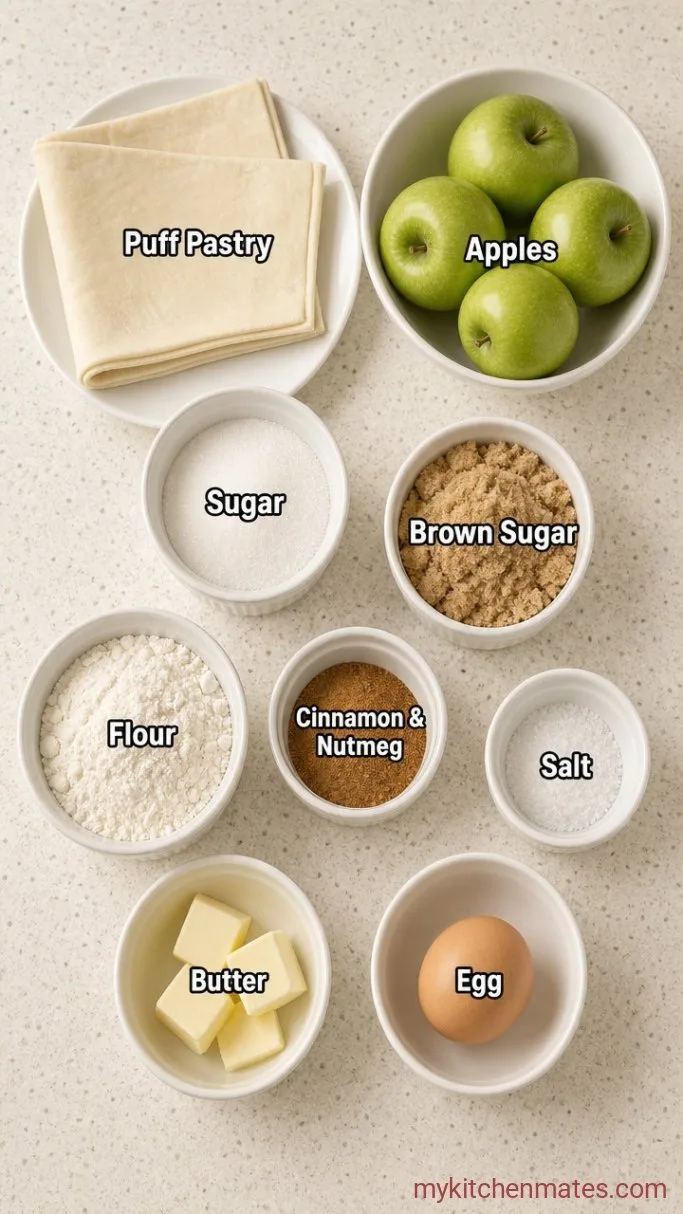
- 2 sheets frozen puff pastry, thawed (from a 17.3-ounce box): all-butter pastry tastes richest, but standard works beautifully.
- 3 pounds Granny Smith apples (about 6 medium): their tartness holds its own and the slices keep their shape.
- 1/2 cup granulated sugar
- 1/4 cup packed light brown sugar: adds a hint of molasses depth.
- 2 tablespoons all-purpose flour: this thickens the juices so the bottom crust stays crisp.
- 1 teaspoon ground cinnamon
- 1/4 teaspoon ground nutmeg
- 1/4 teaspoon salt
- 2 tablespoons unsalted butter, cut into small pieces
- 1 large egg, for egg wash
- Coarse sugar or turbinado, for sprinkling (optional)
- 1 tablespoon fresh lemon juice (optional): brightens the apple flavor.
Variations and Substitutions
- Swap the apples: Honeycrisp or Braeburn work well; they are a little sweeter, so cut the granulated sugar by 2 tablespoons.
- Play with spice: add 1/4 teaspoon cardamom or a pinch of allspice for a warmer, more aromatic filling.
- Make it dairy-free: use a plant-based puff pastry and replace the butter with a neutral oil or vegan butter, then brush with a little non-dairy milk instead of egg.
- Go the caramel route: drizzle 3 tablespoons of store-bought caramel sauce over the apples before sealing the top crust.
Air Fryer Apple Hand Pies are next on our list if this pie is your kind of dessert.
How to Make Puff Pastry Apple Pie
Step 1: Toss the Apples
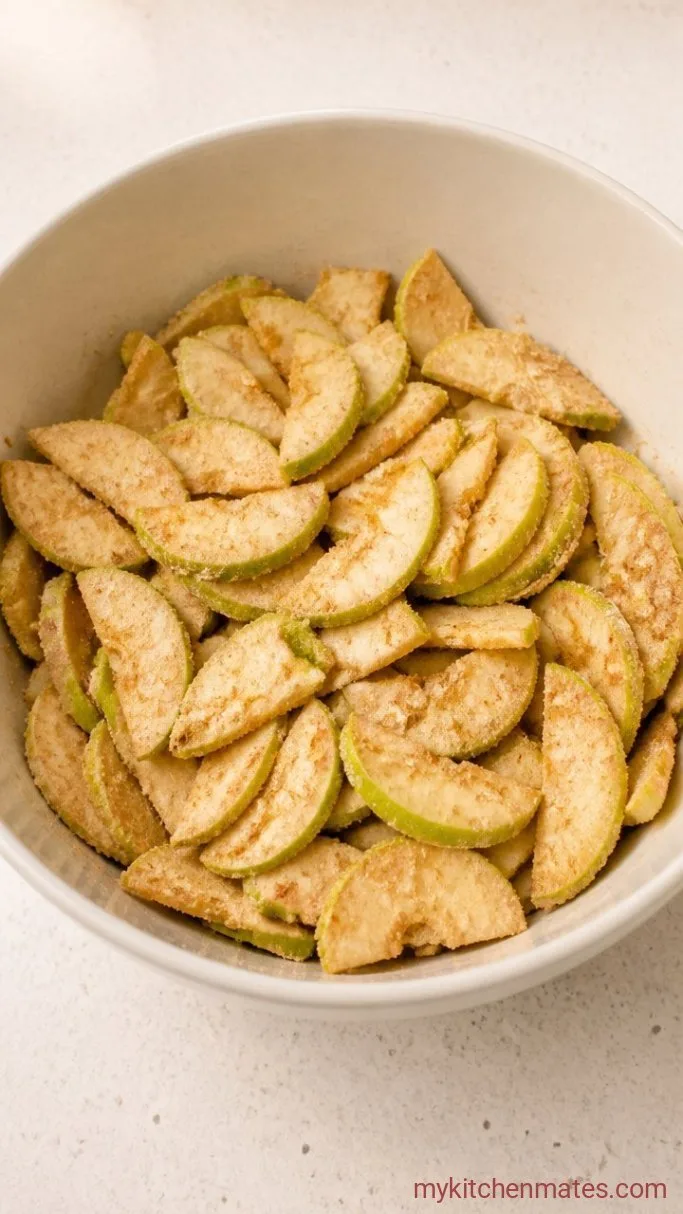
Preheat your oven to 400°F (200°C) with a rack in the lower third. Peel, core, and slice the 3 pounds of apples into 1/4-inch thick wedges. In a large bowl, toss them with the 1/2 cup granulated sugar, 1/4 cup brown sugar, 2 tablespoons flour, 1 teaspoon cinnamon, 1/4 teaspoon nutmeg, 1/4 teaspoon salt, and the optional 1 tablespoon lemon juice. Let the mixture sit while you roll out the pastry.
The apples will start to release their juice almost immediately, and the sugars will dissolve around the slices. Don’t drain that liquid; it’s what bakes into a thick, syrupy glaze later.
Step 2: Line the Pie Plate
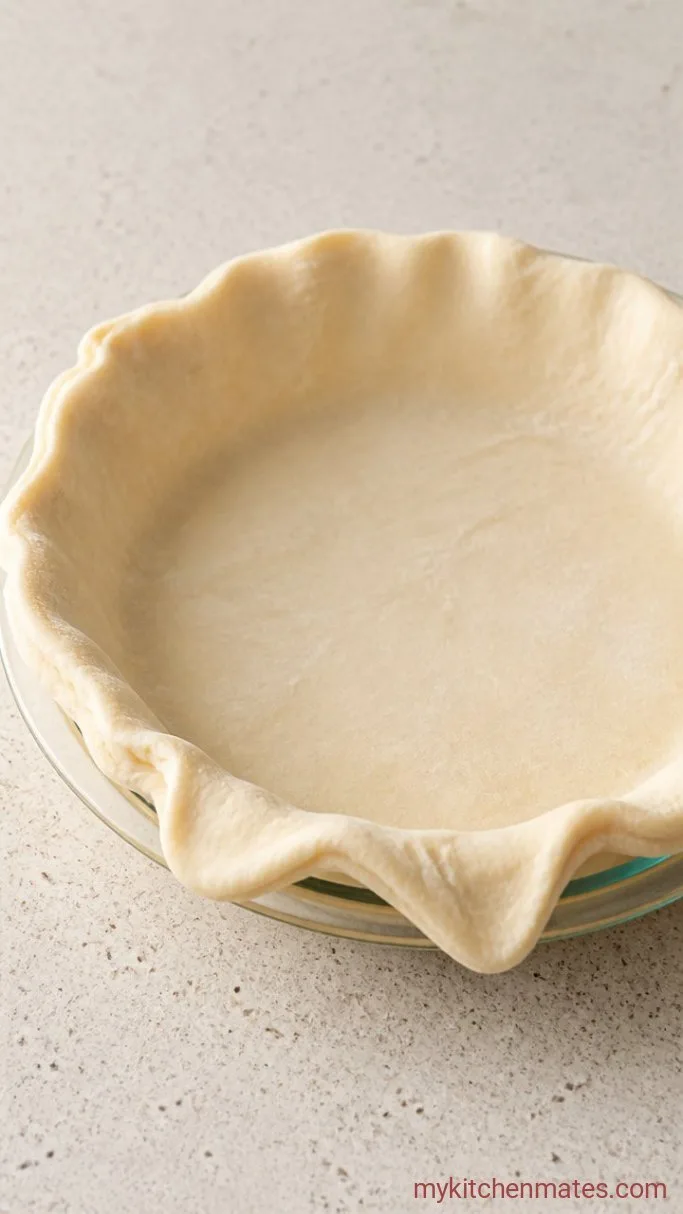
Unfold one sheet of thawed puff pastry on a lightly floured surface. Gently roll it into a 12-inch round (or square if that fits your dish) so it’s large enough to line a 9-inch pie plate with about a 1-inch overhang. Drape the pastry into the dish, easing it into the corners without stretching, then trim any excess with scissors, leaving that overhang.
The dough might feel a little soft, which is normal. If your kitchen is warm, pop the lined plate in the fridge for 10 minutes before filling; that quick chill helps the bottom stay flaky.
Step 3: Fill the Pie
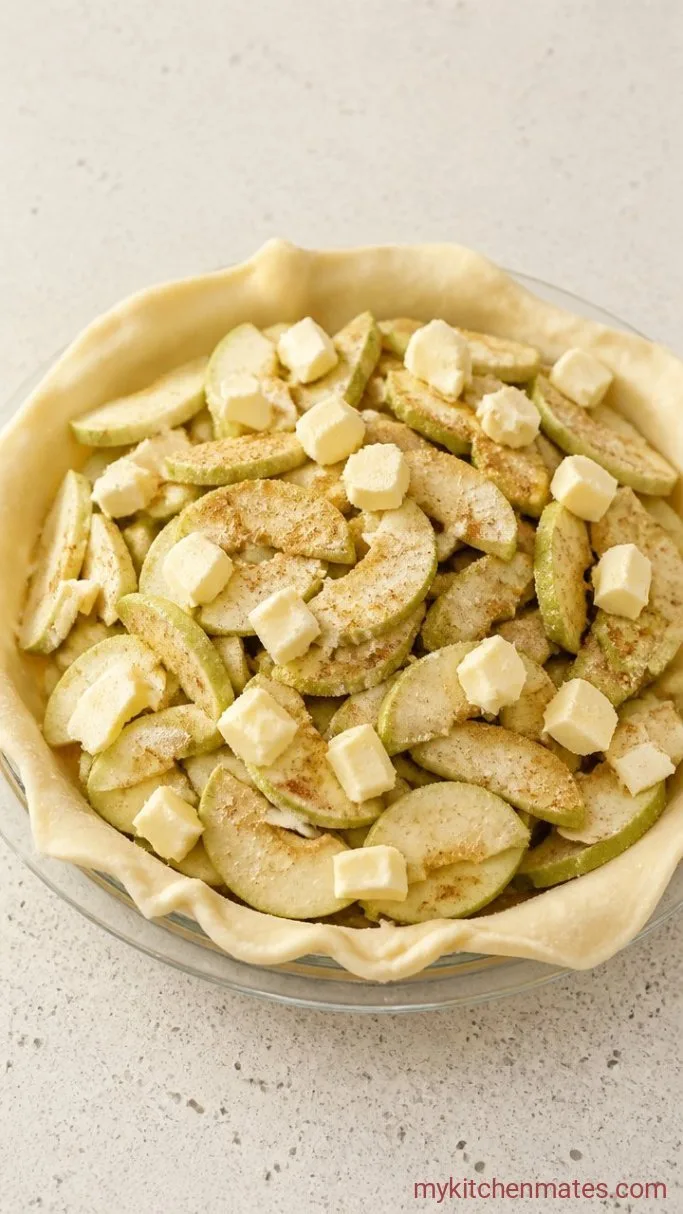
Pile the apple mixture into the pastry-lined plate, mounding it slightly in the center because it will settle as it bakes. Scatter the 2 tablespoons of butter pieces evenly over the apples.
The mound should look generous but not spilling over the edges. You want a bit of headroom for the top crust to dome and puff.
Step 4: Top and Seal
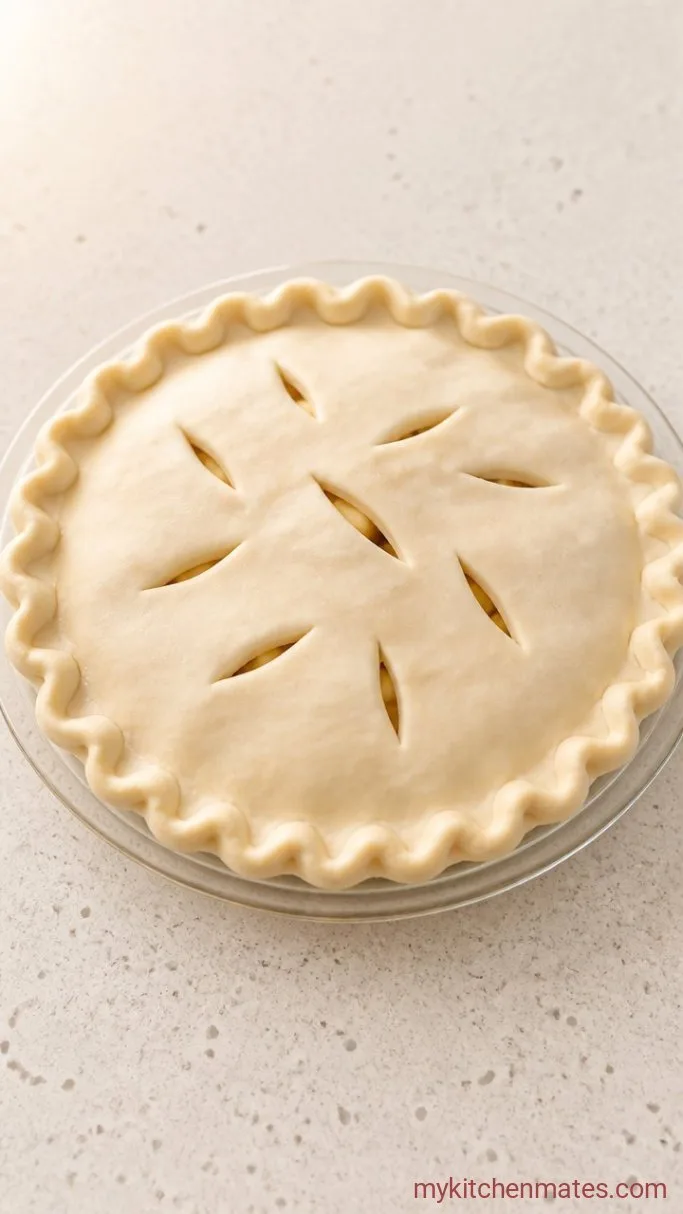
Roll out the second puff pastry sheet to a similar 12-inch round. Lay it over the apples, then fold the overhanging dough from the bottom crust up over the top edge to form a rim. Crimp the edges together firmly with your fingers or a fork to seal.
Cut several steam vents in the top crust with a sharp knife. Three long slashes or a cross pattern works. This is critical; without vents, the steam can balloon the top unevenly.
Step 5: Brush and Bake
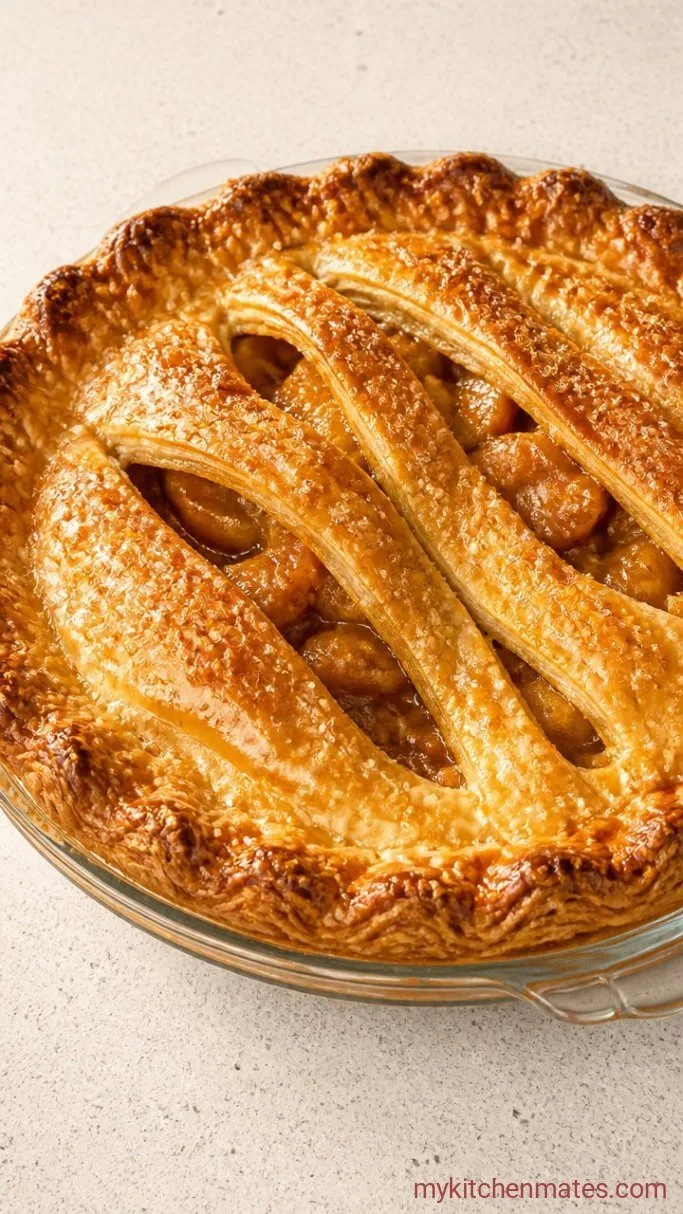
Beat the egg with a splash of water and brush the entire top crust generously with the egg wash. Sprinkle with coarse sugar if you like a crunchy, sparkly finish. Bake at 400°F (200°C) for 45 to 50 minutes, until the crust is deep golden brown and the filling is bubbling thickly through the vents.
Check around the 30-minute mark. If the edges are browning too quickly, tent them loosely with strips of foil. You’ll know it’s done when the juices look thickened and syrupy, not watery.
Step 6: Slice and Serve the Pie
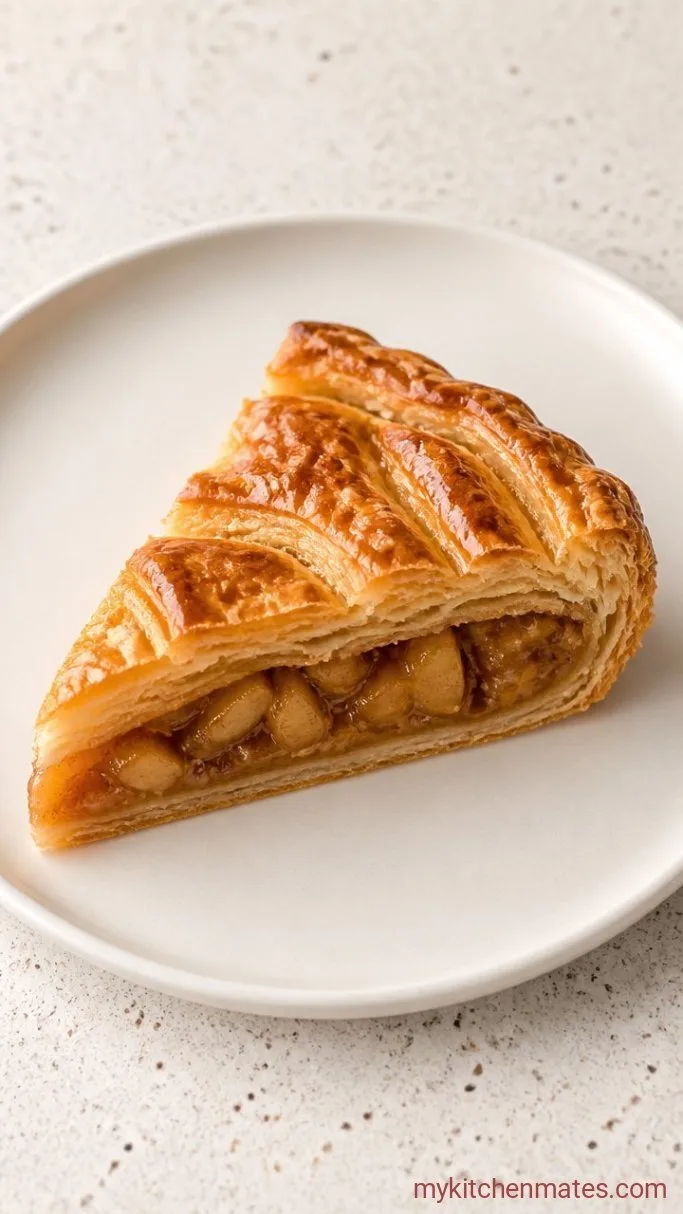
Let the pie cool on a wire rack for at least 1 hour. The filling needs that time to set, or it will run when you cut into it. Slice into wedges and serve warm or at room temperature.
The puff pastry layers will stay tall and crisp. A scoop of vanilla ice cream on the side never hurts.
Tips for the Flakiest Pie
- Pick firm, tart apples. Granny Smith gives you structure and brightness; softer apples can turn to mush.
- Thaw puff pastry in the fridge overnight, not on the counter. If it gets too warm, the butter smears and the layers don’t puff as high.
- Don’t skip the egg wash. It’s the difference between pale, matte dough and a deep, glossy, bakery-worthy top.
- If your pastry cracks when you unfold it, simply press the seam back together and roll over it gently. The layers will still puff.
- For a shinier, almost lacquered finish, use only the egg yolk mixed with a teaspoon of water instead of the whole egg.
Bake times by pie plate:
| Pie Plate Material | Bake Time at 400°F |
|---|---|
| Glass | 50 to 55 minutes |
| Metal | 45 to 50 minutes |
| Ceramic | 55 to 60 minutes |
Keeping Leftover Pie Fresh
- Refrigerate: store the pie tightly wrapped in the fridge for up to 4 days. The crust will soften a little, but it’s still delicious.
- Reheating: warm individual slices in a 350°F oven for 5 to 10 minutes to recrisp the pastry. A toaster oven works great.
- Serve cold: the filling sets up even more overnight, so cold slices straight from the fridge are a nice option, especially with coffee.
What to Serve With Puff Pastry Apple Pie
Vanilla ice cream is the classic and for good reason: the cold creaminess plays against the warm, flaky crust. A dollop of crème fraîche brings tang that cuts the sweetness, and a drizzle of salted caramel sauce pushes it into full dessert territory.
Frequently Asked Questions
Can I use homemade puff pastry?
Yes, just prepare and chill your dough as you normally would, then follow the same assembly steps. The baking time stays similar; look for deep browning and bubbly filling.
Can I freeze the pie before baking?
You can. Assemble it completely, but skip the egg wash. Wrap tightly and freeze for up to 3 months. Bake straight from frozen, adding 10 to 15 minutes to the baking time. Brush with egg wash right before it goes in the oven.
How do I keep the bottom crust from getting soggy?
Bake on a rack in the lower third of the oven so the bottom gets direct heat. Tossing the apples with flour and not draining the juices also makes a difference, because the flour thickens the liquid into a glaze instead of a pool.
What other fruits work?
Firm pears, especially Bosc or Anjou, are a great swap. Just slice them the same thickness and keep the same amount of sugar. You can also do a mix of apples and pears.
Puff Pastry Apple Pie Recipe
Ingredients
Method
- Toss sliced apples with both sugars, flour, cinnamon, nutmeg, salt, and lemon juice. Let sit while you prepare the pastry.
- Roll one puff pastry sheet into a 12-inch round, line a 9-inch pie plate, and trim, leaving a 1-inch overhang.
- Pile the apple mixture into the crust, mounding it slightly, and dot with butter.
- Roll out the second pastry sheet, lay it over the apples, fold the overhang up, and crimp edges to seal. Cut steam vents.
- Brush top with egg wash, sprinkle with coarse sugar. Bake at 400°F on the lower rack for 45 to 50 minutes, tenting edges with foil if they brown too fast.
- Cool on a wire rack at least 1 hour, then slice and serve.
Notes
