
Princess Birthday Cake with Vanilla Buttercream

A princess birthday cake that looks straight out of a storybook, with fluffy vanilla layers, creamy pink buttercream, and just the right amount of sparkle. It bakes up in one bowl, holds its shape beautifully, and is sturdy enough to sit out at room temperature through the whole party.
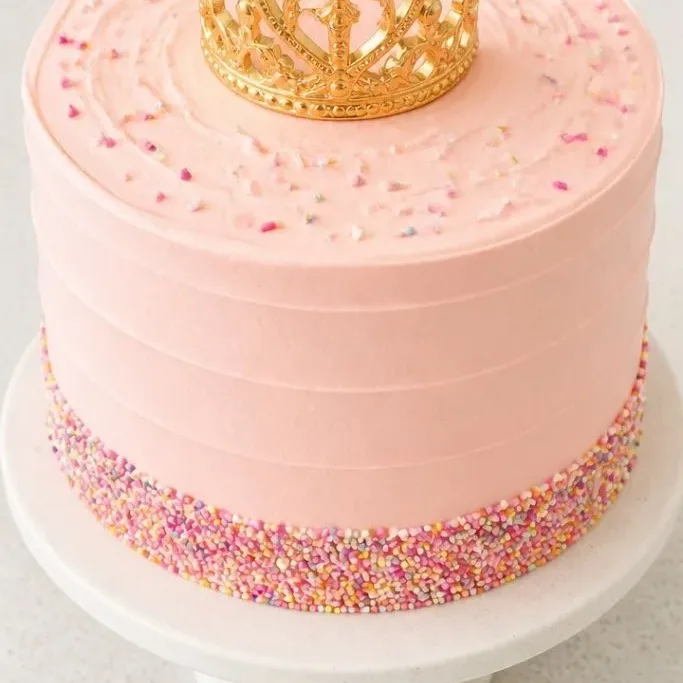
The frosting is forgiving, the crumb is tender and even, and that first slice always gets a little gasp when the pink layers peek through.
What Makes This Cake So Magical
The vanilla cake stays moist and light without being too sweet, with a tight crumb that cuts cleanly and never turns into a pile of crumbs on the plate. The buttercream is whipped until it’s airy and silky, then tinted a soft pink that little eyes lock onto the second the cake lands on the table.
It’s the one I always reach for when the birthday invitation says “princess.” The recipe has enough structure to hold a crown topper and enough tenderness to feel special, even after a long afternoon of presents and play.
Ingredients
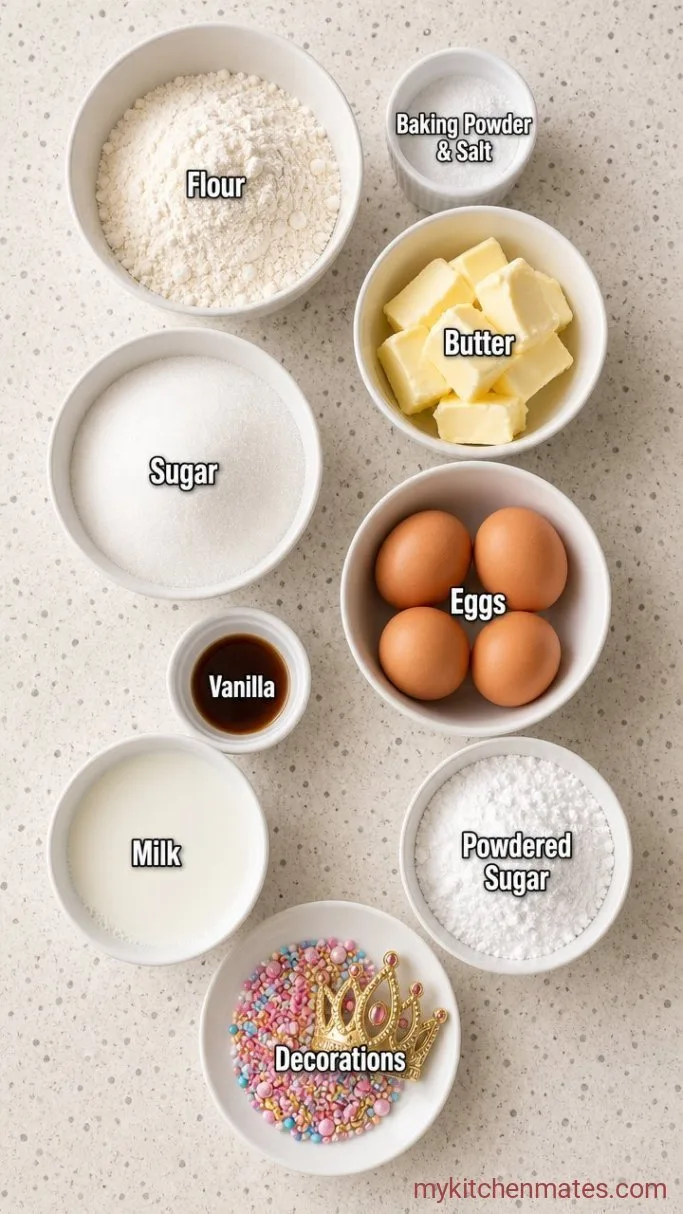
- 2 ¾ cups all-purpose flour: spoon and level, never scoop straight from the bag
- 1 tbsp baking powder: helps the layers rise tall and even
- ½ tsp salt: fine sea salt works best
- 1 cup unsalted butter, softened: let it sit at room temperature for about an hour
- 2 cups granulated sugar: plain white sugar gives a clean, classic sweetness
- 4 large eggs: room temperature so the batter stays smooth
- 1 tbsp vanilla extract: use the real stuff for a rounder flavor
- 1 cup whole milk: room temperature, a splash more if the batter feels thick
- 2 cups unsalted butter, softened: for the frosting, also at room temperature
- 4 cups powdered sugar: sift if it looks lumpy
- 2 tsp vanilla extract: for the buttercream
- 2-4 tbsp heavy cream: or whole milk, just enough to loosen the frosting
- Pink gel food coloring: gel gives a vivid shade without watering down the frosting
- Sprinkles and a cake crown topper: pick ones that match the party colors
Variations / Substitutions
- Dairy-free: swap the butter for a good dairy-free stick alternative, use oat or almond milk, and skip the cream in the frosting.
- Gluten-free: a 1-to-1 gluten-free flour blend gives a tender crumb; avoid blends that contain bean flour.
- Chocolate layer: stir ½ cup melted dark chocolate into one third of the batter for a surprise chocolate ribbon in the middle.
- Lighter color: use a single drop of pink gel at a time and stir well before adding more; it darkens as it sits.
- Cream cheese frosting: replace half the butter with cream cheese, cut the powdered sugar back by ½ cup, and add a pinch of salt.
Vanilla Cake Pops are another dessert you’d probably love if you enjoy this cake.
How to Make Princess Birthday Cake
Step 1: Mix the Cake Batter
Preheat the oven to 350°F (180°C). Grease three 8-inch round cake pans, line the bottoms with parchment, then grease the parchment and dust lightly with flour.
Whisk the 2 ¾ cups flour, 1 tbsp baking powder, and ½ tsp salt together in a medium bowl. In a large mixing bowl, beat the 1 cup softened butter and 2 cups sugar with an electric mixer on medium speed for about 3 minutes, until the mixture looks pale and fluffy. Scrape down the sides, then add the 4 eggs one at a time, beating well after each. Mix in the 1 tbsp vanilla.
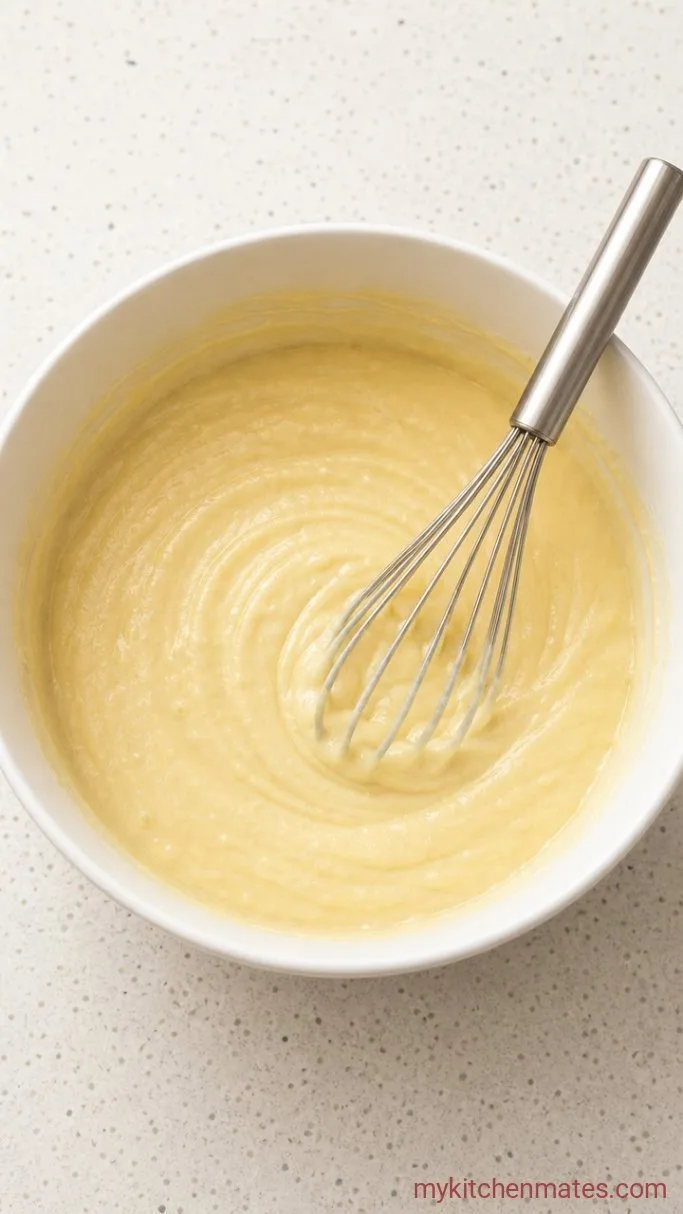
On low speed, add the dry mixture in three parts, alternating with the 1 cup milk, starting and ending with the flour. Stop as soon as no streaks of flour remain. The batter should be thick, smooth, and pale yellow.
Room temperature ingredients really matter here. Cold eggs or milk can make the batter curdle, leaving little lumps that bake into dense pockets instead of airy cake.
Step 2: Bake the Layers
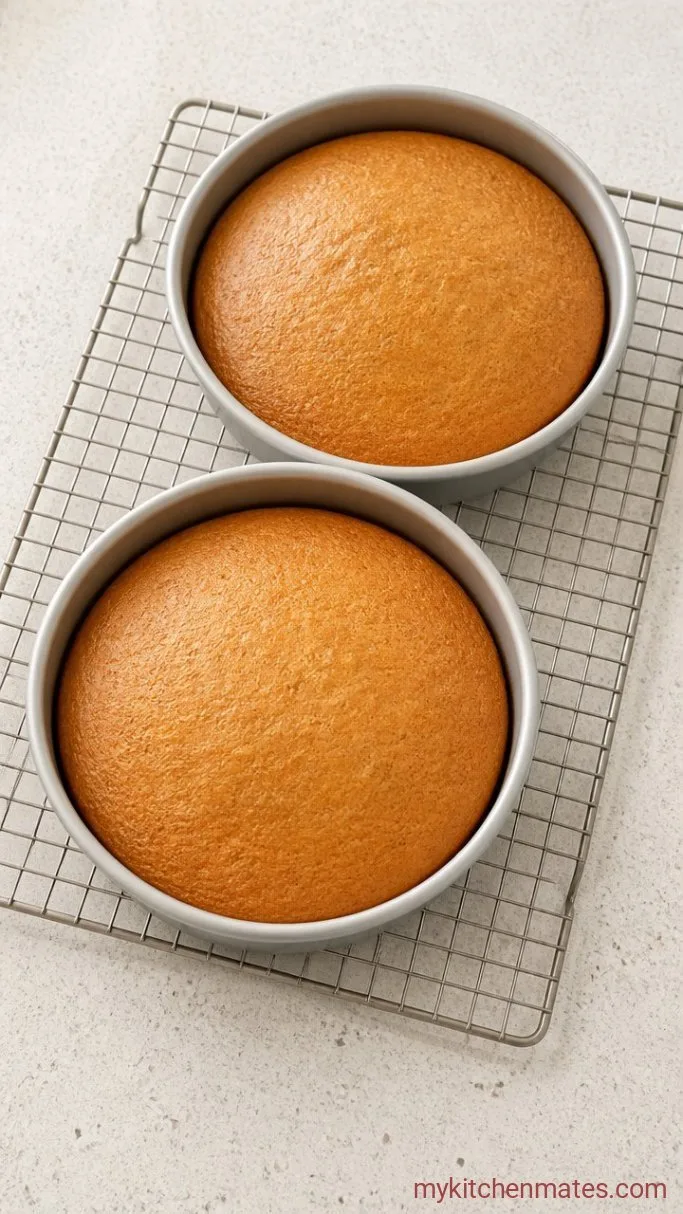
Divide the batter evenly among the three prepared pans. Tap each pan gently on the counter to release any large air bubbles, then smooth the tops with a spatula.
Bake on the middle rack for 22 to 25 minutes. The tops will look golden and spring back when pressed lightly, and a toothpick inserted in the center should come out clean. Right out of the oven, the kitchen will smell like warm vanilla sugar.
Let the layers cool in the pans for 10 minutes, then turn them out onto a wire rack. Peel off the parchment and let them cool completely before you frost. Warm layers will melt the buttercream on contact.
Step 3: Whip the Buttercream
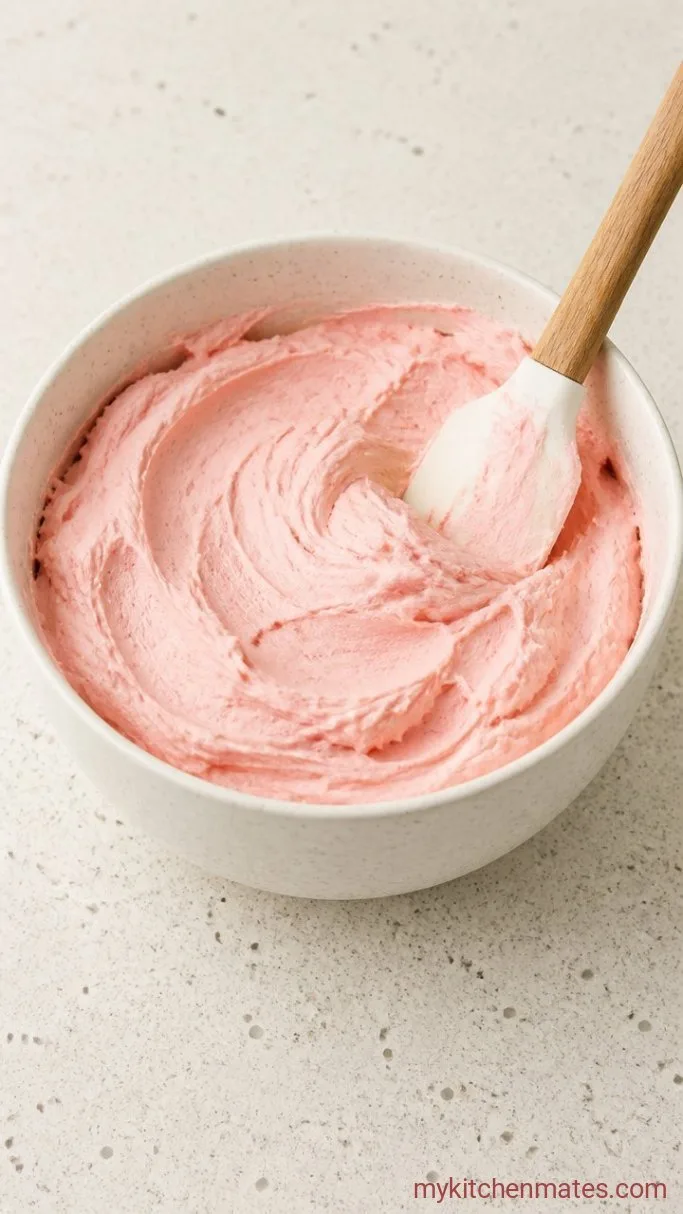
While the cake cools, place the 2 cups softened butter in a clean mixing bowl. Beat on medium speed for 2 to 3 minutes until it turns pale and almost white. With the mixer on low, gradually add the 4 cups powdered sugar, a cup at a time, until it’s fully incorporated.
Add the 2 tsp vanilla and 2 tbsp of heavy cream, then turn the speed up to medium-high and beat for 4 full minutes. The frosting should be light, spreadable, and hold a soft peak. Add a little more cream, a teaspoon at a time, if it feels too stiff.
Add the pink gel food coloring a tiny dab at a time, mixing after each, until you reach the shade you want. The buttercream will taste buttery and sweet, with a texture that glides like silk.
Step 4: Fill and Stack the Layers
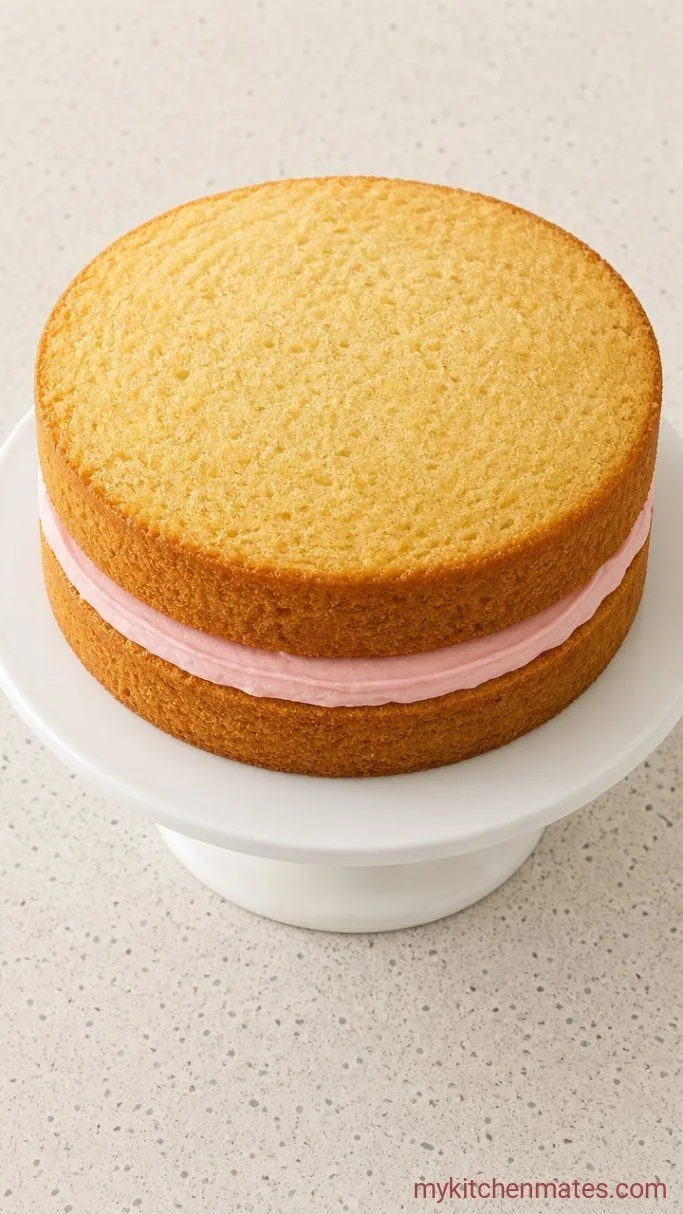
Place one completely cooled cake layer on a serving plate or cake board, flat side up. Scoop about ¾ cup of buttercream onto the center and spread it evenly to the edges with an offset spatula. The filling layer should be thick enough that you see a small frosting border when the next layer goes on.
Set the second layer on top, flat side down, and press gently to settle it. Repeat with another ¾ cup of frosting. Place the final layer flat side up for a smooth top surface.
Tuck small strips of parchment under the bottom edge of the cake to keep the plate clean while you frost.
Step 5: Frost the Cake Smooth
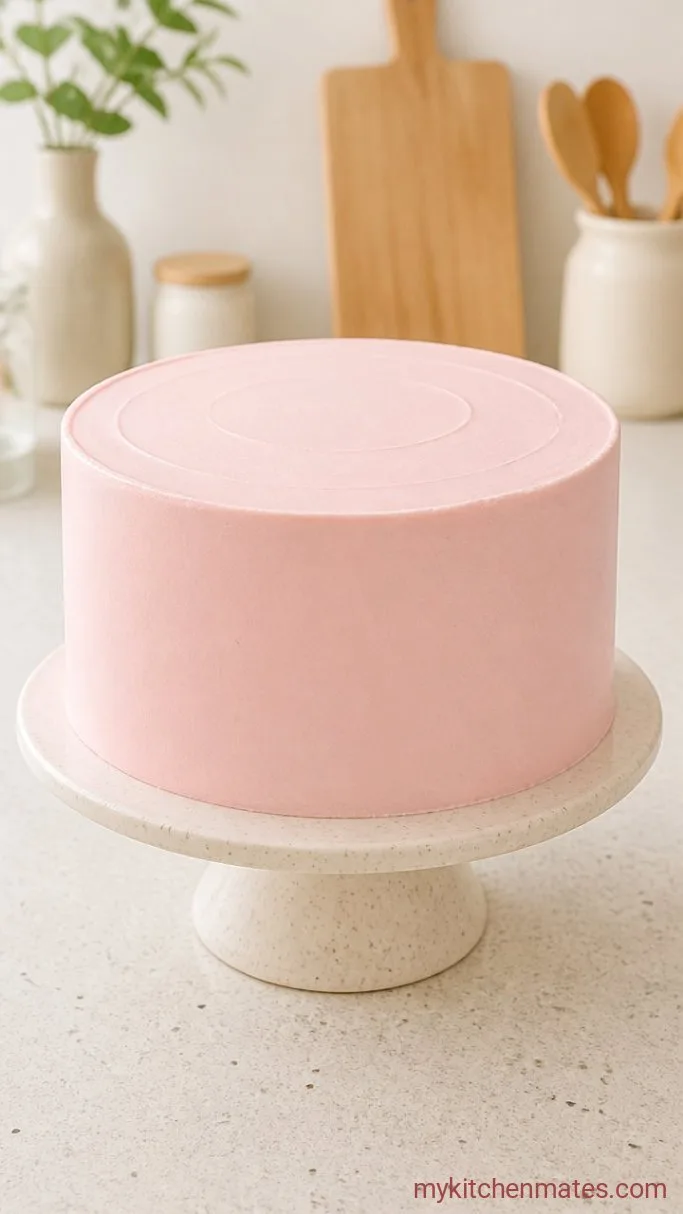
Spread a thin layer of buttercream all over the top and sides of the stacked cake, scraping away any excess. This is the crumb coat that traps loose crumbs. Chill the cake for 20 minutes so that layer firms up.
Once the crumb coat feels set, pile the remaining frosting onto the top of the cake and start spreading it down the sides. Work the spatula in long, steady strokes, turning the plate as you go. Aim for a mostly smooth finish, but a few swirls and ripples look charming too.
At this stage the cake already looks like a party centerpiece, all pale pink and pillowy soft.
Step 6: Decorate with Sprinkles and a Crown
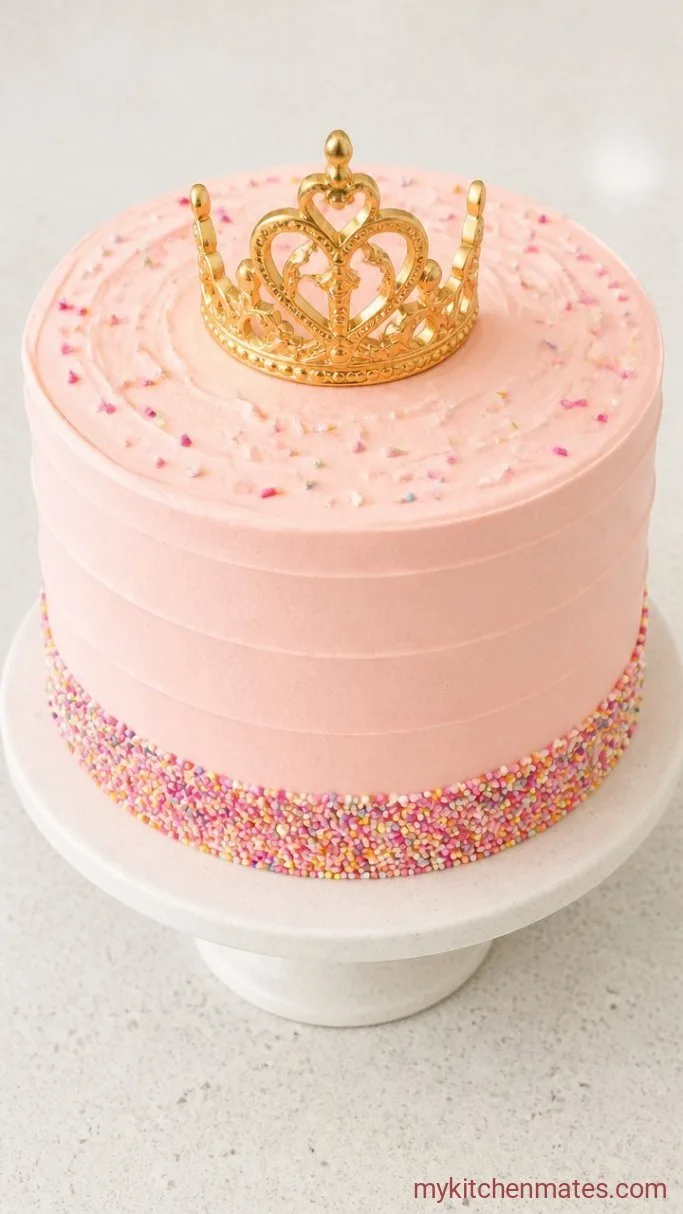
Press handfuls of sprinkles gently into the bottom third of the cake, rotating as you go so they stick evenly. Add a few on top if you like. Top the cake with the crown topper right in the center, pressing it down just enough that it stays put.
Step back and check the angles. The pink buttercream, the sprinkle rim, and the crown sitting tall make the whole thing look like it was delivered by fairy godmothers.
A Few Notes Before You Start
- Even layers: Weigh the batter between pans or use a large cookie scoop to portion it evenly. That keeps the layers the same height and bake time.
- Crumb coat chill: Don’t skip the 20-minute chill, or the final coat will pick up crumbs and turn muddy pink.
- Gel food coloring only: Liquid food coloring will thin the buttercream and never get past a pastel blush. A tiny dab of gel goes a long way.
- Frosting ahead: The buttercream can be made a day early and kept in the fridge. Bring it to room temperature and rewhip for 2 minutes before using.
- Bake flat tops: If your layers dome, press them gently with a clean kitchen towel while they’re still warm to level them out.
Bake times by pan:
| Pan Size | Bake Time | Notes |
|---|---|---|
| Three 8-inch rounds | 22-25 mins | Start checking at 22 minutes |
| Three 9-inch rounds | 20-23 mins | Layers will be a little thinner |
| 24 standard cupcakes | 18-20 mins | Fill liners two-thirds full |
Keeping the Cake Fresh
Refrigerate: Store the fully frosted cake loosely covered at room temperature for up to 3 days. If your kitchen is warm, pop it in the fridge after the first day. Refrigerate covered for up to 5 days, and let it sit at room temperature for an hour before serving so the buttercream softens. Unfrosted layers can be wrapped tightly and frozen for up to a month.
Frequently Asked Questions
Can I make this cake a day ahead?
Yes. Bake the layers, cool them completely, wrap tightly in plastic, and leave them at room temperature. Make the buttercream and store it in the fridge. The next day, bring the frosting to room temperature, rewhip it, and assemble.
Can I use a boxed cake mix instead?
You can, but the flavor will be noticeably sweeter and the texture a little more spongy. Reduce the vanilla in the buttercream to 1 tsp to balance it out.
How do I make a two-layer cake instead?
Halve the recipe for the batter and use two 8-inch pans. Bake for 18 to 20 minutes. Make the full batch of buttercream if you want generous frosting, or scale it down by a third.
Can I swap the buttercream for cream cheese frosting?
Sure. Use a recipe that calls for equal parts cream cheese and butter, reduce the sugar by about half a cup, and add a pinch of salt. The frosting will be softer, so chill the cake after stacking.
Princess Birthday Cake Recipe
Ingredients
Method
- Preheat oven to 350°F (180°C). Grease three 8-inch round pans and line bottoms with parchment.
- Whisk flour, baking powder, and salt. Beat 1 cup butter and sugar until fluffy, then add eggs one at a time and vanilla.
- Alternate adding dry ingredients and milk to the butter mixture, mixing just until smooth. Divide batter among pans.
- Bake 22-25 minutes until golden and a toothpick comes out clean. Cool in pans 10 minutes, then turn out onto racks.
- For the buttercream, beat 2 cups butter until pale, then slowly add powdered sugar. Mix in 2 tsp vanilla and enough cream for a spreadable consistency. Tint with pink gel coloring.
- Level one cake layer, spread with ¾ cup frosting, top with second layer and repeat. Place final layer flat side up. Apply a thin crumb coat, chill 20 minutes.
- Finish frosting the cake with the remaining buttercream, press sprinkles around the bottom edge, and top with the crown.
Notes
