
No-Bake Peanut Butter Rice Krispie Treats

These peanut butter Rice Krispie treats are the no-bake bar you make when you need something sweet in a hurry and do not want to turn on the oven. They are chewy, just salty enough, and ready in about 15 minutes with nothing more than a pot and a spatula.

Peanut butter gives the classic cereal bar a nutty backbone that makes it taste like more than just marshmallow and crisp. A splash of vanilla rounds everything out without turning it into a peanut butter cup, so they still feel like a treat from your childhood but with a little extra warmth.
What Makes These So Reliable
The ratio I keep coming back to uses a full half cup of creamy peanut butter, enough to taste it in every bite but not so much that the bars get greasy or dense. The marshmallow base stays pliable instead of setting up like cement, so the treats stay soft even the next day.
You get that salty-sweet thing in every square. The cereal keeps its crackle and the whole pan sets up in under an hour on the counter. It is the kind of recipe you can make while dinner is on the stove and have dessert ready before anyone finishes their plate.
Ingredients

- 3 tbsp unsalted butter: salted butter works too, just skip any extra pinch of salt
- 1 (10 oz) bag mini marshmallows: the minis melt faster and more evenly than full-size ones
- ½ cup creamy peanut butter: I use a shelf-stable kind like Skippy or Jif for the smoothest texture
- 1 tsp vanilla extract: optional, but it warms up the peanut butter flavor
- 6 cups Rice Krispies cereal: the classic crisp rice cereal, any brand works
Variations / Substitutions
- Almond or sunflower seed butter: either swaps in one-for-one; sunflower seed butter can tint the bars slightly green but the flavor still works
- Add a chocolate drizzle: melt ¼ cup chocolate chips with a dab of coconut oil and zigzag it over the top after the bars cool
- Use brown butter: cook the butter until it smells nutty and the milk solids turn amber before adding marshmallows; it adds a toasty note
Frozen Burrito Enchilada Bake makes an easy main to round out the meal with this recipe.
How To Make Peanut Butter Rice Krispie Treats
Step 1: Melt the Butter and Marshmallows
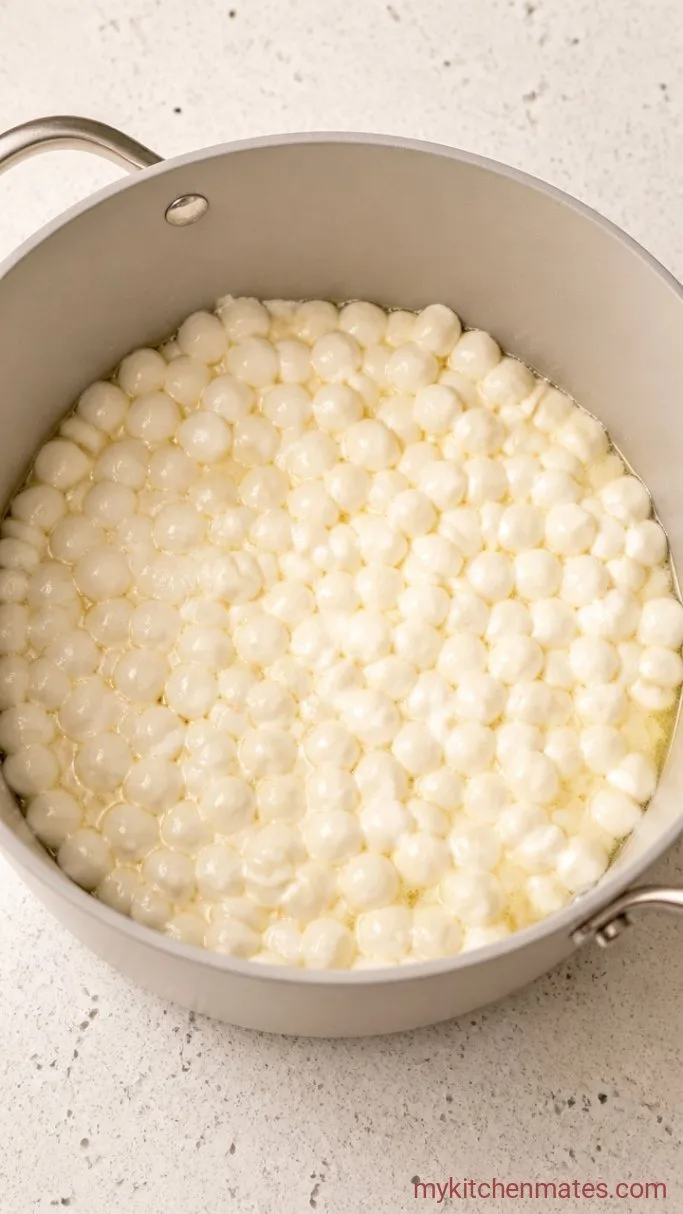
Put the 3 tbsp butter into a large pot and set it over medium-low heat. Once the butter is fully melted, add the entire bag of mini marshmallows and stir constantly with a silicone spatula until they are smooth and fully dissolved, about 3 to 4 minutes.
You will see the mixture turn glossy and pull away from the sides of the pot as one mass. Keep the heat low enough that it never sizzles aggressively, because too much heat makes the sugar stiffen later.
Step 2: Stir in the Peanut Butter and Vanilla

Take the pot off the heat and add the ½ cup peanut butter and the 1 tsp vanilla if you are using it. Stir quickly until you cannot see any streaks of peanut butter and the whole base is one uniform color, about 30 seconds.
Right now the mixture will smell deeply nutty and look like a smooth, warm caramel. Working off the heat keeps the peanut butter from separating, so you get a creamy bar instead of a greasy one.
Step 3: Fold in the Cereal
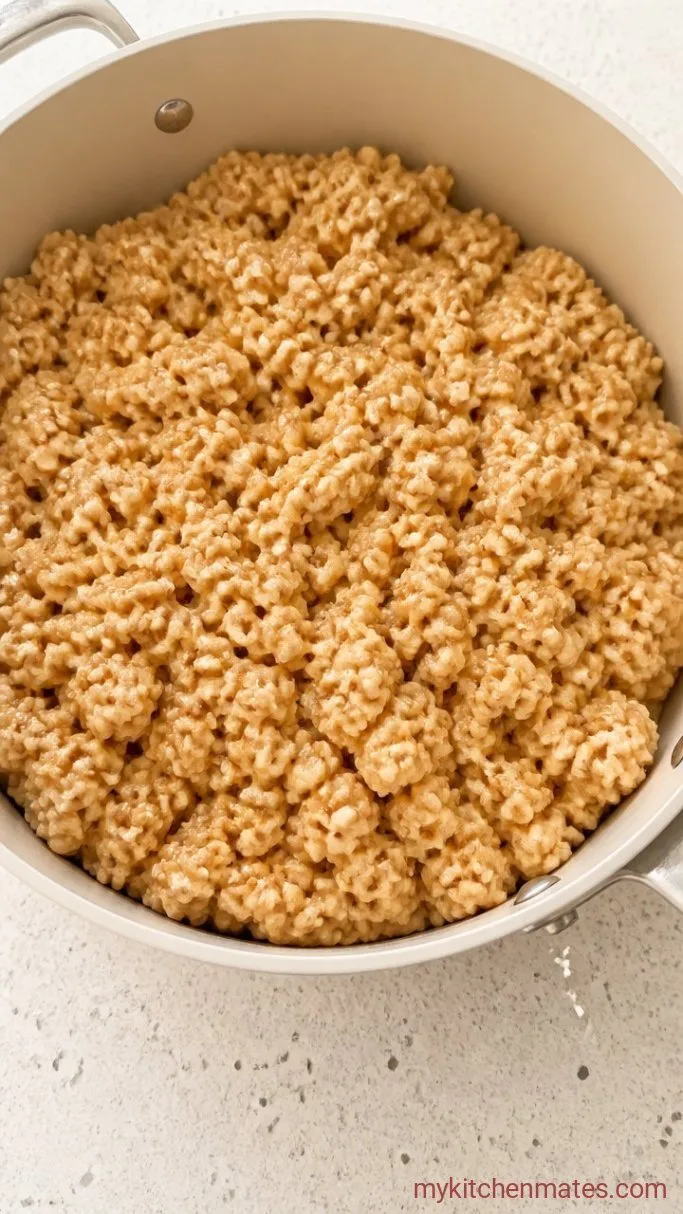
Pour the 6 cups of Rice Krispies into the pot and fold them in with a spatula, scraping the bottom and sides until every piece is coated. This part takes about 1 minute and the cereal should look glossy and evenly distributed.
The sound changes from a dry rustle to a soft, sticky shuffle when everything is combined. Move fast here so the marshmallow mixture does not cool and stiffen before you get it into the pan.
Step 4: Press into the Pan and Cool
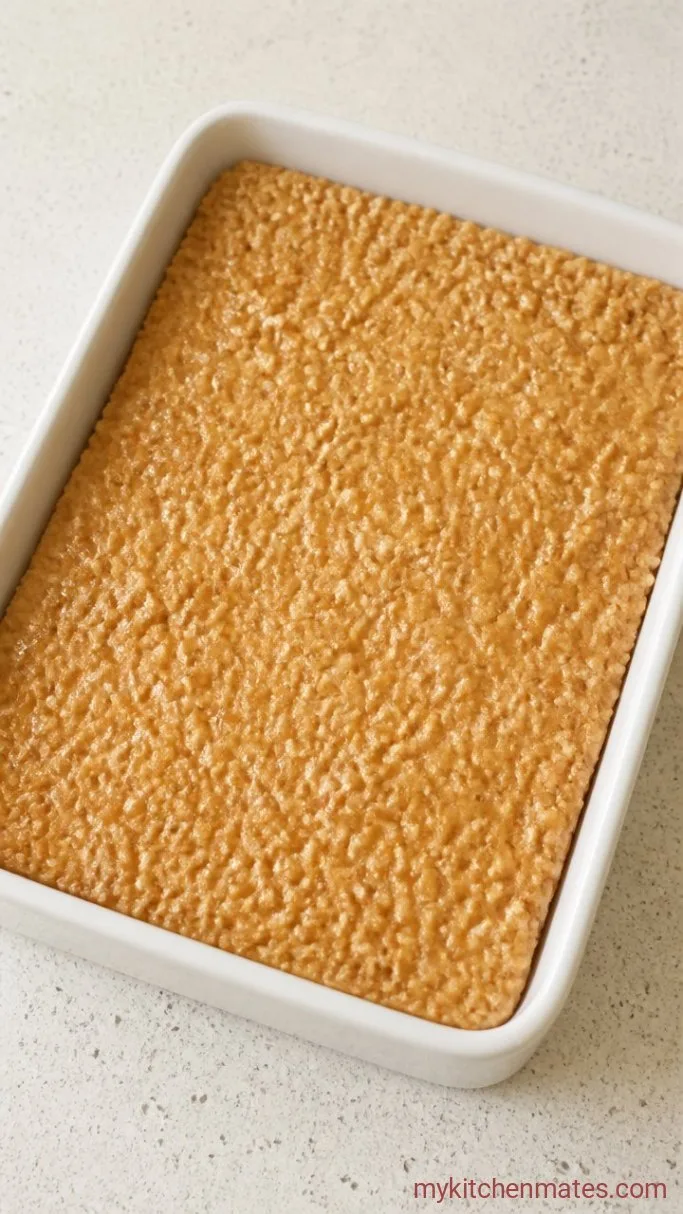
Scrape the mixture into a greased 9-inch square baking pan (or an 8-inch for thicker bars). Use a buttered spatula or slightly damp hands to press it down into an even layer. Work gently so you compact it without crushing the cereal, then let the pan sit at room temperature for about 45 minutes until the block is firm.
You can see the surface go from glossy to matte as it sets. Do not rush the cooling by putting it in the fridge, because the cold can make the bars hard. A countertop set keeps them chewy.
Step 5: Slice and Serve
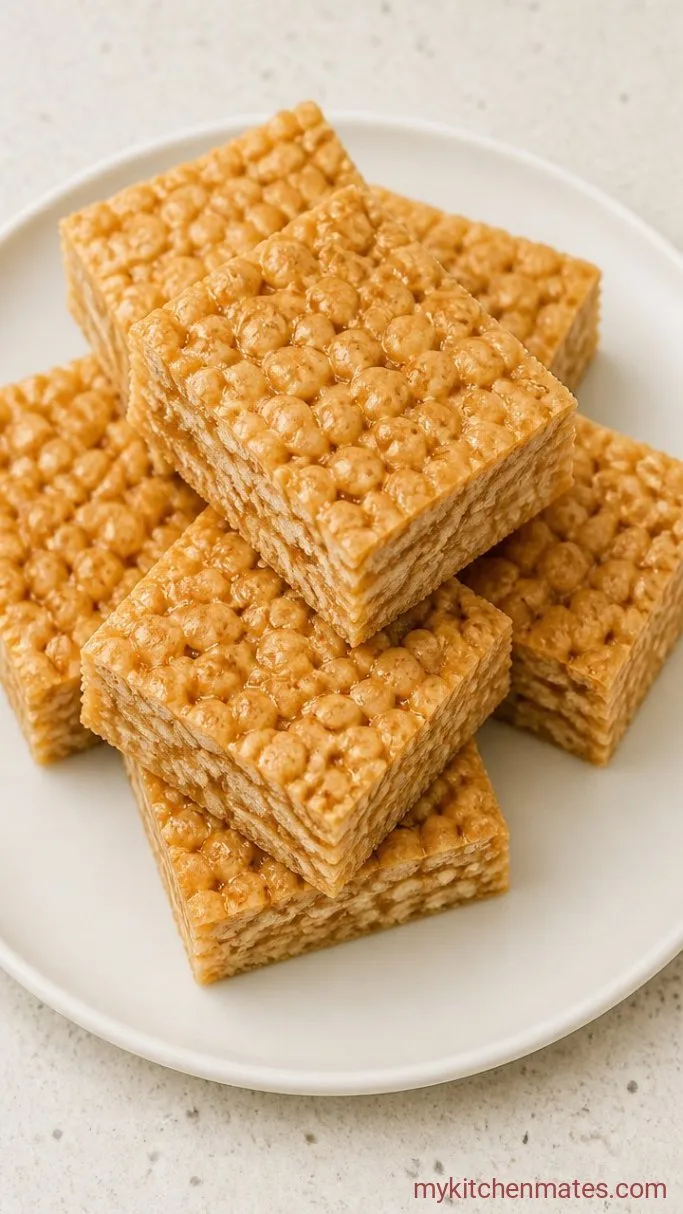
Run a butter knife around the edge of the pan and turn the whole block out onto a cutting board. Slice it into squares with a sharp chef’s knife in one clean downward motion, then serve right away while the center is still tender and the edges have just a little snap.
The squares will be soft enough to pull apart but hold their shape, and the peanut butter flavor comes through right behind the sweet marshmallow.
A Few Notes Before You Start
- Use fresh marshmallows: a bag that has been open for a while will have lost moisture and the bars can turn out dry and crumbly. If the marshmallows feel firm or clumped, grab a new bag.
- Press lightly: packing the mixture hard makes dense, tough bars. Aim for a gentle but even pressure so the squares stay airy.
- Grease your tools: butter the spatula, your hands, and even the back of a measuring cup if you use that to press. This stops the sticky mixture from grabbing and pulling the bars apart before they set.
Storing Leftovers
Keep the squares in an airtight container at room temperature and they stay soft for up to 4 days. If your kitchen runs warm, you can refrigerate them instead and they will keep up to a week. Let refrigerated bars sit out for 10 minutes before eating so they soften back up.
Frequently Asked Questions
Can I make these in the microwave?
Yes. Microwave the butter and marshmallows together in a large microwave-safe bowl in 30-second bursts, stirring between each, until fully melted. Then proceed with the peanut butter, vanilla, and cereal the same way.
Why did my treats turn out hard?
The most common culprit is overheating the marshmallows or overpacking the pan. Keep the heat at medium-low and press the mixture down just enough to even it out without smashing the cereal.
Can I freeze these bars?
You can. Wrap the cooled block or individual squares tightly in plastic wrap and freeze for up to 2 months. Thaw them on the counter still wrapped so condensation forms on the plastic, not on the bars.
What if I only have crunchy peanut butter?
Use it. Crunchy peanut butter adds a little texture that works fine here. No need to change anything else in the recipe.
Peanut Butter Rice Krispie Treats Recipe
Ingredients
Method
- Melt the butter in a large pot over medium-low heat. Add the marshmallows and stir constantly until smooth, about 3 to 4 minutes.
- Remove the pot from the heat and stir in the peanut butter and vanilla until completely combined.
- Fold in the cereal until every piece is evenly coated.
- Press the mixture into a greased 9-inch square baking pan using buttered hands or a spatula. Let the pan sit at room temperature for about 45 minutes until firm.
- Turn the block out onto a board, slice into squares, and serve.
Notes
