
Painted Sugar Cookies (No Icing, All Fun)

Painted sugar cookies have all the charm of a decorated cut-out but none of the royal icing stress. The design goes straight onto the raw dough with a homemade egg yolk paint, then bakes into a glossy, colorful finish that looks far more complicated than it is.
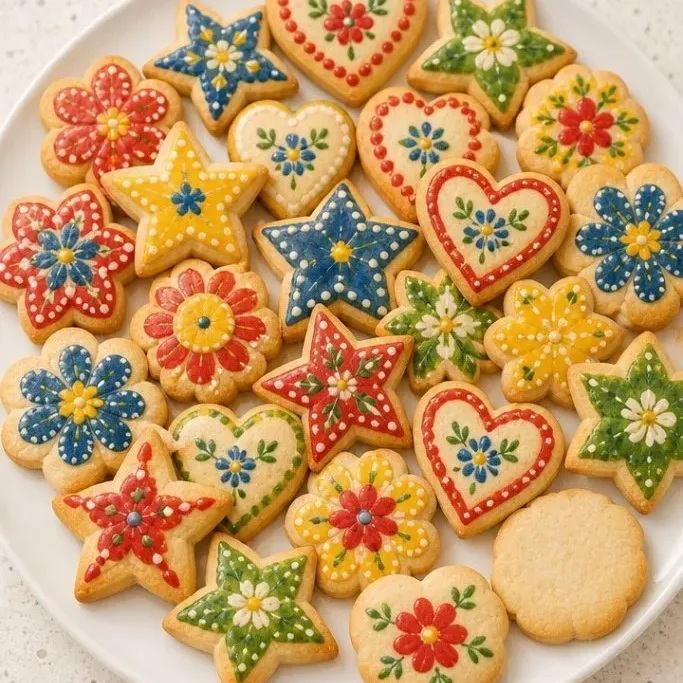
The dough is a simple, buttery sugar cookie that holds its shape. The paint is just a few drops of food coloring whisked into egg yolk, and you brush it on like watercolor. It sets in the oven and leaves you with a cookie that gets smiles before the first bite.
Why These Painted Cookies Work Every Time
The cookie itself is tender inside with crisp edges, and the flavor stays buttery and clean, not too sweet. It does not puff or distort much in the oven, so the painted design stays crisp.
The egg yolk paint bumps the color saturation past what you get from icing, and it dries to a gentle sheen. It is also forgiving if a little finger smudges the dough before baking, it mostly blends in as the cookie rises.
Cleanup is a breeze because there is no piping bag, no meringue powder, and no sitting around waiting for icing to dry. A few bowls of paint, a brush, and you are done.
Ingredients

- 2 1/2 cups all-purpose flour: spooned and leveled for accuracy
- 1/2 tsp baking powder
- 1/4 tsp fine sea salt
- 1 cup unsalted butter, softened: let it sit out until it gives easily when pressed
- 1 cup granulated sugar
- 1 large egg: cold or room temperature both work here
- 2 tsp vanilla extract
- For the paint: 2 large egg yolks, 1 tsp water, gel food coloring in the shades you like
Variations and Substitutions
- Swap the extract: almond extract, lemon zest, or a mix of vanilla and fiori di sicilia all work well. Start with half the amount and taste.
- Make it gluten-free: use a 1:1 gluten-free flour blend that contains xanthan gum. The dough will feel a bit more fragile, so handle it with care.
- Go dairy-free: use a solid vegan butter stick. Results stay tender, though the dough may spread a touch more.
- Play with natural color: beet powder, turmeric paste, or spirulina can tint the paint, but the baked colors will be softer. Gel food coloring gives the brightest finish.
- Add a little spice: a half teaspoon of ground cardamom or cinnamon folded into the flour gives the cookies a warm note that plays well with vanilla.
Soft Princess Sugar Cookies are next on our list if these cookies are your kind of dessert.
How to Make Painted Sugar Cookies
Step 1: Cream the Dough
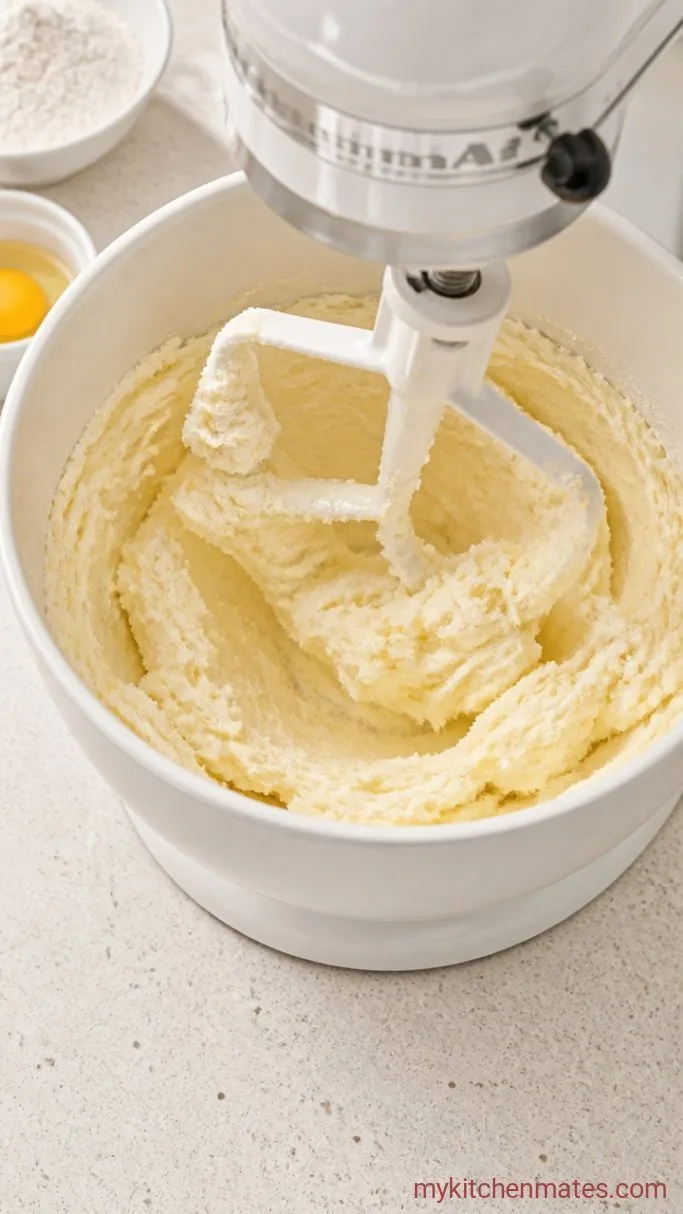
Beat the 1 cup softened butter and 1 cup sugar together on medium speed until the mixture looks light and fluffy, about 2 minutes. Add the egg and 2 teaspoons vanilla, then beat until combined. In a separate bowl, whisk the 2 1/2 cups flour, 1/2 teaspoon baking powder, and 1/4 teaspoon salt. Add the dry ingredients to the butter mixture in two additions, mixing just until no streaks of flour remain.
The dough will be soft and a bit sticky at this point. Divide it in half, shape each half into a flat disk, and wrap tightly. Chill the disks for at least 1 hour, and up to overnight. Cold dough is much easier to roll and holds the painted designs better in the oven.
Step 2: Roll and Cut the Cookies
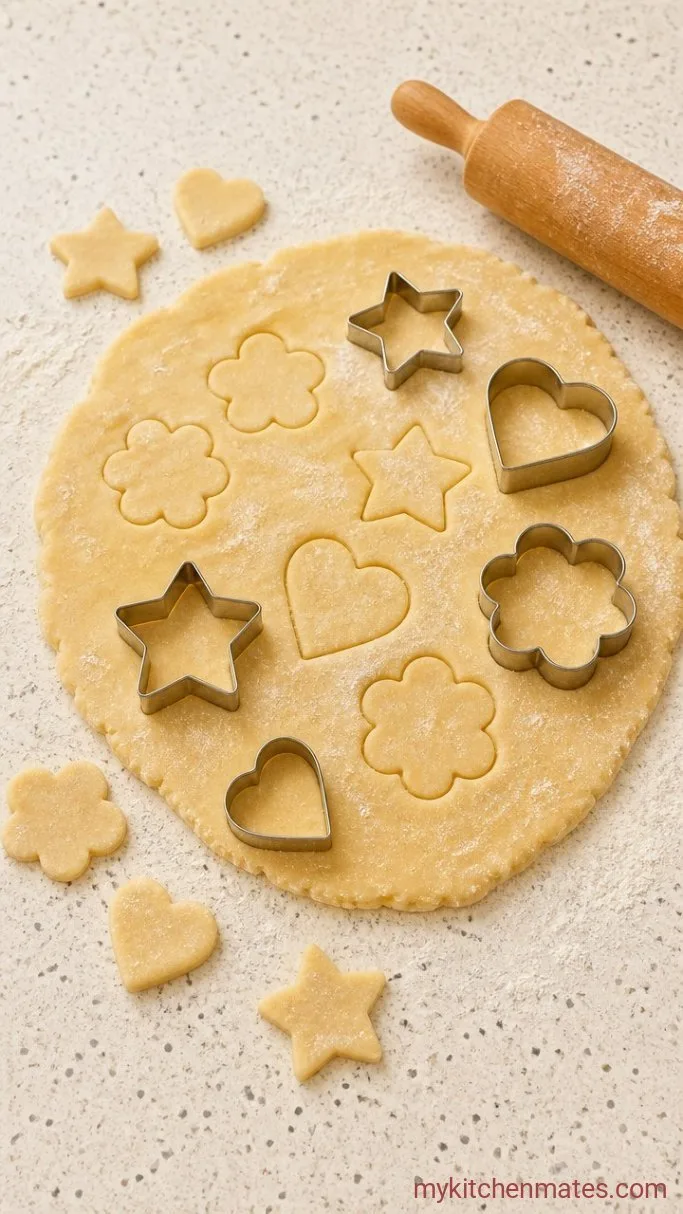
Preheat the oven to 350°F (175°C) while the dough finishes chilling. Line two baking sheets with parchment paper. On a lightly floured surface, roll one disk to about 1/4-inch thickness. Cut out shapes with cookie cutters and transfer them to the prepared sheets, leaving about an inch between each cookie. Gather the scraps, pat them back together, and re-roll.
The dough should feel firm but not rock hard. If it starts to stick or soften, slide the whole thing, including the rolling surface, onto a baking sheet and pop it in the fridge for 10 minutes. A warm dough will make the cookies spread and blur the paint.
Step 3: Mix the Edible Paint
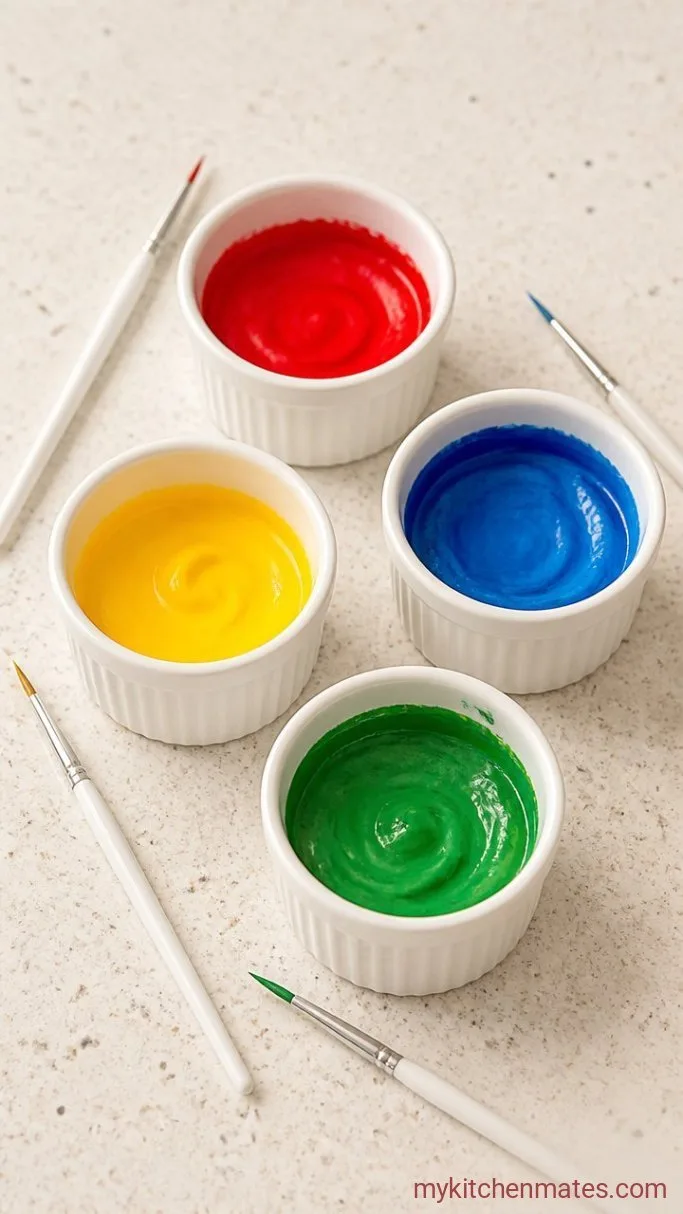
Separate the 2 egg yolks into a small bowl and whisk in the 1 teaspoon water until completely smooth. Divide the mixture among a few small bowls, one for each color you plan to use. Add a tiny dab of gel food coloring to each bowl and stir until the color is even and as vivid as you like.
The paint should feel like thin syrup. It needs to brush on smoothly without puddling. If it gets too thick from the coloring, work in a drop of water at a time until the consistency is right. Keep the brushes clean by rinsing them between colors so the paints stay bright.
Step 4: Paint and Bake the Cookies

Use clean, food-safe brushes to paint designs directly onto the cut, unbaked cookies. Work with thin coats so the paint does not puddle, because heavy pools can bubble or crack in the oven. Once all the cookies are decorated, slide the baking sheets onto the middle rack and bake for 8 to 10 minutes, until the edges turn just barely golden.
Rotate the sheets halfway through to help even baking. The paint will set as the cookies bake and take on a glossy sheen. Try not to overbake them, because the color can fade and the cookies lose their tender center.
Step 5: Cool and Display the Painted Cookies

Take the baking sheets out of the oven and let the cookies rest on the pans for about 2 minutes. Then use a thin spatula to move them to a wire rack and let them cool completely. The bottoms will firm up as they cool and the paint will hold its shine.
Arrange the cooled cookies on a platter or a cake stand so the light catches their glossy tops. They look best served the same day, but they keep well for a few days in a sealed container.
A Few Notes Before You Start Painting
- Chill the dough for at least 2 hours if you can spare the time. Cold dough is less likely to spread and gives you sharper lines on the painted designs.
- Gel food coloring gives the most vivid, reliable results. Liquid food coloring works in a pinch, but you may need to add more and the colors will be a bit more pastel once baked.
- If the paint seems to separate or bead up on the dough, whisk in another tiny splash of water until it blends smoothly.
- Use soft, small paintbrushes meant for food use. A wider brush for base coats and fine-tipped ones for lines and dots make the process feel effortless.
- Leftover paint can be covered and kept in the fridge overnight. Stir it again before the next use.
Bake times by dough thickness:
| Cookie thickness | Bake time at 350°F |
|---|---|
| 1/4 inch | 8 to 10 minutes |
| 3/8 inch | 10 to 12 minutes |
Keeping Painted Cookies Fresh
- Store at room temperature: Keep cookies in an airtight container with layers separated by wax paper. They stay tender for up to 5 days. The paint will lose a bit of gloss over time but the color stays.
- Freeze: Baked, painted cookies freeze well for up to 2 months. Thaw them uncovered on a rack so condensation does not soften the finish.
Frequently Asked Questions
Can I paint the cookies after baking them instead?
No, the egg yolk paint needs the heat of the oven to set and become glossy. Painting baked cookies would leave a wet, sticky surface.
Why did my cookies spread and blur the design?
The dough was likely too warm when it went into the oven. Return the cut, unpainted shapes to the fridge for 10 minutes before you brush on the paint and bake.
Can I use water instead of egg yolk for the paint?
You can, but the finish will be more matte and the color will be lighter. Egg yolk gives a richer shine and bakes to a harder shell.
Can I make the dough a day ahead?
Yes. Wrap the disks tightly and refrigerate up to 24 hours. Let the dough sit at room temperature for 5 to 10 minutes before rolling so it does not crack.
Painted Sugar Cookies Recipe
Ingredients
Method
- Beat the butter and sugar until light and fluffy, about 2 minutes. Add the egg and vanilla, then mix until combined. Whisk flour, baking powder, and salt together, then add to the butter mixture in two additions, mixing just until the dough comes together. Divide dough in half, flatten into disks, wrap, and chill at least 1 hour.
- Preheat oven to 350°F (175°C). Roll out one disk of dough on a floured surface to 1/4-inch thick. Cut with cookie cutters and place on parchment-lined baking sheets.
- Whisk egg yolks and water together. Divide among small bowls and stir in gel food coloring to your preferred shades. The paint should be the consistency of thin syrup.
- Paint designs onto the unbaked cookies using food-safe brushes, keeping coats thin. Bake for 8 to 10 minutes, rotating pans halfway through, until edges are just golden.
- Cool cookies on the pans for 2 minutes, then transfer to a wire rack to cool completely. Arrange and serve.
Notes
