
Painted Sourdough Bread with Flour Paste Designs

Painted sourdough bread turns a simple loaf into a work of art using nothing more than a little flour paste and cocoa for contrast. It is a surprisingly low-tech way to get that bakery-window look from your own oven, and the taste is every bit as good as the design.
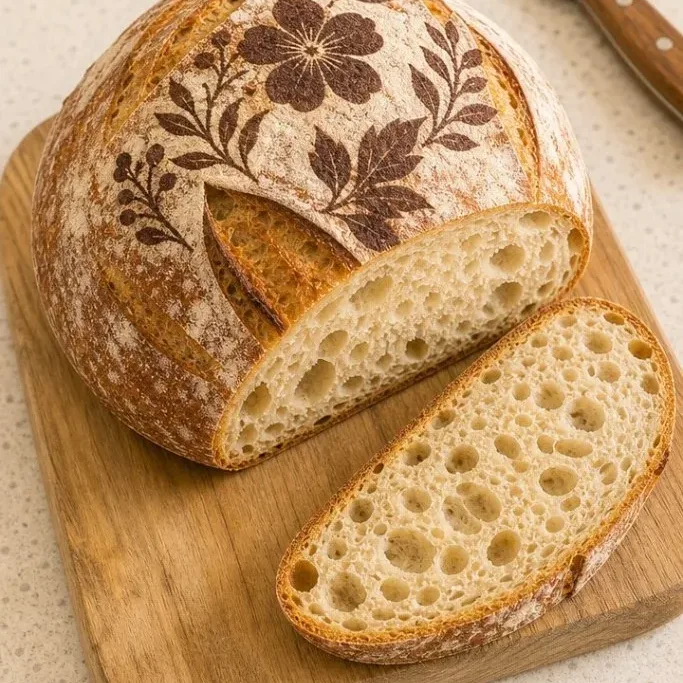
The paste bakes into the crust cleanly, leaving behind a matte, edible image that is ideal for gifts or a dinner table centerpiece. Once you see how approachable it is, you might start painting every loaf.
Why This One Stays in the Rotation
I keep coming back to painted sourdough because it makes an everyday bread feel celebratory without adding complicated steps. The crust stays shatteringly crisp through the bake, and the crumb has that classic mild tang and open air pockets you want from a slow-fermented dough. It is a loaf that tastes like the time you put into it, not a shortcut.
The painted surface is pure fun. You can go from wispy abstract lines to detailed flowers depending on your mood, and the cocoa paste gives a deep brown that stands out against the golden crust. Watching the design appear through the oven door never gets old.
Ingredients
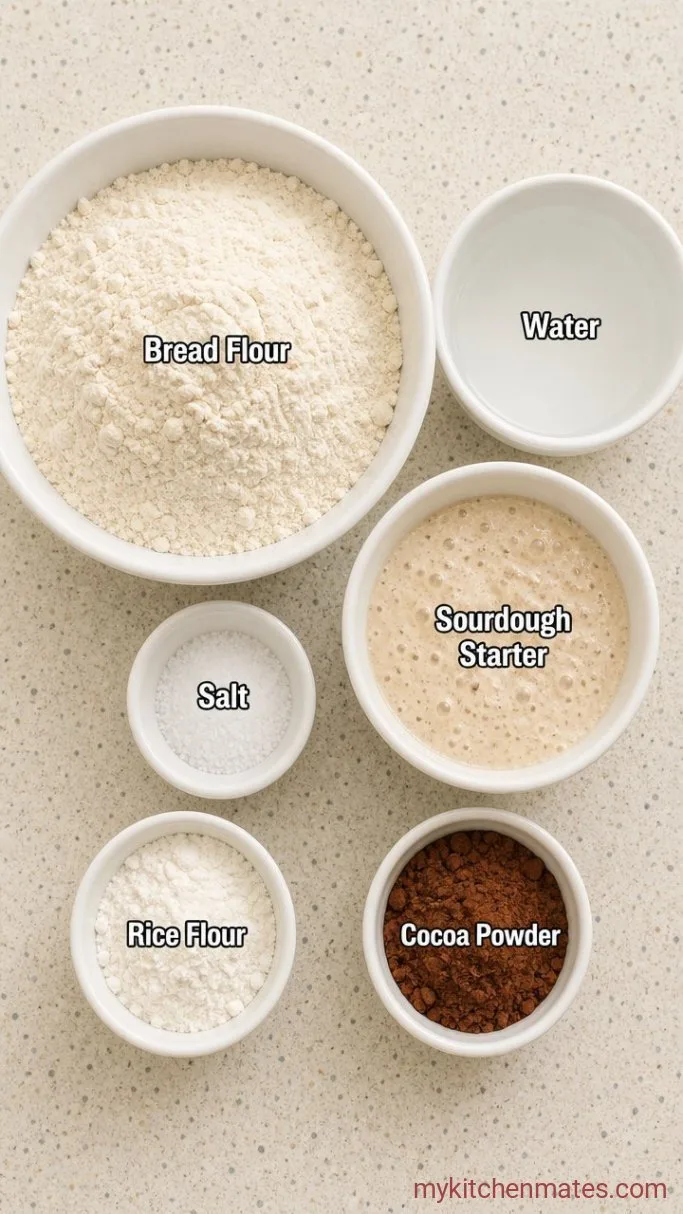
- 500 g bread flour: high-protein flour gives the best oven spring
- 350 g water, at room temperature: filtered if your tap water is heavily chlorinated
- 100 g active sourdough starter: fed 4 to 6 hours earlier, bubbly and doubled
- 10 g fine sea salt
- Rice flour, for dusting the banneton
- For the paint:
- 1 tbsp bread flour
- 1 tbsp water
- 1 tsp unsweetened cocoa powder: or activated charcoal for a darker black
Variations / Substitutions
- Color the paste: swap cocoa for turmeric (yellow), beetroot powder (pink), or matcha (green). Keep the same ratio of flour to water, adding color a little at a time until you get the shade you like.
- Use regular yeast: if you do not keep a starter, this same painting method works on any yeasted artisan loaf. The Sourdough Sandwich Bread recipe on the site is a good place to start.
- Add seeds: roll the shaped loaf in sesame or poppy seeds before the final proof, then paint over them. The texture contrast makes each slice even more interesting.
Hearty Tomato Vegetable Soup makes a comforting soup to pair with this bread.
How to Make Painted Sourdough Bread
Step 1: Mix the Dough
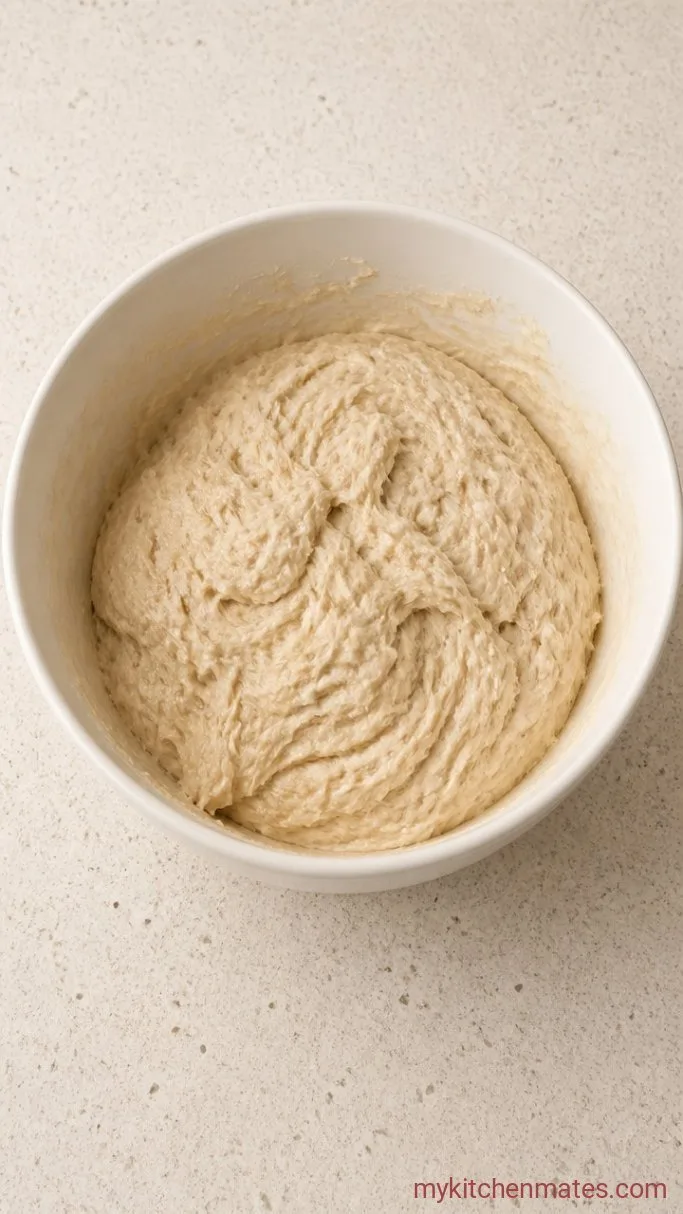
In a large bowl, combine the 500 g bread flour and 350 g water. Mix with your hand until no dry flour remains, then cover and let it rest for 30 minutes. This autolyse jump-starts gluten development so the dough is easier to handle later.
Add the 100 g starter and 10 g salt, then squeeze and fold the dough with your hand until everything is evenly mixed and the salt feels dissolved, about 3 minutes. The dough will be shaggy and a little sticky at this point, which is exactly right.
Step 2: Fold the Dough
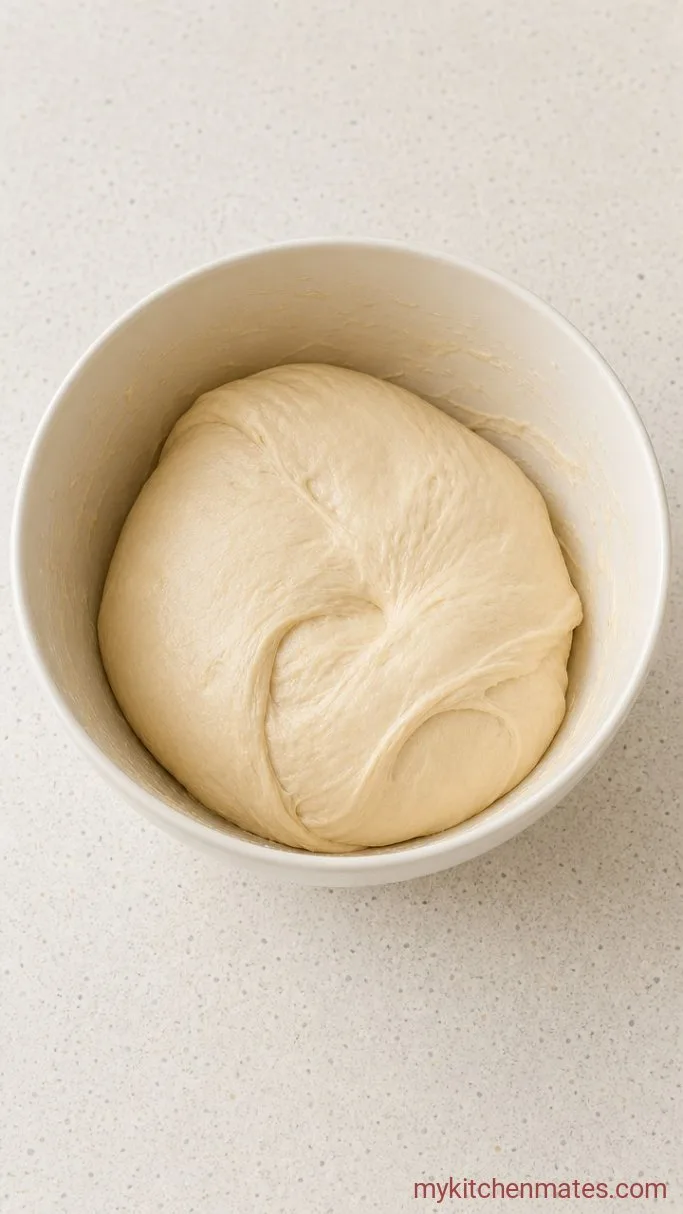
Cover the bowl and let the dough rise at room temperature (around 72°F to 75°F / 22°C to 24°C) for 4 to 5 hours. During the first 2 hours, perform a set of stretch and folds every 30 minutes: grab a section of dough, stretch it upward, and fold it over the center. Repeat on all four sides.
After the second hour, switch to coil folds once an hour if the dough still feels very slack. You are looking for a dough that smooths out and holds its shape on the surface by the end of bulk fermentation, slightly domed and jiggly. The whole window of time depends on your kitchen temperature, so watch the dough, not the clock.
Step 3: Shape the Loaf
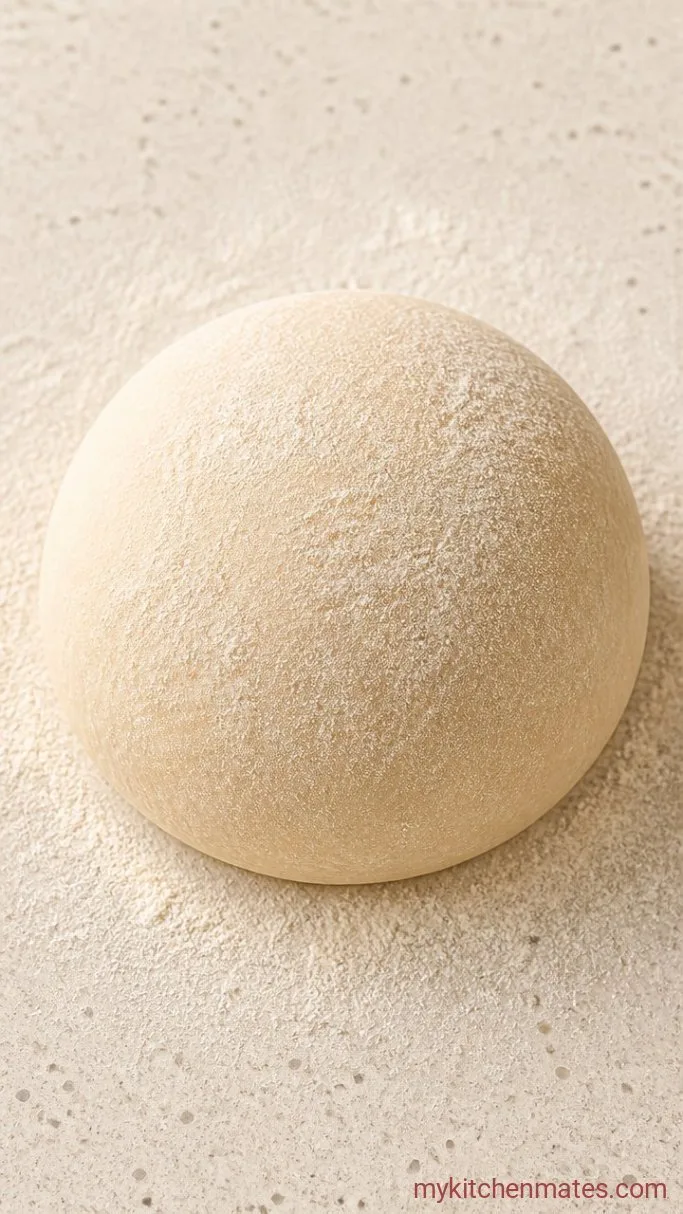
Turn the fermented dough out onto a lightly floured counter. Gently stretch it into a rough rectangle, then fold the left and right sides in toward the center like a letter. Starting from the top, roll the dough down into a tight log, sealing the seam with each roll. Let it rest seam-side up for 5 minutes on the counter while you dust a banneton generously with rice flour.
Flip the dough seam-side down, cup your hands around it, and give it a few circular drags across the counter to tighten the surface tension. Place the shaped boule seam-side up in the prepared banneton, then cover with a damp towel or plastic wrap.
Step 4: Proof the Boule
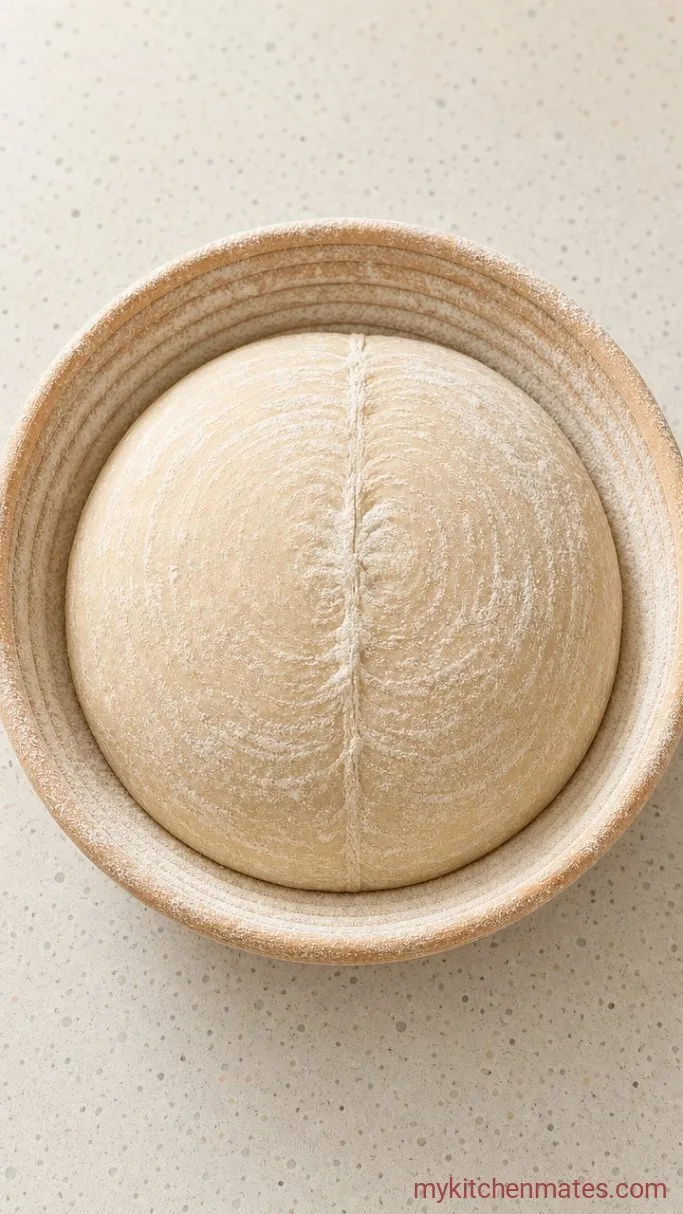
Let the shaped loaf proof at room temperature for 1 to 2 hours, or in the refrigerator for 12 to 16 hours if you want a deeper flavor and easier scoring. When you press the dough gently with a floured finger, it should spring back slowly and leave a slight indent.
About 45 minutes before the end of proof, preheat your oven to 500°F (260°C) with a Dutch oven or combo cooker inside. A blazing hot vessel gives the loaf its initial steam environment for a tall rise.
Step 5: Paint and Score the Surface
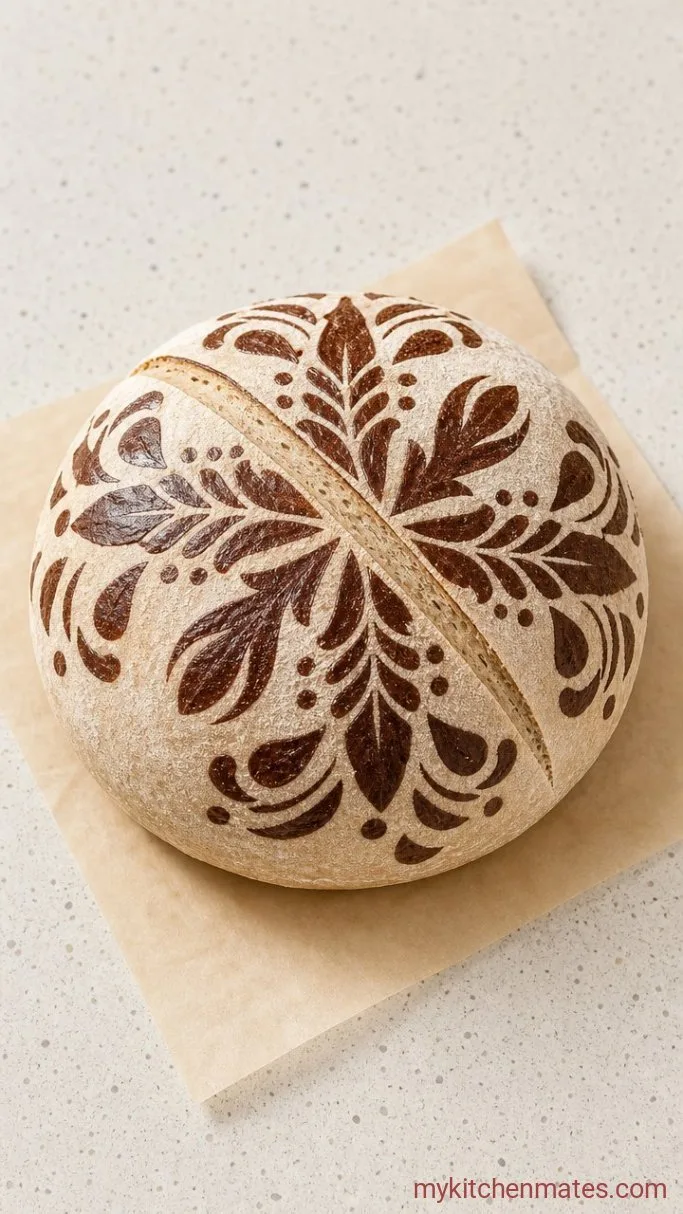
Mix the paint: in a small bowl, stir the 1 tbsp bread flour, 1 tbsp water, and 1 tsp cocoa powder until smooth and the consistency of thick cream. If it is too runny it will bleed in the oven, so add a pinch more flour if needed. Cut a piece of parchment paper to size, then turn the cold proofed dough out of the banneton onto the parchment.
Using a fine-tipped brush, paint your design directly onto the surface of the dough. Work quickly and with a light hand so the paste sits on top without sinking in. The cold dough from the fridge holds the paint lines crisply. Immediately after painting, dust a sharp lame with rice flour and score the bread around your design with one or two decisive slashes; this lets the loaf bloom without tearing the art.
Step 6: Bake and Slice the Loaf
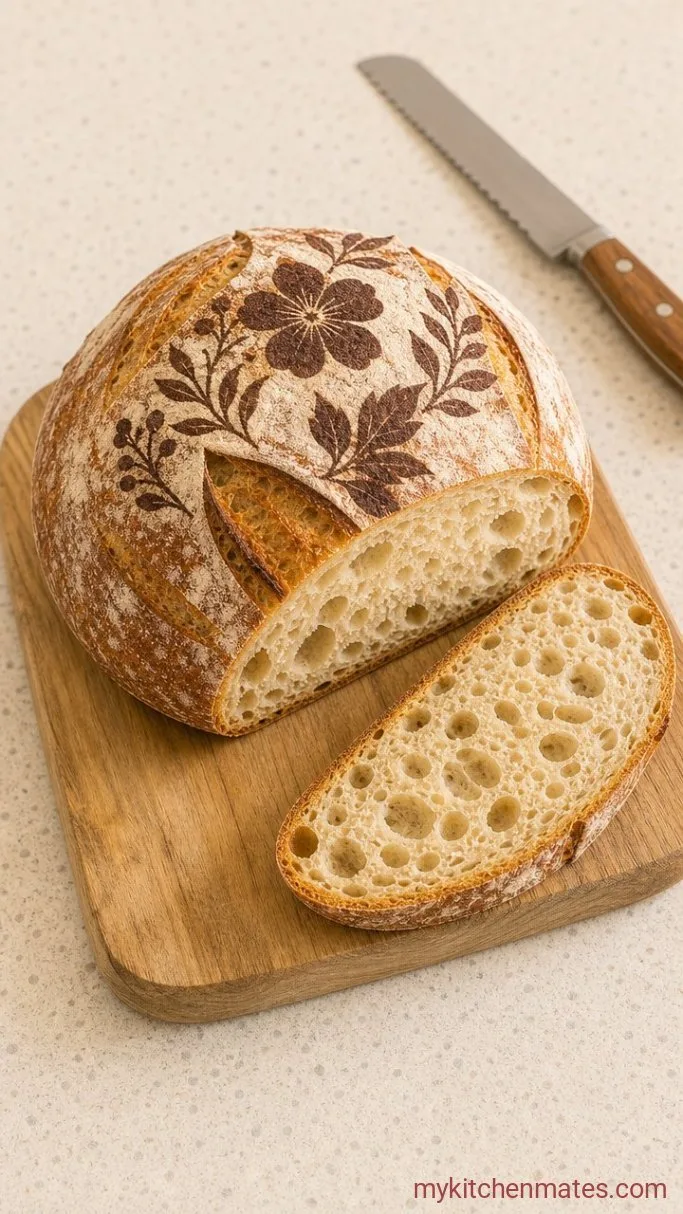
Carefully lift the parchment with the dough into the preheated Dutch oven, cover with the lid, and return it to the oven. Immediately lower the temperature to 450°F (230°C) and bake covered for 25 minutes. Remove the lid and continue baking for another 20 to 25 minutes, until the crust is deep amber and the painted design is set and dry.
Transfer the loaf to a wire rack and let it cool completely, at least 1 hour, before slicing. Cutting into it too soon releases steam that turns the crumb gummy. When you do slice, the crumb will be open and the crust will crackle, with the painted pattern standing proud on top.
A Few Notes Before You Start
- Keep the paste thick: a watery paint will run and blur in the oven. Aim for a consistency that holds its shape when you lift the brush. If it is too stiff, a drop of water loosens it.
- Chill the dough: working on a cold, firm surface makes painting much easier. A 1-hour fridge nap right before painting gives you a smooth canvas.
- Score after painting: if you score first, the paint can seep into the cut and obscure the design. Painting first then slashing around it keeps the image intact.
- Use a simple design at first: curved lines and dots come out beautifully and are forgiving if the dough shifts. Detailed faces or letters can warp, so build up to those.
Keeping Painted Sourdough Fresh
Keep the loaf cut-side down on a wooden board at room temperature for up to 3 days; a bread box or cloth bag helps the crust stay crisp. For longer storage, slice the entire loaf and freeze the slices in a zip-top bag, reheating in a toaster straight from the freezer.
What Goes Well With Painted Sourdough
A warm slice next to a bowl of roasted tomato soup is hard to beat. The bread soaks up the broth without disintegrating, and the tang plays off the tomatoes’ sweetness. For a cheese board, its crisp crust and open crumb hold up to soft brie or sharp cheddar, and the cocoa paint adds a subtle earthy note behind the cheese. A swipe of cultured butter and flaky salt is also all it really needs.
Frequently Asked Questions
Can I use regular liquid food coloring instead of cocoa powder?
Yes, but gel or powder colors work far better because they do not thin out the paste. Liquid coloring can make the mixture too runny, causing the design to bleed.
Do I need a stencil for painting?
Not at all. Freehand designs with a thin brush let you control the look, and abstract patterns always turn out beautiful. If you want a precise shape, you can gently press a cookie cutter on the dough to leave a faint outline before painting.
Can I paint on a sourdough loaf that is not scored?
You can, but without scoring the loaf will find its own way to expand and might tear through your design. A well-placed score guides the burst away from the painted area.
Why did my loaf turn out flat instead of round?
A flat loaf usually means the dough over-fermented or the surface tension during shaping was not tight enough. Watch the dough during bulk fermentation and stop when it is airy but still holds its dome, then give it a few firm drags on the counter when shaping to build strength.
Can I use whole wheat flour for the bread?
You can, but replace only up to 30% of the bread flour by weight to avoid a dense crumb. Whole wheat absorbs more water, so add an extra tablespoon or two of water if the dough feels stiff.
Painted Sourdough Bread Recipe
Ingredients
Method
- Mix the flour and water; rest 30 minutes. Add starter and salt, mix until combined.
- Cover and ferment 4 to 5 hours at room temperature, folding every 30 minutes for the first 2 hours, then coil folds as needed, until dough is smooth and domed.
- Shape into a boule, tighten surface, and place seam-side up in a rice-floured banneton.
- Proof at room temperature 1 to 2 hours or refrigerate 12 to 16 hours. Preheat oven to 500°F with Dutch oven inside during the last 45 minutes.
- Mix paint: 1 tbsp flour, 1 tbsp water, cocoa until thick cream consistency. Turn dough onto parchment, paint design, then score.
- Transfer to hot Dutch oven, lower to 450°F, bake covered 25 minutes, then uncovered 20 to 25 minutes until deep amber. Cool on rack at least 1 hour before slicing.
Notes
