
Old-Fashioned Banana Pudding from Scratch

Old-Fashioned Banana Pudding from Scratch is the real deal: layers of vanilla wafers, ripe bananas, and a silky homemade custard that sets up into soft, creamy slices. No boxed mix, no shortcuts, just the dessert your grandmother would remember.
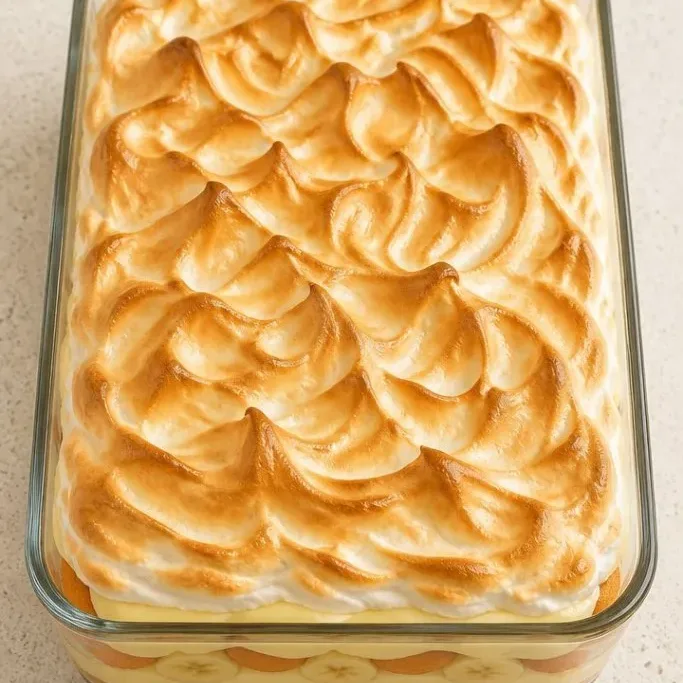
It takes a little stirring at the stove, but the payoff is a pudding that tastes like sweet cream and fresh banana in every spoonful. This is the one you bring to a potluck and come home with an empty dish.
Why This Recipe Stays in the Rotation
The custard is the star; it’s cooked low and slow until it’s thick enough to coat the back of a spoon, then topped with a glossy meringue that turns golden in the oven. It’s worlds away from the chalky taste of instant pudding.
I love that it only gets better after a night in the fridge. The wafers soften into cakey layers, the bananas stay sweet and don’t brown, and every bite is cool and comforting. It’s the dessert I make when I want something that feels special without being fussy.
Ingredients
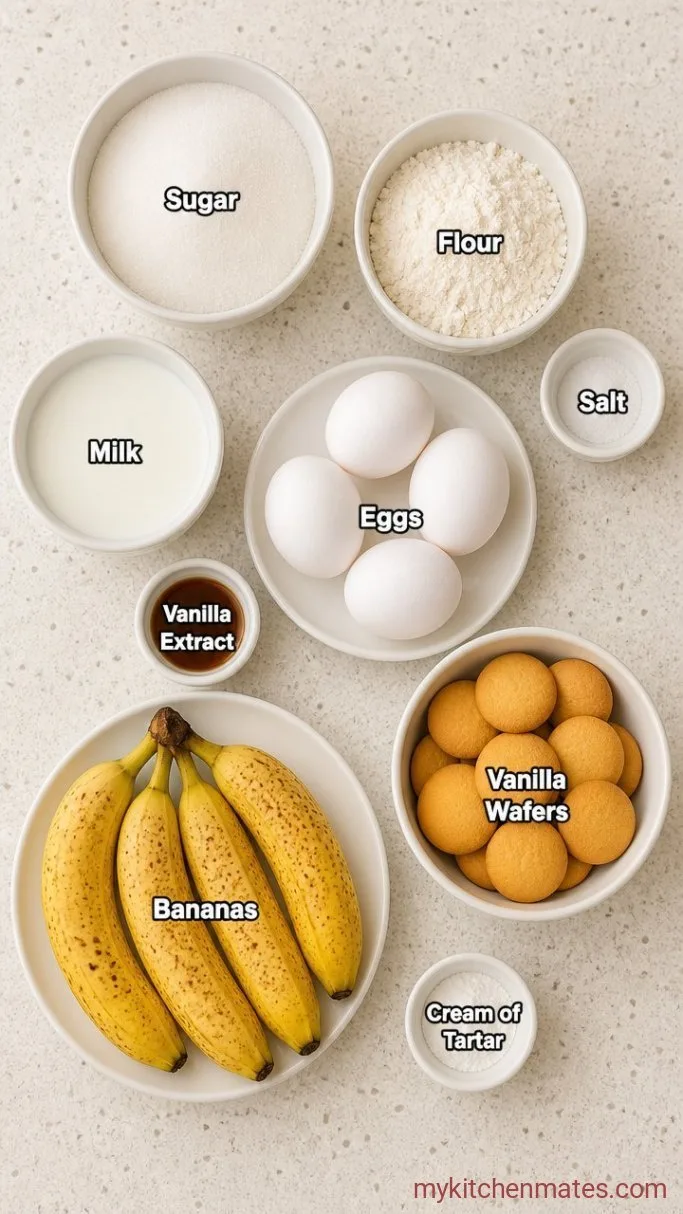
- 3/4 cup granulated sugar, divided: 1/2 cup for the custard, 1/4 cup for the meringue
- 1/3 cup all-purpose flour: thickens the custard; don’t pack the cup
- 1/4 tsp salt: just enough to balance the sweetness
- 3 cups whole milk: use full-fat for the richest texture
- 4 large eggs, separated: you’ll use both the yolks and the whites
- 2 tsp vanilla extract: the real stuff, not imitation, for a clean flavor
- 4 to 5 ripe bananas: speckled with brown spots for the best sweetness
- 1 box (11 oz) vanilla wafers: the classic cookie, about 3 cups
- 1/4 tsp cream of tartar: helps the egg whites whip up stable and glossy
Variations / Substitutions
- Swap the wafers: Use shortbread cookies or butter biscuits if you can’t find vanilla wafers. The texture will be slightly denser but still delicious.
- Dairy-free: Replace whole milk with full-fat coconut milk (the canned kind), and skip the meringue; top with whipped coconut cream instead.
- Gluten-free: Substitute a 1:1 gluten-free flour blend for the all-purpose flour, and use gluten-free vanilla cookies.
- No meringue: If you prefer a simpler topping, spread sweetened whipped cream over the top after the pudding has chilled. Skip the baking step.
Moist Banana Pudding Pound Cake is next on our list if this banana pudding is your kind of dessert.
How to Make Old-Fashioned Banana Pudding from Scratch
Step 1: Whisk the Custard Base
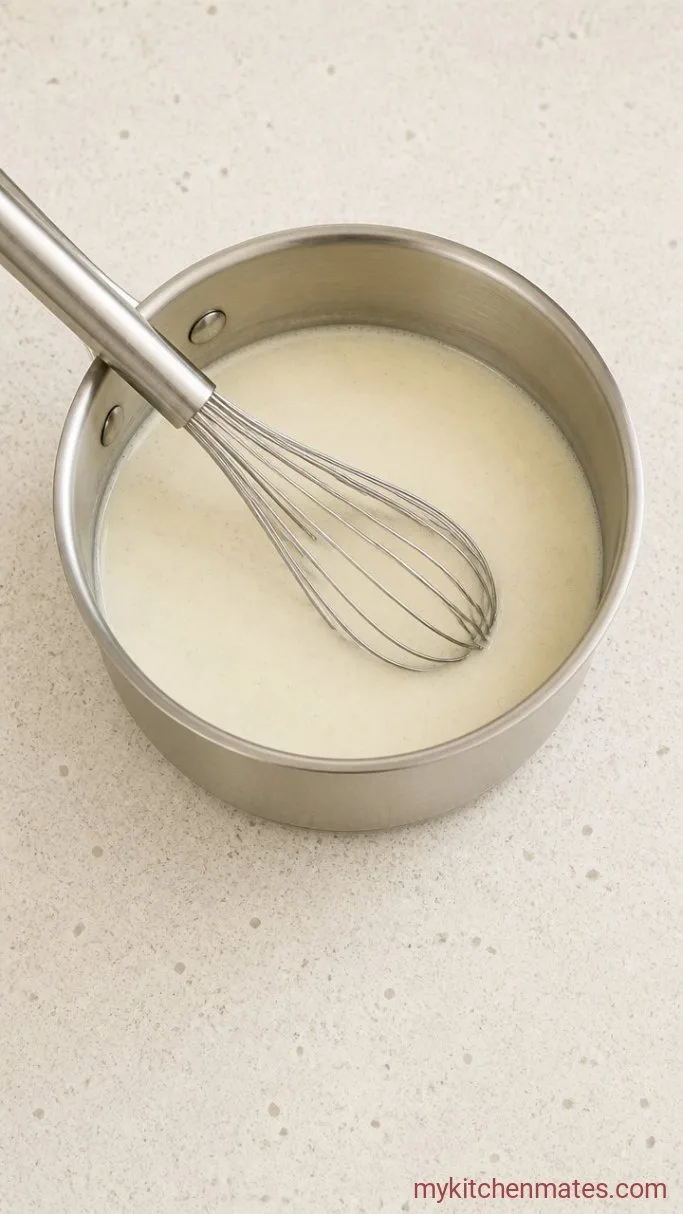
In a medium saucepan, whisk together the 1/2 cup sugar, 1/3 cup flour, and 1/4 tsp salt until no lumps remain. Pour in the 3 cups whole milk and place the pan over medium heat. Cook, whisking constantly, until the mixture is steaming and small bubbles form at the edge, about 5 to 7 minutes. Do not let it boil yet.
The milk will start to thicken slightly and turn a pale ivory color. You’ll feel the whisk getting heavier against the bottom of the pan, which is exactly what you want.
This step builds the base of the custard. Taking the time to whisk the dry ingredients straight into the cold milk prevents floury lumps from forming later. Stay at the stove; the line between steaming and boiling is quick.
Step 2: Temper the Egg Yolks
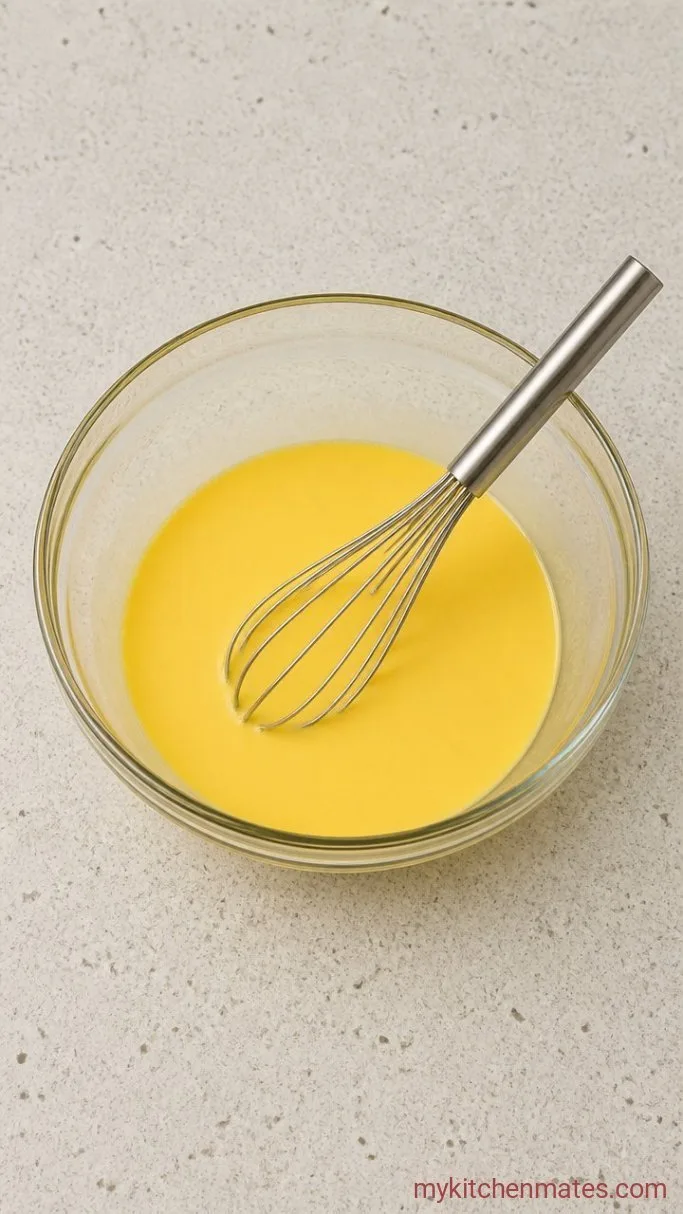
Lightly beat the 4 egg yolks in a heatproof bowl. While whisking the yolks, slowly drizzle in about 1 cup of the hot milk mixture, a little at a time. This warms them up gently so they don’t scramble. Then pour the yolk mixture back into the saucepan with the rest of the hot milk.
The custard will turn a sunny yellow and look a bit thinner at first. Whisk it all together and it will start to come together in a minute.
Tempering is the make-or-break moment for a smooth pudding. Go slow and keep the whisk moving, and you’ll get a velvety result with no scrambled egg bits.
Step 3: Thicken the Custard
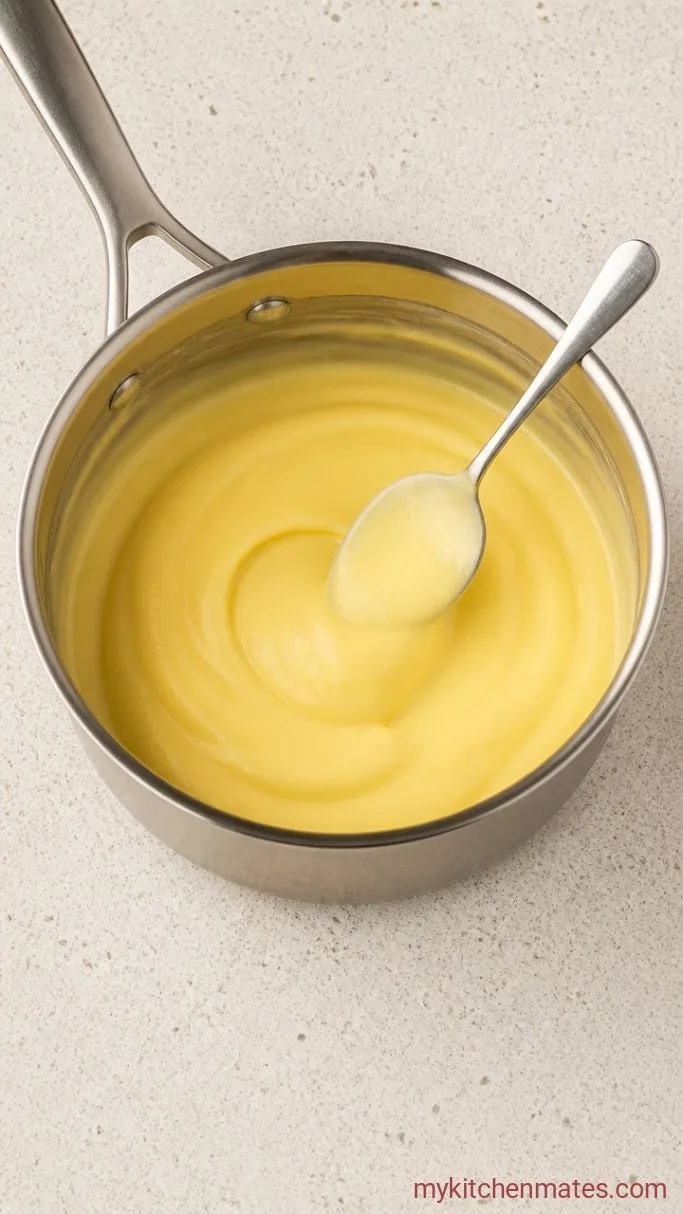
Return the saucepan to medium heat and cook, whisking constantly, until the custard has thickened enough to coat the back of a spoon, about 3 to 5 minutes. You’ll know it’s ready when you can draw a clear line through the custard on the spoon and it holds the line. Do not let it boil or it can curdle.
The mixture will go from thin and frothy to thick and glossy. As soon as it reaches the right consistency, take it off the heat immediately and stir in the 2 tsp vanilla extract.
This custard sets up into soft slices when chilled, so don’t be tempted to pull it off the heat early. That spoon-coating test is your best guide. If you do get a few lumps, a quick strain through a mesh sieve right now will save the whole dessert.
Step 4: Layer the Pudding
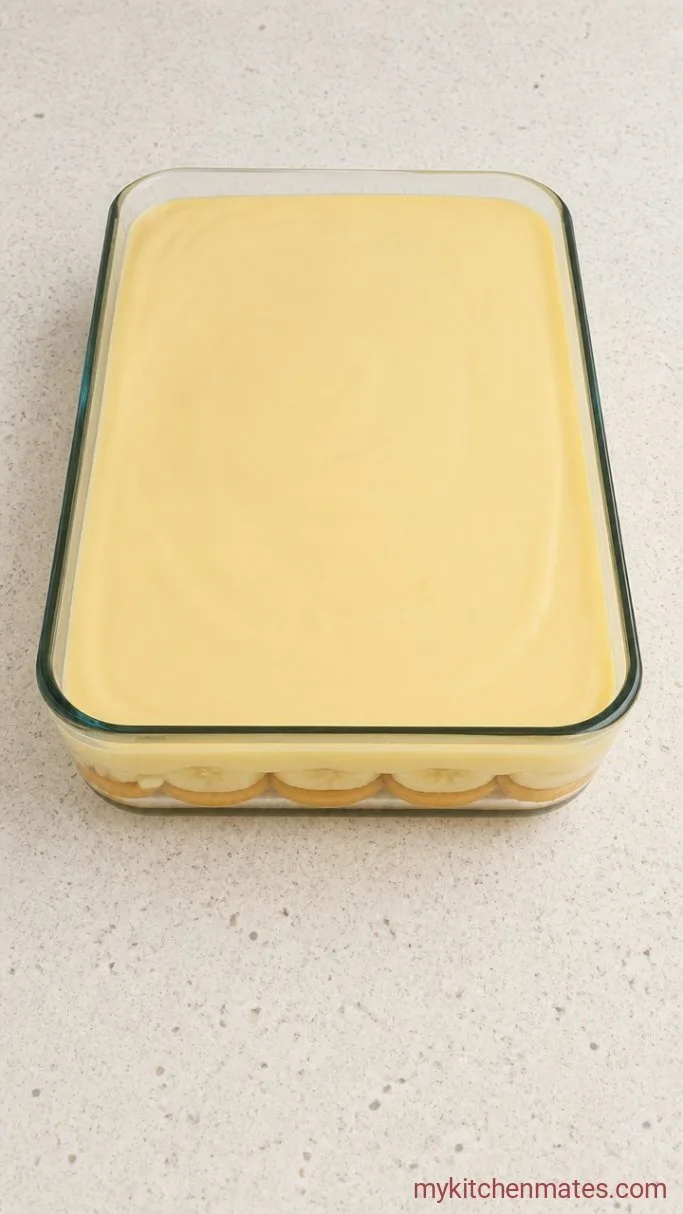
Spread a thin layer of custard in the bottom of a 2-quart baking dish (or a 9×9-inch pan). Arrange a single layer of vanilla wafers over the custard, then top with sliced bananas. Pour about one-third of the remaining custard over the bananas. Repeat the layers two more times, ending with custard on top.
Press down gently on each layer so the wafers are surrounded by custard. The top should be smooth and pale yellow, with just a few banana slices peeking through if you like.
Layering everything while the custard is still warm helps the wafers absorb just enough moisture to turn soft without getting mushy. Don’t worry about perfection; any order will still taste wonderful.
Step 5: Whip the Meringue
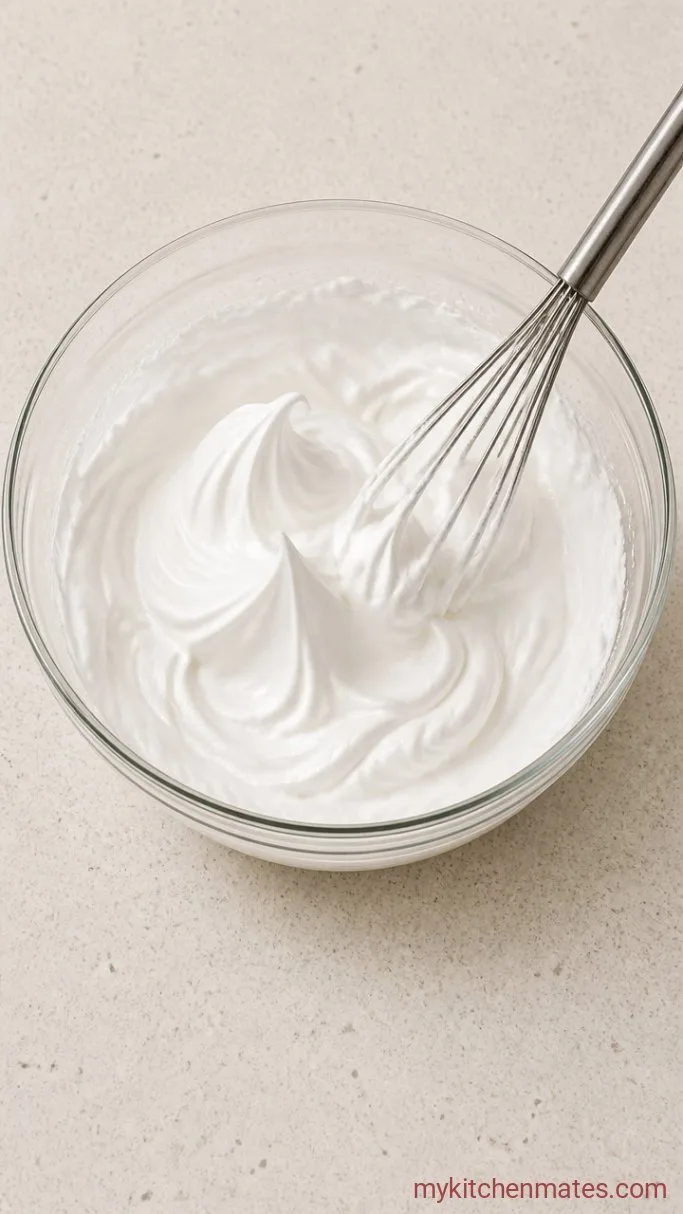
In a clean bowl, beat the 4 reserved egg whites and 1/4 tsp cream of tartar with an electric mixer on medium speed until foamy, about 1 minute. Gradually add the remaining 1/4 cup sugar, a spoonful at a time, and increase the speed to high. Beat until stiff, glossy peaks form, about 3 to 4 minutes.
The meringue should hold a peak that stands straight up when you lift the beaters. If it looks dry or clumpy, you’ve gone a little too far, but it will still taste fine.
Spread the meringue over the warm pudding, making sure to seal the edges against the dish. This prevents the meringue from shrinking back and beading up as it bakes.
Step 6: Brown the Meringue
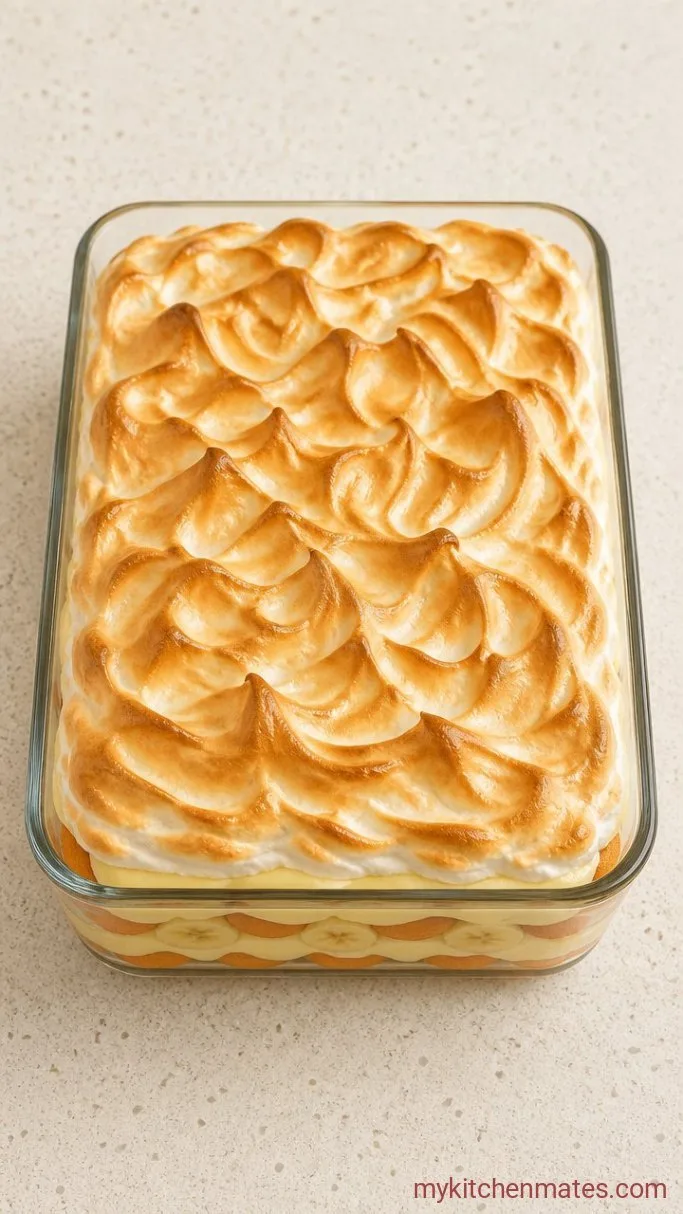
Preheat your oven to 425°F. Spoon the meringue over the pudding and use a spatula to create swoops and peaks. Bake for 4 to 5 minutes, or until the tips are golden brown. Keep a close eye; it can go from toasted to burnt in seconds.
When it’s done, the top will be crisp and caramel-colored, and the custard underneath will be just set. The kitchen will smell like toasted sugar and vanilla.
Serve the pudding warm right from the dish, or let it cool to room temperature, then refrigerate for at least 4 hours. The classic way is chilled, so the layers firm up and slice neatly. Either way, scoop it out with a big spoon and enjoy.
Tips for the Best Banana Pudding
- Keep the bananas submerged in custard to prevent browning; if a few slices peek through on the final layer, they’ll darken a bit but that’s normal.
- For the cleanest slices when serving cold, run a knife around the edge first, then cut straight down through the layers.
- If your kitchen runs warm, pop the assembled dish in the fridge while the meringue sets up, then broil just before serving for a fresh golden top.
Keeping Banana Pudding Fresh
- Refrigerate: Cover the dish tightly with plastic wrap or a lid and store for up to 3 days. The wafers will continue to soften into a cake-like texture; it’s just as good cold.
- Serve Cold: This pudding is typically served chilled, but you can enjoy it warm right after browning the meringue. If you prefer cold, plan for at least 4 hours of chilling time.
- Reheating: Not recommended, as the meringue will weep and the custard can split. If you must warm it, scoop it into a bowl and microwave very briefly on low power.
Frequently Asked Questions
Can I make this a day ahead?
Yes, assemble the entire dessert without the meringue, cover and refrigerate up to 24 hours, then whip and bake the meringue just before serving.
Can I use pasteurized egg whites from a carton?
You can, but they often take longer to whip and may not reach the same volume. Check the carton for whipping instructions; some brands require adding cream of tartar to get stiff peaks.
Can I freeze banana pudding?
No, freezing is not a good idea. The custard separates and the bananas turn watery once thawed, so this dessert is best enjoyed fresh or refrigerated.
Do I need a double boiler for the custard?
A regular saucepan works fine as long as you keep the heat at medium and whisk constantly. A double boiler gives you more insurance against scorching, but it’s not required.
Old-Fashioned Banana Pudding from Scratch Recipe
Ingredients
Method
- Whisk together 1/2 cup sugar, flour, and salt in a saucepan. Add milk and cook over medium heat, whisking constantly, until steaming, 5 to 7 minutes.
- Lightly beat egg yolks in a bowl. Whisk in 1 cup hot milk mixture in a thin stream, then return to saucepan.
- Cook over medium heat, whisking constantly, until thickened enough to coat a spoon, 3 to 5 minutes. Remove from heat, stir in vanilla.
- Spread a thin layer of custard in a 2-quart dish. Layer wafers, sliced bananas, and custard; repeat 2 more times, ending with custard.
- Beat egg whites and cream of tartar until foamy; gradually add 1/4 cup sugar, beat to stiff peaks. Spread over warm pudding, sealing edges.
- Bake at 425°F for 4 to 5 minutes until golden. Serve warm or chill at least 4 hours.
Notes
