
Overnight No Knead Sourdough Bread

This overnight no knead sourdough bread gives you a shatteringly crisp crust and an airy, tangy crumb with almost zero hands-on work.
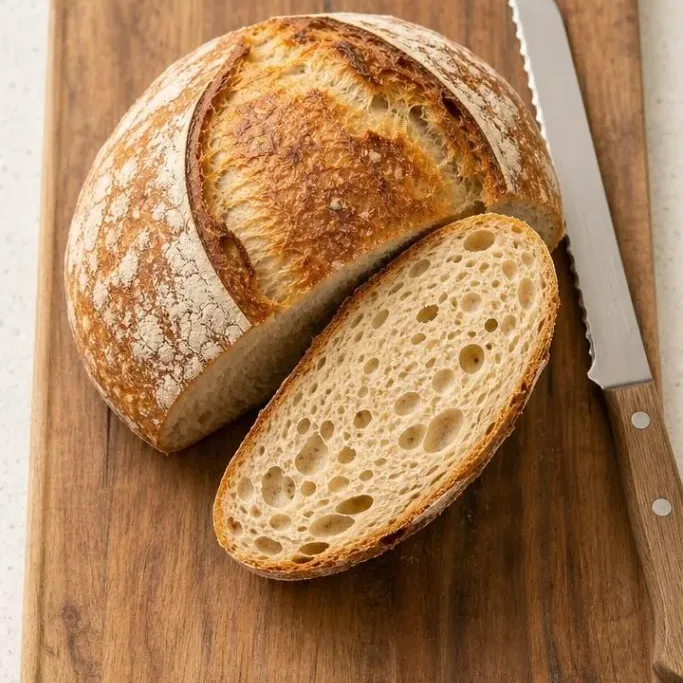
Stir together flour, water, and a bubbly starter before bed, then bake it in a screaming-hot Dutch oven in the morning. It’s the kind of loaf that feels like a serious achievement, even if you’ve never shaped a boule before.
Why This Loaf Works
The long, slow fermentation does all the gluten development for you, so you skip the kneading entirely. A high-hydration dough and a hot covered pot trap steam around the loaf, giving it that dark, crackling crust and big irregular holes.
The flavor gets a gentle tang from the sourdough starter, and it deepens as the bread cools. This is the loaf I keep coming back to when I want homemade bread without a long to-do list.
Ingredients
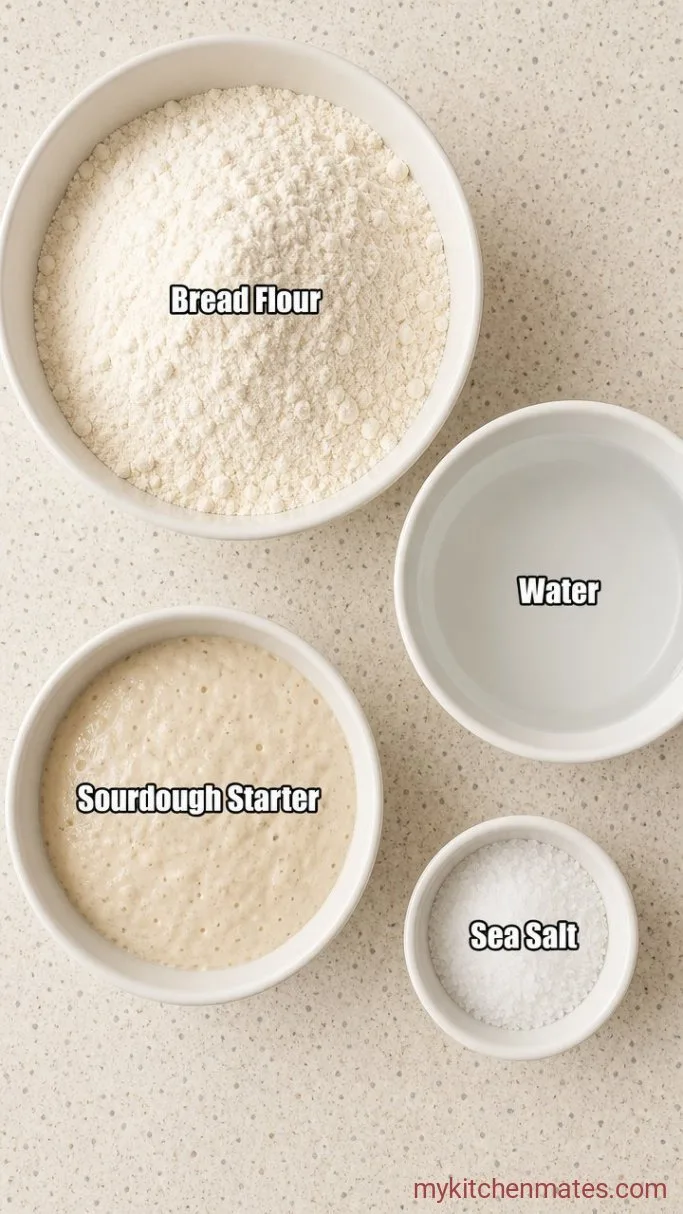
- 500g bread flour, plus more for dusting: bread flour gives the loaf its chewy bite, but all-purpose works too
- 375g water, room temperature: cool tap water is fine; avoid warm water that could over-speed the fermentation
- 100g active sourdough starter: fed and bubbly, ideally within a few hours of its peak
- 10g fine sea salt: don’t skip it; it balances the flavor and tightens the dough
Variations / Substitutions
- Swap up to 100g of the bread flour for whole wheat flour: the loaf will be a little denser and nuttier, with a deeper color
- Fold in a handful of sesame seeds or rolled oats after mixing: they add a gentle crunch to the crust and crumb
- Already dairy-free: with no butter or milk in the dough; just check any toppings you add after baking
- If you don’t have a proofing basket: line a bowl with a well-floured tea towel and use that instead
Hearty Stove Top Beef Stew is a cozy soup to serve with this bread.
How to Make Overnight No Knead Sourdough Bread
Step 1: Mix the Dough
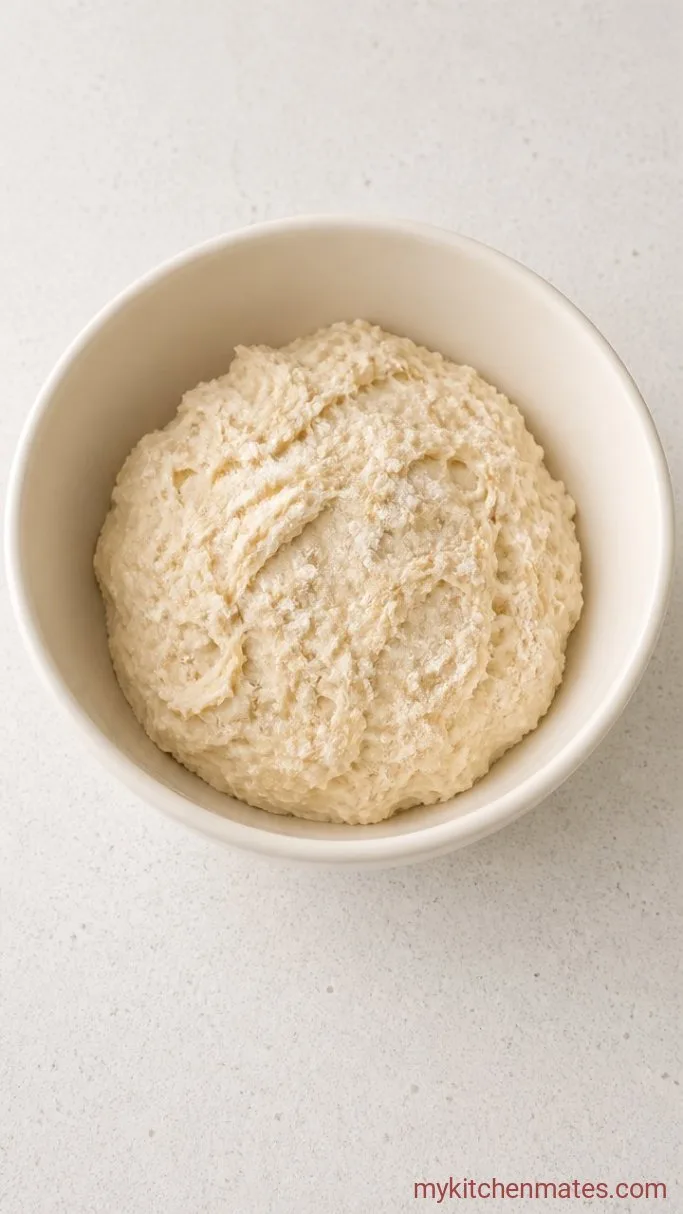
In a large bowl, stir together the 500g bread flour and the 10g salt. Make a well in the center, add the 100g active sourdough starter and the 375g water, and mix with a wooden spoon or your hands until no dry flour remains. The dough will look shaggy and feel sticky. Cover the bowl tightly with a lid or plastic wrap and let it sit at room temperature, around 68 to 72°F (20 to 22°C), for 10 to 12 hours.
By morning, the dough should be nearly doubled in size with a puffy, domed surface and visible bubbles on top. Give it a sniff: a faint, pleasantly sour aroma tells you the fermentation is on track. If your kitchen is cooler than 68°F, give it a few extra hours; if it’s warmer, check it at 8 hours.
Step 2: Shape the Loaf
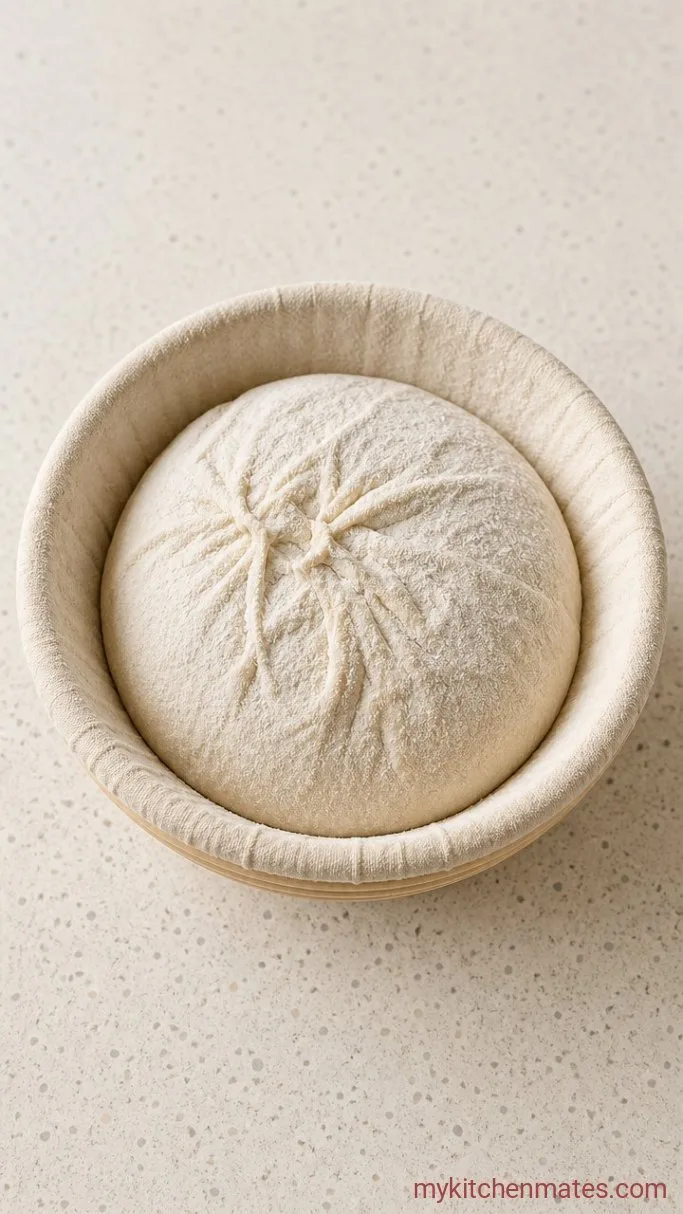
Scrape the dough onto a well-floured work surface. With floured hands, gently fold the edges toward the center to form a tight ball. Do not punch it down; you want to keep those air pockets intact. Flip the dough seam side down and use a bench scraper or your hands to pull the surface taut across the top. Place it seam side up in a floured proofing basket or a bowl lined with a floured tea towel.
Let the shaped dough proof at room temperature for 1 to 2 hours. It’s ready when it looks puffed but not fully doubled, and a floured fingerprint pressed gently into the dough springs back slowly. If it bounces back fast, give it 20 more minutes and test again.
Step 3: Preheat and Bake
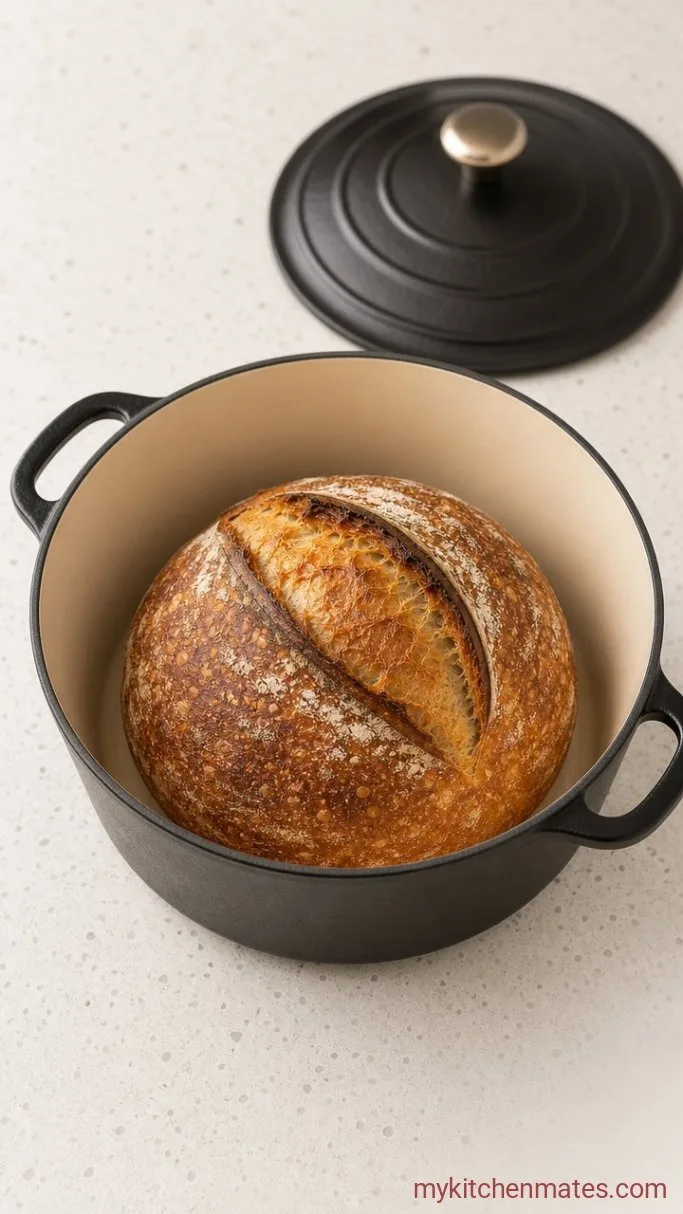
About 30 minutes before you plan to bake, set a 5- to 6-quart Dutch oven with its lid inside the oven and preheat to 450°F (230°C). When the dough has finished proofing, carefully invert it onto a sheet of parchment paper. If you like, score the top with a sharp razor or bread lame. Lift the parchment with the dough into the hot Dutch oven, cover it, and bake for 30 minutes.
After 30 minutes, remove the lid and continue baking 15 to 20 minutes more. The crust should be a deep amber brown, and the loaf should sound hollow when you tap the bottom. An instant-read thermometer inserted into the center will read between 200 and 205°F (93 and 96°C) when it’s done.
Step 4: Cool and Slice
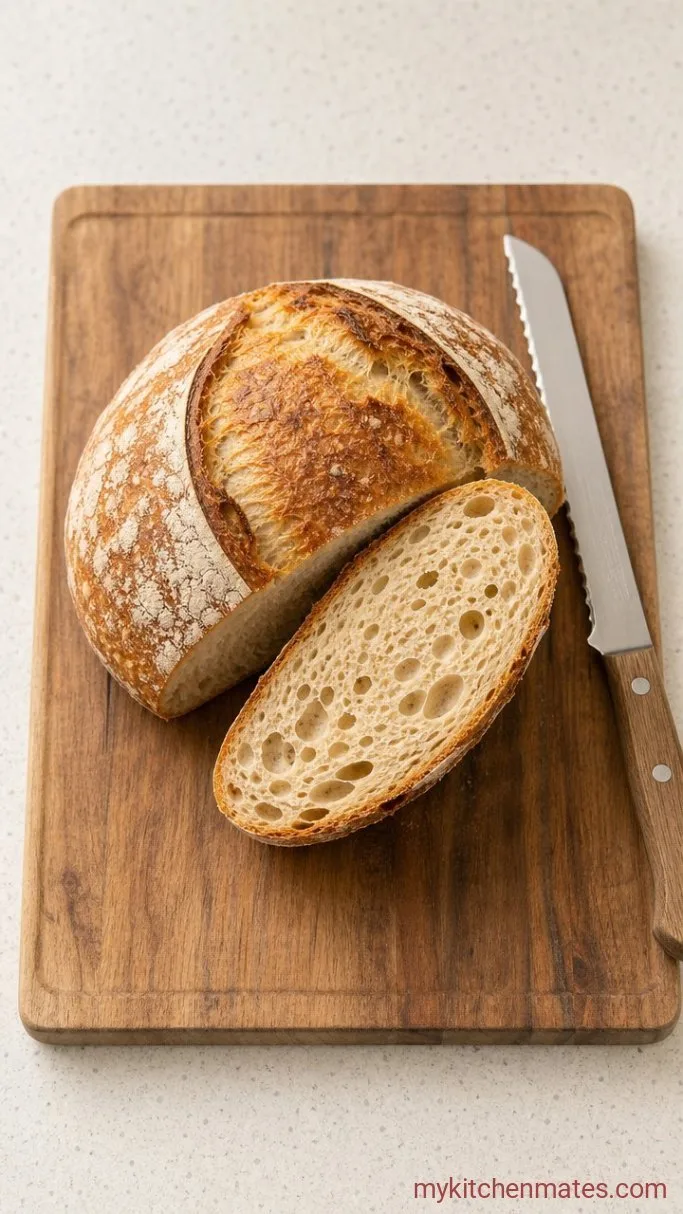
Transfer the bread to a wire rack and let it cool completely before you cut into it, at least 2 hours. The crumb is still setting while it cools, and slicing too soon can leave it gummy in the middle.
You will hear the crust crackle as it cools, and that is exactly the sound you want. Once the loaf is cool, the crumb will be airy and pale with a gentle tang that gets a little more pronounced by the next day.
Tips for the Chewiest Crust and Airiest Crumb
- Use a starter that passes the float test: drop a spoonful into a glass of water; if it floats, it’s ready to lift your dough
- Resist adding extra flour: a sticky dough gives you those big open holes; flour on your hands and the work surface is enough
- Preheat the Dutch oven for a full 30 minutes: that heavy pot needs to be blazing hot to trap steam the moment the dough hits it
- Let the bread cool completely: hot bread steams itself from the inside, and cutting early can compress the crumb you worked overnight to build
Ambient temperature changes how fast your dough moves; use this as a rough guide:
| Room Temp | Bulk Ferment | Final Proof |
|---|---|---|
| 65°F (18°C) | 14-16 hrs | 2-3 hrs |
| 70°F (21°C) | 10-12 hrs | 1-2 hrs |
| 75°F (24°C) | 8-10 hrs | 1-1.5 hrs |
Storing Your Sourdough
- Room temperature: keeps the crust crisp for a day or two. After that, store cut side down on a board or in a paper bag; you’ll get up to 3 days before it dries out.
- Freeze: sliced bread with parchment between slices in a sealed bag. Toast straight from frozen for fresh bread in a pinch.
- Reheat: a whole loaf in a 350°F (175°C) oven for 10 minutes to bring the crust back to life.
What Goes Well With This Bread
A thick slice of this sourdough is perfect alongside a bowl of hearty minestrone or a creamy tomato soup, where the tangy crumb cuts through the richness. Toasted and slathered with butter and flaky salt, it’s a simple breakfast that shows off the loaf’s complex flavor. It also makes a sturdy base for avocado toast because the open crumb soaks up olive oil and chile flakes without going soggy.
Frequently Asked Questions
Can I use all-purpose flour instead of bread flour?
Yes, all-purpose works fine here. The crumb will be a little softer and the crust may not blister quite as dramatically, but you’ll still get a good loaf.
Why didn’t my bread rise?
The most common reason is a starter that wasn’t active enough. Feed your starter a few times before baking day until it reliably doubles within 4 to 6 hours and passes the float test.
Can I double the recipe?
Yes, you can double all the ingredients and mix in a very large bowl. Keep the bake times the same, and check the internal temperature to be sure the larger loaf is fully baked.
Can I cold-proof the dough overnight after shaping?
Absolutely. After shaping, cover the proofing basket and refrigerate it for up to 12 hours. Bake straight from the fridge; the cold dough will add 3 to 5 extra minutes to the covered bake time.
Overnight No Knead Sourdough Bread Recipe
Ingredients
Method
- Mix flour, salt, starter, and water in a large bowl until no dry flour remains. Cover and let sit at room temperature for 10 to 12 hours until doubled and bubbly.
- Turn dough onto a floured surface, gently fold into a tight ball, and place seam side up in a floured proofing basket or bowl. Proof 1 to 2 hours until puffed and a fingerprint springs back slowly.
- Preheat a Dutch oven in a 450°F (230°C) oven for 30 minutes. Invert dough onto parchment, score the top, and lower into the hot pot. Bake covered 30 minutes, then uncovered 15 to 20 minutes until deep amber and the internal temperature reaches 200 to 205°F (93 to 96°C).
- Cool on a wire rack for at least 2 hours before slicing with a serrated knife.
Notes
