
No-Chill Sugar Cookies That Hold Their Shape

A soft yet sturdy cut-out sugar cookie you can bake right after mixing. The dough rolls out clean, keeps its edges, and you won’t spend 30 seconds waiting for it to chill.

What Makes These Cookies So Reliable
The cornstarch and a slightly higher flour ratio keep the dough firm without turning it into a brick. You get a cookie that tastes buttery and light but won’t spread into a shapeless blob in the oven.
I tested these on a hot July afternoon with no air conditioning and they still held every scalloped edge. That’s the kind of confidence I want when little hands are helping cut stars.
Ingredients
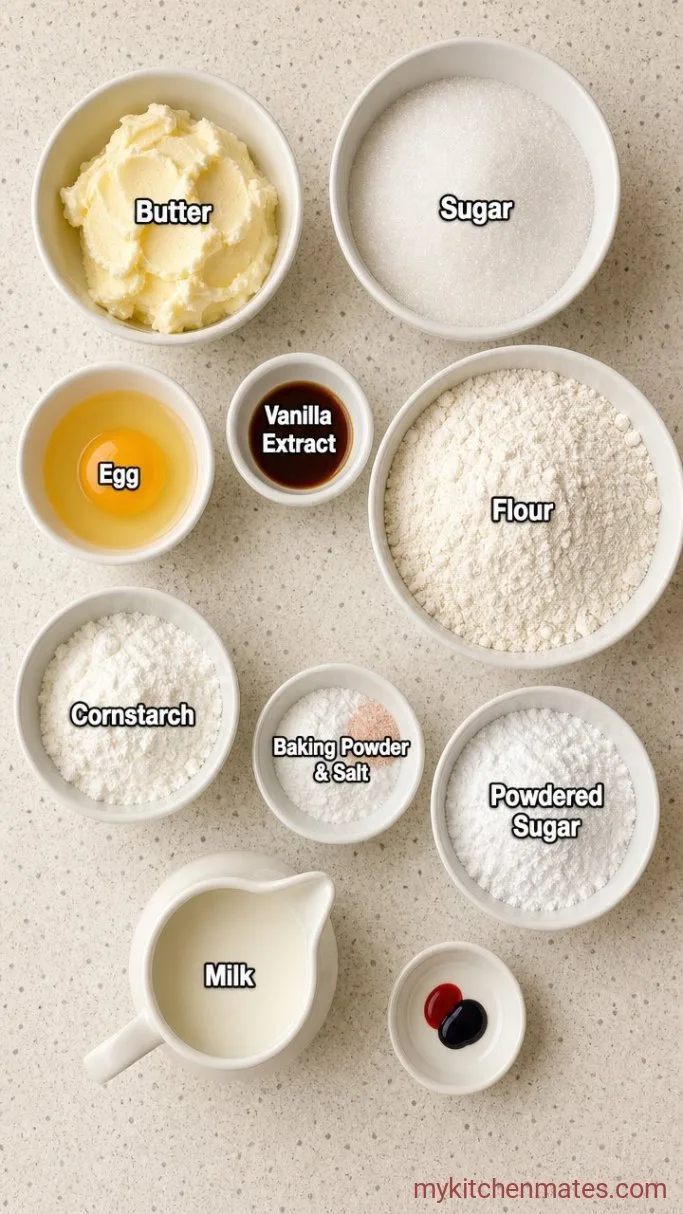
- 1 cup unsalted butter, softened: take it out of the fridge about 45 minutes ahead. If using salted, reduce the added salt to a pinch.
- 1 cup granulated sugar: plain white sugar keeps the crumb tender and the color pale.
- 1 large egg, room temperature: cold egg can make the butter seize up, so leave it on the counter while the butter softens.
- 1½ tsp vanilla extract: the real stuff is nice, but a good imitation works fine here.
- 2½ cups all-purpose flour, spooned and leveled: too much flour makes dry cookies, so don’t scoop straight from the bag.
- 2 tbsp cornstarch: the secret for a tender bite and minimal spread.
- ½ tsp baking powder: gives just enough lift without puffing up the shape.
- ¼ tsp fine sea salt: rounds out the sweetness.
Quick Glaze (optional)
- 1 cup powdered sugar
- 2 to 3 tsp milk, any fat content
- ¼ tsp vanilla extract
- gel food coloring, if you like
Variations and Swaps
- No cornstarch?: leave it out, but know the cookies may spread a touch more and won’t be quite as soft.
- Almond extract: swap half the vanilla for ¼ tsp almond extract for a bakery-style note.
- Gluten free: use a 1-to-1 baking flour blend that contains xanthan gum; the dough will feel a bit stickier so dust your surface well.
- Royal icing instead of glaze: if you want a hard, shiny top that stacks cleanly, a simple royal icing works. The glaze here stays a little soft and is quicker to whip up.
Soft Ice Cream Sugar Cookies are another reader favorite dessert worth making next.
How to Make No-Chill Sugar Cookies
Step 1: Cream the Butter and Sugar
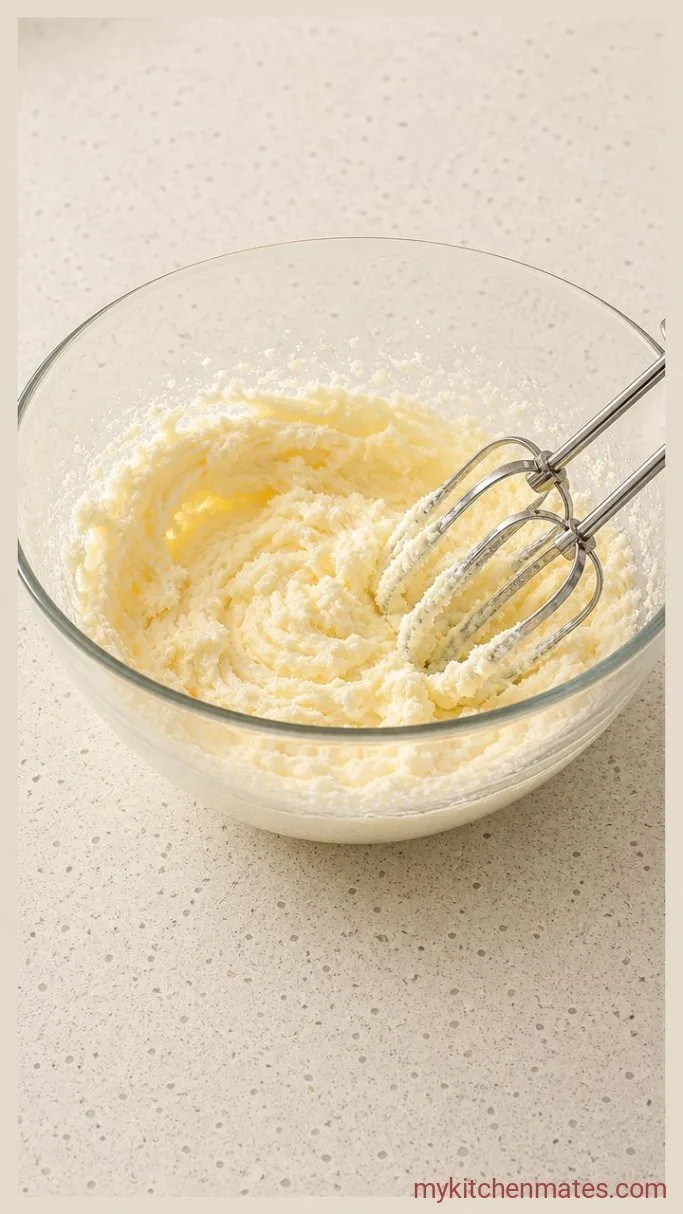
Set your oven to 350°F (180°C) and place a rack in the middle. In a large bowl, beat the 1 cup softened butter and 1 cup sugar with an electric mixer on medium speed for about 2 minutes, until the mixture looks fluffy and a notch lighter in color.
Scrape down the bowl once halfway through to catch any butter hugging the sides. You want the sugar mostly dissolved, not gritty. If you rub a bit between your fingers, it should feel smooth with just a faint sandy feel.
Step 2: Mix the Dough
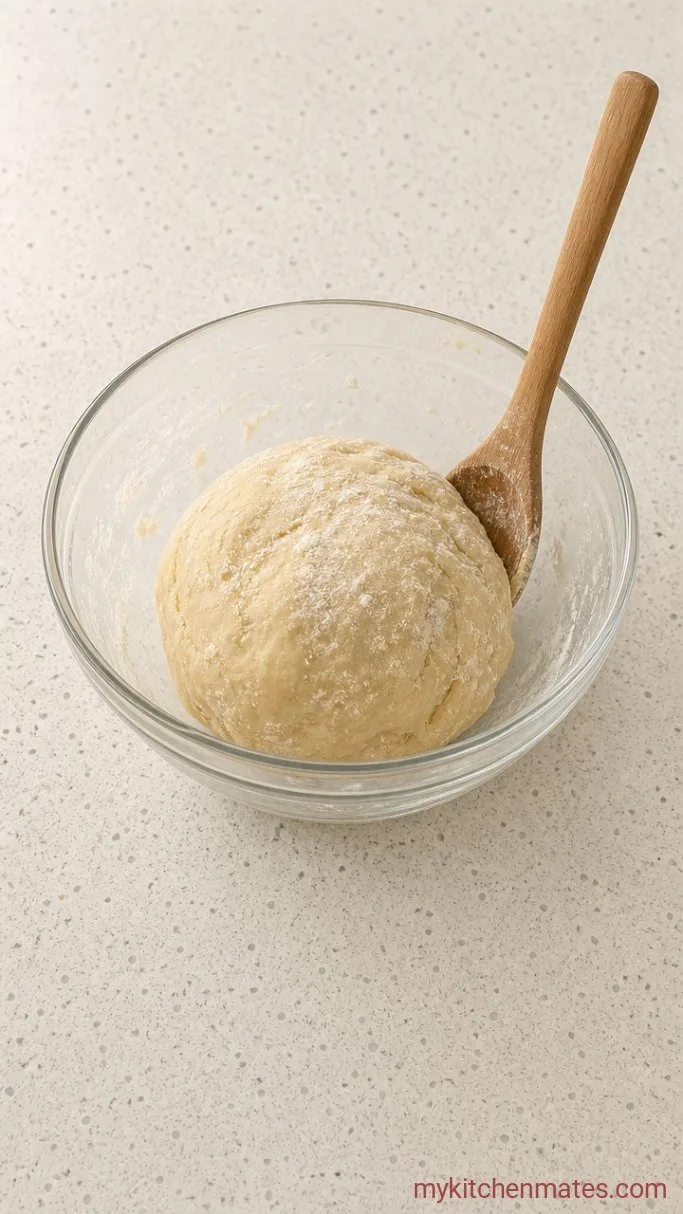
Crack the 1 egg into the butter mixture, add the 1½ tsp vanilla, and beat on low just until the yolk disappears. In a separate bowl, whisk together the 2½ cups flour, 2 tbsp cornstarch, ½ tsp baking powder, and ¼ tsp salt. Add the dry mix to the wet in two goes, beating on low each time until a few streaks of flour remain, then stop. Use a spatula to fold everything together until no dry spots hide at the bottom.
The dough will be soft and a little tacky but not sticky. If you press a finger into it, the indent should hold its shape without filling in. Overbeating builds gluten and makes the cookies tough, so go gently in the home stretch.
Step 3: Roll and Cut the Cookies
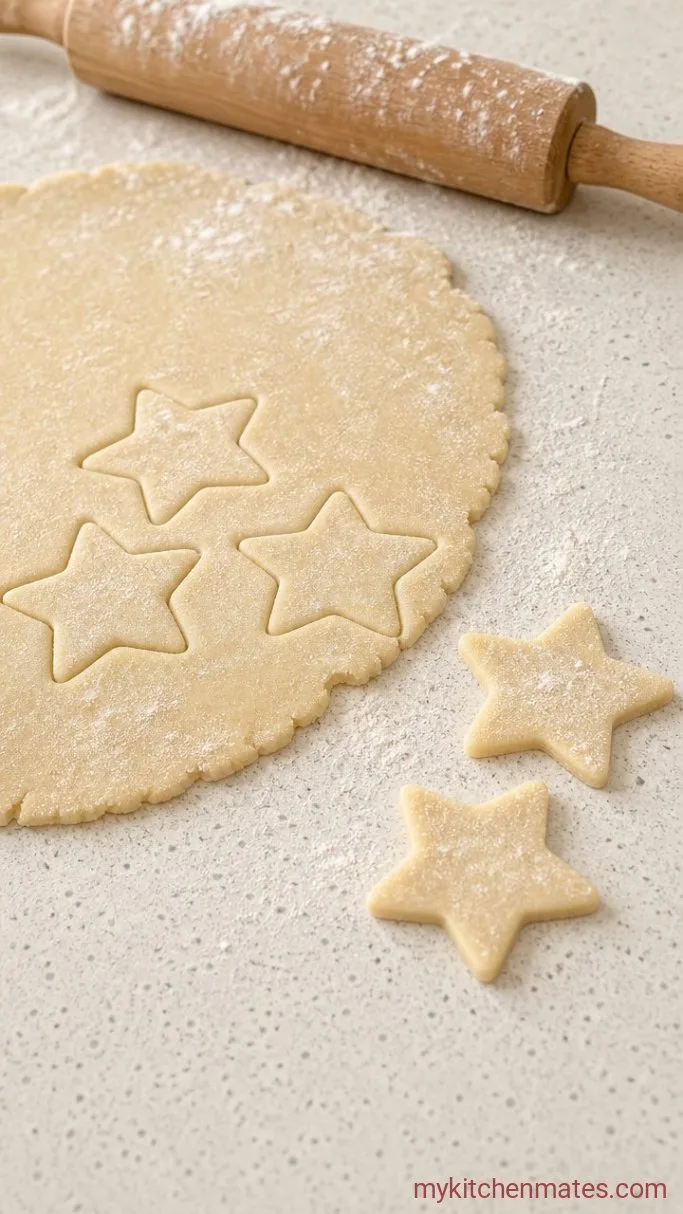
Dust your work surface and a rolling pin with flour. Turn half the dough out, shape it into a disc, and roll it to a scant ¼-inch thickness. Lift the dough every few rolls and give it a quarter turn to stop it from sticking. Cut out shapes with whatever cutters you have, then use a thin spatula to transfer the cutouts to a parchment-lined baking sheet, spacing them an inch apart.
Gather the scraps, press them together lightly, and re-roll once. The re-rolled cookies will be a tiny bit less tender but still taste great. If the dough gets warm and floppy, slide the whole sheet of cutouts into the freezer for 5 minutes while you roll the second half.
Step 4: Bake the Cookies
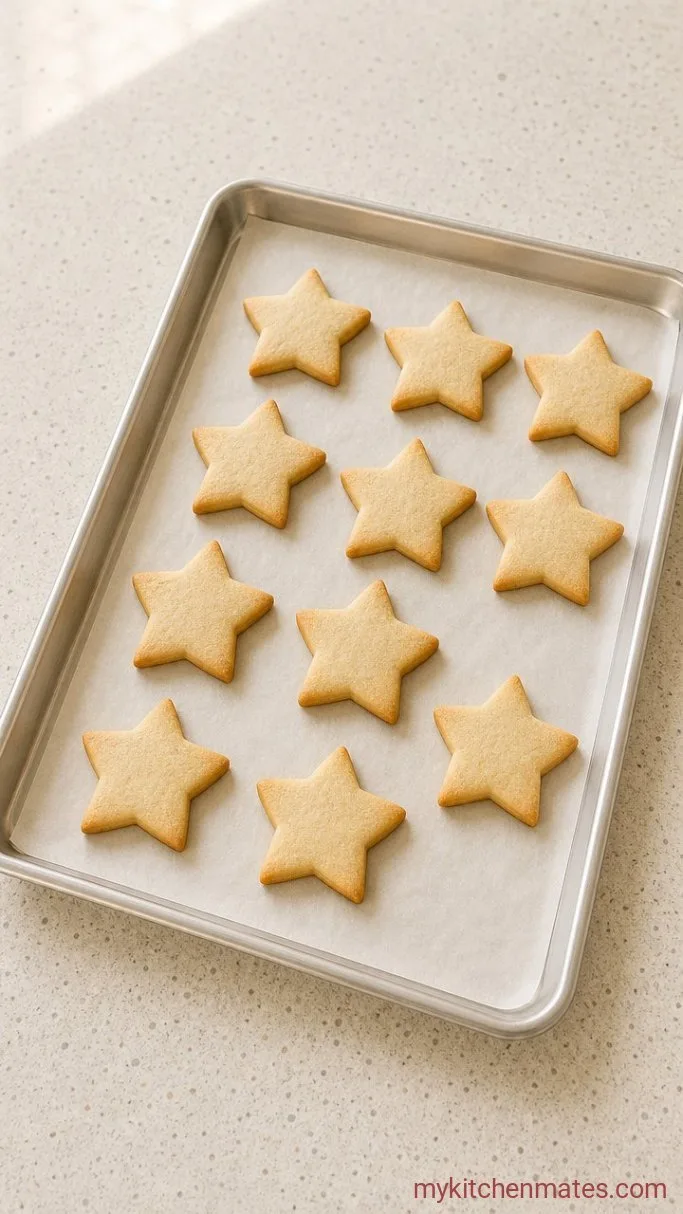
Pop the sheet onto the middle rack and bake for 8 to 10 minutes, until the bottoms are just starting to turn pale gold and the tops look dry. The centers will still feel soft when you press them ever so slightly, and that’s exactly what you want because they firm up as they cool.
Let the cookies rest on the sheet for 2 minutes, then move them to a wire rack to cool completely before glazing. Baking one sheet at a time gives the most even color, but if you’re in a hurry, rotate two sheets midway.
Step 5: Glaze and Decorate
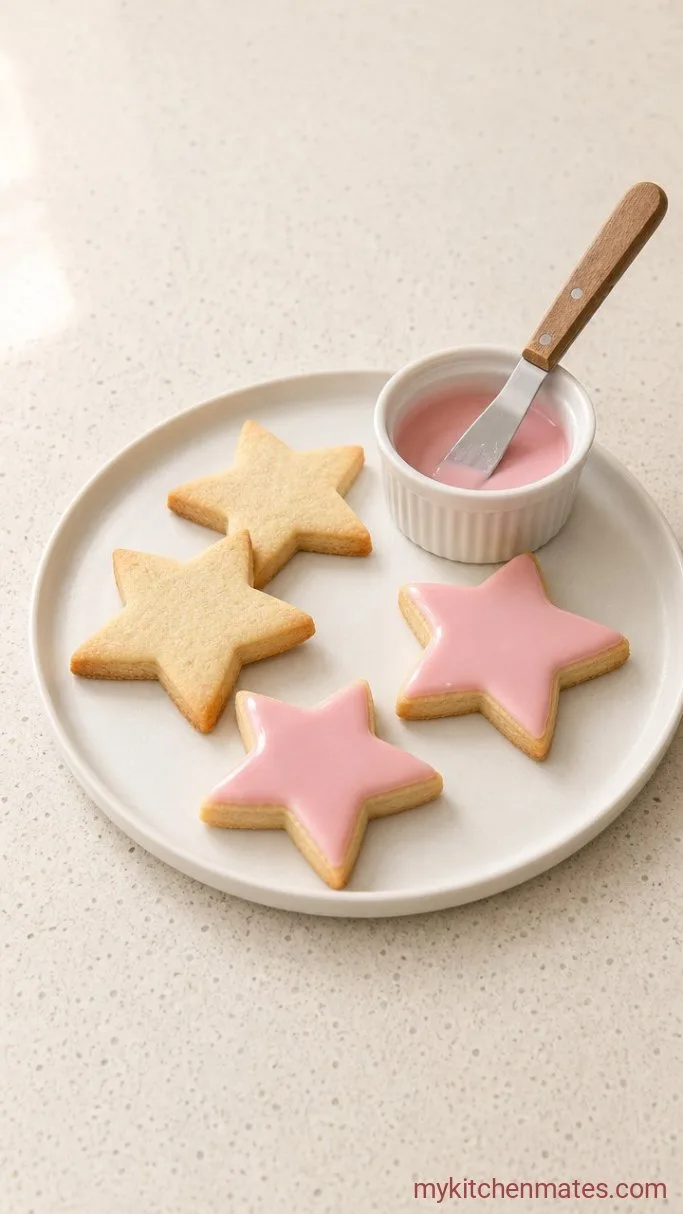
Stir the 1 cup powdered sugar, 2 tsp milk, and ¼ tsp vanilla in a small bowl until smooth. If the glaze is too thick to spread, add the extra teaspoon of milk a few drops at a time. For colored glaze, stir in a dab of gel food coloring. Spread a thin layer over each cooled cookie with the back of a spoon or a small offset spatula, then add sprinkles while the glaze is still wet.
The glaze sets with a soft matte finish in about 20 minutes, so you can stack them without wrecking your artwork. Serve them right away or let them sit out for a party platter. The cookies themselves stay good for days, but the decorated tops look their best the first day.
Tips for Clean, Cute Cookies
- Roll the dough to a consistent thickness. A ¼-inch guide ring on your rolling pin or two stacks of skinny dowels on either side of the dough help, so the cookies bake evenly.
- Dip your cutter in flour between each press to get a clean release and sharp edges.
- The most common slip is grabbing hot butter from the microwave. Softened butter should give when you press it with a finger but still feel cool and hold its shape. If it’s greasy or runny, chill it for a few minutes.
- For extra-crisp cookies, bake a minute longer until the edges turn lightly golden. They’ll be snappier and still taste buttery.
Bake times for different thicknesses:
| Thickness | Bake time |
|---|---|
| ⅛ inch | 6 to 8 mins |
| ¼ inch | 8 to 10 mins |
| ½ inch | 10 to 12 mins |
Storing Leftover Cookies
Keep unglazed cookies in an airtight container at room temperature for up to 5 days. Glazed cookies stay fresh for about 3 days. You can also freeze baked, unglazed cookies for up to a month, layered between sheets of parchment. Defrost them on the counter and glaze just before serving.
Frequently Asked Questions
Do I really not need to chill the dough?
No, the ratio of flour, butter, and cornstarch is enough to stop spreading. That said, if your kitchen is hot and the dough feels greasy, a quick 5-minute chill after rolling won’t hurt.
Why did my cookies puff and lose their shape?
The butter was likely too soft when you creamed it, or the dough got over-mixed. Both trap extra air and make the cookies rise unevenly.
Can I freeze the dough instead of baking right away?
Yes. Flatten the dough into a disc, wrap it tightly, and freeze for up to 3 months. Thaw in the fridge overnight, then let it sit at room temperature for 10 minutes before rolling.
My glaze is sliding off. What went wrong?
The cookies were still warm. Wait until they’re completely cool before glazing, otherwise the icing thins out and runs.
No-Chill Sugar Cookies Recipe
Ingredients
Method
- Beat butter and sugar on medium speed for 2 minutes until fluffy. Scrape the bowl once.
- Mix in the egg and vanilla on low, then add the whisked dry ingredients in two additions, folding the last streaks by hand.
- Roll half the dough on a floured surface to ¼-inch thickness, cut shapes, and transfer to a parchment-lined sheet. Repeat with remaining dough, pressing scraps together once.
- Bake at 350°F (180°C) for 8 to 10 minutes, until bottoms are pale gold. Cool on the sheet for 2 minutes, then move to a wire rack.
- Stir together powdered sugar, 2 tsp milk, and vanilla for the glaze, adding more milk if needed. Spread onto completely cooled cookies and add sprinkles.
Notes
