
No-Bake Cherry Cheesecake

No-bake cherry cheesecake is the dessert you reach for when you want something impressive but refuse to turn on the oven. A thick, buttery graham cracker crust holds a cloud of cream cheese filling that sets up silky smooth in the fridge.
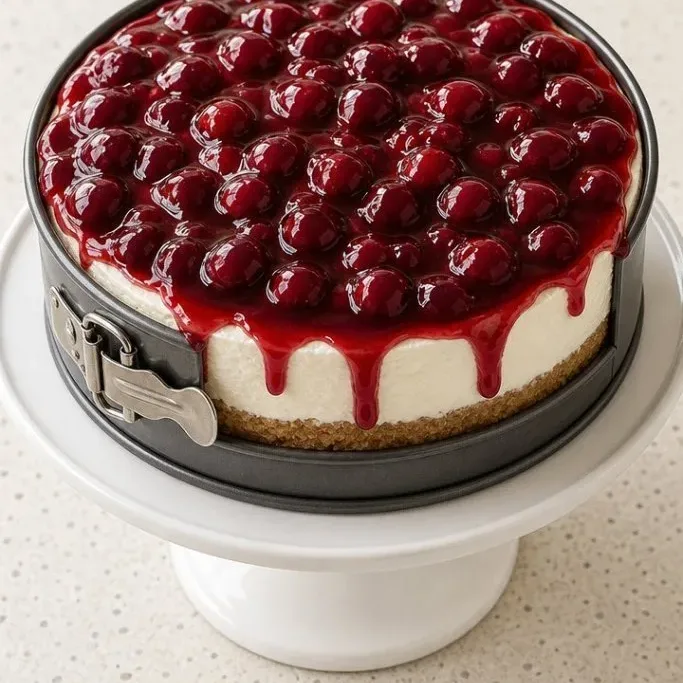
Top it with a can of cherry pie filling right before serving and you have a retro dessert that tastes like a diner classic. Every bite is tart, sweet, and absurdly creamy.
Why This Cheesecake Stays So Creamy
I keep coming back to this recipe because it’s the only no-bake version I’ve tried that doesn’t turn dense or rubbery. Whipping the heavy cream to soft peaks before folding it in gives the filling lift without any gelatin.
It has that tangy cream cheese flavor you expect, with just enough sweetness to balance the cherries. The whole thing sets up in the fridge with no mixer trickery, just patience while it chills.
Ingredients
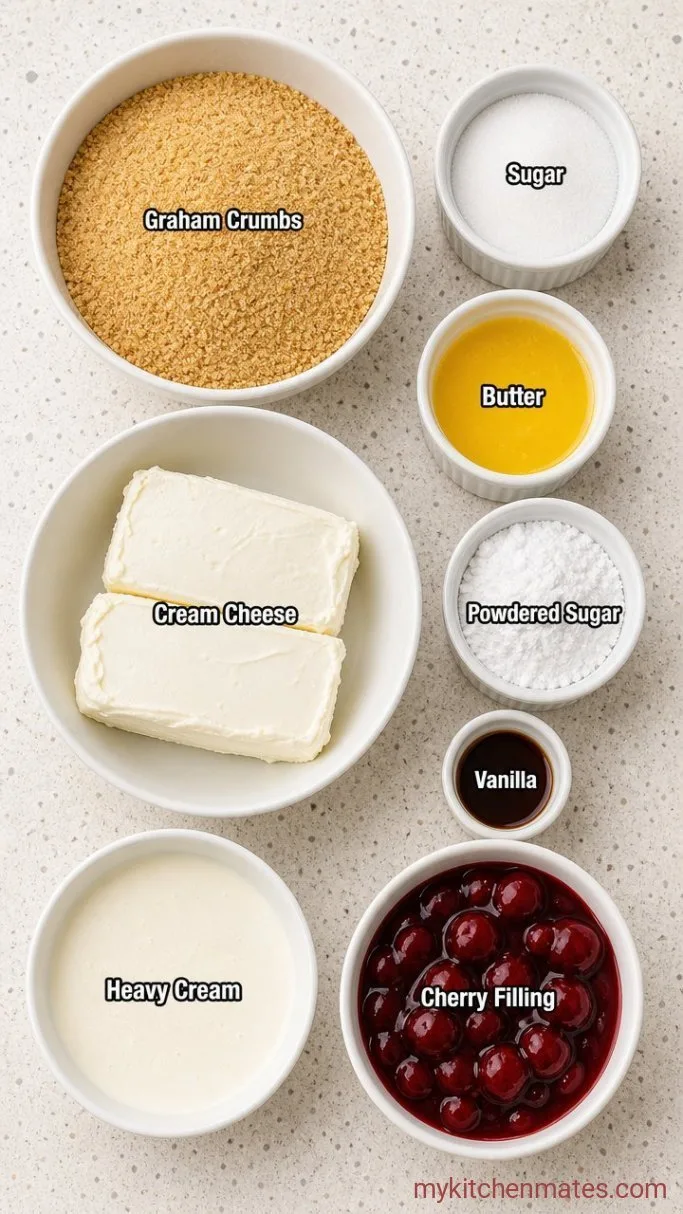
- 1 1/2 cups graham cracker crumbs (about 10 full sheets): use honey grahams for the best flavor
- 1/4 cup granulated sugar: just enough to sweeten the crust without making it sticky
- 6 tbsp unsalted butter, melted: plus a little for greasing the pan
- 16 oz cream cheese, softened: two 8-ounce blocks, full-fat for the richest texture
- 3/4 cup powdered sugar: sift if it’s lumpy
- 1 tsp vanilla extract: pure vanilla gives a rounded flavor
- 1 cup heavy cream, cold: keep it in the fridge until you’re ready to whip
- 1 can (21 oz) cherry pie filling: or homemade cherry topping if you have time
Simple Swaps and Substitutions
- Change the fruit: swap the cherry pie filling for blueberry, strawberry, or raspberry. The tangy filling works with any jammy fruit.
- Try a chocolate crust: replace the graham crackers with an equal amount of crushed Oreos (skip the sugar) for a cookies-and-cream twist.
- Add a little lemon: stir 1 tablespoon fresh lemon juice into the cream cheese mixture to brighten the flavor.
- Make it a plain cheesecake: leave off the topping and dust with powdered sugar instead. It’s still a lovely dessert on its own.
Cherry Tomato Pesto Pasta is a great main dish to serve alongside this cheesecake.
How to Make No-Bake Cherry Cheesecake
Step 1: Press the Buttery Crust
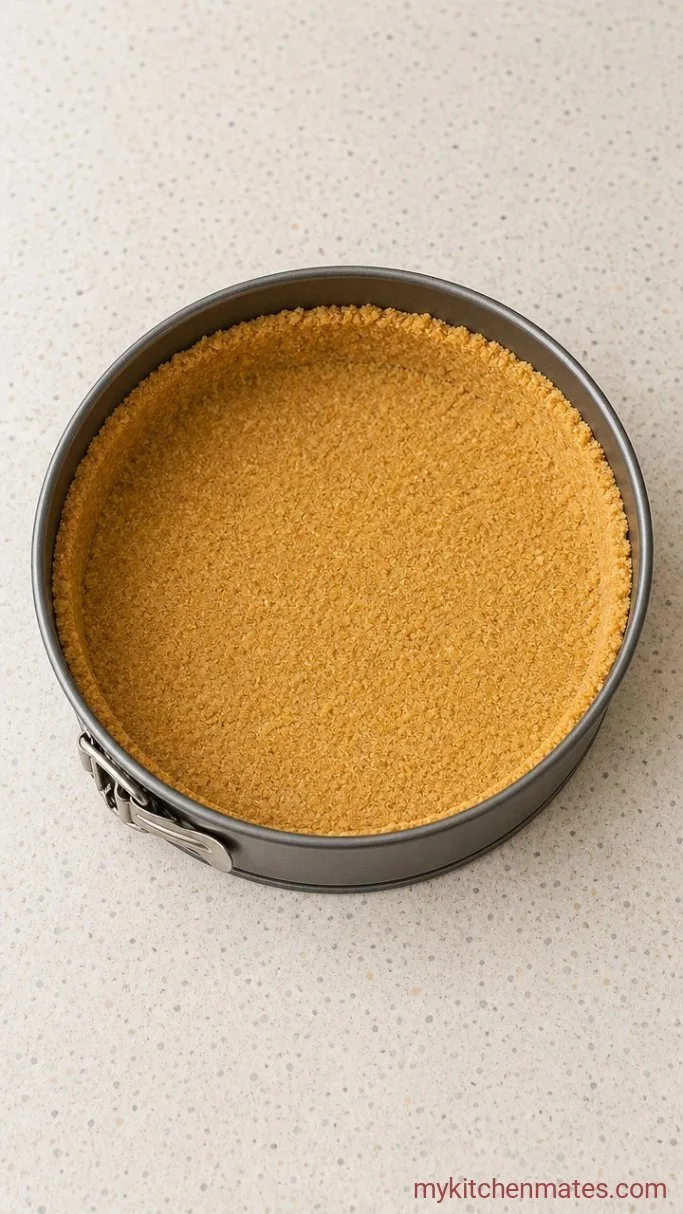
Lightly grease the bottom and sides of a 9-inch springform pan. Stir the graham cracker crumbs, 1/4 cup sugar, and melted butter together until the mixture looks like wet sand. Press it firmly into the bottom of the pan and a little way up the sides. Pop the crust into the freezer for 10 minutes while you make the filling.
The crust should feel firm when you take it out. That short chill keeps it from crumbling later, especially when you slice into the cheesecake. If you’re using a regular pie dish instead of a springform, just press the crumbs into the bottom and skip the freezer step unless your kitchen is warm.
Step 2: Whip the Cream Cheese Base
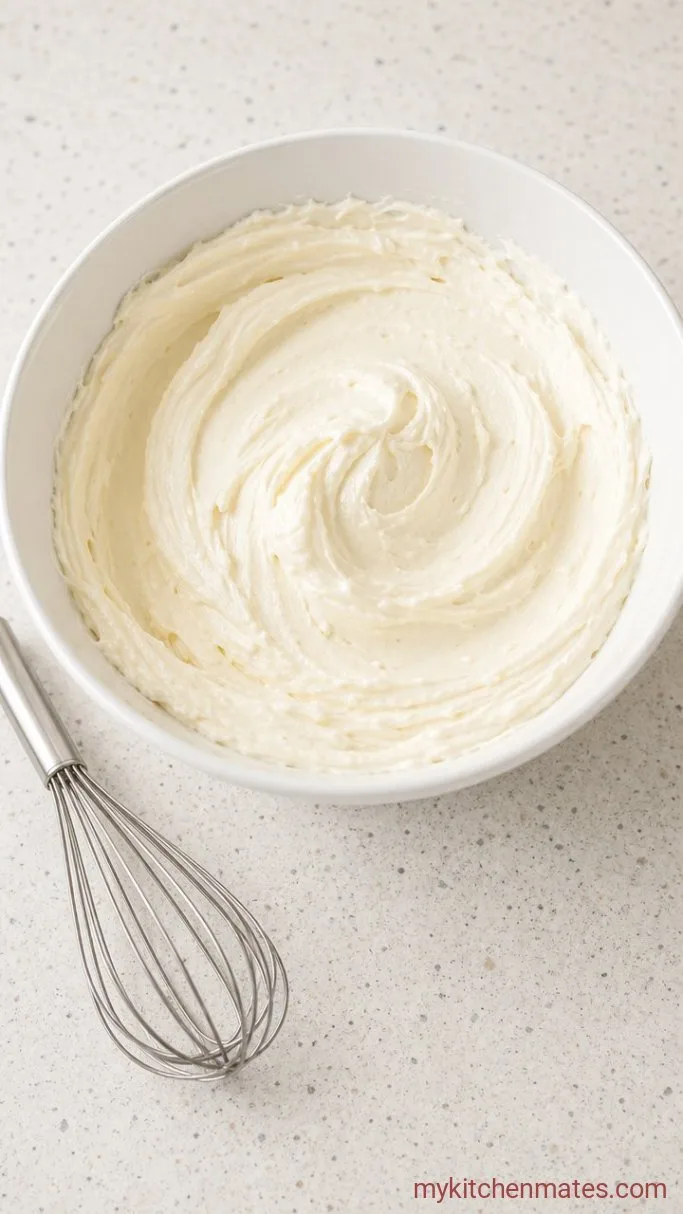
In a large bowl, beat the softened cream cheese, 3/4 cup powdered sugar, and vanilla until completely smooth, about 2 minutes. Stop and scrape down the sides of the bowl a few times so no pockets of cream cheese hide out.
Take your time here. Any lumps will stay in the finished cheesecake, so keep beating until the mixture looks glossy and pale. You’ll know it’s ready when you drag a spatula through and it feels silky, not grainy.
Step 3: Fold and Fill the Pan
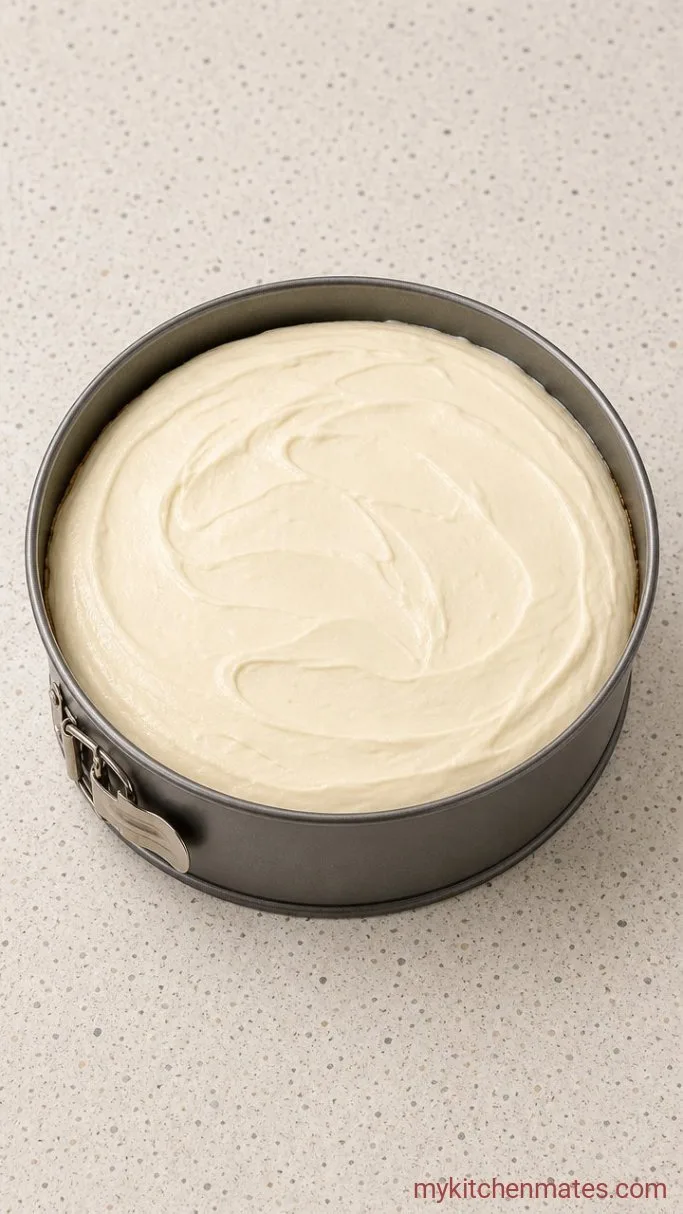
In a separate bowl, whip the cold heavy cream to soft peaks, about 2 to 3 minutes. Gently fold the whipped cream into the cream cheese mixture with a spatula. A few streaks of white are fine—the goal is to keep the air you just whipped in.
Spoon the filling onto the chilled crust and spread it into an even layer. Cover the pan with plastic wrap and refrigerate for at least 4 hours, or overnight, until the cheesecake feels firm in the center. The fridge does all the work; no gelatin needed.
Step 4: Top with Cherry Pie Filling
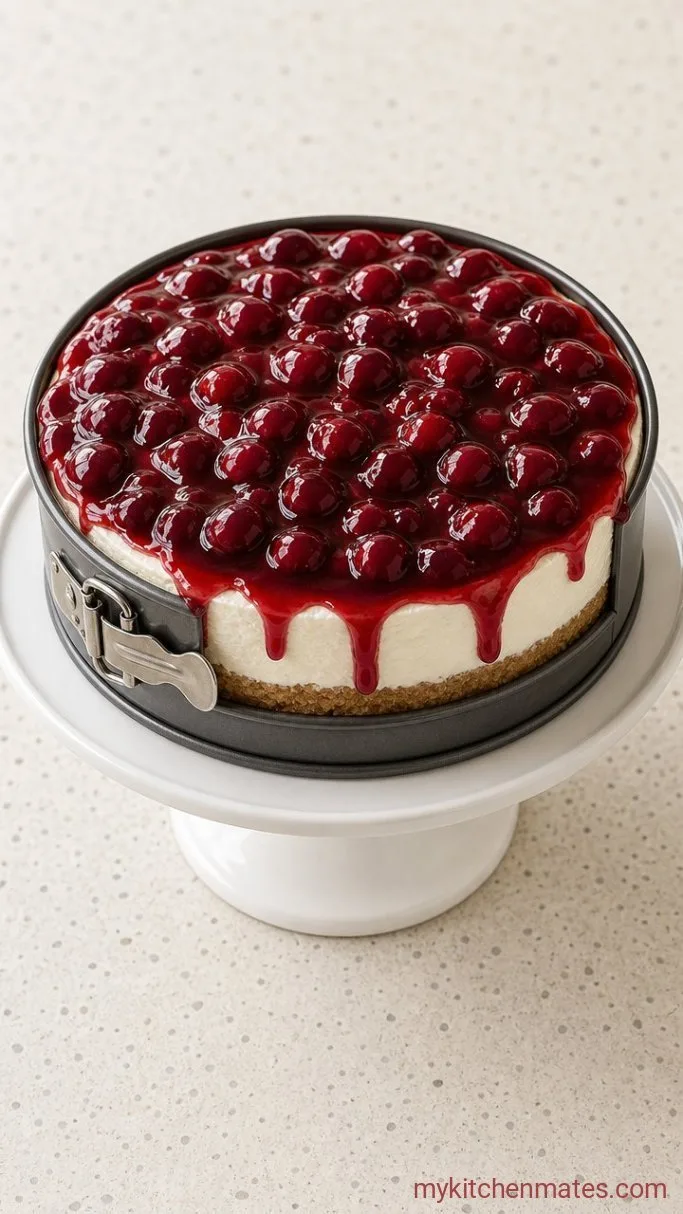
Remove the ring from the springform pan, running a thin knife around the inside edge first to release the cheesecake. Spoon the cherry pie filling over the top, spreading it nearly to the edge. Slice into wedges and serve cold.
The contrast between the snowy white filling and the glossy red cherries is what makes this dessert so fun to serve. Keep napkins handy—it’s a little messy in the best way.
Tips for the Smoothest No-Bake Cheesecake
- Beat the cream cheese alone first: if you really want zero lumps. Beat it for a minute before adding the sugar and vanilla, then scrape the bowl well.
- Dip your knife in hot water: and wipe it clean between each cut. That’s the trick for picture-perfect slices that don’t drag crumbs through the filling.
- If the cherry topping looks thick and jelled, stir it gently in a bowl to loosen it up before spooning it over the cheesecake.
- A springform pan gives the neatest presentation, but a deep-dish pie plate works too. Just press the crust only on the bottom so it’s easier to serve.
Storing Leftovers
- Refrigerate: loosely covered with plastic wrap for up to 4 days. The crust will soften a little but still tastes great. Serve it straight from the fridge—no need to bring it to room temperature.
Frequently Asked Questions
Can I make this cheesecake the day before?
Yes, it actually tastes better the next day because the filling has more time to set. Assemble it, cover, and refrigerate overnight, then add the cherry topping right before serving.
What if I don’t have a springform pan?
Use a deep-dish 9-inch pie plate. Press the crust only on the bottom, not up the sides, so the slices lift out more easily.
Can I use low-fat cream cheese?
I don’t recommend it. Low-fat cream cheese has more moisture and won’t set as firmly, so the cheesecake can turn out soft and a little weepy.
What other toppings work well?
Any canned fruit pie filling works the same way—blueberry, strawberry, raspberry. Or skip the topping entirely and let the creamy filling shine on its own.
No-Bake Cherry Cheesecake Recipe
Ingredients
Method
- Grease a 9-inch springform pan. Mix graham cracker crumbs, granulated sugar, and melted butter. Press firmly into the bottom and slightly up the sides. Freeze for 10 minutes.
- Beat the cream cheese, powdered sugar, and vanilla until completely smooth, about 2 minutes, scraping the bowl.
- In another bowl, whip the heavy cream to soft peaks. Fold into the cream cheese mixture. Spread over the crust, cover, and refrigerate at least 4 hours or overnight.
- Remove the pan ring. Spoon cherry pie filling over the top and serve cold.
Notes
