
15-Minute No-Bake Mini Cheesecake Bites

These mini cheesecake bites skip the oven entirely. A buttery graham cracker base holds a creamy, tangy filling that sets up in the fridge.
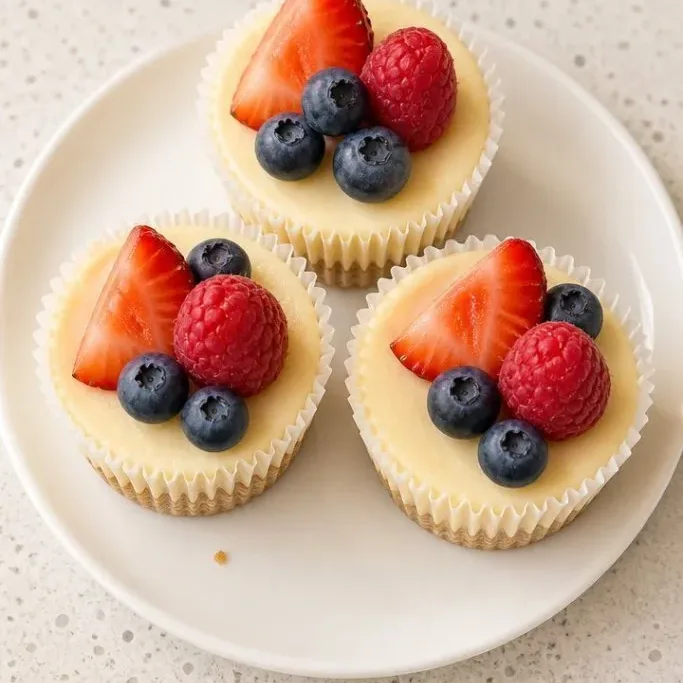
They come together with about 15 minutes of hands-on work. Make a batch before a party and keep them cold until you set the tray out.
Why These Little Cheesecakes Work Every Time
The ratio is simple and balanced. Equal parts richness from full-fat cream cheese, a little lift from real vanilla, and just enough sugar to soften the tang without burying it.
The texture stays smooth because you whip the heavy cream separately and fold it in. No tunnels, no graininess, and no chewing through cold butter. Each bite is light, cool, and clean on the tongue.
Ingredients
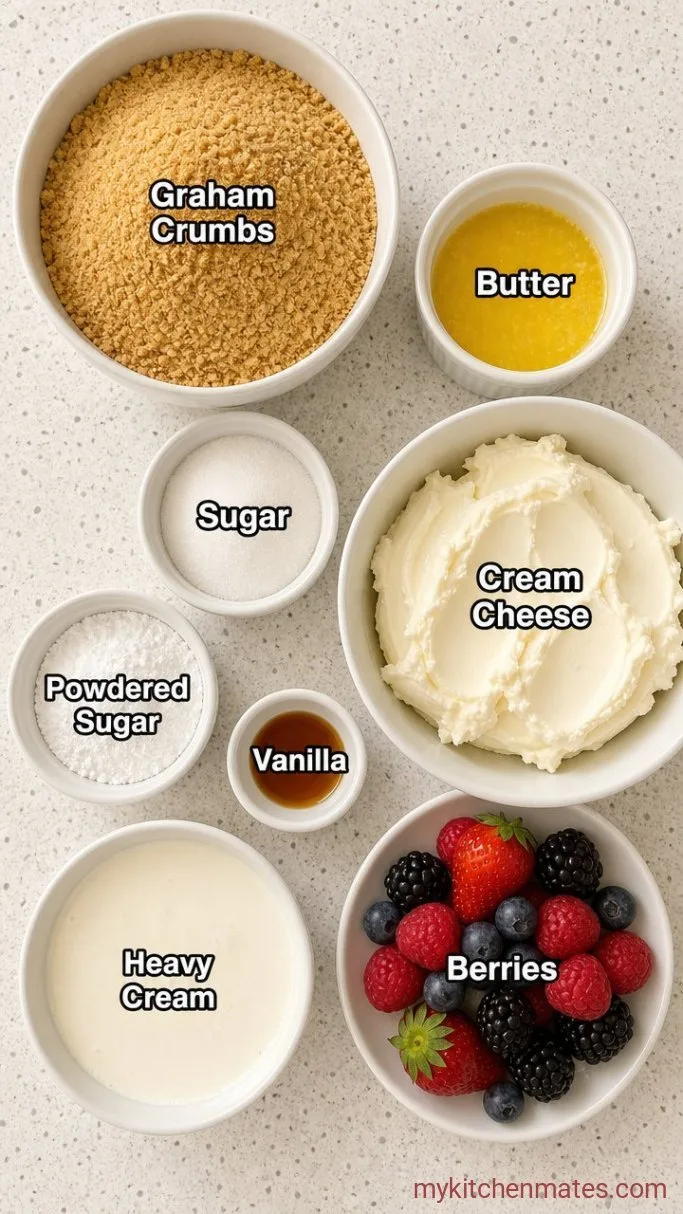
- 1 cup (120 g) graham cracker crumbs, from about 8 whole sheets: use plain honey grahams for a classic crust
- 3 tbsp unsalted butter, melted: salted butter works too, just skip any extra salt
- 2 tbsp granulated sugar: helps the crust hold together and adds a little crunch
- 8 oz (226 g) full-fat cream cheese, softened: block cream cheese, not the tub kind
- 1/3 cup (40 g) powdered sugar: dissolves smoothly, no grittiness
- 1 tsp vanilla extract: the real stuff, or use vanilla bean paste
- 1/2 cup (120 ml) heavy whipping cream, cold: keep it in the fridge until you pour it in the bowl
- Fresh berries or cherry pie filling, for serving: optional, but a little color on top makes them feel finished
Variations / Substitutions
- Swap the crust: use crushed shortbread, vanilla wafers, or even chocolate sandwich cookies without the filling.
- Lighten the tang: blend in 2 tbsp sour cream or full-fat Greek yogurt with the cream cheese.
- Use a different topping: a spoonful of lemon curd, warm blueberry compote, or a thin drizzle of dark chocolate.
- Make them gluten-free: use certified gluten-free graham-style crackers.
No-Bake Strawberry Cheesecake Parfait Cups are another dessert you’d probably love if you enjoy these cheesecake bites.
How to Make Mini Cheesecake Bites
Step 1: Mix the Graham Cracker Crust
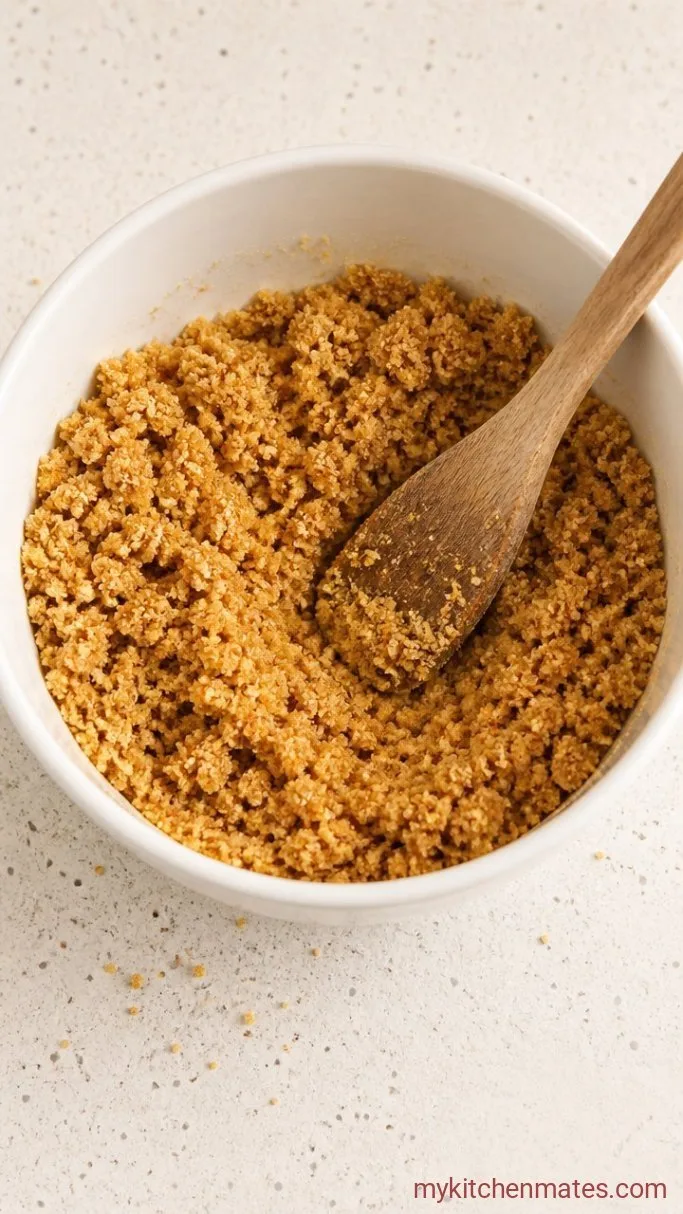
Combine the 1 cup graham cracker crumbs, 3 tbsp melted butter, and 2 tbsp granulated sugar in a small bowl. Stir with a fork until every crumb looks moist and the mixture holds together when you squeeze a handful.
The texture should feel like wet sand. If you press it between your fingers and it falls apart, drizzle in another half teaspoon of melted butter.
This step takes less than 2 minutes, so line a 12-cup mini muffin pan with paper liners while you stir. The liners make pulling the bites out later completely effortless.
Step 2: Press the Crusts into the Liners
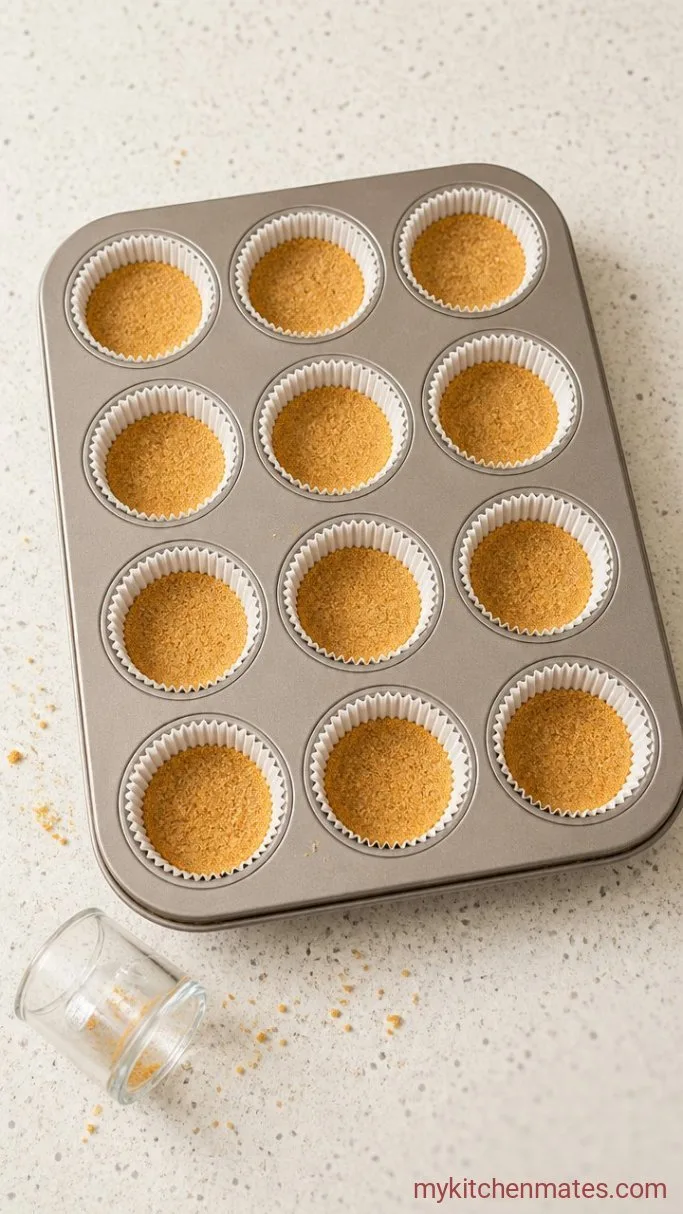
Spoon a rounded teaspoon of the crumb mixture into each lined cup. Tamp it down with the back of the spoon or a small flat-bottomed glass until the layer is even and tight.
You want a firm base that won’t crumble when you bite into it. About 3 gentle presses per cup does the job. If you pack it too hard, it turns into a dense paste, so stop as soon as it feels compact.
Aim for roughly the same depth across all 12 so they freeze and set evenly.
Step 3: Whip the Cream and the Cream Cheese Filling
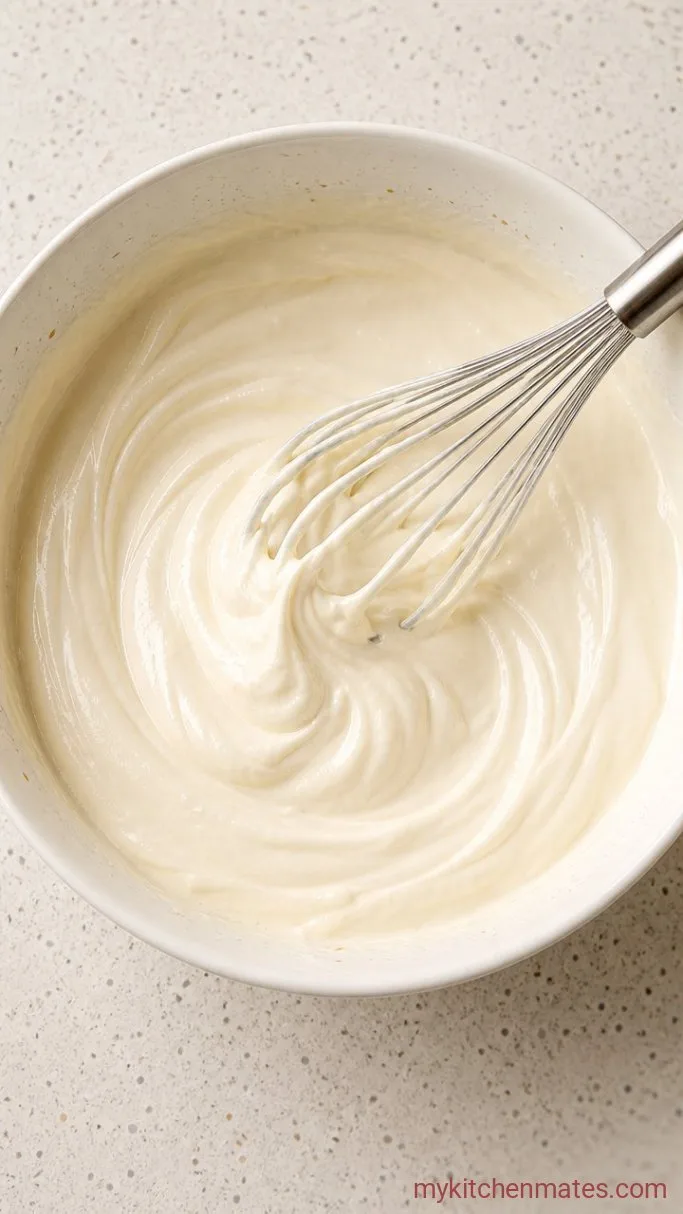
Put the 1/2 cup cold heavy whipping cream in a medium bowl. Beat with a hand mixer on medium-high until soft peaks form, about 2 minutes. Soft peaks mean the cream holds its shape but the tip flops over when you lift the beaters.
In a separate larger bowl, beat the 8 oz softened cream cheese, 1/3 cup powdered sugar, and 1 tsp vanilla extract on medium speed until the mixture is smooth and lump-free, about 1 minute. Stop once to scrape down the sides and the bottom of the bowl.
The cream cheese mix should look glossy and uniform. If you feel any small lumps under your spatula, keep beating for another 30 seconds.
Step 4: Fill the Cups and Chill
Scoop the whipped cream into the cream cheese bowl. Use a spatula to fold the two together with broad circular motions, lifting from the bottom until no white streaks remain. The goal is a light, airy filling, so fold gently and stop as soon as it is uniform.
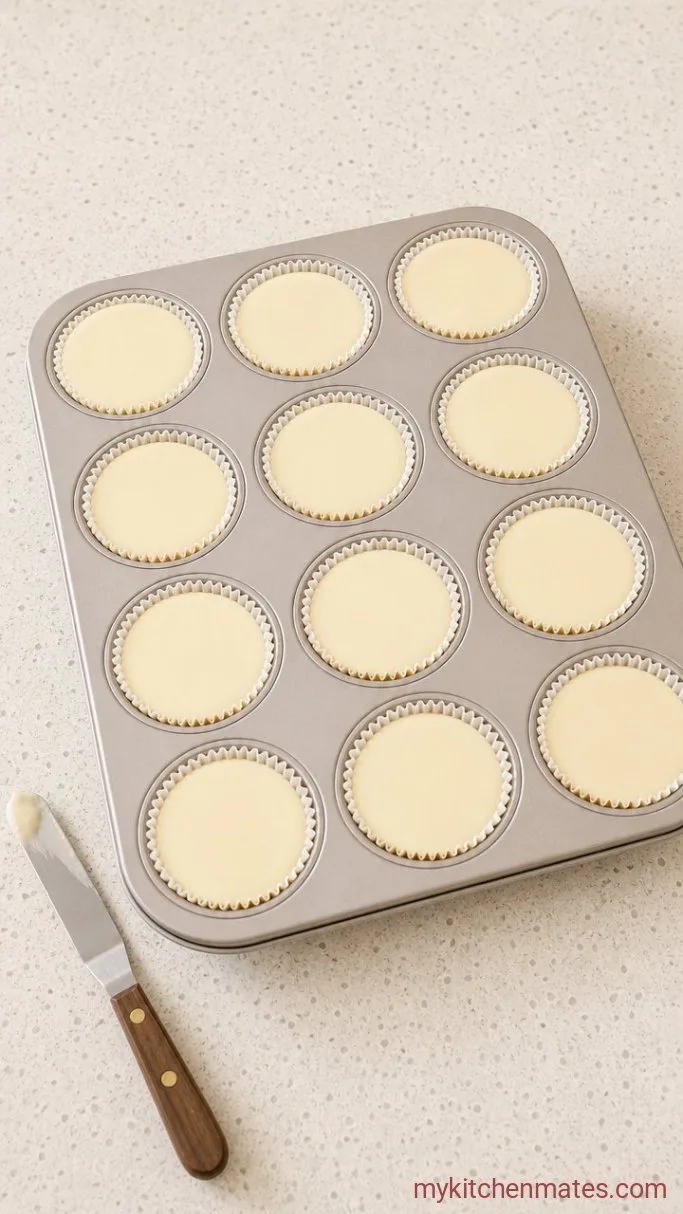
Spoon the filling into the crust-lined cups, dividing it as evenly as you can. The filling will mound slightly above the liner rim. Smooth the tops with the back of a spoon or an offset spatula.
Refrigerate the pan for at least 2 hours, until the bites are firm to the touch. Do not rush this. If you try to lift them out too soon, the filling will sag.
Step 5: Top and Serve
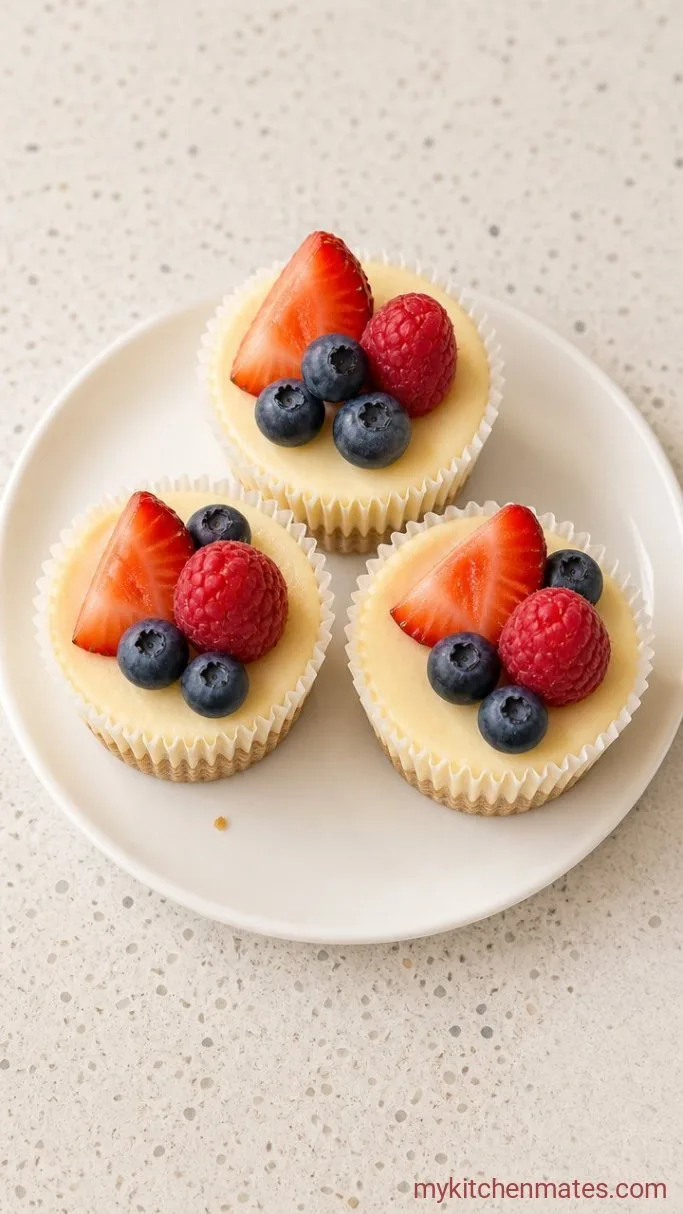
Peel the paper liners away from each cheesecake bite. Arrange them on a platter and top each one with a raspberry, a plump blueberry, or a small spoonful of cherry pie filling right before you serve.
The cold bites contrast well with a glossy, room temperature fruit topping. Serve them straight from the fridge while they are still cool and firm.
Tips for Smooth Mini Cheesecakes
- Soften the cream cheese on the counter for about 30 minutes, not in the microwave. Overheated cream cheese can get a grainy feel later.
- Whip the cream first, then rinse and dry the beaters before creaming the cheese. Any fat left behind makes the cream cheese lumpy.
- Let the bites sit in the fridge overnight if you can. The texture tightens up and the vanilla note deepens.
- If you want a cleaner cut on the fruit, slice strawberries into thin fans and lay one across each bite.
Storing Leftovers
- Refrigerate: Keep the undecorated bites in a sealed container for up to 5 days. Put parchment between layers so they don’t stick together.
- Freeze: Place them on a parchment-lined tray, freeze until solid, then move to a freezer bag for up to 2 months. Thaw in the fridge for a few hours before adding any topping.
- Serve cold: They are meant to be eaten right from the refrigerator. The filling softens quickly on a warm counter.
Frequently Asked Questions
Can I use low-fat cream cheese?
No, low-fat cream cheese has more water and won’t set up as firmly. The filling will turn out softer and weep a little as it sits.
Why did my filling turn out runny?
The heavy cream was either not whipped to soft peaks, or the filling was overfolded and lost its volume. Make sure the cream forms floppy peaks before you fold.
Do I need to line the pan with paper liners?
Paper liners make removal quick and keep the crust intact. If you don’t have any, grease the cups lightly with butter and pop the bites out with a small offset spatula once they are fully chilled.
Can I make these ahead for a party?
Yes, they are an ideal make-ahead dessert. Prepare them the day before, keep them covered in the fridge, and add the toppings just before guests arrive so the fruit stays bright.
Mini Cheesecake Bites Recipe
Ingredients
Method
- Stir graham cracker crumbs, melted butter, and granulated sugar in a bowl until the mixture resembles wet sand.
- Press a rounded teaspoon of the crust into each paper-lined cup of a 12-cup mini muffin pan. Pack it down until firm and even.
- Whip the cold heavy cream to soft peaks. In another bowl, beat cream cheese, powdered sugar, and vanilla until smooth.
- Fold the whipped cream into the cream cheese mixture, then spoon the filling into the crust cups. Smooth the tops and refrigerate at least 2 hours until firm.
- Remove the liners, top each bite with fruit, and serve cold.
Notes
