
Kuromi Birthday Cake (Simple Frosting, Big Character)

This Kuromi birthday cake is a rich chocolate layer cake covered in pink buttercream and decorated with a piped face and hat that make it instantly recognizable. The decoration looks far more complicated than it really is, so even a home cook who’s never piped a character before can pull it off.
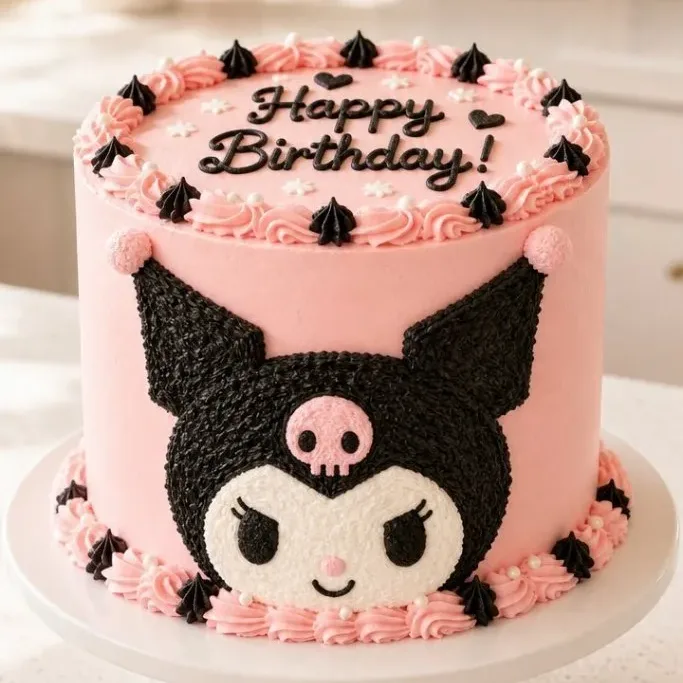
The cake itself is soft and deeply chocolatey, sturdy enough to hold a thick coat of frosting without crumbling, so the final design stays clean and sharp. It’s the kind of dessert that makes a Kuromi fan light up the moment they see it.
Why This Kuromi Cake Is So Fun to Make
I love that you don’t need special cake pans or sculpting skills to create something this cute. A few minutes of simple piping with a round tip and some gel food coloring are all it takes to turn an ordinary cake into the Sanrio character’s face.
The chocolate cake recipe is the one I keep coming back to. It stays moist for days and has a deep, real cocoa flavor that balances out the sweet frosting so the whole slice never tastes one-note. The pink buttercream gives it that bright, celebratory look, and the black details pop just enough to read as Kuromi from across the room.
Plus, you get to skip the fondant drama. No rolling, no precise cutouts, just frosting and a steady hand. That alone makes this feel like a win.
Ingredients
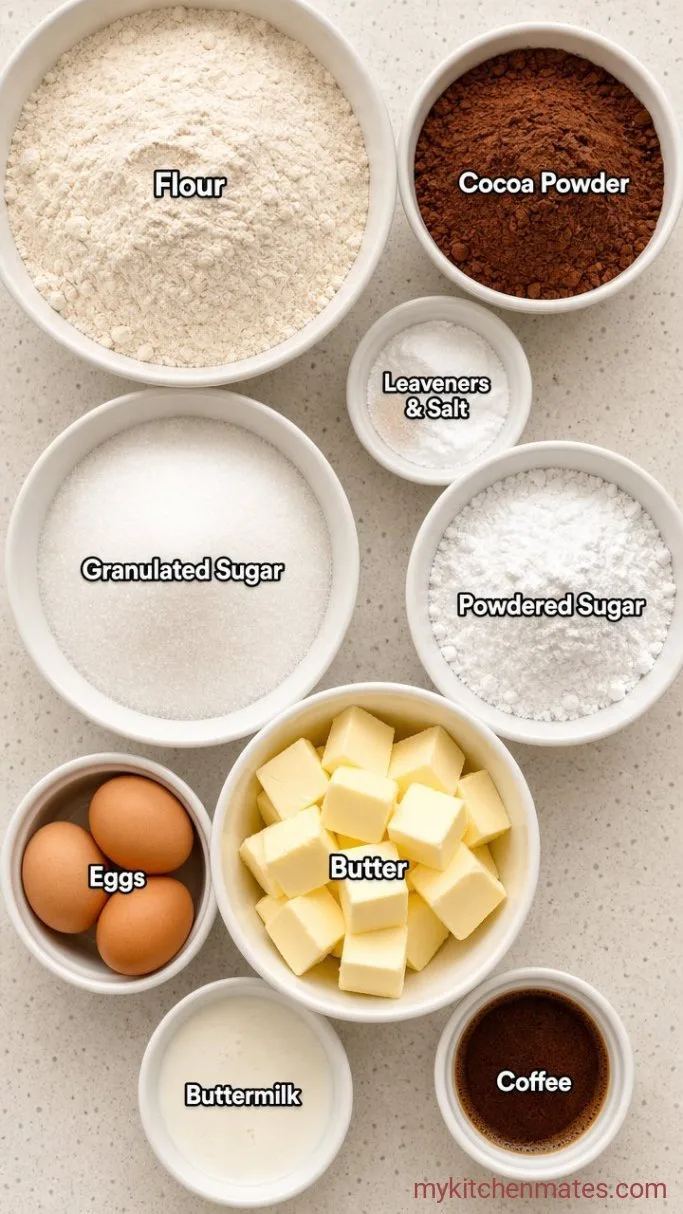
- 1 3/4 cups all-purpose flour: spooned and leveled
- 3/4 cup unsweetened cocoa powder: Dutch-processed gives a darker color, but natural works fine
- 1 1/2 tsp baking powder
- 1/2 tsp baking soda
- 1 tsp salt
- 1/2 cup unsalted butter: softened to room temperature
- 1 1/2 cups granulated sugar
- 2 large eggs: room temperature
- 2 tsp vanilla extract
- 1 cup buttermilk: room temperature, or make a quick substitute with milk and a tablespoon of lemon juice
- 1/2 cup hot coffee: or hot water, coffee deepens the chocolate
- 1 cup unsalted butter, softened: for the frosting
- 4 cups powdered sugar: sift out any lumps
- 2 tsp vanilla extract
- 2 to 3 tbsp milk or heavy cream: room temperature
- Pink gel food coloring: a high-quality gel gives bright color without thinning the frosting
- Black gel food coloring: gel is needed for a true black; liquid coloring will turn it grey
Variations / Substitutions
- Use a boxed mix: Prepare two 8-inch chocolate cake layers according to the box and skip the baking steps. The frosting and decoration still apply.
- Make it vanilla or strawberry: Replace the cocoa with an extra 1/4 cup flour and use clear vanilla for a light-colored cake. Tint the batter pink if you like.
- Try a buttercream swap: Swiss meringue buttercream works beautifully and pipes even smoother, though it takes a few extra minutes.
- Go full fondant: If you prefer a crisp hat and face, roll black fondant for the hat and tiny pink and white fondant circles for the features. Frost the cake as a smooth pink base first.
- Dairy-free: Use a plant-based butter stick and unsweetened oat milk soured with a teaspoon of vinegar instead of buttermilk. Coffee can be replaced with water.
- Turn it into cupcakes: Divide the batter into lined muffin tins and bake at 350°F for 18 to 20 minutes. Frost each cupcake with pink buttercream and pipe a mini face and hat on top.
Cute and Easy Snoopy Birthday Cake is next on our list if this cake is your kind of dessert.
How to Make Kuromi Birthday Cake
Step 1: Mix the Cake Batter
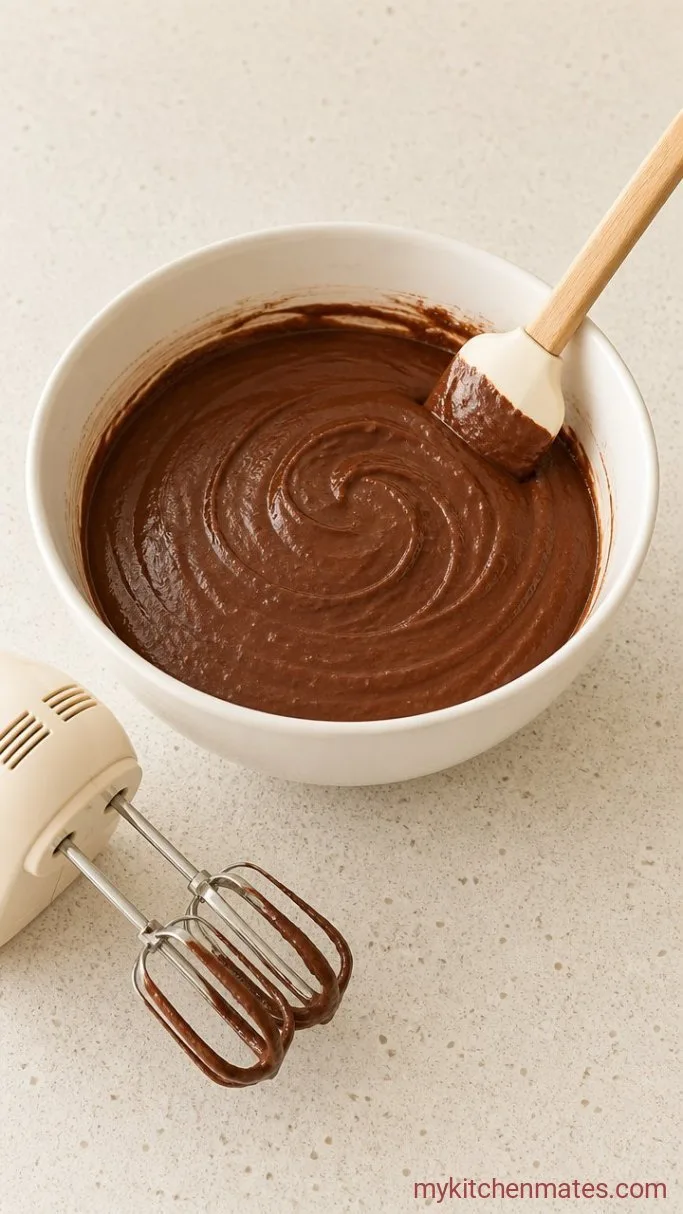
Preheat the oven to 350°F. Grease two 8-inch round cake pans and line the bottoms with parchment paper. In a medium bowl, whisk together the 1 3/4 cups flour, 3/4 cup cocoa powder, 1 1/2 tsp baking powder, 1/2 tsp baking soda, and 1 tsp salt.
In a large mixing bowl, beat the 1/2 cup softened butter and 1 1/2 cups sugar with an electric mixer on medium speed until the mixture looks light and fluffy, about 3 minutes. Add the eggs one at a time, beating well after each, then mix in the 2 tsp vanilla. Turn the mixer to low and add the dry ingredients in three batches, alternating with the 1 cup buttermilk in two batches, starting and ending with the flour. Pour in the 1/2 cup hot coffee and stir by hand just until the batter smooths out. It will be quite thin, and that’s exactly what makes the cake so tender.
Step 2: Bake, Cool, and Level the Layers
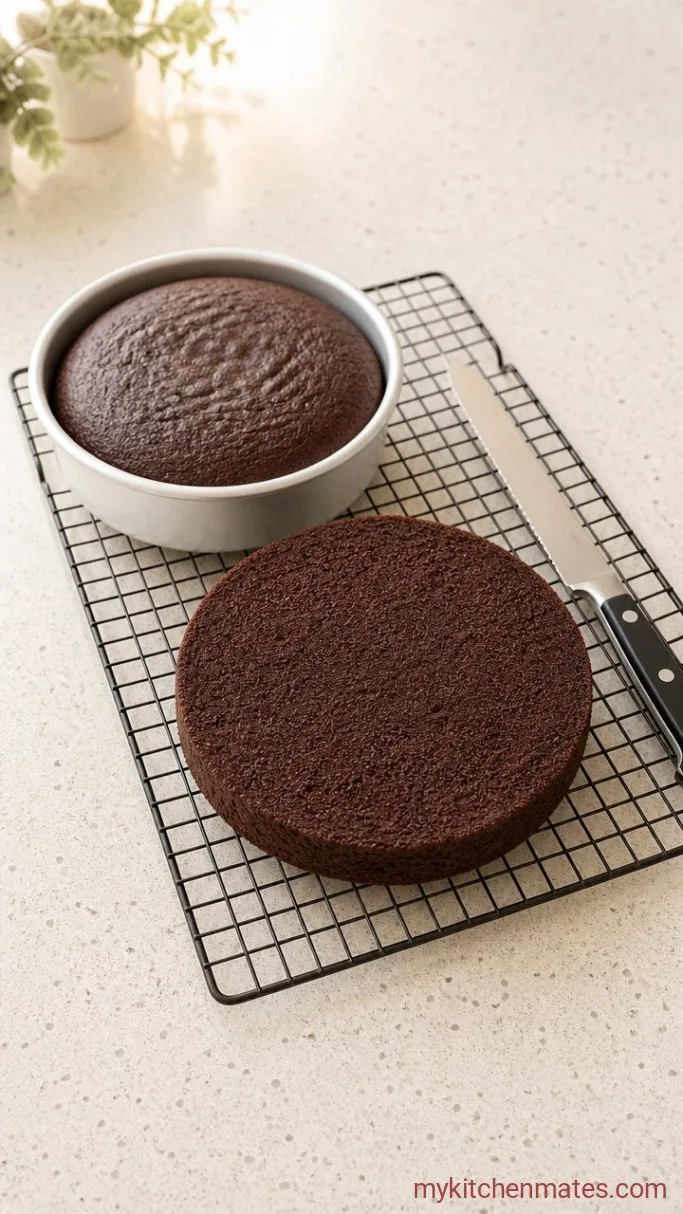
Divide the batter evenly between the two prepared pans. Bake for 28 to 32 minutes, until the tops spring back when pressed lightly and a toothpick inserted in the center comes out with a few moist crumbs attached. Cool the cakes in the pans for 10 minutes, then turn them out onto a wire rack to finish cooling completely.
Once the layers are no longer warm, use a long serrated knife to slice off any domed tops so the surfaces are flat. A level cake stacks more securely and gives you a smooth canvas for the Kuromi face later. Don’t throw away the scraps; they’re a cook’s treat.
Step 3: Whip the Vanilla Buttercream
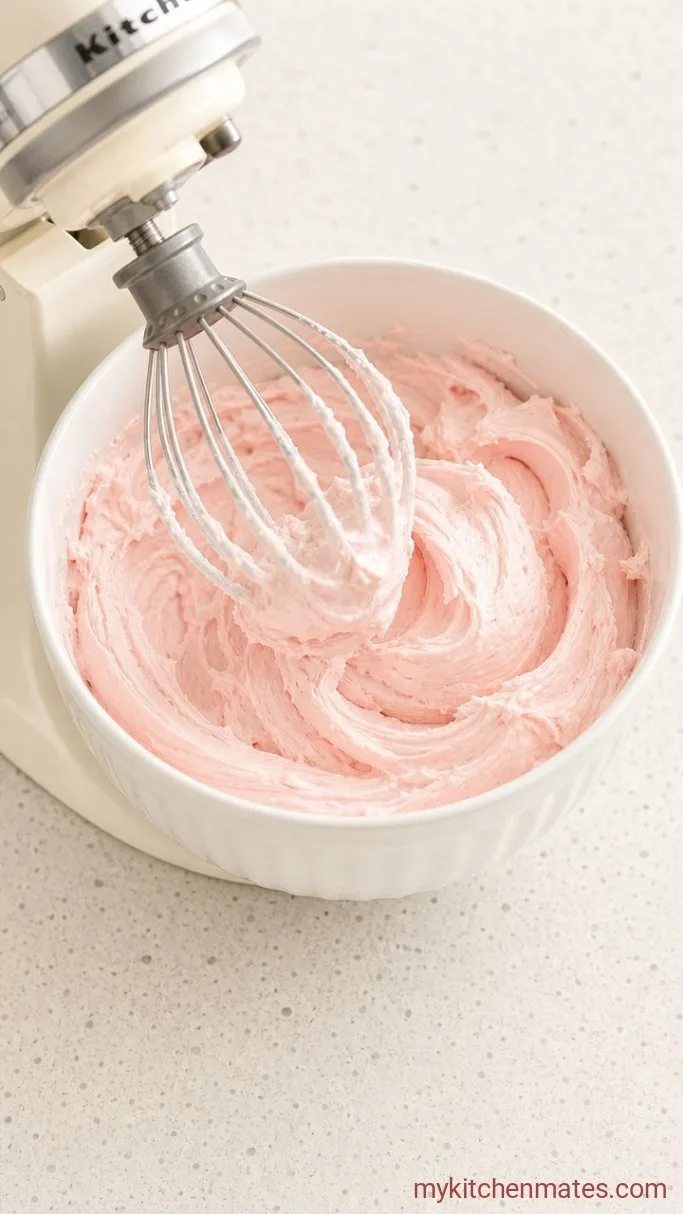
In a clean large bowl, beat the 1 cup softened butter on medium speed until it’s creamy and pale, about 2 minutes. Reduce the speed to low and gradually add the 4 cups powdered sugar, a cup at a time, so it doesn’t puff everywhere. Once all the sugar is in, increase the speed and beat until the mixture is thick and uniform. Add the 2 tsp vanilla and 2 tablespoons of milk, then continue beating, adding the third tablespoon of milk only if the frosting feels stiff. You’re aiming for a spreadable, pipeable consistency that holds its shape.
Scoop out about 1/3 cup of the white buttercream and set it aside in a small bowl for the face details. Tint the remaining frosting pale pink with a drop of pink gel coloring, mixing thoroughly. Take a small dollop from the reserved white frosting and tint it black with the black gel coloring. You only need a couple of tablespoons of black frosting for the eyes and hat. Press plastic wrap directly onto the surface of each bowl so the frostings don’t form a crust while you finish.
Step 4: Frost the Cake
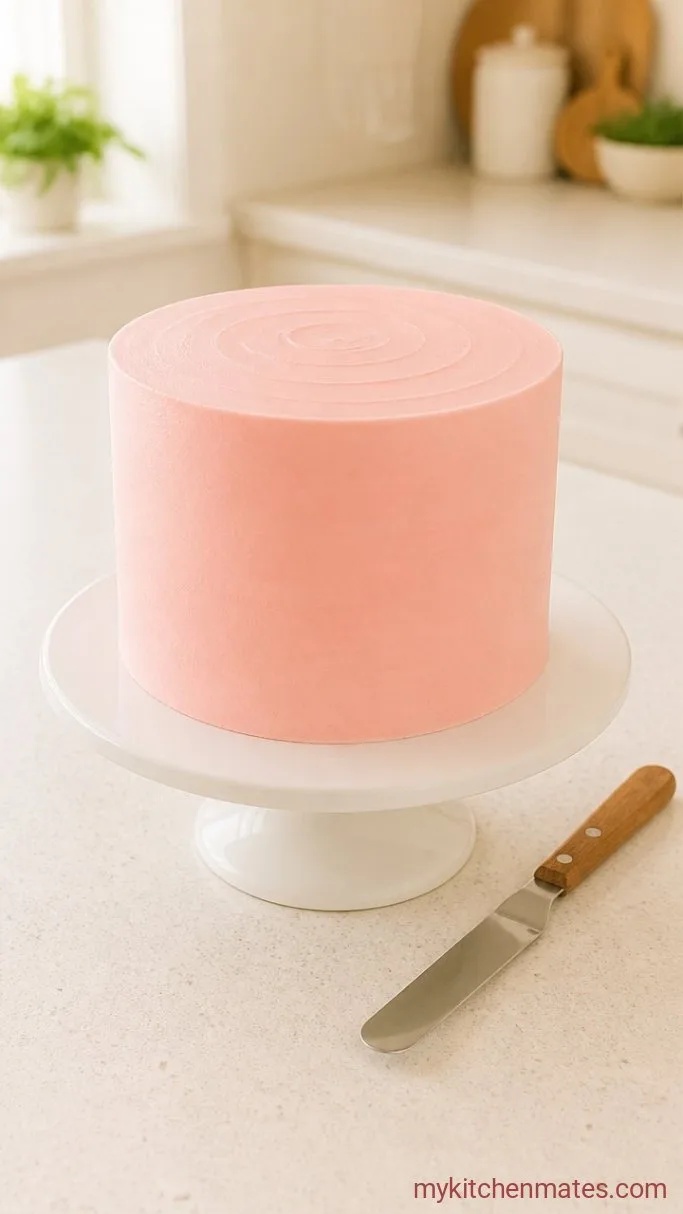
Place one cooled layer on your serving plate or a cake board, flat side down. Pile about 1 cup of the pink frosting on top and spread it evenly to the edges. Set the second layer on top with its flat bottom facing up for a smooth top surface. Coat the entire cake with a thin layer of pink frosting, the crumb coat, and don’t worry if a few crumbs show through. Refrigerate the cake for 20 minutes so this layer firms up.
Pull the cake out and apply a final, thicker coat of pink frosting all over the sides and top, smoothing it with a bench scraper or offset spatula. The surface doesn’t need to be flawless because the face covers most of the top, so small imperfections simply disappear under the piping.
Step 5: Pipe the Kuromi Face and Hat
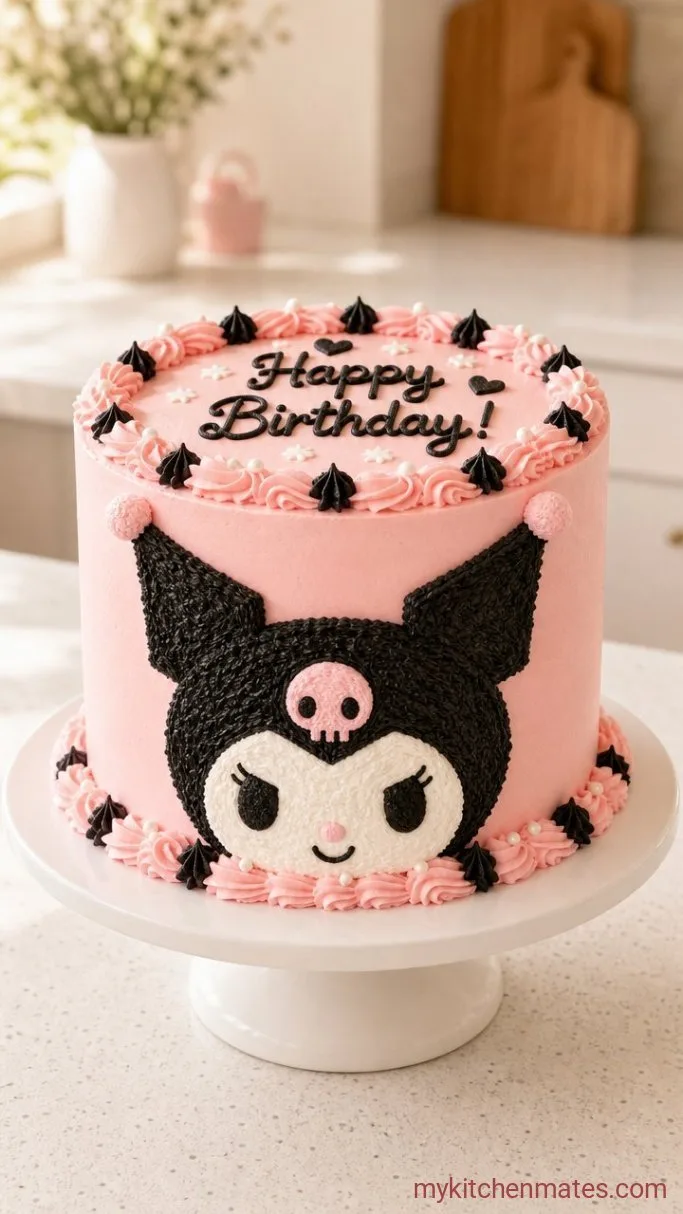
Fit a piping bag with a small round tip, around #3 or #5, and fill it with the reserved white frosting. Pipe an oval or soft circle in the upper middle of the cake for Kuromi’s face, then fill it in with more white piping so it’s a solid shape. Let it rest a few minutes so the surface sets slightly.
Switch to the pink frosting and a small star tip or the same round tip, and add two little dots at the lower sides of the white face for the cheeks. Use the black frosting to pipe two small dots above the cheeks for the eyes, and a tiny open mouth beneath them. Then pipe a tall triangle shape starting just above the white face and extending all the way to the top of the cake for the hat. Add two smaller triangles on either side of the top point to suggest the jester tips. Let the whole decorated cake sit for about 30 minutes so the piping firms up, then serve at room temperature. The first slice reveals the pink and chocolate layers, and it’s even cuter inside.
Tips for a Clean Kuromi Cake Design
- Gel food coloring is non-negotiable for true black. Liquid color thins the frosting and leaves you with a muddy grey.
- If your hands warm the piping bags too much, chill the cake and the filled bags for 10 minutes to firm everything back up.
- Print a simple Kuromi face outline, slide it under a piece of parchment, and practice a few face and hat shapes before piping directly on the cake.
- For the sharpest hat, pipe the triangle outline first and then fill it in with zigzag lines, rather than squeezing one big blob.
- Level your cake layers carefully, even if you lose a little height. A flat top makes the face stay put and look centered.
Bake times shift a little depending on pan size:
| Pan Size | Bake Time |
|---|---|
| 8-inch round (2 layers) | 28 to 32 mins |
| 9-inch round (2 layers) | 25 to 28 mins |
| 6-inch round (3 layers) | 22 to 25 mins |
Storing Leftovers
Keep the finished cake covered in the refrigerator for up to 5 days. Pull it out about 30 minutes before serving so the frosting can soften again. You can also freeze the unfrosted cake layers wrapped tightly in plastic and foil for up to 2 months; let them thaw overnight in the fridge before frosting.
Frequently Asked Questions
Can I use a boxed cake mix instead?
Yes. Bake two 8-inch layers according to the package directions, then follow the frosting and decoration instructions as written. The buttercream transforms even a box cake into a special occasion.
What if I can’t find black gel food coloring?
True black is hard to mix without gel. You can buy a tube of store-bought black decorating icing, or melt dark chocolate melting wafers with a tiny pinch of black gel powder if you have it. A thick chocolate ganache tinted with a little black gel also works.
How do I make the hat look crisp, not wobbly?
Chill the cake after the pink base coat is smooth, then pipe the hat with buttercream that’s been kept slightly cooler than room temperature. If you still struggle, cut the hat shape from black fondant instead and press it gently onto the set frosting.
Can I make the cake the day before the party?
Absolutely. Frost and decorate the cake up to a day ahead and store it uncovered in the refrigerator overnight. The uncovered chill helps the buttercream set, and the face won’t smudge if you handle it gently.
Kuromi Birthday Cake Recipe
Ingredients
Method
- Preheat oven to 350°F. Grease and line two 8-inch pans. Whisk flour, cocoa, baking powder, baking soda, and salt.
- Beat butter and sugar until fluffy. Add eggs one at a time, then vanilla. Alternate adding dry ingredients and buttermilk, beginning and ending with dry. Stir in hot coffee.
- Divide batter between pans and bake 28 to 32 minutes. Cool 10 minutes in pans, then turn onto a rack to cool completely. Level the tops.
- Beat butter until creamy. Gradually add powdered sugar, then vanilla and milk. Reserve 1/3 cup white frosting. Tint remaining frosting pink and a small amount black.
- Fill and stack layers with pink frosting. Apply a crumb coat, chill 20 minutes, then frost with a final smooth pink layer.
- Pipe a white oval for the face. Add pink cheek dots, black eyes, a small mouth, and pipe a black triangle hat with side points. Let set 30 minutes before serving.
Notes
