
Korean Birthday Cake: Light Sponge with Fresh Cream and Fruit

A Korean-style birthday cake is all about soft, cloud-like sponge, fresh cream, and bright fruit. No heavy buttercream, just a delicate cake that tastes as light as it looks.
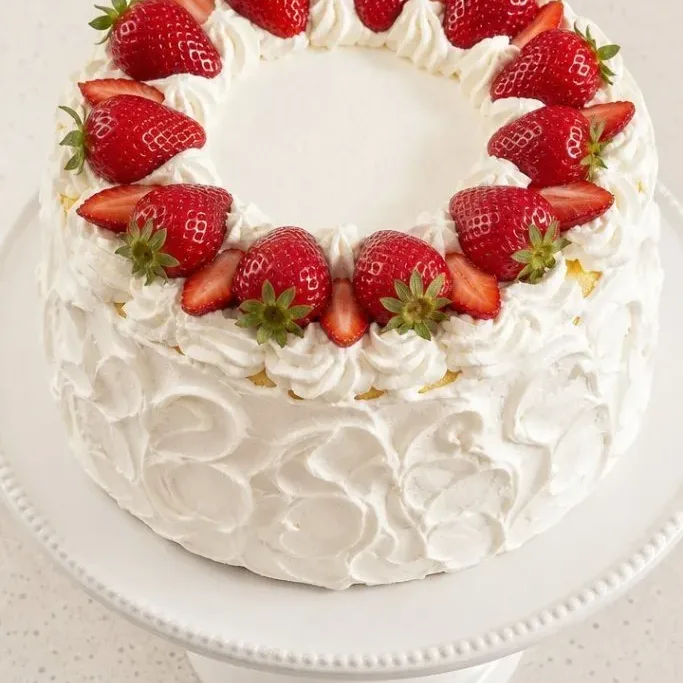
If you’ve ever admired those pretty strawberry-topped cakes in Korean bakery windows, this is how to make one at home, and it is completely doable.
Why This Cake Works
This is the kind of cake I want for my own birthday. The sponge is airy and just sweet enough, the whipped cream filling stays soft and creamy without being cloying, and the fresh strawberries give each bite a little tang.
It also comes together with no scary decorating skills. The sides can be left bare or swirled with a few quick swoops, and a crown of whole berries on top makes it look polished even when you are in a hurry.
Ingredients
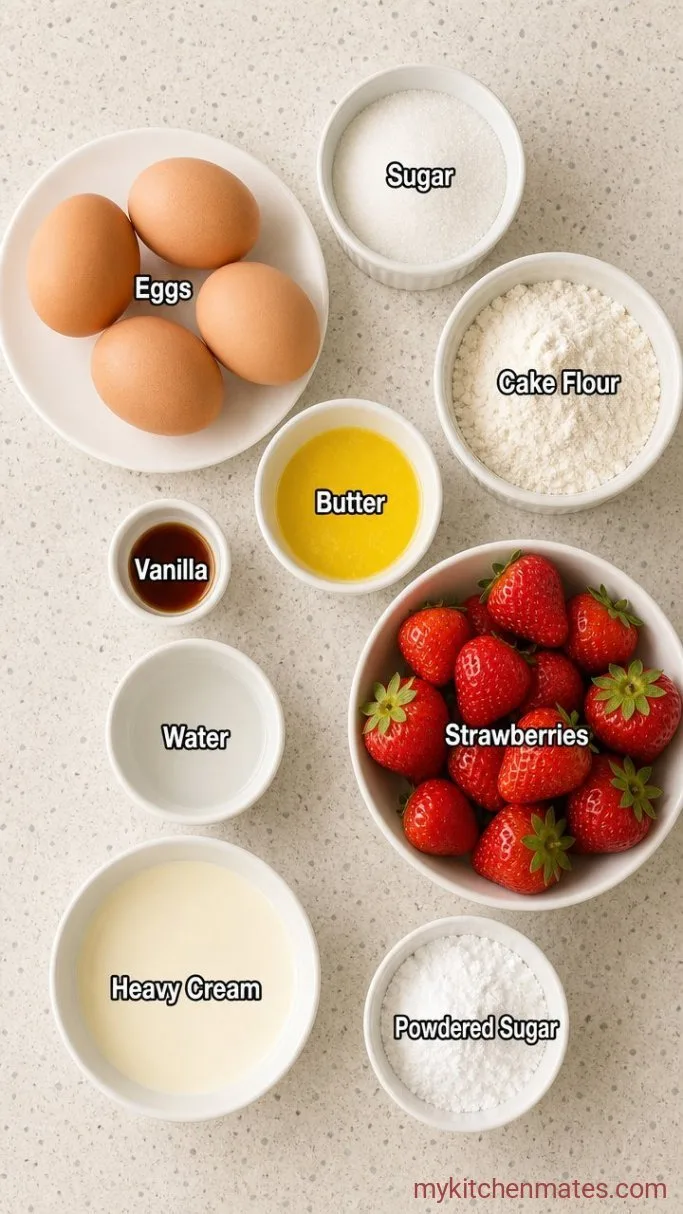
- 4 large eggs, room temperature: cold eggs take longer to whip to full volume
- 2/3 cup (130 g) granulated sugar: standard white sugar, split between the sponge and simple syrup
- 1 cup (120 g) cake flour, sifted: cake flour keeps the crumb soft and fine, see substitutions for all purpose
- 1/4 cup (56 g) unsalted butter, melted and cooled slightly: adds tenderness and a hint of richness
- 2 teaspoons vanilla extract: one for the sponge, one for the cream
- 1/4 cup (60 ml) water
- 2 cups (480 ml) heavy cream, cold: the higher the milkfat, the more stable the whipped cream
- 2 tablespoons powdered sugar: dissolves easily and helps the cream hold its shape
- 1 lb fresh strawberries: half sliced for the filling, half left whole for the top
- Pinch of salt
Variations / Substitutions
- No cake flour?: use 1 cup minus 2 tablespoons all-purpose flour plus 2 tablespoons cornstarch, sifted together twice.
- Other fruit: thinly sliced kiwi, halved grapes, or peeled peach slices work beautifully in the filling and on top.
- Matcha cream: whisk 1 teaspoon matcha powder into the cream before whipping for a gentle green hue and earthy note.
- Dairy free: swap the heavy cream for full-fat canned coconut cream chilled overnight, and use a neutral oil instead of butter in the sponge.
- A different sponge: a classic chiffon cake works here too, just bake it in the same size pan and split as directed. Try the vanilla chiffon from the Korean bakery cookbooks for another version.
Bow Birthday Cake is next on our list if this cake is your kind of dessert.
How to Make Korean Birthday Cake
Step 1: Prepare the Genoise Batter
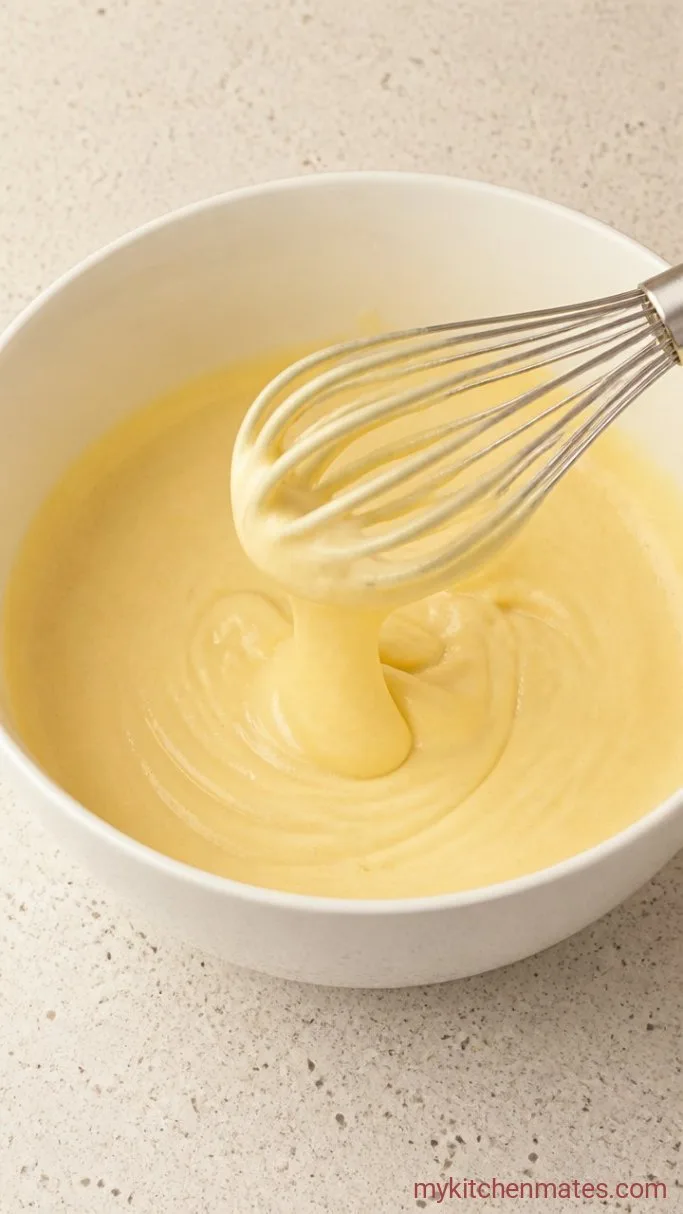
Preheat your oven to 350°F (175°C) and line the bottom of an 8-inch round pan with parchment. Grease the sides very lightly so the cake climbs during baking. Add the 4 eggs and 2/3 cup sugar to a large heatproof bowl set over a pot of barely simmering water. Whisk constantly for a minute until the mixture feels warm to the touch and the sugar is fully dissolved. You should not feel any grit between your fingers.
Remove the bowl from the heat and beat with an electric mixer on high speed for 5 to 7 minutes. The batter will triple in volume, turn pale ivory, and fall from the beaters in a thick ribbon that holds its shape on the surface for a few seconds. This is the hallmarks of a strong foam and the only thing that lifts the cake without chemical leaveners.
Once the eggs are at the ribbon stage, sift the 1 cup cake flour over the batter in three additions, folding gently with a large rubber spatula after each one. In a small bowl, combine the melted butter and 1 teaspoon vanilla, then drizzle it around the edge of the batter. Fold just until no streaks of flour or butter remain. Overworking the batter here will deflate it, so stop the moment it looks uniform. Pour the batter into the prepared pan and tap the pan twice on the counter to release any large air pockets.
Step 2: Bake the Cake
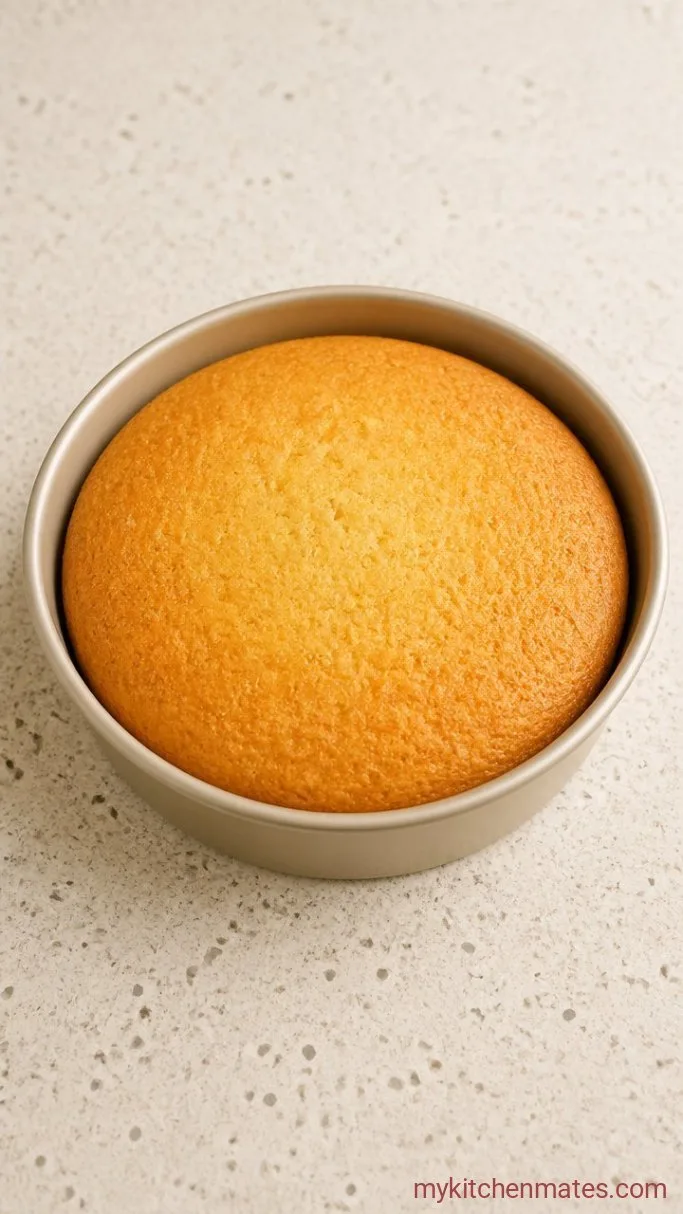
Slide the pan onto the middle rack and bake for 25 to 30 minutes. At the 25-minute mark, the top should be golden brown and spring back lightly when you press it. The edges will have begun to pull away from the sides of the pan, and your kitchen will smell warm and sweet.
Do not open the oven door before the 20-minute mark, as the rush of cool air can cause the sponge to sink in the center. If you are baking in a 9-inch pan, start checking at 22 minutes because the thinner layer cooks faster.
When the cake is done, remove it from the oven and let it rest in the pan on a wire rack for exactly 10 minutes. Then run a thin knife around the edge and invert the cake onto the rack to cool completely. A sponge this light must be fully cool before you slice it, or it will crumble.
Step 3: Cool and Slice the Layers
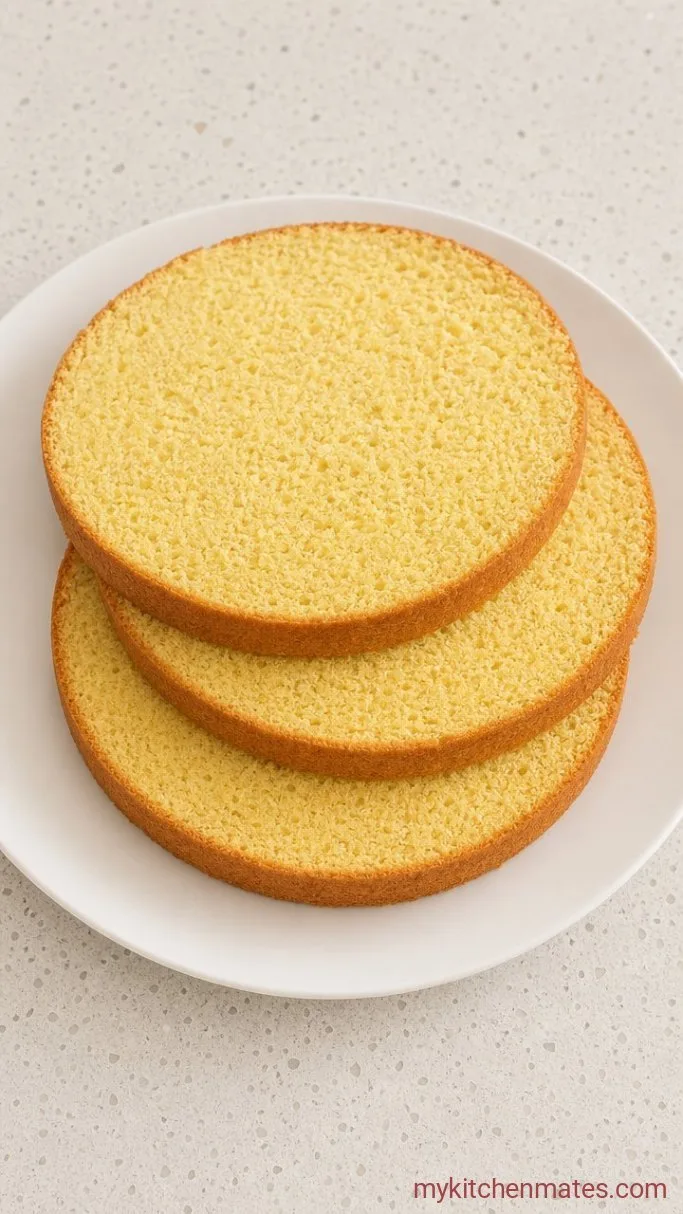
Once the cake is completely cool, which takes about 1 hour, set it on a flat cutting board. Use a long serrated knife and gentle sawing motions to cut it horizontally into two even layers. Go slowly and keep the knife level so both layers are the same thickness.
The cake will feel fragile, and that is normal. A cracked layer is not a problem because the cream and fruit will fill any small gaps. If the top dome is pronounced, you can trim it flat, but a slight dome is fine for a home-style cake.
Set the bottom layer cut side up on your cake plate or stand. Tuck strips of parchment under the edges to keep the plate clean while you assemble.
Step 4: Whip the Cream and Simple Syrup
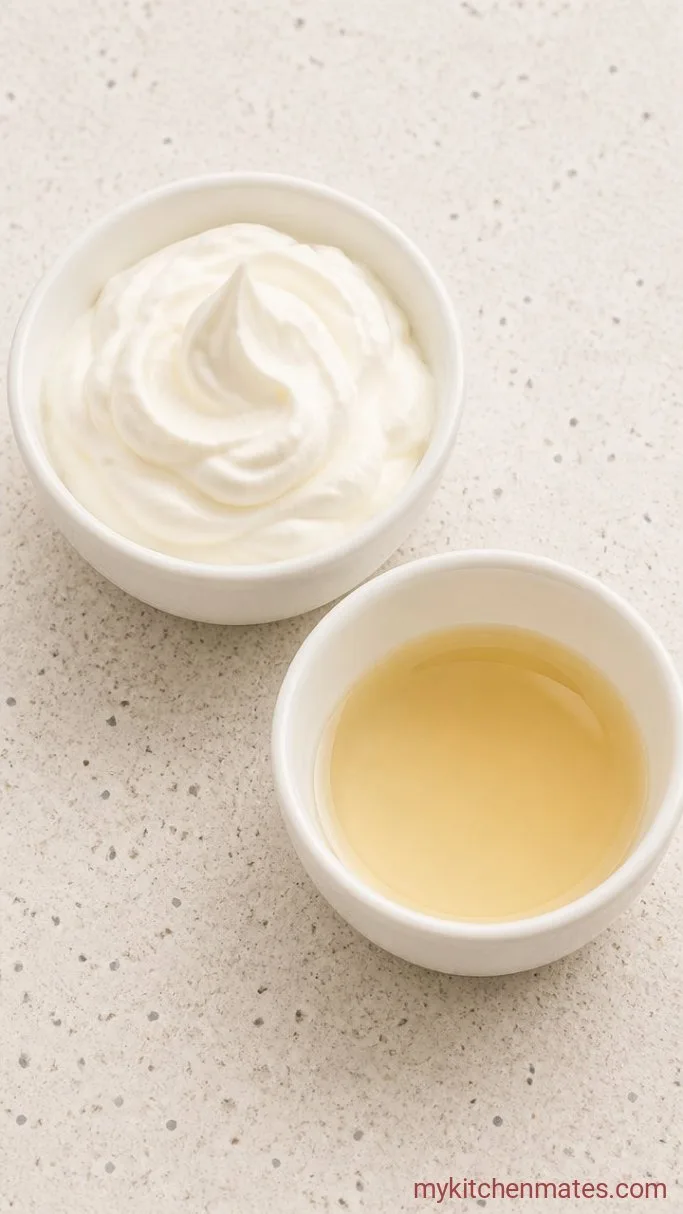
In a small saucepan, combine the 1/4 cup water and 1/4 cup of the measured sugar. Bring to a boil and stir until the sugar dissolves, then remove from the heat and stir in a pinch of salt and a few drops of vanilla if you like. Let the syrup cool to room temperature. This simple soak keeps the sponge moist and adds a whisper of sweetness without making it soggy.
Pour the 2 cups cold heavy cream into a large bowl, add the 2 tablespoons powdered sugar and the remaining 1 teaspoon vanilla, then whip on medium speed. Stop as soon as the cream holds soft peaks that droop slightly when you lift the beaters, about 2 to 3 minutes. Overwhipping will make the cream grainy and hard to spread, so look for a billowy, cloud like texture.
Step 5: Layer the Cake
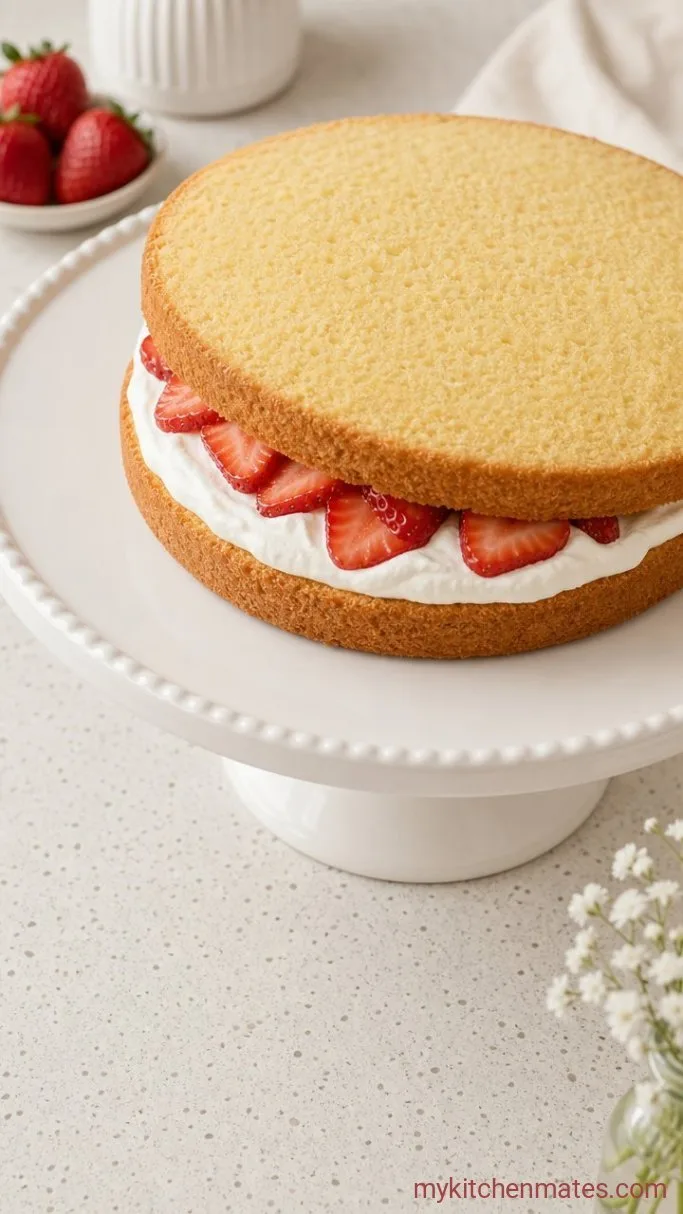
Brush the cut side of the bottom layer generously with about half of the cooled syrup, letting it sink in for a few seconds. Spread about one third of the whipped cream over it in an even layer, going all the way to the edges. Arrange a single layer of sliced strawberries on top, pressing them lightly into the cream so the layers stick together.
Place the second cake layer on top, cut side down this time, and brush with the remaining syrup. Spread another third of the cream over the top, smoothing it with an offset spatula. At this point the cake will start to look tall and neat, and the scent of fresh berries and vanilla will be hard to resist.
Step 6: Frost and Decorate the Cake
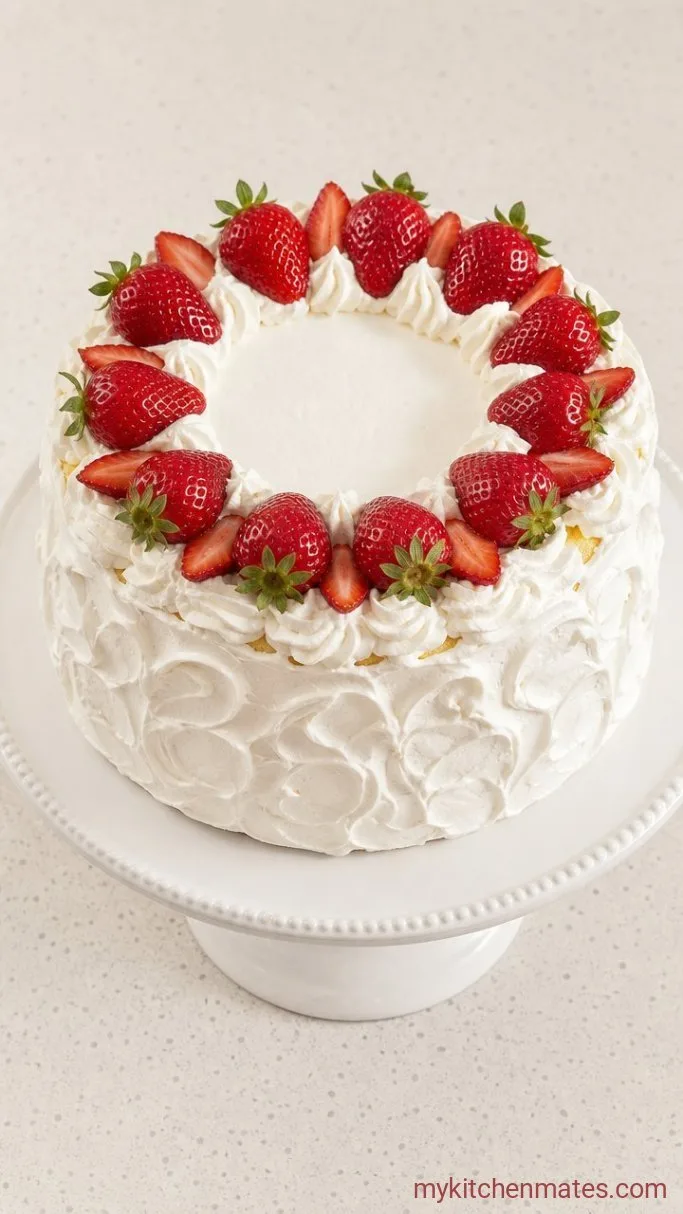
Use the last of the whipped cream to coat the sides of the cake. You can smooth it thinly so the sponge peeks through for that classic semi-naked look, or cover it completely. Run the spatula around the sides to create gentle swirls, then swoop the top cream into soft peaks.
Arrange the reserved whole strawberries on top in a ring or cluster. A few extra strawberry slices pressed onto the sides add a pretty finish, but a simple crown of whole berries on top is enough to make the cake feel festive. Chill the assembled cake for 30 minutes before slicing to help the cream set, then serve right away.
Tips for a Tall, Soft Sponge
- Bring the eggs to room temperature quickly by placing them in a bowl of warm water for 10 minutes before you start. Cold eggs simply do not whip to the volume needed for a sponge this light.
- When folding flour into the egg foam, cut through the center and sweep the spatula around the bowl in one motion. Repeat just until the flour disappears, even if a few tiny white specks remain. They will bake out.
- If your cake shrinks or collapses in the center, the most likely culprit is underbeating the eggs. The ribbon stage is nonnegotiable, do not stop whipping until the batter holds a thick ribbon that takes a few seconds to sink back into itself.
- Chill the cake for at least 30 minutes after assembling. This firms up the cream enough to get clean slices and makes the strawberries stick to the top without sliding.
Bake times by pan size:
| Pan size | Bake time |
|---|---|
| 8-inch round | 25 to 30 minutes |
| 9-inch round | 22 to 25 minutes |
| 8×8 square | 22 to 28 minutes |
Storing Leftovers
- Refrigerate: keep the finished cake covered loosely with plastic wrap or in a cake carrier in the fridge for up to 2 days. The sponge will soften slightly from the cream, so day one is always the best.
- Serve cold: this cake tastes wonderful straight from the fridge, which is handy for warm days. The cream stays firm and the fruit tastes refreshing.
- Make ahead: bake the sponge a day ahead, wrap it tightly in plastic, and leave it at room temperature. Whip the cream and assemble the cake the morning you plan to serve it.
What to Serve With Korean Birthday Cake
A slice of this cake is already a complete treat, but it is lovely alongside a cup of hot barley tea or a light jasmine green tea, both of which cut through the richness of the cream. Fresh fruit like extra strawberries, ripe mango slices, or a small bowl of sweet grapes turns it into a plated dessert for a special dinner.
Frequently Asked Questions
Can I use all-purpose flour instead of cake flour?
Yes. Replace the 1 cup cake flour with 14 tablespoons all-purpose flour plus 2 tablespoons cornstarch, and sift the mixture at least twice to aerate it. The sponge will be a little more sturdy but still tender.
My sponge collapsed in the middle. What went wrong?
The eggs were likely underwhipped. The foam needs to reach the ribbon stage and hold its trail for several seconds. Even 30 extra seconds of whipping can make the difference between a tall sponge and a dense one.
How far ahead can I frost this cake?
You can assemble it up to 4 hours before serving and keep it chilled. Much longer and the cream may start to weep slightly, though it will still taste good.
Is there a dairy-free way to make the whipped cream?
Yes, chill a can of full-fat coconut cream overnight, then scoop the solid cream off the top and whip it with powdered sugar. It will taste lightly of coconut, which pairs well with the strawberries.
Korean Birthday Cake Recipe
Ingredients
Method
- Preheat oven to 350°F (175°C). Beat eggs and sugar over simmering water until warm and sugar dissolves, then whip on high speed for 5 to 7 minutes until thick and ribbon stage. Fold in sifted flour in three additions, then fold in melted butter and 1 teaspoon vanilla. Pour batter into a greased, parchment-lined 8-inch round pan and tap to release air bubbles.
- Bake for 25 to 30 minutes until golden and springy. Cool in pan 10 minutes, then invert onto a rack to cool completely.
- Split the cooled cake horizontally into two even layers with a serrated knife.
- Boil water and 1/4 cup sugar until dissolved to make simple syrup; cool. Whip heavy cream with powdered sugar and remaining 1 teaspoon vanilla until soft peaks form.
- Brush the bottom layer with half the syrup, spread with one third of the cream, and top with sliced strawberries. Place the second layer on top, brush with remaining syrup, and spread another third of the cream over the top.
- Frost the sides with remaining cream, swirl the top, and decorate with whole strawberries. Chill for 30 minutes before serving.
Notes
