
KitchenAid Ice Cream Recipes: 4-Ingredient Vanilla Base for Endless Flavors

Homemade ice cream sounds like a weekend project, but with a KitchenAid ice cream attachment, it slips into a weeknight routine. This no-cook vanilla base comes together in minutes and spins into the creamiest ice cream without turning on the stove.
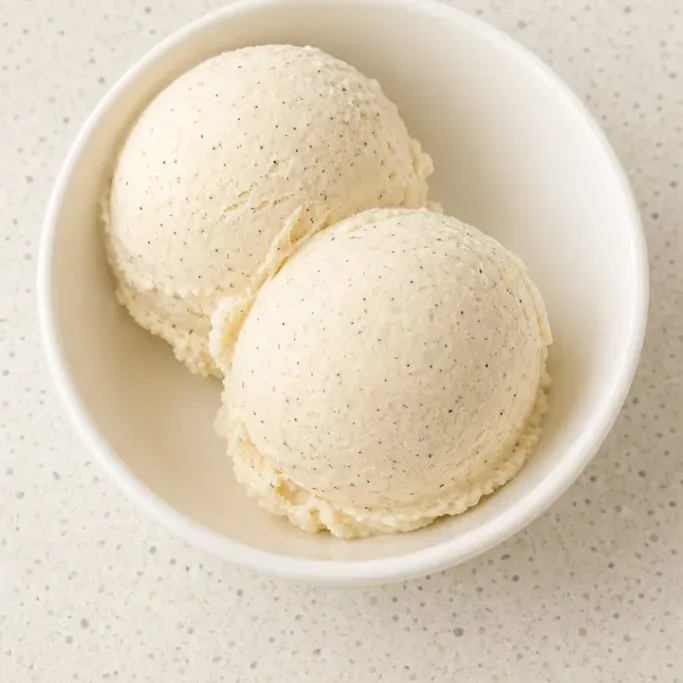
Once you master this four-ingredient recipe, you can fold in chocolate shavings, swirls of strawberry sauce, or chunks of cookie dough to create your own flavors. The hardest part is waiting for it to freeze.
Why This Vanilla Base Always Delivers
Most ice cream recipes require cooking a custard, but this version skips the eggs and the stove entirely. The result is a pure, clean vanilla flavor that lets the cream and milk shine.
The texture is dense and silky, not icy, because the high fat content and the constant churn of the KitchenAid attachment whip in just enough air. And it takes about ten minutes of hands-on work.
Ingredients
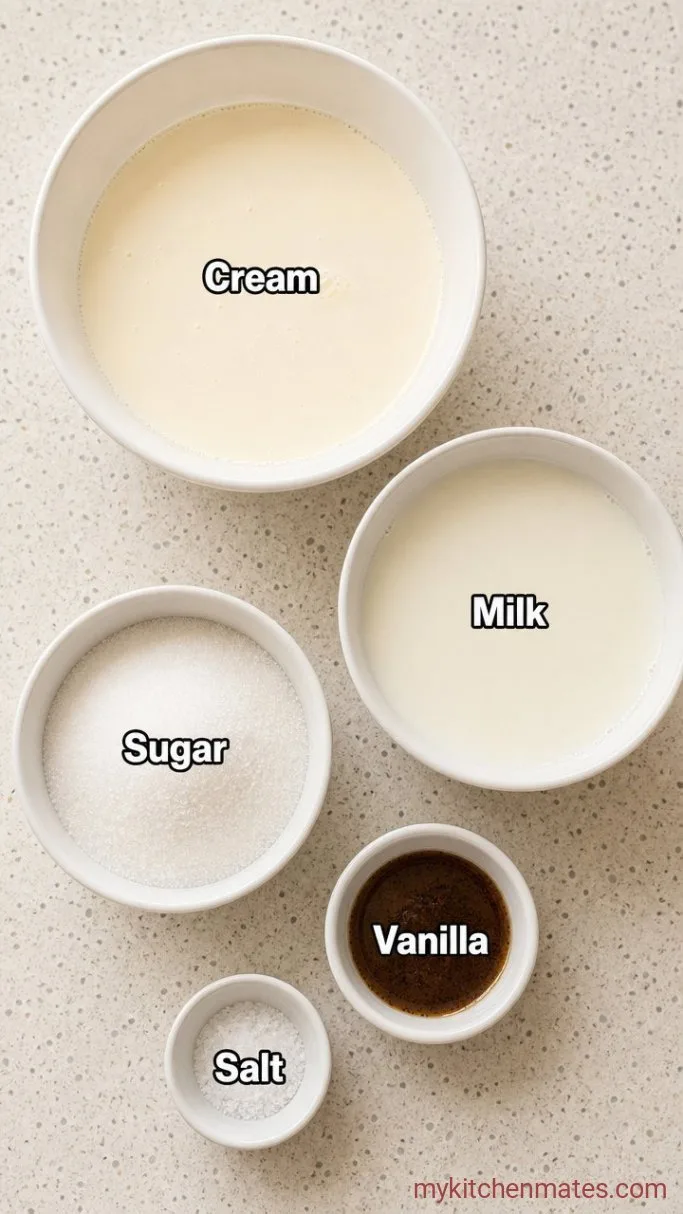
- 2 cups heavy cream, cold: full fat is non-negotiable for richness
- 1 cup whole milk, cold: whole milk keeps it creamy; avoid skim
- 3/4 cup granulated sugar: dissolves easily in the cold mixture
- 2 teaspoons vanilla bean paste: provides those tiny black flecks and deep vanilla flavor
- Pinch of salt: a small pinch lifts all the flavors
Variations / Substitutions
- Swap vanilla extract for paste: use 1 tablespoon pure vanilla extract; the flavor will be strong but you won’t get the flecks.
- Make it chocolate: whisk in 1/2 cup unsweetened cocoa powder with the sugar until no lumps remain.
- Add strawberry swirl: after churning, layer with 1/2 cup cooled strawberry sauce or jam and fold gently.
- Try a non-dairy version: replace the cream and milk with full-fat coconut milk; expect a slightly icier texture. For a similar recipe, check out our Coffee Ice Cream with Toasted Almonds.
Buttery Toffee Shortbread Cookies are next on our list if this ice cream is your kind of dessert.
How to Make KitchenAid Vanilla Ice Cream
Step 1: Whisk the Base
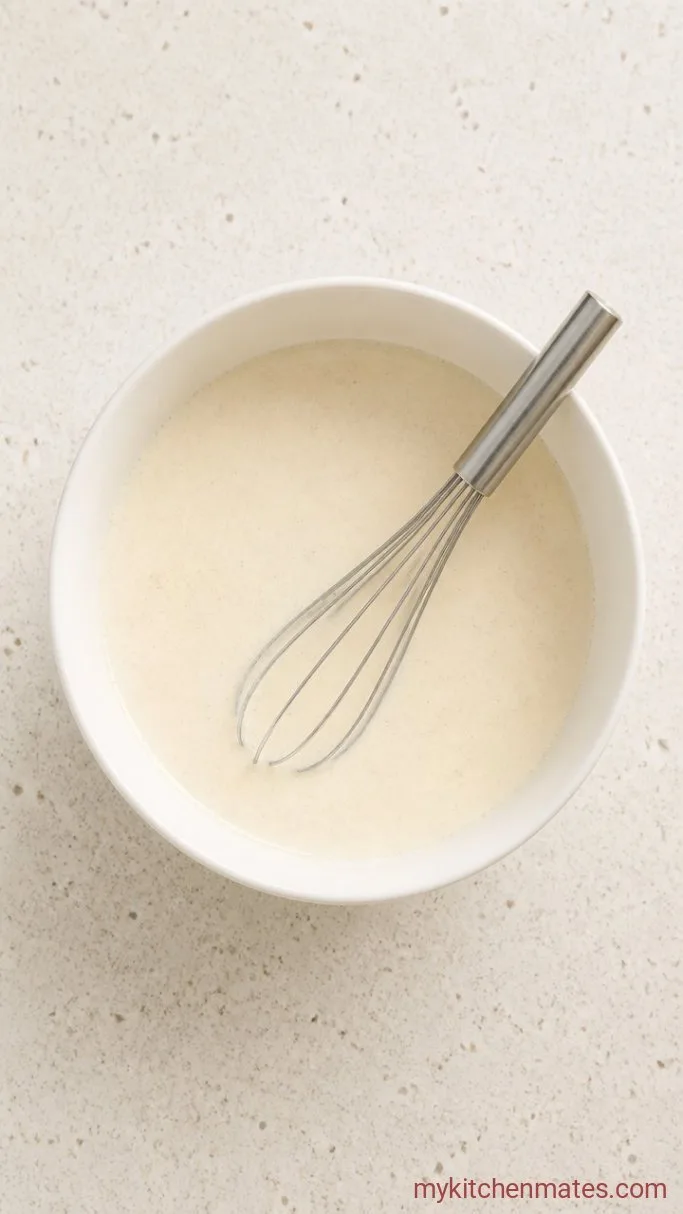
Before you start, make sure the KitchenAid ice cream bowl has been frozen for at least 15 hours; it should be solid and not slosh. In a large mixing bowl, whisk together the 2 cups heavy cream, 1 cup whole milk, 3/4 cup sugar, 2 teaspoons vanilla bean paste, and a pinch of salt. Whisk until the sugar completely dissolves, about 2 minutes, and the liquid feels smooth when you rub a drop between your fingers. Cover the bowl and refrigerate until very cold, at least 2 hours or overnight.
Step 2: Churn Until Thick
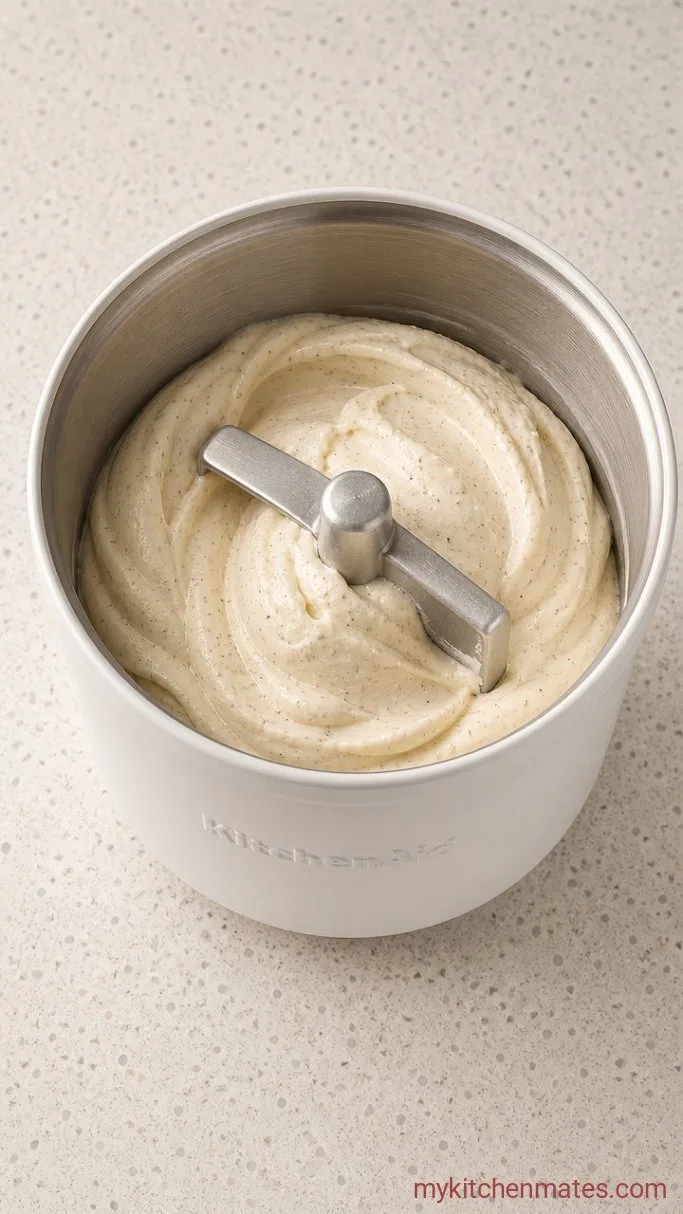
Set up your stand mixer with the frozen ice cream attachment, pour in the chilled base, and lock the dasher in place. Turn the mixer to low speed (Stir or speed 1) and churn for 20 to 25 minutes. Around the 20-minute mark, the mixture will thicken noticeably, double in volume, and look like soft-serve ice cream. It should mound on a spatula without sliding off.
Step 3: Layer and Freeze
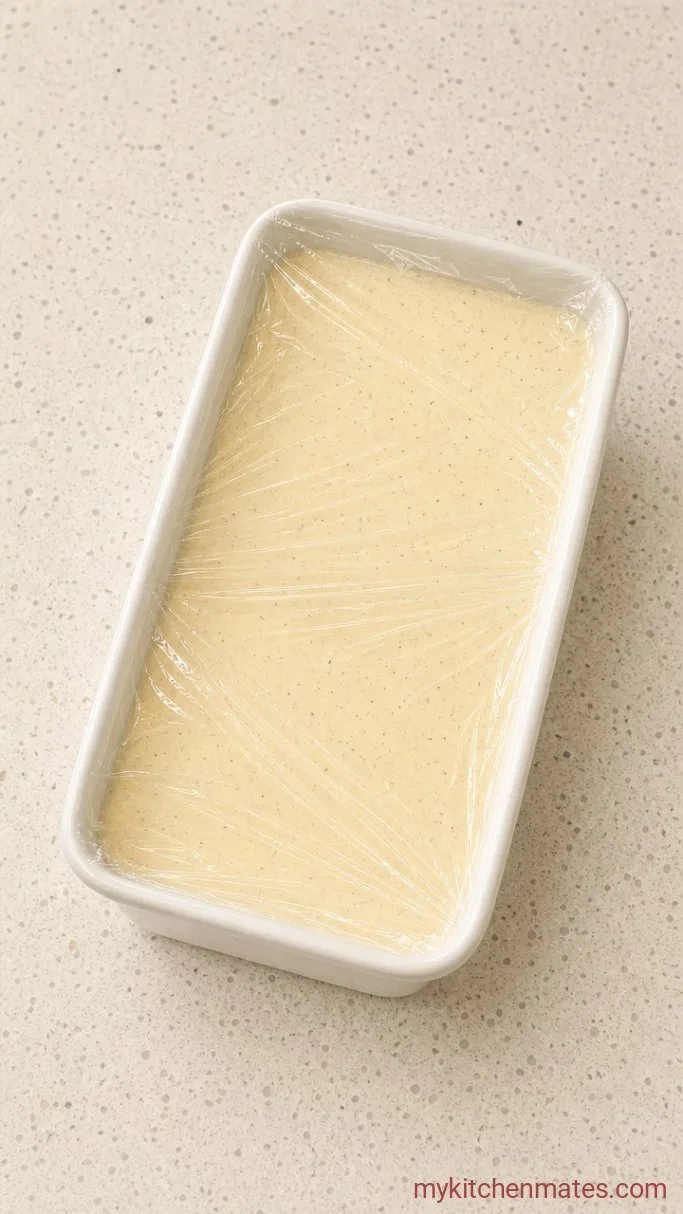
Quickly transfer the soft ice cream into a chilled loaf pan or airtight container, using a spatula to scrape every bit from the bowl. If you plan to add mix-ins, sprinkle a few spoonfuls of chopped chocolate, crushed cookies, or swirls of sauce between layers and gently twirl a knife through to distribute them. Smooth the top, then press a piece of parchment paper directly onto the surface to block ice crystals. Freeze until firm enough to scoop, about 4 hours.
Step 4: Scoop and Enjoy
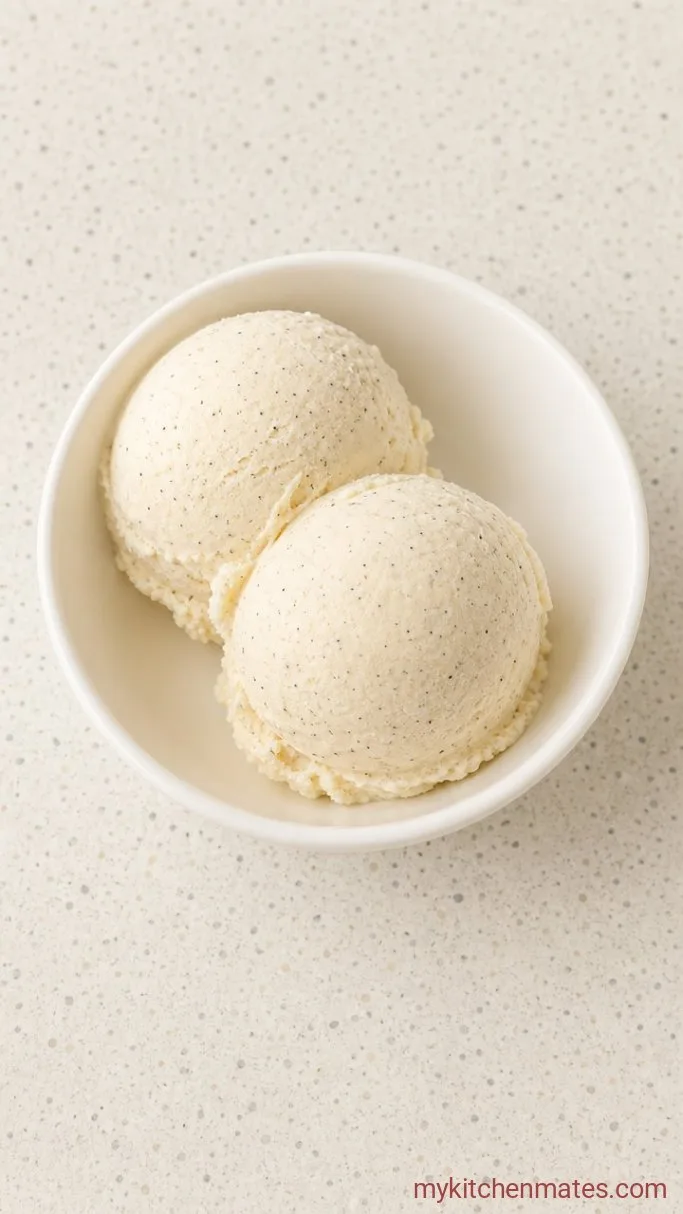
Let the container sit at room temperature for 5 to 10 minutes so the ice cream softens slightly. Scoop into bowls or cones, and serve with your favorite toppings. The ice cream will be dense, creamy, and studded with vanilla bean flecks.
A Few Tips for the Smoothest Ice Cream
- Freeze the bowl thoroughly: the attachment must be completely frozen, ideally for 24 hours, or the mixture won’t churn properly.
- Don’t skip the base chill: pouring warm liquid into the frozen bowl melts the contact surface too quickly, leading to an icy texture.
- Watch the churn time: overchurning can cause butterfat to separate. Stop as soon as it reaches soft-serve consistency.
- Stir in mix-ins by hand: folding them in gently after churning keeps them evenly distributed without breaking down.
- Use a shallow container: a loaf pan freezes faster and more evenly than a deep tub.
Keeping Your Ice Cream Fresh
- Refrigerate: store the ice cream in an airtight container with parchment pressed on the surface for up to 1 week.
- Serve Cold: soften on the counter for 5 to 10 minutes before scooping.
What to Serve with Vanilla Ice Cream
Pour warm salted caramel sauce over a scoop for a salty-sweet contrast that melts into the vanilla. Pair with a slice of fudgy brownie; the rich chocolate and dense ice cream are a natural match. Spoon it beside a fruit crisp or cobbler while still warm from the oven.
Frequently Asked Questions
Can I use vanilla extract instead of vanilla bean paste?
Yes, swap in 1 tablespoon pure vanilla extract. The flavor will be bright, but you won’t get the visual specks of vanilla bean.
Do I have to cook the base first?
No, this is a Philadelphia-style ice cream that uses no eggs and requires no cooking. Just whisk everything together cold.
Why is my ice cream icy instead of creamy?
The two most common reasons are the base was not chilled enough before churning, or the ice cream bowl wasn’t fully frozen. Make sure both are very cold.
Can I make this dairy-free?
You can substitute full-fat coconut milk for both the cream and milk. The texture will be softer and a bit icier, but the vanilla flavor still comes through.
How long does homemade ice cream last?
It stays at its best for about a week in the freezer. After that, it may start to develop ice crystals even with proper storage.
KitchenAid Vanilla Ice Cream Recipe
Ingredients
Method
- Whisk the cream, milk, sugar, vanilla paste, and salt until the sugar dissolves. Cover and refrigerate at least 2 hours.
- Pour the cold base into a frozen KitchenAid ice cream attachment and churn on low speed for 20 to 25 minutes, until thick like soft-serve.
- Transfer to a chilled container, layering in any mix-ins, and press parchment on top. Freeze until firm, about 4 hours.
- Let soften 5 to 10 minutes at room temperature, then scoop and serve.
Notes
