
20-Minute Kimchi Fried Rice

This kimchi fried rice is the answer to a weeknight craving: spicy, tangy, and ready in about 20 minutes flat. Crispy rice, funky kimchi, and a runny fried egg on top make it a meal that feels way more impressive than the effort it takes.
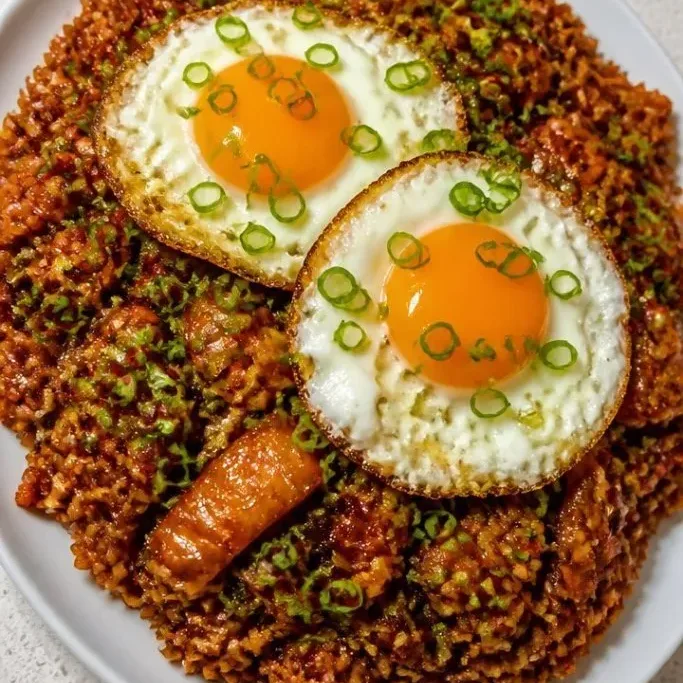
It’s the kind of dish where the leftovers in your fridge do all the heavy lifting. That slightly dry takeout rice from two nights ago is perfect here, and the kimchi only gets better as it sizzles in a hot pan.
Why This Kimchi Fried Rice Works
The magic is in the contrast: crunchy, golden rice against soft, caramelized kimchi, all tied together with a little butter and soy sauce. The fried egg on top isn’t just for looks; its runny yolk mixes into the rice and turns every bite silky.
I’ve made this countless times, and it’s the version I keep coming back to because it’s fast, uses up odds and ends, and never fails to satisfy. It’s a real weeknight workhorse.
Ingredients

- 1 cup chopped kimchi: use well-fermented kimchi for the deepest flavor, and don’t throw away the juice.
- 1½ tbsp unsalted butter, divided: salted butter works too, but skip the extra salt.
- 3 cups cooked short-grain rice: day-old rice straight from the fridge gives you the crispiest results.
- 1 tbsp soy sauce: regular or low-sodium both work.
- 1 tsp gochujang (optional): for a deeper, smokier heat.
- 2 large eggs
- 2 scallions: thinly sliced, white and green parts separated for garnish.
- 1 tsp sesame oil
- Salt: to taste.
Variations / Substitutions
- Protein: Add diced spam or leftover shredded chicken for extra heft; just toss it in with the kimchi.
- Spice level: Use less gochujang or skip it entirely for a milder dish, or add a generous squirt of sriracha to turn up the heat.
- Vegetarian: Leave out the egg or use a fried tofu slice on top.
Beef and Pepper Stir Fry is next on our list if this fried rice is your kind of dinner.
How to Make Kimchi Fried Rice
Step 1: Sauté the Kimchi
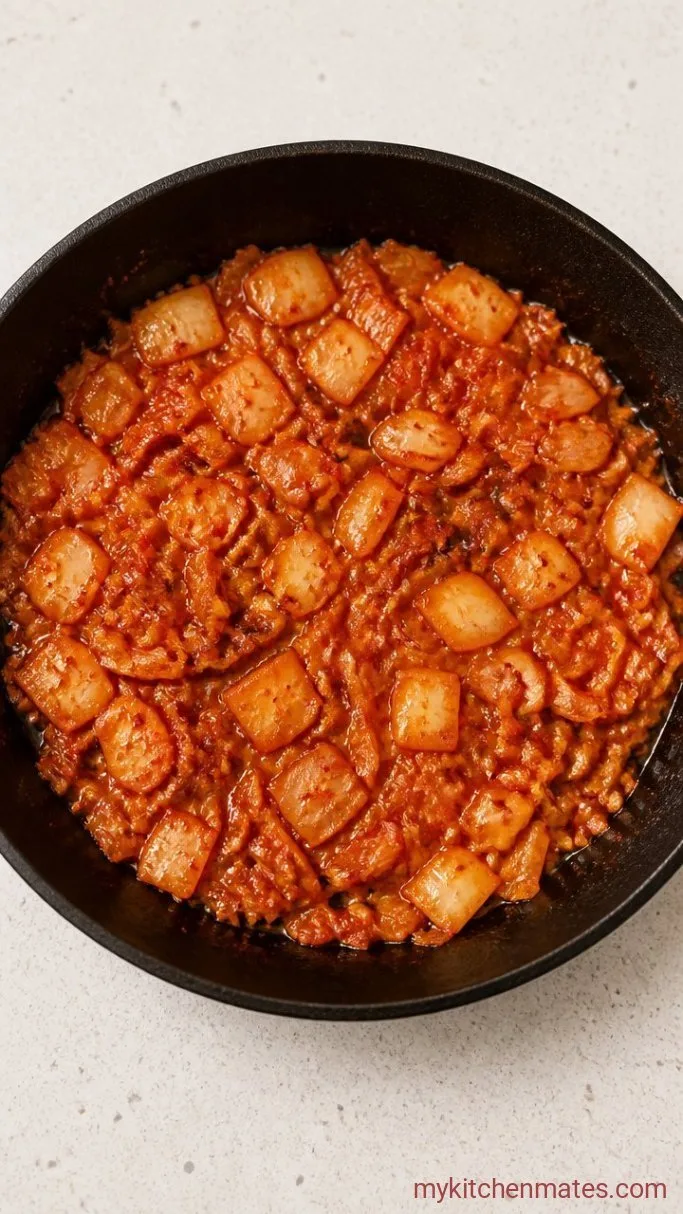
Heat a large nonstick skillet or wok over medium-high heat and add 1 tablespoon of the butter. Once it sizzles, toss in the chopped kimchi and cook for about 2 to 3 minutes, stirring often, until the kimchi softens and the edges just start to caramelize.
You’ll know it’s ready when the kitchen smells tangy and a little sweet, and the kimchi looks glossy with some browned bits. Stir in the 1 teaspoon of gochujang at the very end if you want extra heat.
Step 2: Crisp the Rice

Add the remaining ½ tablespoon of butter to the skillet and let it melt. Add the 3 cups of cold rice, breaking up any clumps with a spatula. Spread the rice in an even layer and let it cook undisturbed for 2 to 3 minutes to develop a crispy bottom.
After those minutes, toss the rice and press it down again. Drizzle the 1 tablespoon of soy sauce and the reserved kimchi juice over the rice, then stir-fry for another 2 minutes until the grains are well coated and have some golden, crunchy spots. Taste and add a pinch of salt if needed.
Step 3: Fry the Eggs

Push the rice to one side of the skillet and crack the 2 eggs directly into the empty space. Let them fry for 2 to 3 minutes over medium heat, until the whites are set but the yolks are still jiggly. If you prefer fully cooked yolks, cover the skillet for the last minute.
The eggs should have crispy, lacy edges from the hot pan, which adds another layer of texture to the dish. Season them with a tiny pinch of salt and a crack of black pepper.
Step 4: Plate and Serve
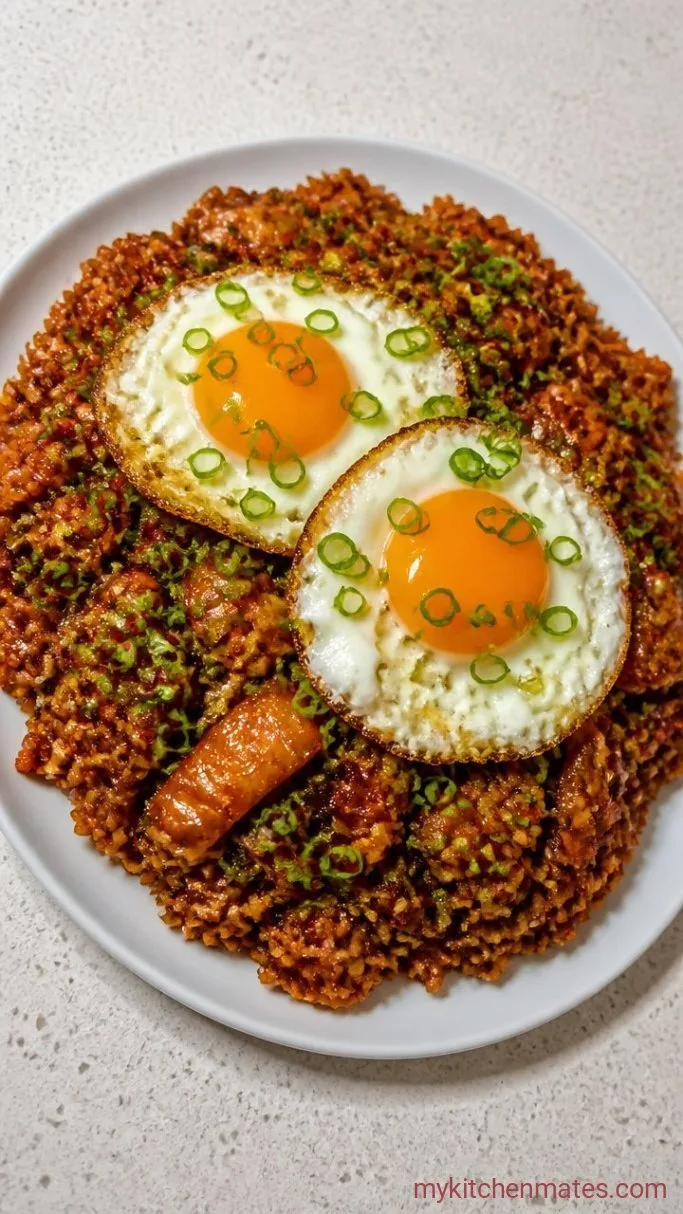
Divide the fried rice between two bowls, then top each with a fried egg. Scatter the sliced scallions on top and finish with a drizzle of sesame oil.
Eat right away while the egg yolk is still runny, breaking it open over the rice so it coats everything. The contrast of hot, crunchy rice with the silky yolk is the whole point.
Tips for the Best Kimchi Fried Rice
- Use day-old rice straight from the fridge.: Freshly cooked rice is too moist and will clump and steam rather than fry up crispy.
- Don’t skimp on the butter.: It adds a rich, nutty flavor that balances the kimchi’s sharpness. If you’re out of butter, vegetable oil works but you’ll lose some depth.
- Save the kimchi juice.: That tangy liquid is flavor gold; stir it in with the soy sauce to give the rice an even deeper kimchi taste.
- For extra crunch, let the rice sit a little longer without stirring. You want those crispy bits, so be patient when you press it into the pan.
Storing Leftovers
Refrigerate any leftovers in an airtight container for up to 3 days. Reheat in a hot skillet with a small splash of water or oil to re-crisp the rice; the microwave works in a pinch but won’t restore the crunch.
What To Serve With Kimchi Fried Rice
This dish is a meal on its own, but I often pair it with a quick cucumber salad or some Korean-style spinach on the side. The cool, crunchy cucumber balances the heat, and the spinach adds a mild, earthy note. A drizzle of extra sesame oil never hurts either.
Frequently Asked Questions
Can I use fresh rice instead of day-old?
Yes, but spread it on a tray and chill it in the fridge for at least 30 minutes to dry it out. It won’t be quite as crispy, but it works.
How do I make this vegan?
Skip the egg and use a vegan butter or neutral oil. Top with a slab of pan-fried tofu or a sprinkle of sesame seeds for protein.
My rice turned out mushy. What went wrong?
The rice was likely too warm or you stirred it too much. Always start with cold rice and let it sit undisturbed in the pan to get those crispy bits.
Can I add other vegetables?
Absolutely. Thinly sliced carrots, zucchini, or bok choy work well. Add them with the kimchi so they cook through.
Kimchi Fried Rice Recipe
Ingredients
Method
- Sauté the kimchi: Melt 1 tbsp butter in a large skillet over medium-high heat. Add kimchi and cook 2-3 minutes until softened and caramelized. Stir in gochujang if using.
- Crisp the rice: Add remaining ½ tbsp butter, then the cold rice, breaking up clumps. Spread in an even layer and cook undisturbed 2-3 minutes until crispy. Drizzle with soy sauce and kimchi juice, stir-fry 2 more minutes until coated and crunchy.
- Fry the eggs: Push rice to side, crack eggs into the pan. Cook 2-3 minutes for runny yolks, season with salt and pepper.
- Plate and serve: Divide rice between bowls, top with eggs, scatter scallions, and drizzle sesame oil. Eat right away.
Notes
