
Jacques Torres Chocolate Chip Cookies (36-Hour Dough)

These Jacques Torres chocolate chip cookies are built for texture: crisp edges, a chewy center, and pools of dark chocolate that stay soft even after the cookies cool. The trick is a long, cold rest that lets the flour hydrate and the flavor deepen.
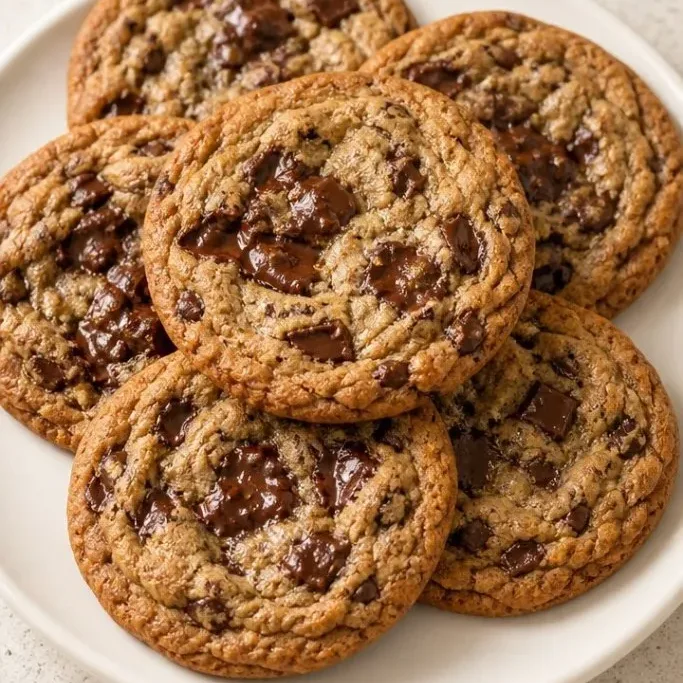
You will need two flours and large chocolate disks instead of chips. The dough sits in the fridge for at least a day, so plan ahead, but the actual hands-on time is short.
Why These Cookies Are Worth the Wait
Plain chocolate chip cookies are good. These are the ones I come back to because the contrast of textures is so deliberate. The bread flour gives chew, the cake flour keeps them tender, and the chocolate feves melt into thin layers instead of solid lumps.
The 36-hour rest is not a gimmick. It lets the dry ingredients absorb moisture from the eggs, which changes how the dough browns in the oven. The edges caramelize while the center stays soft.
You taste a deeper toffee note and a chewier crumb than a same-day cookie ever gives you. That alone makes the planning worth it.
Ingredients
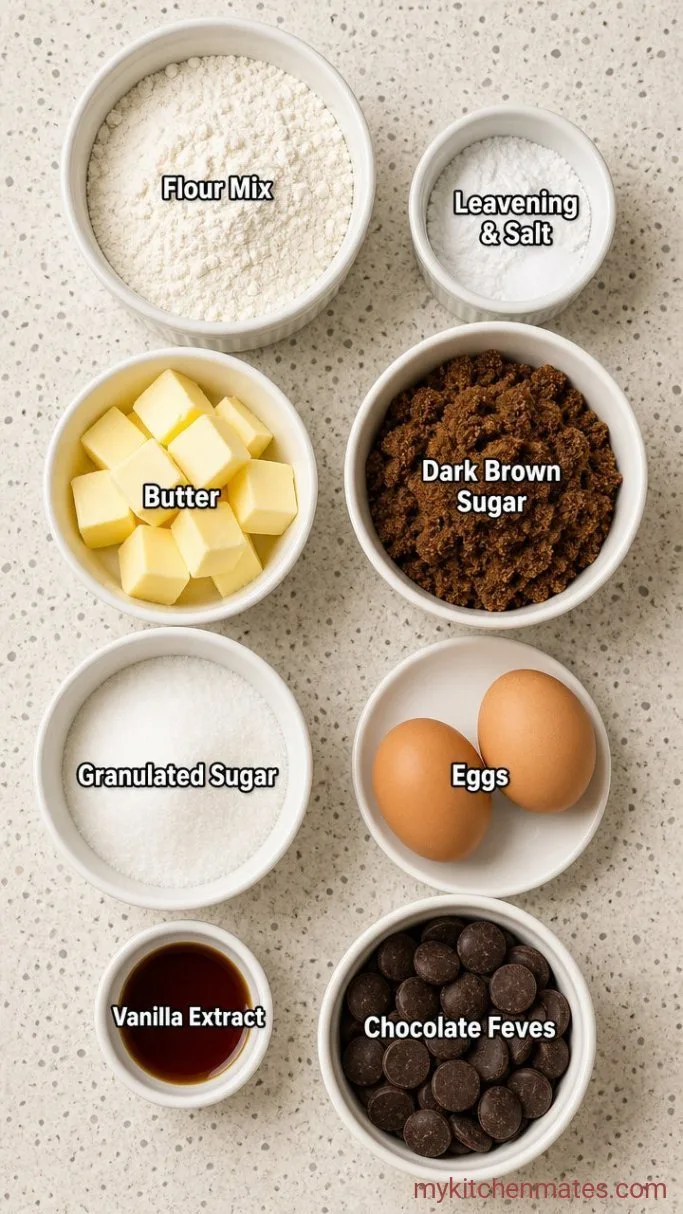
- 2 cups minus 2 tbsp (8.5 oz) cake flour: you can use pastry flour instead; all-purpose works in a pinch but changes the texture.
- 1 ⅔ cups (8.5 oz) bread flour: the higher protein creates the chewy pull.
- 1 ¼ tsp baking soda: not baking powder, which would spread the cookies too much.
- 1 ½ tsp baking powder: for a little lift.
- 1 ½ tsp coarse salt: I use kosher salt.
- 2 ½ sticks (1 ¼ cups) unsalted butter, cool room temperature: about 65°F, so it holds its shape when pressed.
- 1 ¼ cups (10 oz) dark brown sugar: packed; the molasses adds moisture and flavor.
- 1 cup plus 2 tbsp (8 oz) granulated sugar: a little extra for crisp edges.
- 2 large eggs, cold from the fridge: cold eggs help keep the dough firm for the long chill.
- 2 tsp vanilla extract: the real stuff, not imitation, because you taste it after the rest.
- 1 ¼ lbs bittersweet chocolate feves or disks, at least 60% cacao: this is what creates the puddles. Chips won’t melt the same way.
Variations / Substitutions
- Semisweet or milk chocolate: Bittersweet keeps the cookie from being too sweet; semisweet is fine, milk will make them noticeably sweeter.
- All-purpose flour for both flours: You can use 3 ½ cups all-purpose flour, but the cookies will lose the distinct chew and tenderness. They will still bake into a solid cookie.
- Add nuts: Fold in 1 cup toasted walnuts or pecans with the chocolate.
- Finishing salt: A pinch of flaky salt on top right after baking brings the chocolate forward.
Chocolate Chip Ice Cream is another reader favorite dessert worth making next.
How to Make Jacques Torres Chocolate Chip Cookies
Step 1: Whisk the Dry Ingredients
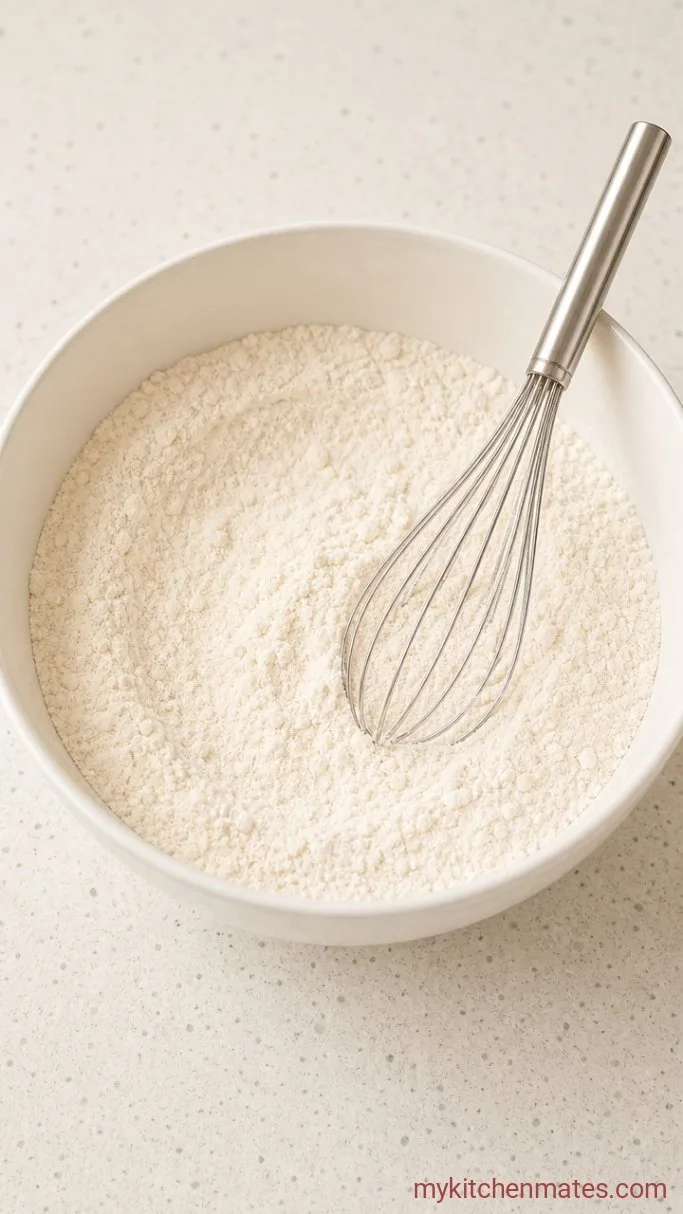
Sift the cake flour, bread flour, baking soda, baking powder, and salt into a large bowl. Whisk to combine, then set aside. This step distributes the leaveners and salt evenly, so you do not hit a pocket of baking soda in one cookie.
The mixture will look pale and powdery with specks of salt. It should smell clean, with no off odors from the flour.
You are not just mixing for the sake of it. Uneven salt or leavening is the fastest way to get cookies that bake unpredictably.
Step 2: Cream the Butter and Sugars
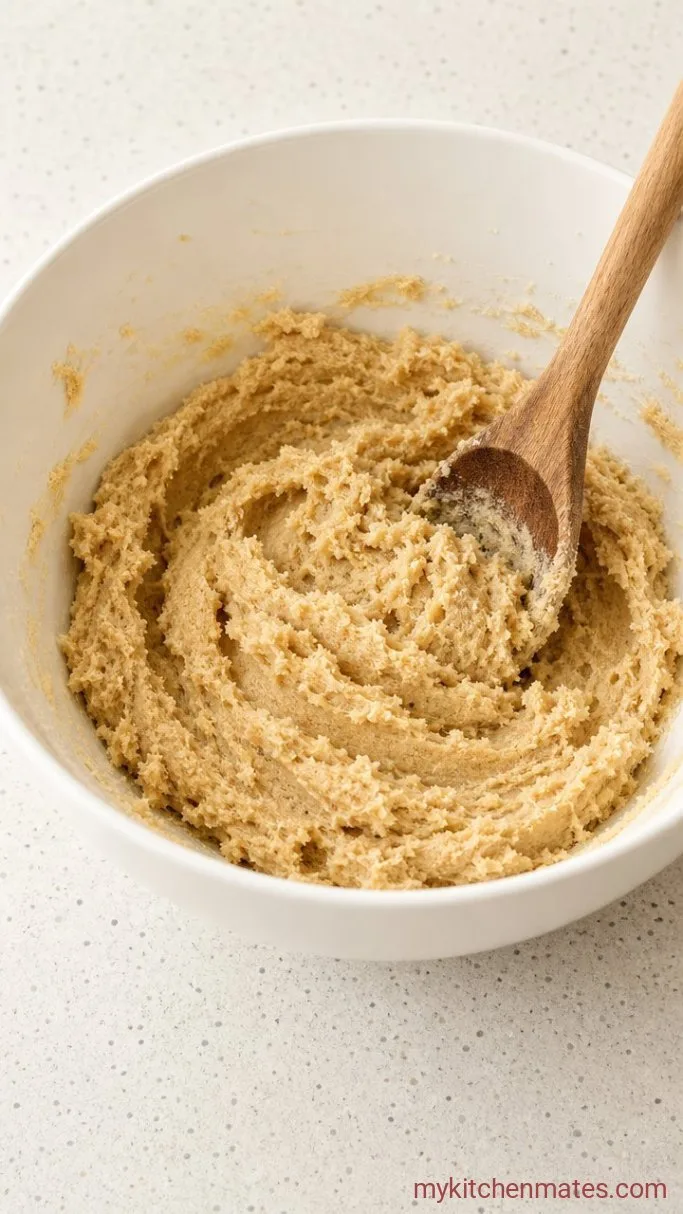
In the bowl of a stand mixer fitted with the paddle, beat the butter, brown sugar, and granulated sugar on medium speed for about 5 minutes. Scrape the bowl and paddle once at the 2-minute mark. The mixture will lighten in color and look fluffy, but it should not be so warm that it turns greasy. You want the sugar crystals to cut into the butter, not melt into it.
At the 5-minute mark, the butter mixture will be the texture of wet sand with a nutty aroma from the brown sugar. If you rub a bit between your fingers, you should still feel fine grain.
If your kitchen is very warm, stop at 4 minutes. Too soft a butter base and the cookies will spread too much, even after the long chill.
Step 3: Beat in the Eggs and Vanilla
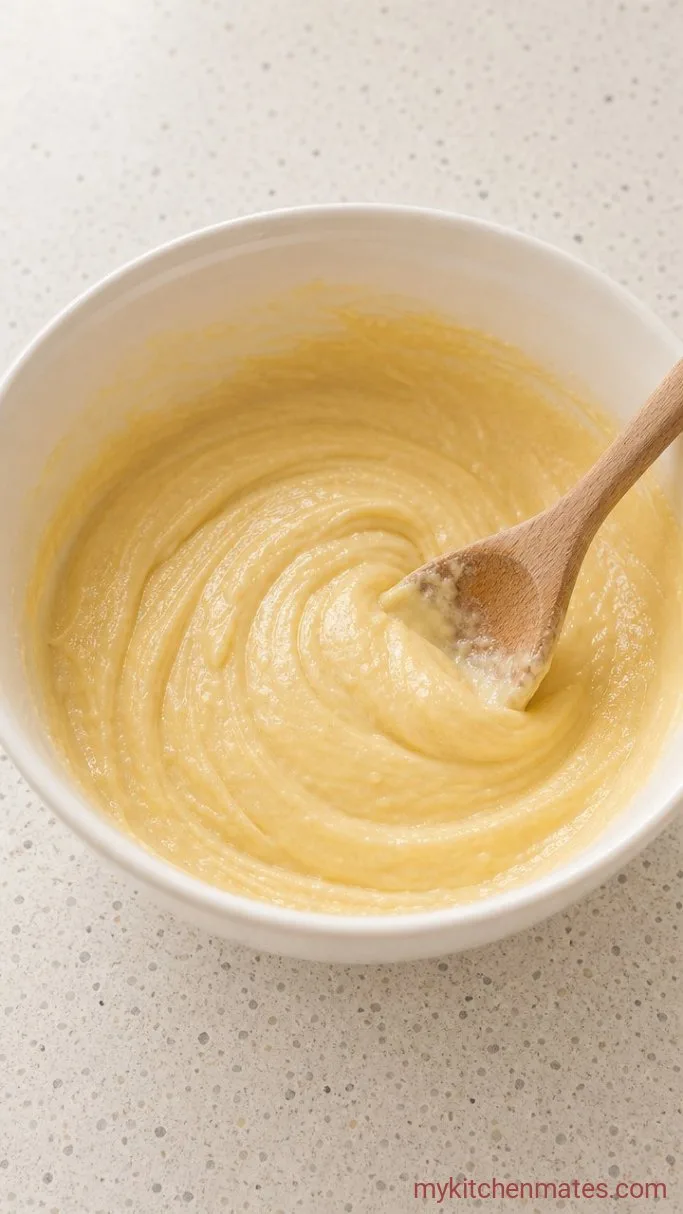
With the mixer on low, add the cold eggs one at a time, letting the first incorporate fully before adding the second. Pour in the vanilla. Mix just until the egg is absorbed, no more than 30 seconds total. The dough will look like a silky, slightly sticky batter that pulls away from the sides.
It will smell like vanilla and brown sugar, and the color deepens into a warm caramel. Do not overbeat here, or you risk adding too much air, which can cause domed cookies that then collapse in the oven.
This is the liquid that will hydrate the flour during the long rest, so getting it evenly mixed matters.
Step 4: Finish the Dough and Chill
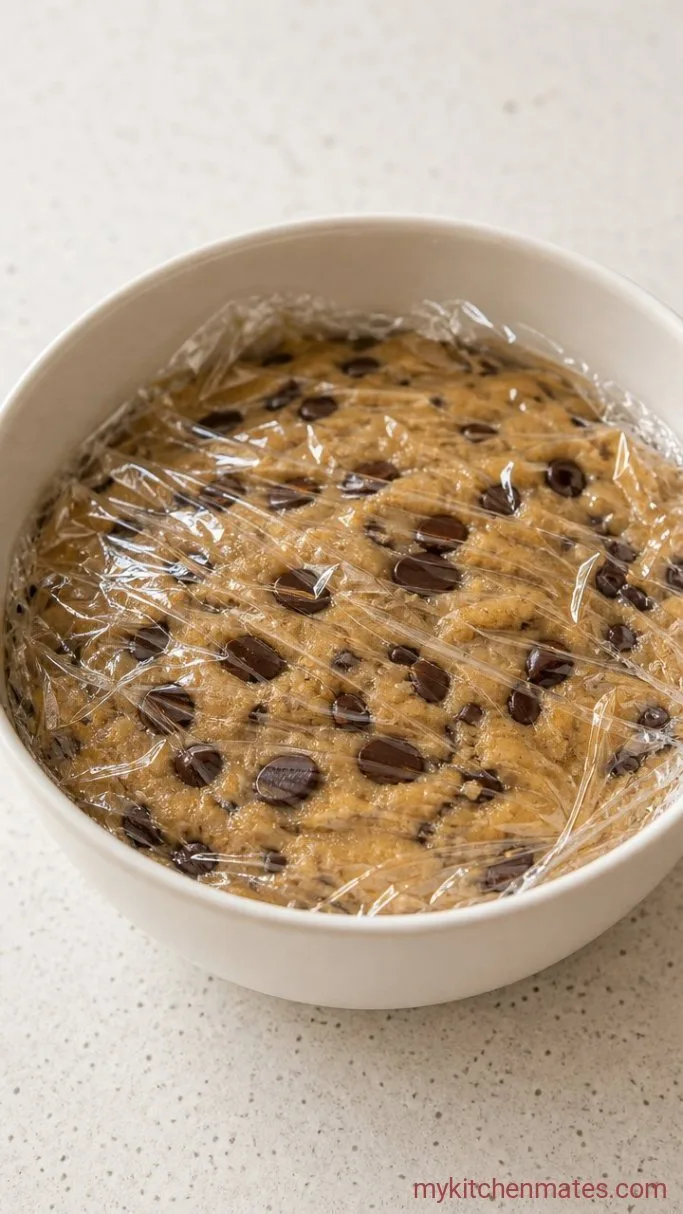
With the mixer on the lowest speed, add the dry ingredients in three additions, mixing only until just absorbed after each. Do not dump it all in at once, or you will blow flour across the counter. The dough will be thick and slightly stiff. Stop the mixer and fold in the chocolate feves by hand with a sturdy spatula. Turn the dough a few times to catch any dry pockets at the bottom.
The finished dough will feel heavy, studded with shards of chocolate. Press a piece of plastic wrap directly onto the surface, then cover the bowl tightly and refrigerate for at least 24 hours, and up to 72 hours.
The wait is the hardest part, but this is where the cookie becomes chewy and deeply flavored. Do not rush it.
Step 5: Scoop and Bake
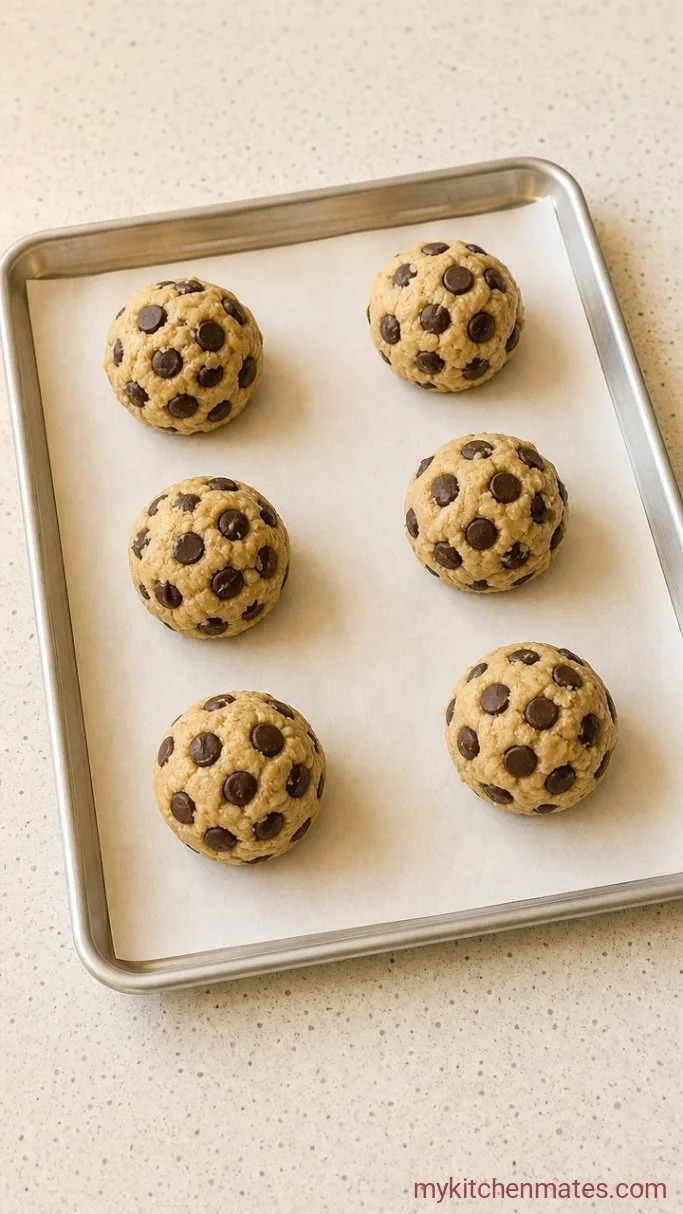
When you are ready to bake, preheat the oven to 350°F (175°C) and line two baking sheets with parchment paper. Scoop the dough into 3.5 ounce mounds, about the size of a generous golf ball, and place them 2 inches apart on the sheets. If the dough is too firm to scoop, let it sit at room temperature for 10 minutes. Bake one sheet at a time on the middle rack for 18 to 20 minutes. The cookies will spread slowly, then puff, and finally settle into a flat top as they finish.
At the 18-minute mark, the edges will be deeply golden and the centers still look slightly underdone. Pull them then for a soft center; leave them the extra 2 minutes for a firmer cookie.
The chocolate will be glossy and liquid, pooling into small lakes. That is exactly what you want.
Step 6: Cool and Serve
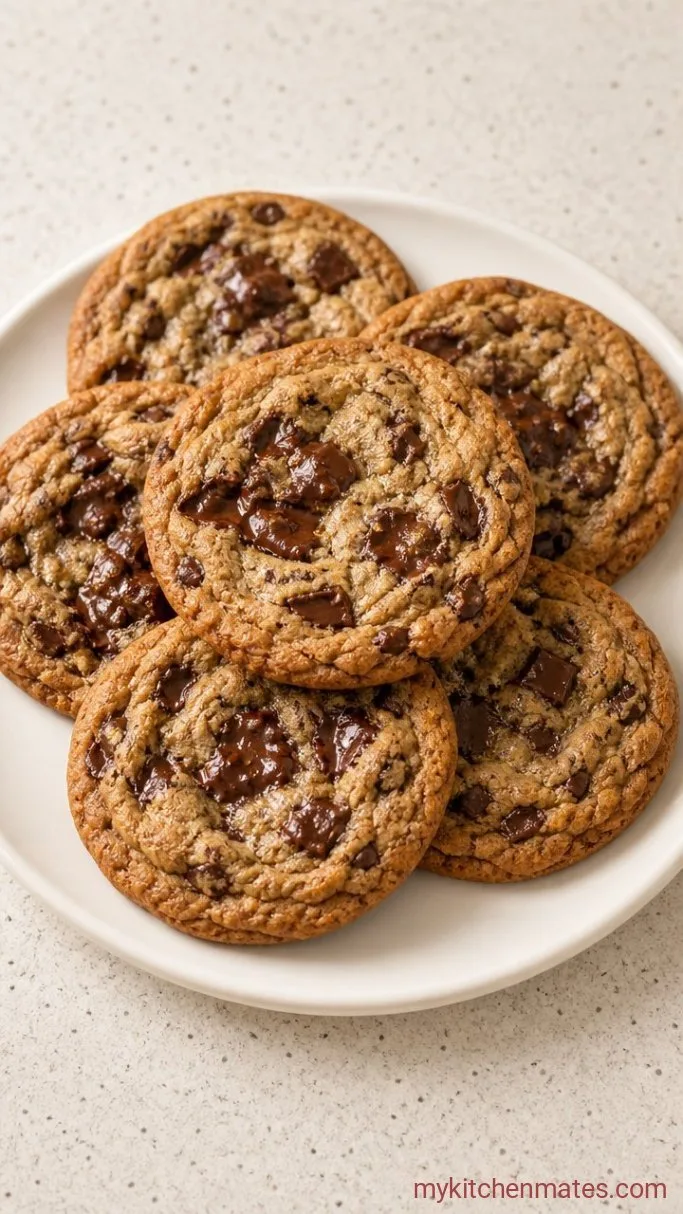
Leave the cookies on the hot baking sheet for 5 minutes, so the carryover heat finishes the centers without overbaking. Then transfer them to a wire rack to cool completely, or serve them while still warm and the chocolate is soft.
The cookies will be irregular and craggy, with deep golden valleys between the chocolate puddles. The edges will be crisp and the centers chewy, the way a chocolate chip cookie is supposed to be.
If you saved some dough in the fridge, bake a few today and leave the rest for tomorrow. The flavor only gets better.
Tips for the Best Cookies
- Go by weight for the flours and sugars if you can. Cup measurements vary, and the flour balance is the whole structure of this cookie.
- The 24-hour minimum is non-negotiable. 36 hours is better. You can go up to 72 hours. After that, the dough will start to dry out.
- Use chocolate feves or discs, not standard chips. Chips hold their shape and will not create the same thin, wide puddles. Look for Valrhona, Guittard, or Callebaut baking wafers.
- If the dough is too hard to scoop after chilling, let it sit at room temperature for 10 minutes, not 30. You want it cold when it hits the oven.
- A light sprinkle of flaky sea salt on the warm cookies makes the chocolate taste deeper.
Bake times will vary by size:
| Cookie Size | Dough Weight | Bake Time at 350°F |
|---|---|---|
| Small | 1.5 oz | 10-12 minutes |
| Medium | 2.5 oz | 14-16 minutes |
| Large | 3.5 oz | 18-20 minutes |
Storing Leftover Cookies
- Refrigerate: The baked cookies keep well in an airtight container at room temperature for 3 days. For the dough, keep it tightly wrapped in the fridge and use within 72 hours.
- Reheating: Warm a cookie in a 300°F oven for 4 minutes to soften the chocolate again.
- Freeze: Freeze unbaked dough balls on a sheet, then transfer to a bag. Bake straight from frozen, adding 2 to 3 minutes to the bake time.
Frequently Asked Questions
Can I use all-purpose flour instead of the two specialty flours?
Yes, substitute 3 ½ cups (about 15.5 oz) all-purpose flour, but the cookie will be less chewy and have a more uniform crumb.
How long do I really need to chill the dough?
At least 24 hours. 36 hours gives the best balance of flavor and texture. You can go up to 72 hours before the dough starts to dry.
Why are my cookies flat even after chilling?
Either the butter was too soft when creamed, the dough sat out too long before baking, or you measured the flour too light. Weigh the flour and keep the dough cold.
Can I use milk chocolate feves?
You can, but the cookies will be noticeably sweeter and the chocolate will not contrast with the dough as well. Stick to 60% cacao or darker.
Jacques Torres Chocolate Chip Cookies Recipe
Ingredients
Method
- Sift both flours, baking soda, baking powder, and salt into a bowl. Whisk to combine.
- In a stand mixer with the paddle, beat the butter, brown sugar, and granulated sugar on medium for 5 minutes, scraping once.
- Add the eggs one at a time with the mixer on low, then the vanilla, mixing just until combined.
- Add the dry ingredients in three additions on low speed, mixing only until absorbed. Fold in the chocolate feves by hand. Cover and refrigerate at least 24 hours.
- Preheat oven to 350°F (175°C). Scoop 3.5 oz mounds of dough onto lined baking sheets, 2 inches apart. Bake one sheet at a time for 18-20 minutes.
- Cool on the sheet for 5 minutes, then transfer to a rack. Serve warm or at room temperature.
Notes
