
3-Ingredient Ice Cream in a Bag (5 Minutes)

This ice cream in a bag is the fastest way to make homemade ice cream without a machine. In about 5 minutes, you get soft, creamy vanilla ice cream using just a couple of zip-top bags and a handful of ingredients.

It’s the kind of project that turns a random afternoon into a small celebration. You’ll be surprised at how good a little heavy cream, sugar, and vanilla can taste when you’ve just shaken it into existence.
Why This No-Churn Trick Works
I keep coming back to this method because it’s foolproof and takes almost no time. The ice cream tastes like a Philadelphia-style vanilla, not overly sweet, with a clean dairy flavor.
The shaking is genuinely fun, whether you’re making it with kids or just want a quick dessert fix without hauling out the ice cream maker. And because you control the ingredients, it tastes fresher than most store-bought pints.
Ingredients
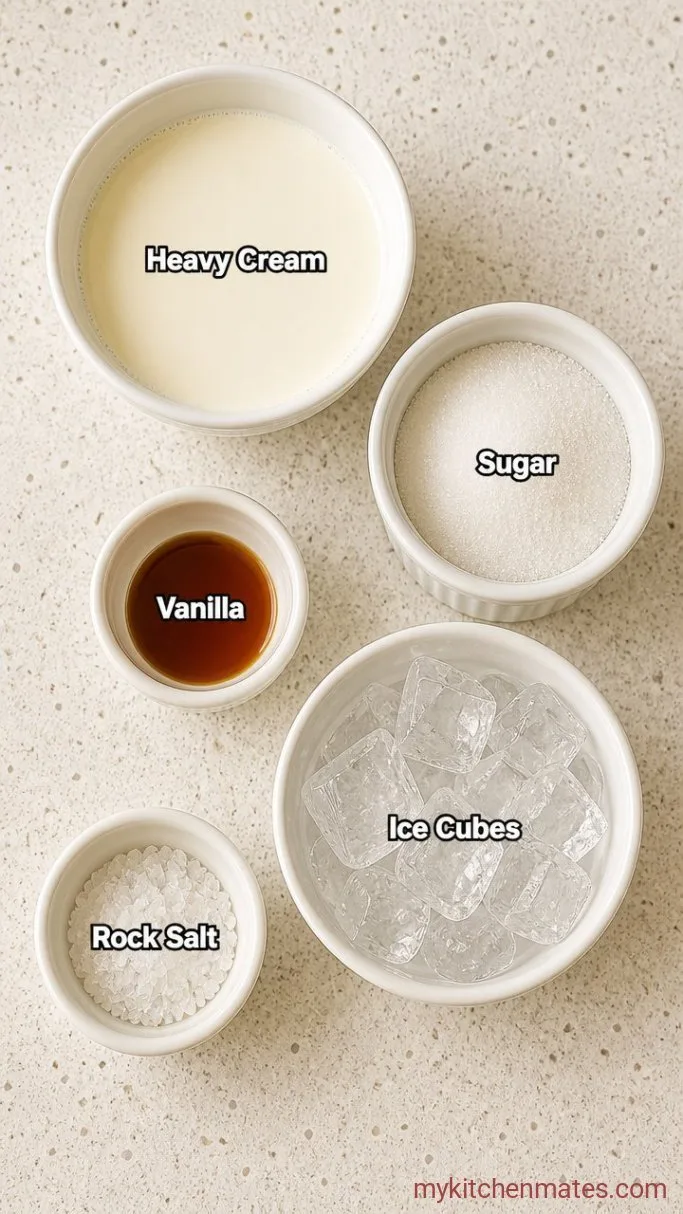
- 1 cup heavy cream, cold: the higher the fat, the smoother the texture
- 3 tbsp granulated sugar: dissolves easily without grittiness
- 1 tsp vanilla extract: use pure vanilla for the best flavor
- 4 cups ice cubes: from the freezer, not crushed
- 6 tbsp rock salt or kosher salt: the key to dropping the temperature fast; table salt works but use 4 tbsp instead
Variations / Substitutions
- Chocolate: whisk 1 tbsp unsweetened cocoa powder into the cream before sealing the bag.
- Mint chip: swap the vanilla with ¼ tsp peppermint extract and stir in a handful of mini chocolate chips after shaking.
- Fruity: omit vanilla and add 1 to 2 tbsp strawberry or raspberry jam to the cream mixture before shaking.
- Dairy-free: canned full-fat coconut cream replaces heavy cream. Chill the can overnight and use only the thick cream on top.
Fudgy Ragi Brownies are next on our list if this ice cream is your kind of dessert.
How to Make Ice Cream in a Bag
Step 1: Mix the Ice Cream Base
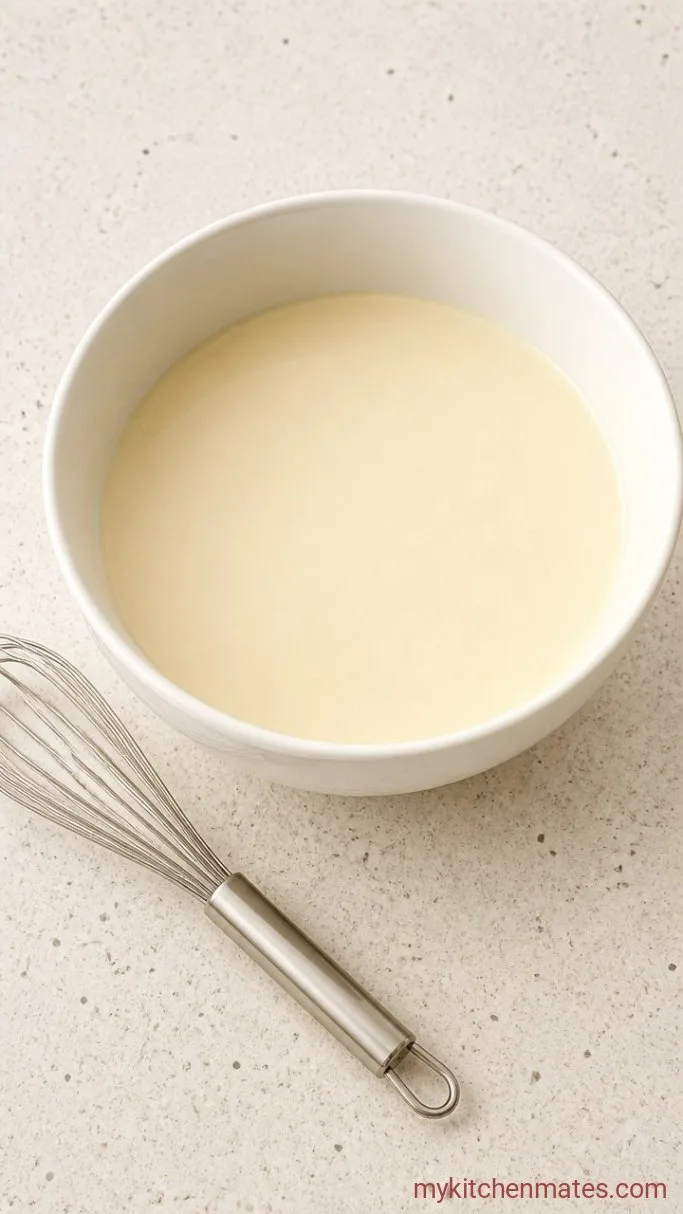
Pour the 1 cup heavy cream, 3 tablespoons sugar, and 1 teaspoon vanilla into a quart-size zip-top bag. Press out the air, seal it tightly, and shake for about 15 seconds until the sugar dissolves. The mixture looks thin and pale with no visible granules.
Step 2: Fill the Ice Bag
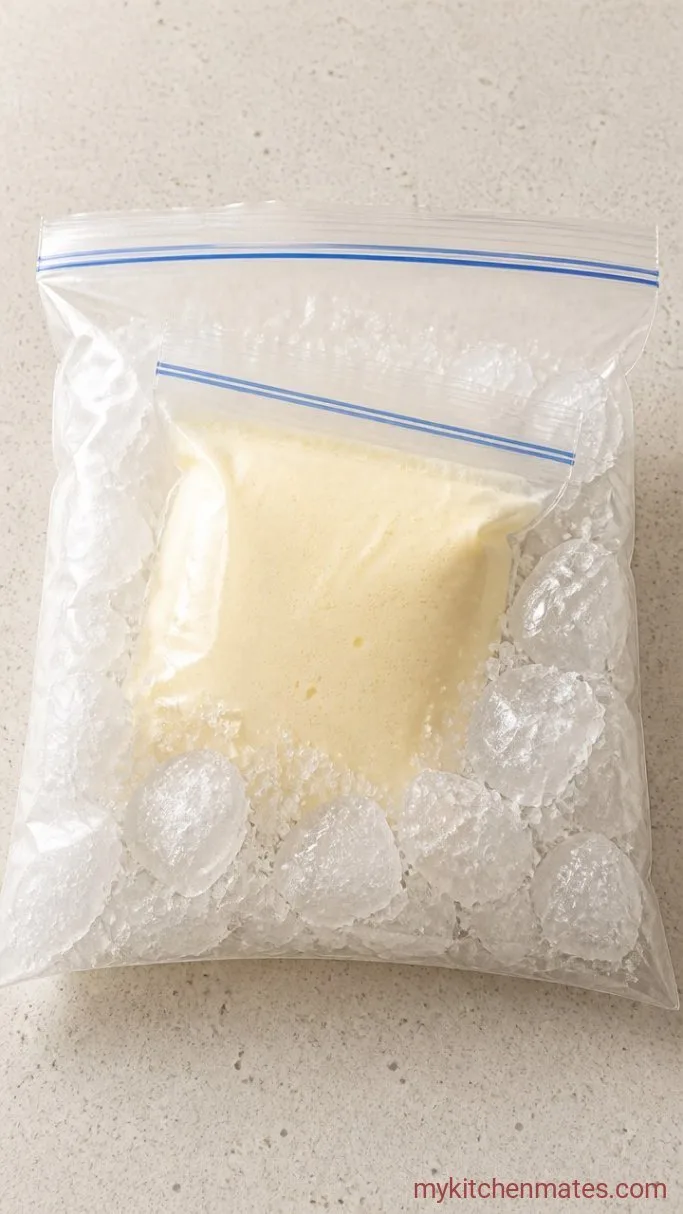
Put 4 cups of ice cubes into a gallon-size zip-top bag. Sprinkle the 6 tablespoons of salt over the ice. Slide the sealed cream bag into the large bag, nestle it into the ice, then seal the larger bag. Wrap a dish towel around it or wear gloves because the bag will get uncomfortably cold within a minute.
Step 3: Shake Until Set
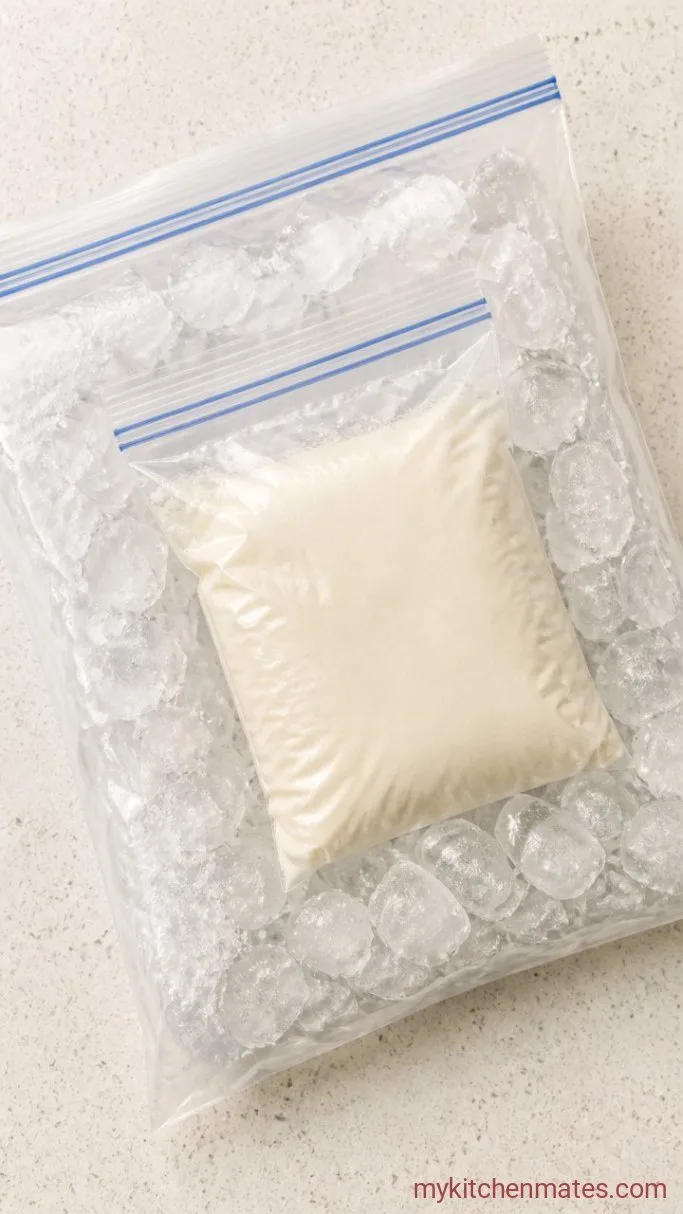
Shake the bag vigorously for 5 to 6 minutes. At the 4-minute mark, the mixture will feel thick and slushy, like soft serve. By 5 to 6 minutes, it firms up enough to scoop. If it still feels too soft, shake for another minute.
Step 4: Scoop and Serve
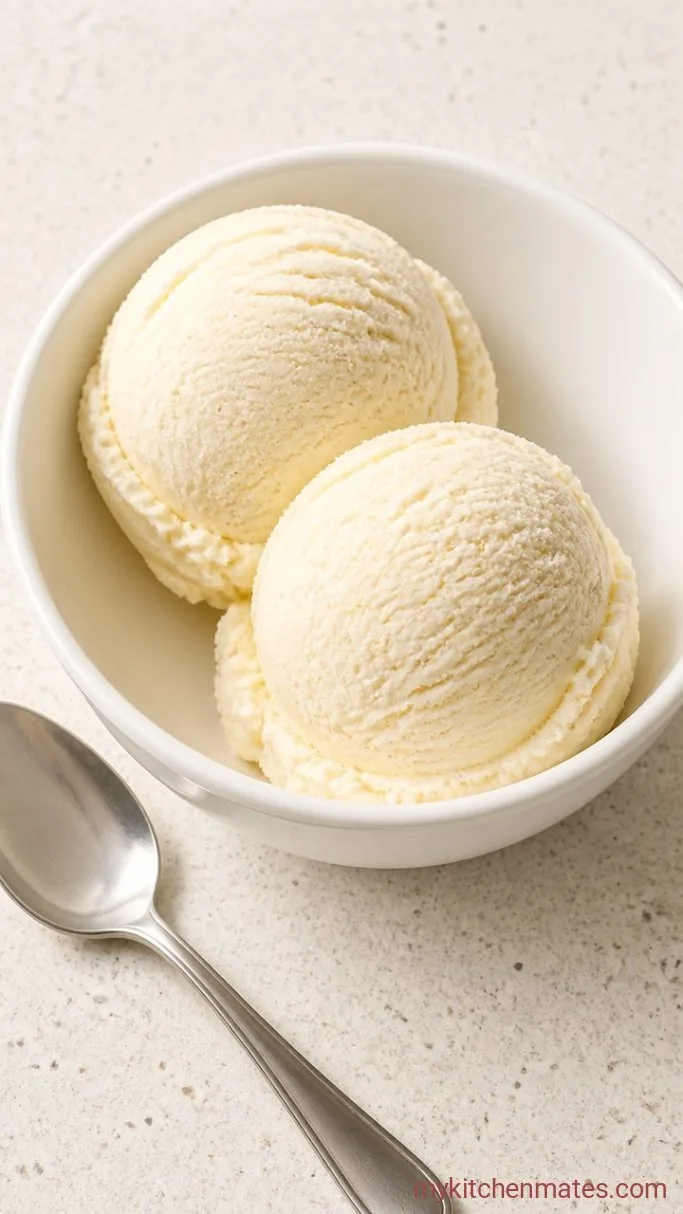
Open the large bag, remove the small bag, and wipe any salty water off the outside. Cut a corner off the cream bag and squeeze the ice cream into bowls, or just spoon it out directly. It will be soft and creamy right away, ready for sprinkles or a drizzle of chocolate sauce.
Tips for the Best Bag Ice Cream
- Pre-chill the heavy cream for at least an hour if you have time. Colder cream sets faster.
- Don’t undersalt the ice. Too little salt won’t drop the temperature enough and the ice cream stays runny.
- Use rock salt or kosher salt in a pinch. Table salt works but fine grains can escape through tiny bag gaps, so double-bag the ice bag.
- If you want to double the batch, make two separate bags instead of one big bag. A larger mass is harder to shake evenly.
- Let kids shake while sitting or kneeling on the floor over a towel. It’s safer when enthusiasm takes over.
Make more by scaling up the ingredients—just use a separate bag for each batch so the shaking stays manageable.
| Servings | Heavy Cream | Sugar | Vanilla | Ice | Salt |
|---|---|---|---|---|---|
| 2 | 1 cup | 3 tbsp | 1 tsp | 4 cups | 6 tbsp |
| 4 | 2 cups | 6 tbsp | 2 tsp | 8 cups | 12 tbsp |
| 6 | 3 cups | 9 tbsp | 1 tbsp | 12 cups | 18 tbsp |
Storing Leftover Ice Cream
Transfer any leftovers to an airtight container and freeze for up to 1 week. It will harden solid, so let it sit on the counter for 5 to 10 minutes before scooping.
What To Serve With Ice Cream in a Bag
Warm brownies are a natural partner because the cold creaminess against fudgy cake is hard to beat. A crisp waffle or a slice of apple pie also soak up the melting ice cream nicely. For a quick sauce, heat a handful of chocolate chips with a splash of cream and drizzle it over.
Frequently Asked Questions
Can I use milk instead of heavy cream?
No. Milk has too much water and not enough fat, so it won’t set into a creamy texture and will turn icy.
Why didn’t my ice cream freeze?
You probably skimped on salt or didn’t shake long enough. The salt lowers the freezing point of ice, pulling more heat from the cream bag, so measure it carefully.
Can I make chocolate ice cream this way?
Yes. Add 1 tablespoon unsweetened cocoa powder to the cream and shake well before sealing, then follow the same process.
Do I have to use zip-top bags, or can I use a reusable container?
You need the flexibility of a bag to shake the cream evenly against the salted ice. A rigid container won’t transfer the cold as effectively and takes much longer to set.
Ice Cream in a Bag Recipe
Ingredients
Method
- Combine cream, sugar, and vanilla in a quart-size zip-top bag. Seal and shake until sugar dissolves, about 15 seconds.
- Fill a gallon-size zip-top bag with ice and salt. Add the sealed cream bag, nestle into ice, and seal the large bag.
- Shake vigorously for 5–6 minutes, until the mixture is thick and scoopable.
- Remove cream bag, wipe off any salt, cut a corner, and squeeze or scoop into bowls.
Notes
