
Ice Cream Cone Cupcakes (Baked Right in the Cone)

Ice cream cone cupcakes show up ready to party: a soft vanilla cupcake baked straight inside a flat-bottom cone and topped with a thick swirl of frosting that looks just like soft serve.
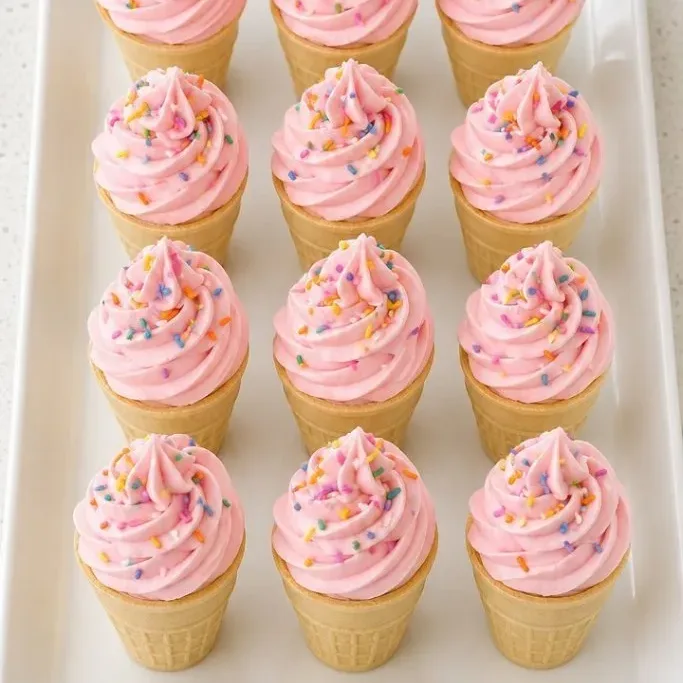
No liners to peel, no plates to wash, and a whole lot of smiles the second you set them out.
Why These Cupcakes Always Get Smiles
I love how they turn dessert into an event without any extra effort. The cone gets just the right amount of crisp at the edges while the cake stays tender, and the frosting swirl on top makes everyone grin.
It’s the kind of treat that feels special even though it’s really just a cupcake in disguise.
Ingredients
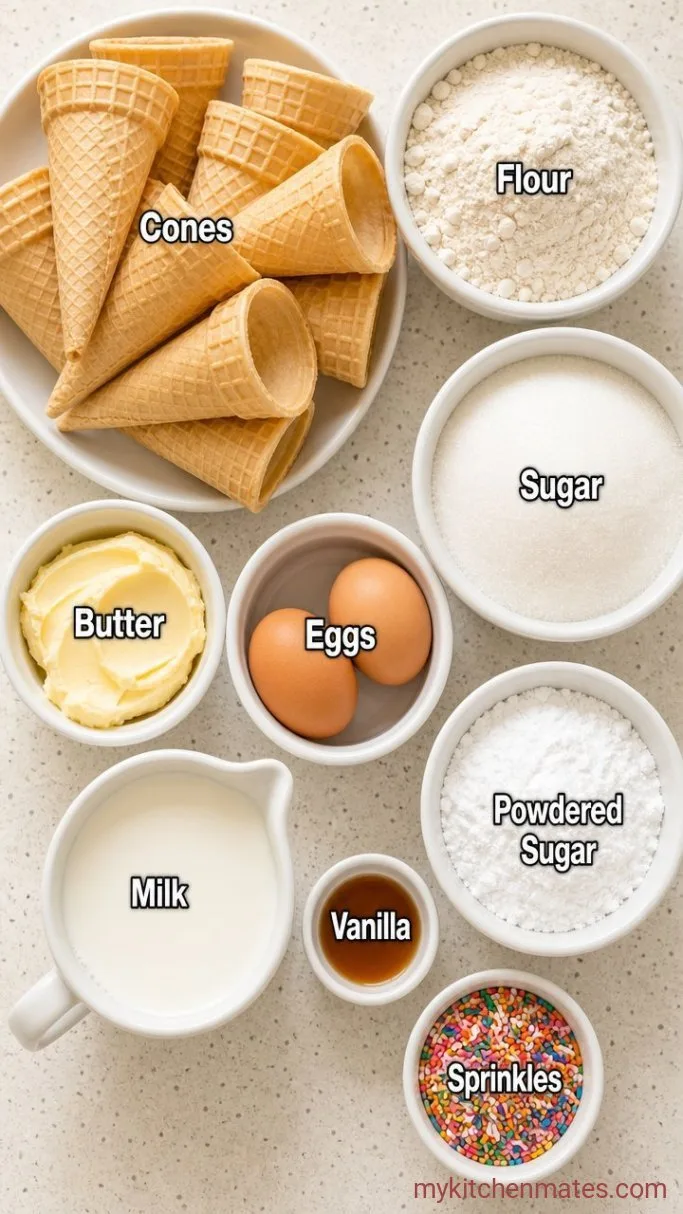
- 12 flat-bottom ice cream cones: look for the ones with a wide, flat base; pointed sugar cones will tip over
- 1 1/2 cups all-purpose flour: spooned and leveled
- 1 cup granulated sugar
- 1 1/2 teaspoons baking powder
- 1/4 teaspoon salt
- 1/2 cup unsalted butter, softened: take it out of the fridge 30 minutes ahead
- 2 large eggs: room temperature if you have time
- 2 teaspoons vanilla extract
- 1/2 cup whole milk: 2% works too
For the frosting:
- 1 cup unsalted butter, softened
- 3 to 4 cups powdered sugar: sifted if lumpy
- 2 to 3 tablespoons milk or heavy cream
- 1 teaspoon vanilla extract
- Food coloring (optional): gel colors give the brightest shade
- Rainbow sprinkles: for decorating
Variations / Substitutions
- Chocolate Cone Cupcakes: swap 1/4 cup of the flour for unsweetened cocoa powder
- Funfetti Cone Cupcakes: stir 1/3 cup rainbow sprinkles into the batter before filling the cones
- Strawberry Cone Cupcakes: reduce the milk to 1/3 cup and add 1/4 cup freeze-dried strawberry powder
- Dairy-Free: use plant-based butter sticks and unsweetened almond milk in both the cake and frosting
- Gluten-Free: substitute a 1-to-1 gluten-free flour blend
Dinosaur Sugar Cookies are another dessert you’d probably love if you enjoy these cupcakes.
How to Make Ice Cream Cone Cupcakes
Step 1: Arrange the Cones
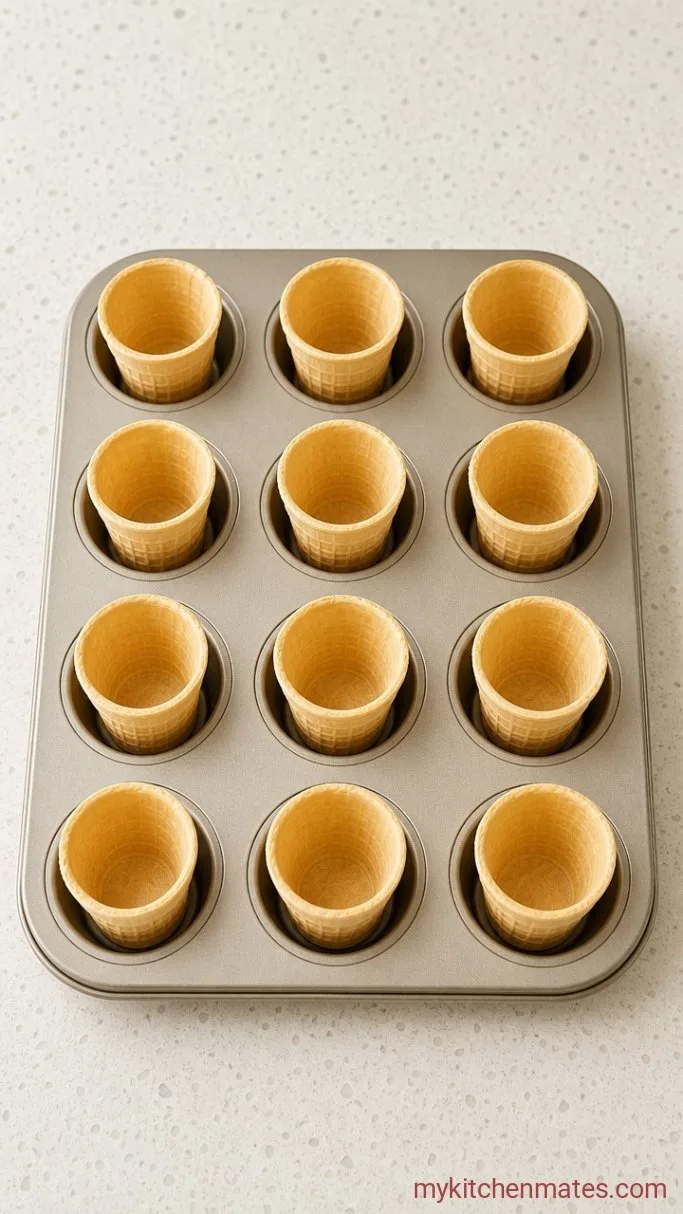
Preheat the oven to 350°F (175°C). Stand the 12 flat-bottom cones upright in the wells of a 12-cup muffin tin. The tin holds them steady so they stay upright the whole time they bake.
If you don’t have a muffin tin, line a rimmed baking sheet with crumpled aluminum foil and nestle the cones into the foil to keep them upright. Either way, make sure the cones are level and not leaning.
Step 2: Cream the Butter and Sugar
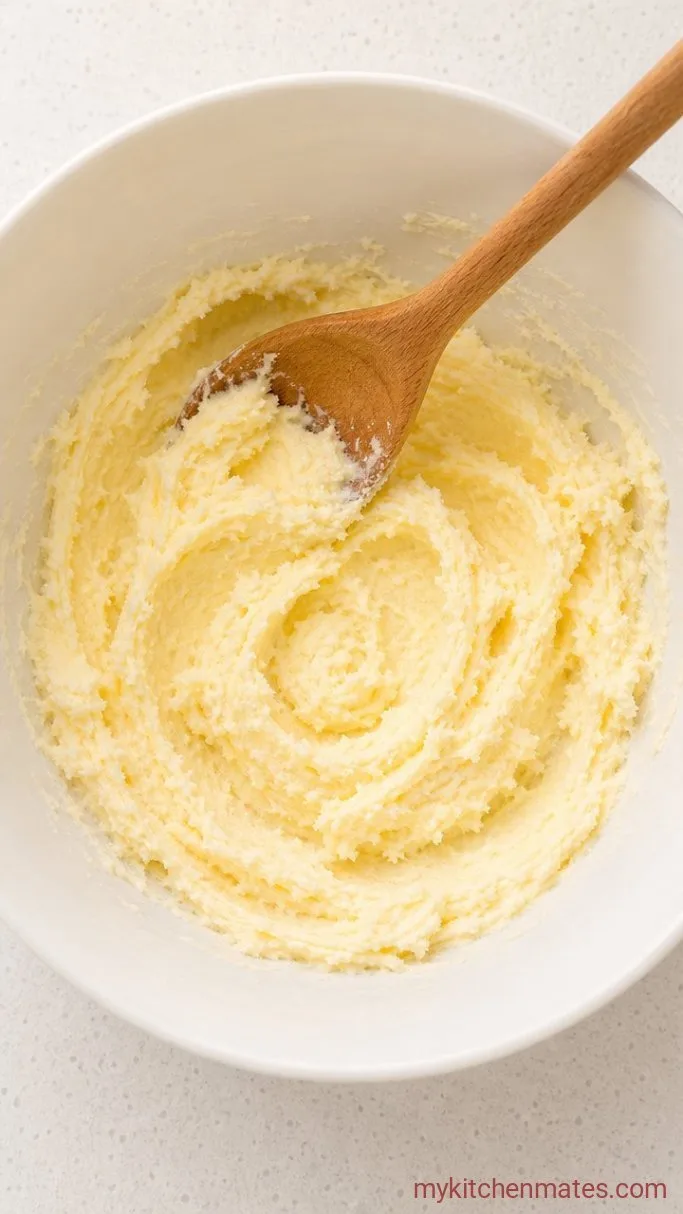
In a stand mixer or a large bowl with a hand mixer, beat the 1/2 cup softened butter and 1 cup granulated sugar together on medium speed for about 2 minutes, until light and fluffy. Scrape down the bowl, then add the 2 eggs one at a time, mixing well after each. Mix in the 2 teaspoons vanilla extract.
The mixture should look pale and smooth at this point. If it looks a little curdled, the butter may have been too cold, but it will still bake up fine.
Step 3: Combine the Batter
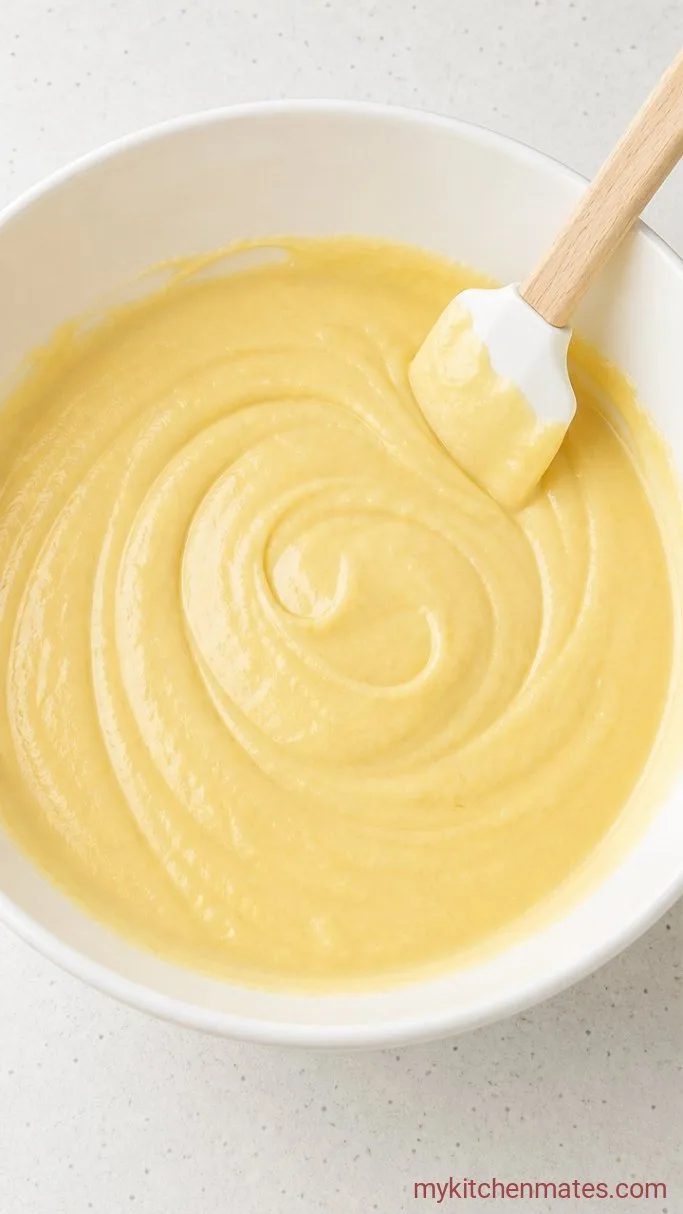
In a separate small bowl, whisk together the 1 1/2 cups flour, 1 1/2 teaspoons baking powder, and 1/4 teaspoon salt. Add half of this dry mixture to the butter mixture, beat on low just until combined, then pour in the 1/2 cup milk. Mix briefly, then add the remaining dry ingredients and beat until just combined. Do not overmix; a few small lumps are okay.
The batter will be thick and smooth. Overbeating can make the cupcakes tough, so stop the mixer as soon as you don’t see any dry flour streaks.
Step 4: Fill and Bake the Cones
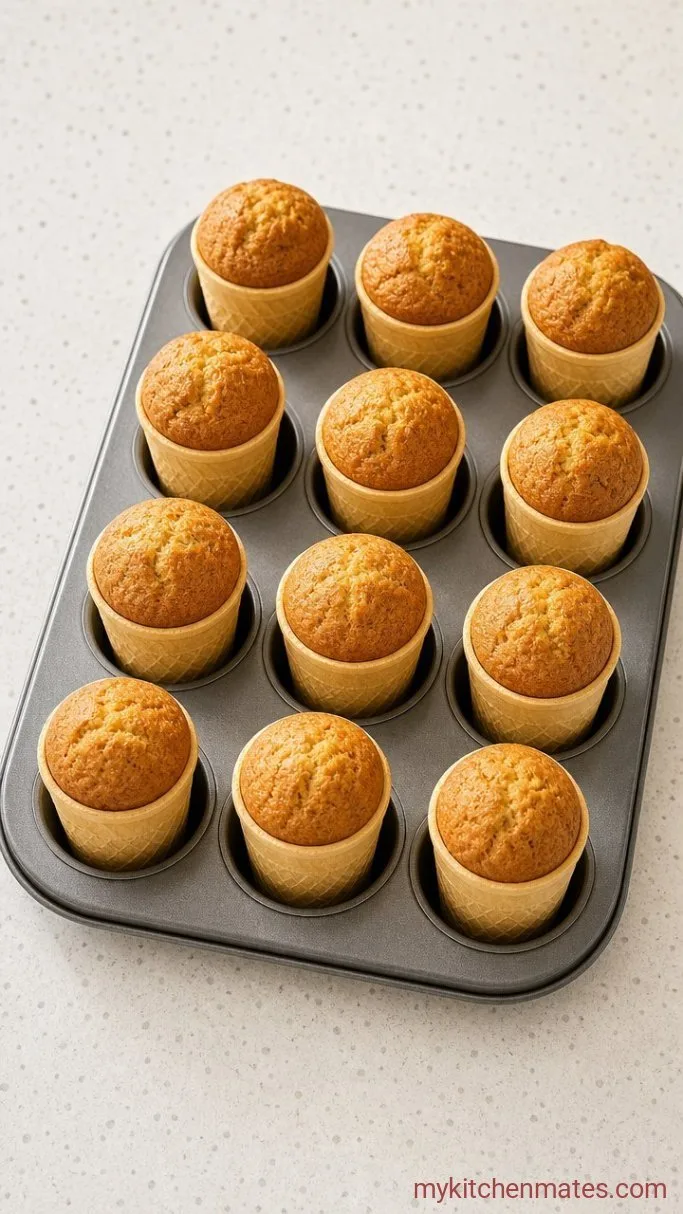
Spoon the batter into each cone, filling them no more than two-thirds full. A small cookie scoop or a piping bag with the tip snipped off makes this cleaner. Bake for 18 to 22 minutes, until a toothpick inserted into the center of a cupcake comes out clean.
The cones will turn golden at the edges, and the cake will rise just above the rim. Let them cool in the muffin tin for 5 minutes, then transfer carefully to a wire rack to cool completely before frosting.
Step 5: Whip the Frosting
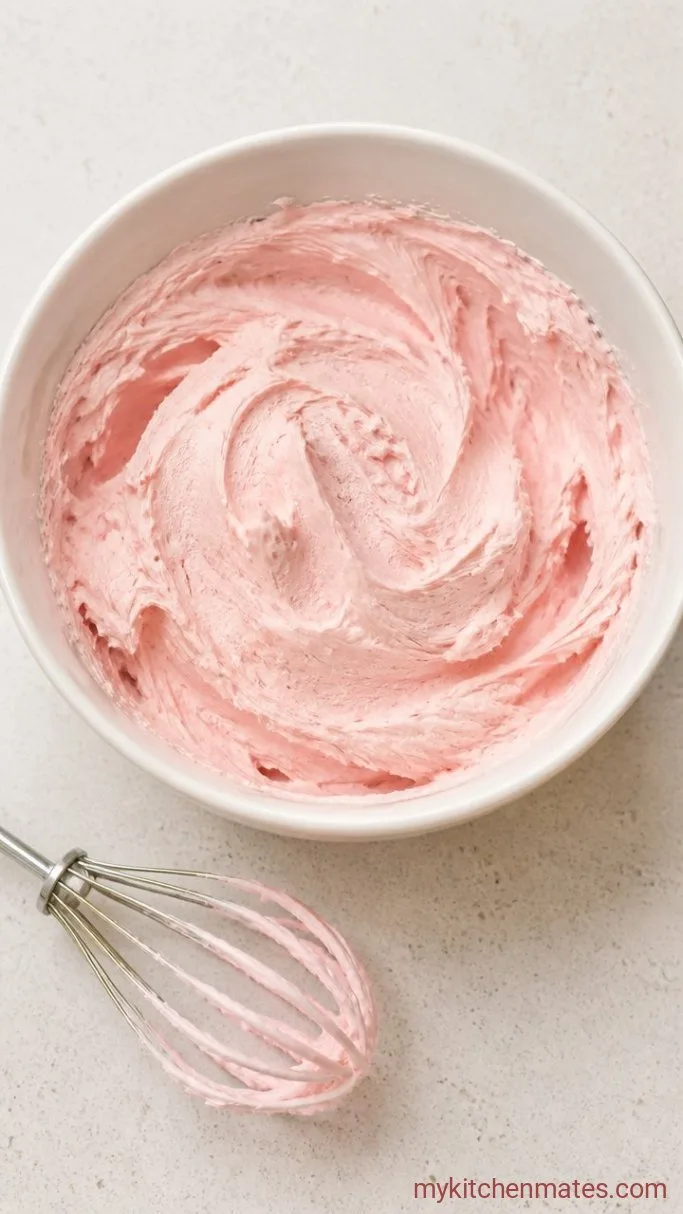
In a clean mixer bowl, beat the 1 cup softened butter on medium until creamy, about 1 minute. Gradually add 3 cups powdered sugar, one cup at a time, beating on low to combine. Pour in 1 teaspoon vanilla and 2 tablespoons milk, then beat on high for 2 to 3 minutes until light and fluffy. If you want a tinted swirl, stir in a few drops of food coloring.
The frosting should be thick enough to hold a peak but soft enough to pipe easily. If it’s too stiff, beat in another tablespoon of milk. If it’s too loose, add a bit more powdered sugar.
Step 6: Frost and Decorate
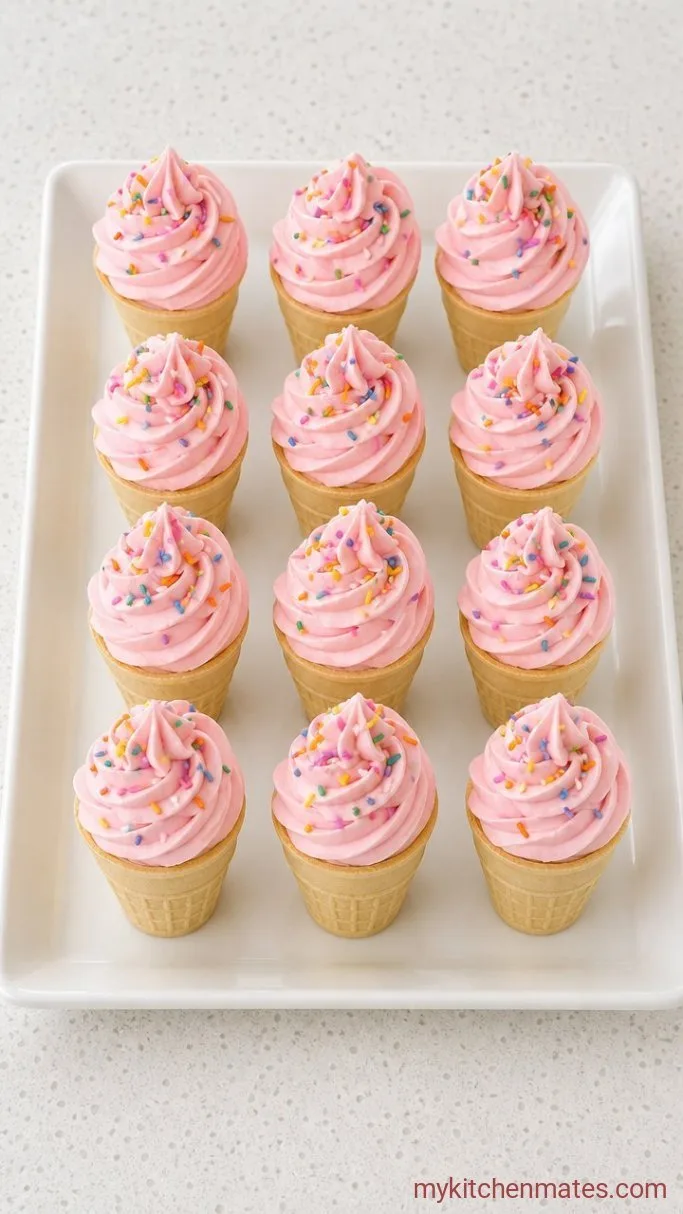
Fit a piping bag with a large star tip and fill it with the frosting. Pipe a tall swirl on top of each cooled cone cupcake, starting at the outside and working up to a peak, just like soft serve. Top with rainbow sprinkles right away before the frosting sets.
These are ready to eat the moment they’re frosted, and they look best served on a platter with the swirls pointing up.
A Few Tips for Cone Cupcakes
- Only flat-bottom ice cream cones work here. The pointed sugar cones will tip over in the oven.
- Filling the cones more than two-thirds full is the most common reason for overflow. Keep the batter level low.
- A disposable piping bag (or a zip-top bag with a corner snipped off) gives you the most control when filling the cones.
- Bake the cones a day ahead and store them unfrosted, then whip the frosting and swirl it on right before you serve.
- If you hear a cone slip or lean during the first 5 minutes of baking, carefully nudge it back upright with a butter knife.
Scale it up for a party:
| Number of Cone Cupcakes | Batter Batch | Frosting Batch |
|---|---|---|
| 12 | 1x | 1x |
| 24 | 2x | 2x |
Storing Leftover Cone Cupcakes
Keep baked (unfrosted) cones in an airtight container at room temperature for up to 2 days. Once they’re frosted, store them in the fridge for up to 3 days and let them sit at room temperature for about 15 minutes before eating. The cone will soften a little over time, but the edges stay crisp enough to hold.
Frequently Asked Questions
Can I use regular sugar cones?
No. Pointed sugar cones won’t stand upright in the oven, so flat-bottom ice cream cones are the only option here.
Why did my cake overflow the cone?
Overfilling is almost always the reason. Fill each cone no more than two-thirds full, and the batter will rise just above the rim without spilling over the sides.
Can I make these with a box cake mix?
Yes. Prepare the mix according to the package directions and fill the cones as directed. The baking time might be a little different, so check for doneness a few minutes early.
How do I keep the cones from getting soggy?
The cake batter doesn’t soak all the way through the cone because the bake time is short. Serving the same day you frost them keeps the cones at their crispest.
Ice Cream Cone Cupcakes Recipe
Ingredients
Method
- Preheat oven to 350°F (175°C). Stand flat-bottom cones upright in a 12-cup muffin tin.
- Beat 1/2 cup butter and sugar until fluffy, about 2 minutes. Add eggs one at a time, then vanilla.
- Whisk flour, baking powder, and salt. Add half to butter mixture, then milk, then remaining dry ingredients, mixing just until combined.
- Fill cones two-thirds full and bake 18 to 22 minutes, until a toothpick comes out clean. Cool in tin 5 minutes, then transfer to a rack.
- For frosting, beat 1 cup butter creamy. Add powdered sugar gradually, then vanilla and 2 tablespoons milk. Beat on high 2 to 3 minutes. Tint if desired.
- Pipe frosting onto cooled cones with a star tip and top with sprinkles.
Notes
