
Oven-Baked Sticky Honey BBQ Chicken Thighs

These honey BBQ chicken thighs are sticky, saucy, and baked in the oven until the skin is crisp and caramelized.
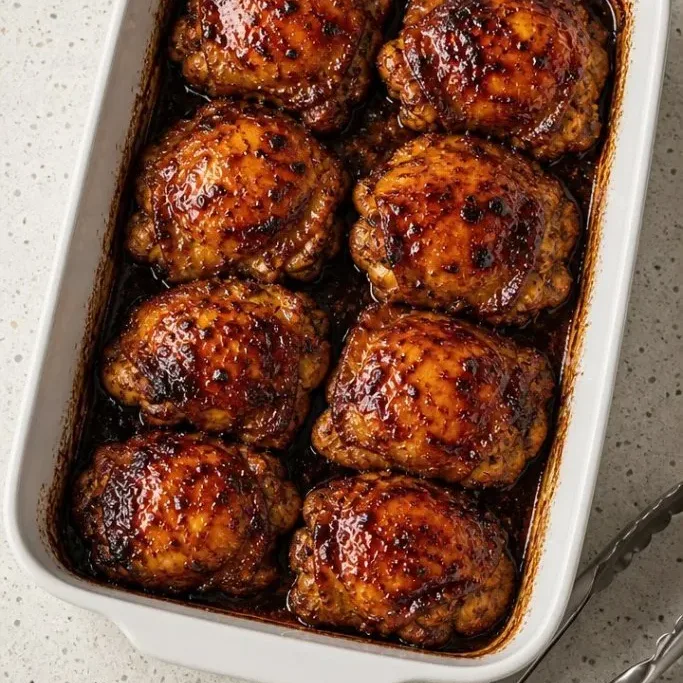
Just a handful of pantry ingredients and about 10 minutes of hands-on time get you a weeknight main that tastes like it took all afternoon.
Why These Thighs Are So Good
The sauce is the real reason I keep coming back to this one. Honey melts into the BBQ sauce, creating a tacky glaze that clings to every piece of chicken.
The thighs stay juicy even if you lose track of time, and the skin puffs up and crisps under the broiler. It’s messy in the best way.
Ingredients
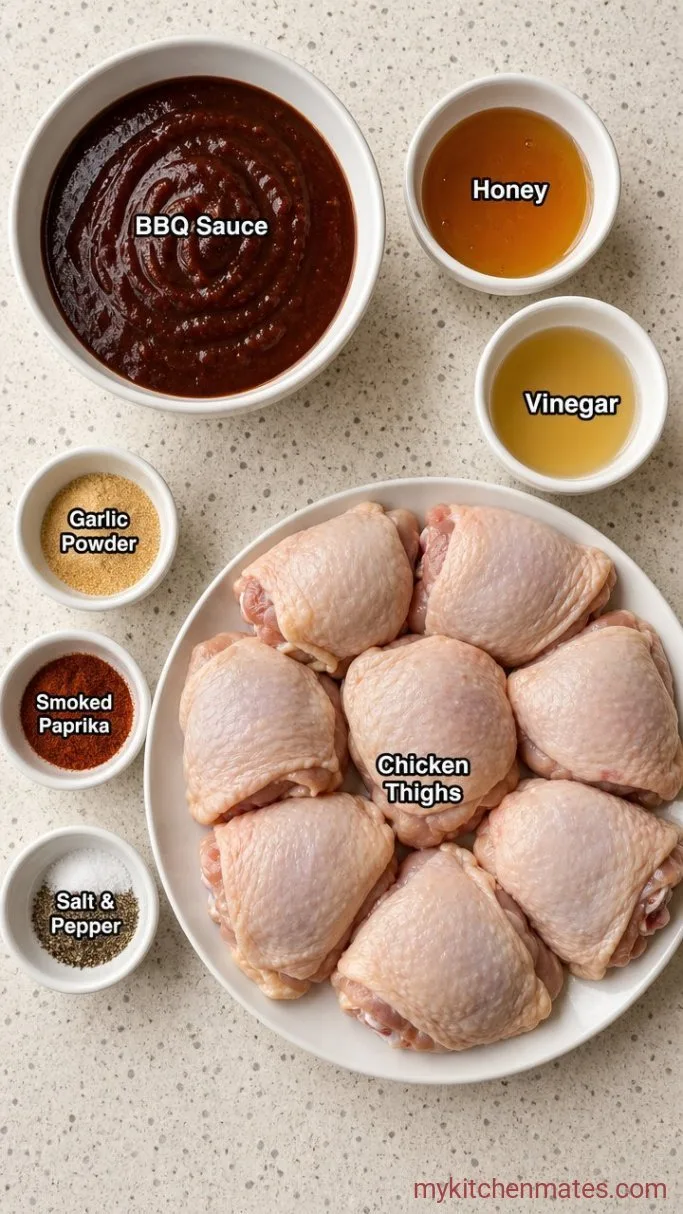
- 8 bone-in, skin-on chicken thighs (about 3 lbs): look for similar size so they cook evenly
- 1 cup BBQ sauce: a smoky or original style works best
- 1/3 cup honey: any light honey, like clover or wildflower
- 2 tbsp apple cider vinegar: a little sharpness cuts the sweetness
- 1 tsp garlic powder
- 1 tsp salt
- 1/2 tsp smoked paprika: adds a subtle smokiness
- 1/2 tsp black pepper
Variations / Substitutions
- Chicken cuts: swap thighs for drumsticks and keep the same bake time. For boneless thighs, cut the total bake time in half.
- Honey: maple syrup makes the glaze a touch woodsier. Start with 1/4 cup and taste.
- Spice: stir 1/4 tsp cayenne or a few dashes of hot sauce into the BBQ mix for real heat.
- Herbs: a teaspoon of chopped fresh rosemary or thyme added to the sauce gives an earthy note.
- Dairy-free: the recipe is naturally dairy-free with most BBQ sauces, just check the label.
Blueberry BBQ Sauce is a homemade sauce that goes great with this chicken.
How to Make Sticky Honey BBQ Chicken Thighs
Step 1: Mix the Sauce
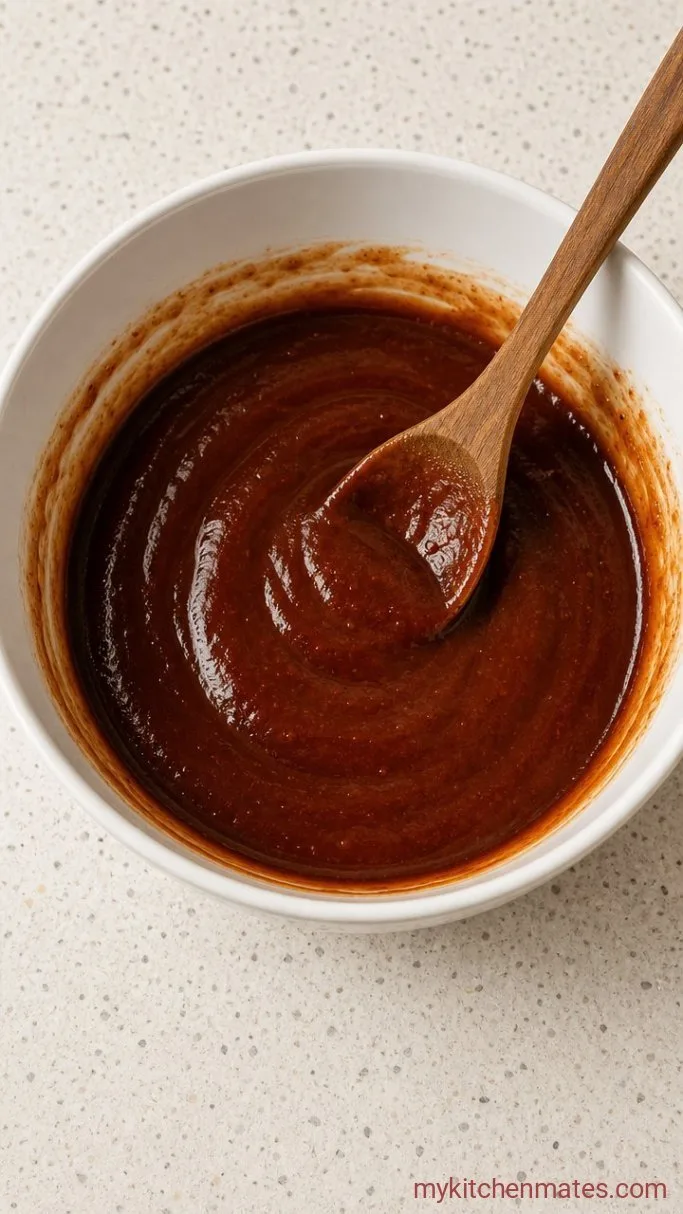
Heat the oven to 400°F (200°C). Whisk the 1 cup BBQ sauce, 1/3 cup honey, 2 tbsp apple cider vinegar, 1 tsp garlic powder, 1 tsp salt, 1/2 tsp smoked paprika, and 1/2 tsp black pepper in a medium bowl until smooth.
The sauce will be loose and glossy. As you whisk, you’ll pick up that sweet, smoky balance that makes the dish so good.
Step 2: Coat the Chicken
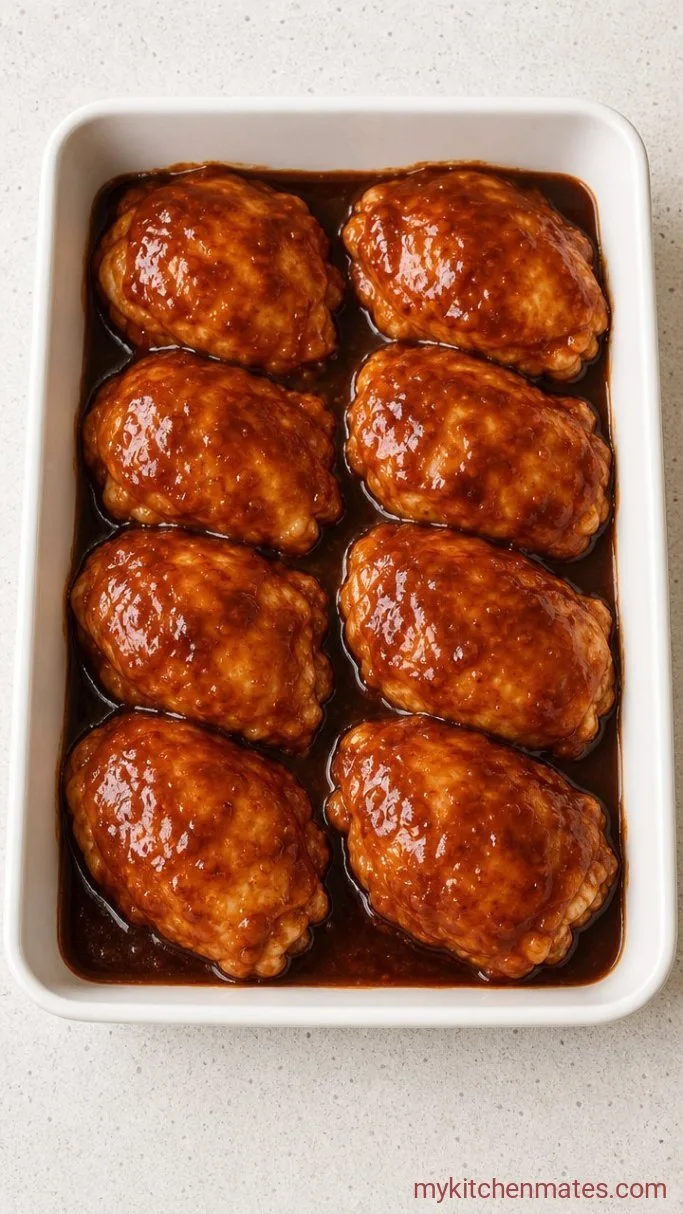
Line a rimmed baking sheet with foil, pat the 8 chicken thighs completely dry, and lay them on the sheet. Pour about two-thirds of the sauce over the thighs, turning them a few times until every piece is coated.
Use your hands or tongs to really work the sauce under the skin. The thighs should be glistening and fully covered so every bite gets the glaze.
Step 3: Bake the Thighs
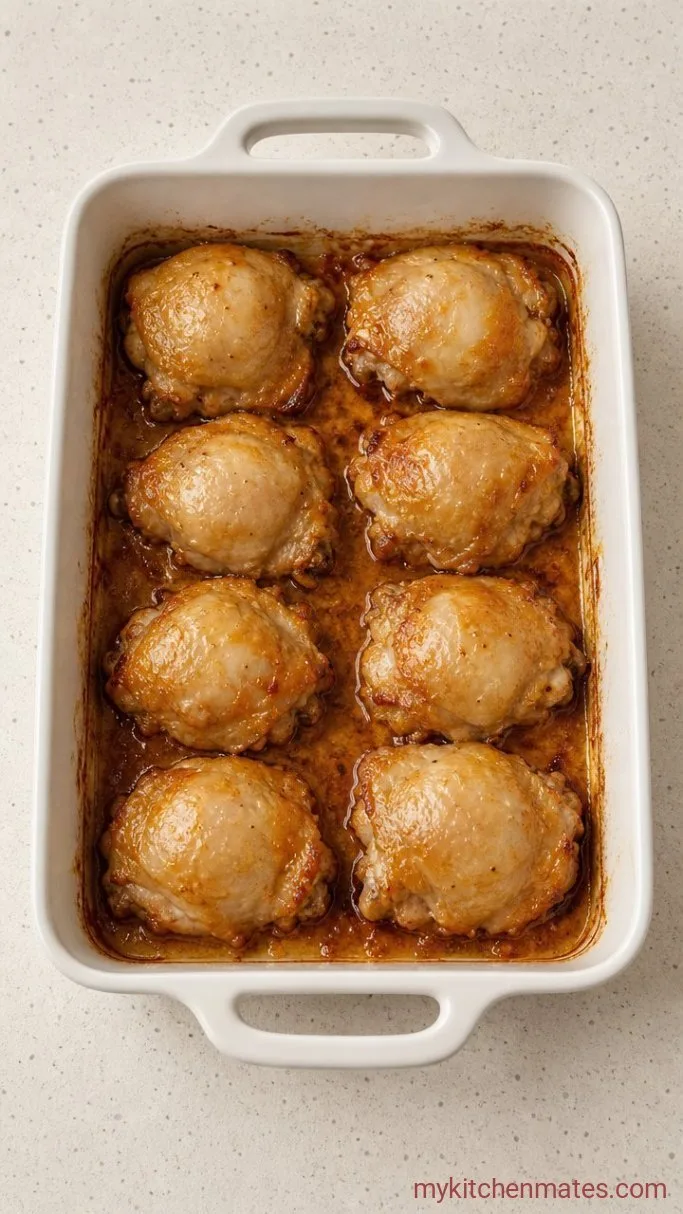
Slide the pan into the oven and bake for 30 minutes. The skin will look taut and the sauce will start bubbling at the edges. After 30 minutes, pull the pan out, flip each thigh, and spoon the reserved sauce over the top.
Return the pan to the oven and bake another 15 to 20 minutes, until a thermometer pushed into the thickest part reads 165°F (74°C). At this point the thighs are deeply lacquered and the sauce is sticky and dark.
Step 4: Broil Until Sticky
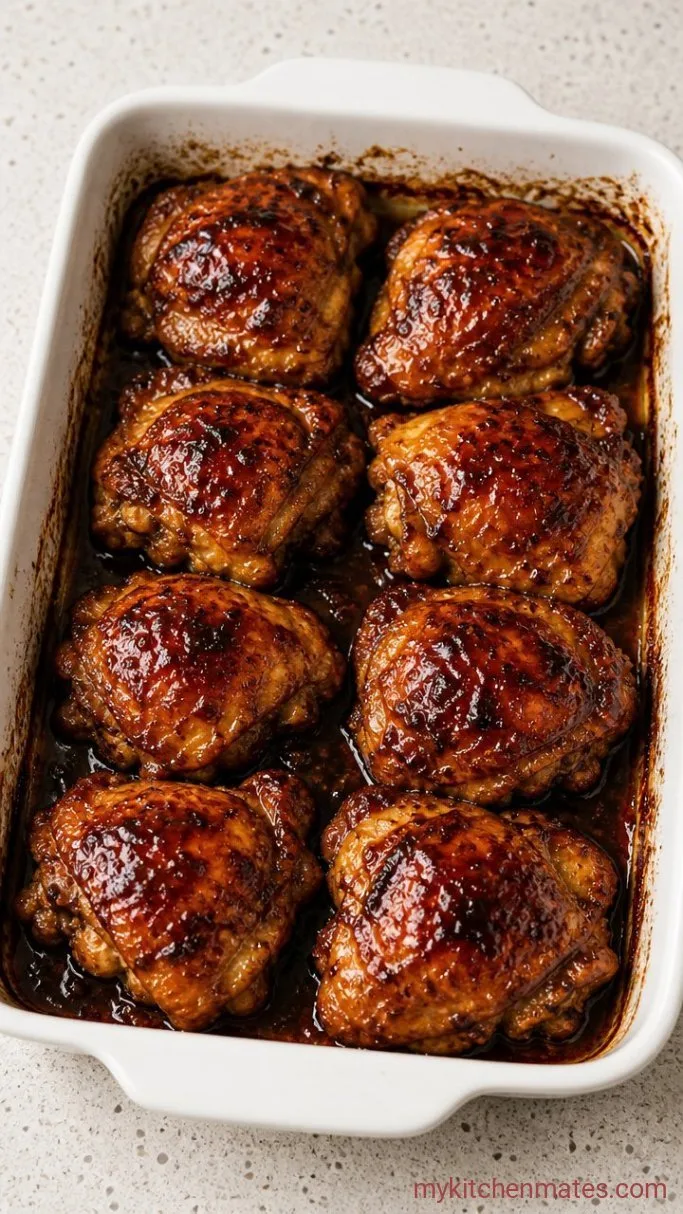
Switch the oven to broil and move a rack to about 6 inches from the heating element. Broil the chicken for 2 to 3 minutes, keeping a close eye on it, until the skin blisters and the sauce bubbles into a deep, tacky glaze.
The edges will char just a little, and that’s exactly what you want. Pull the pan the moment the sugar starts to darken so it doesn’t burn.
Step 5: Serve It Hot
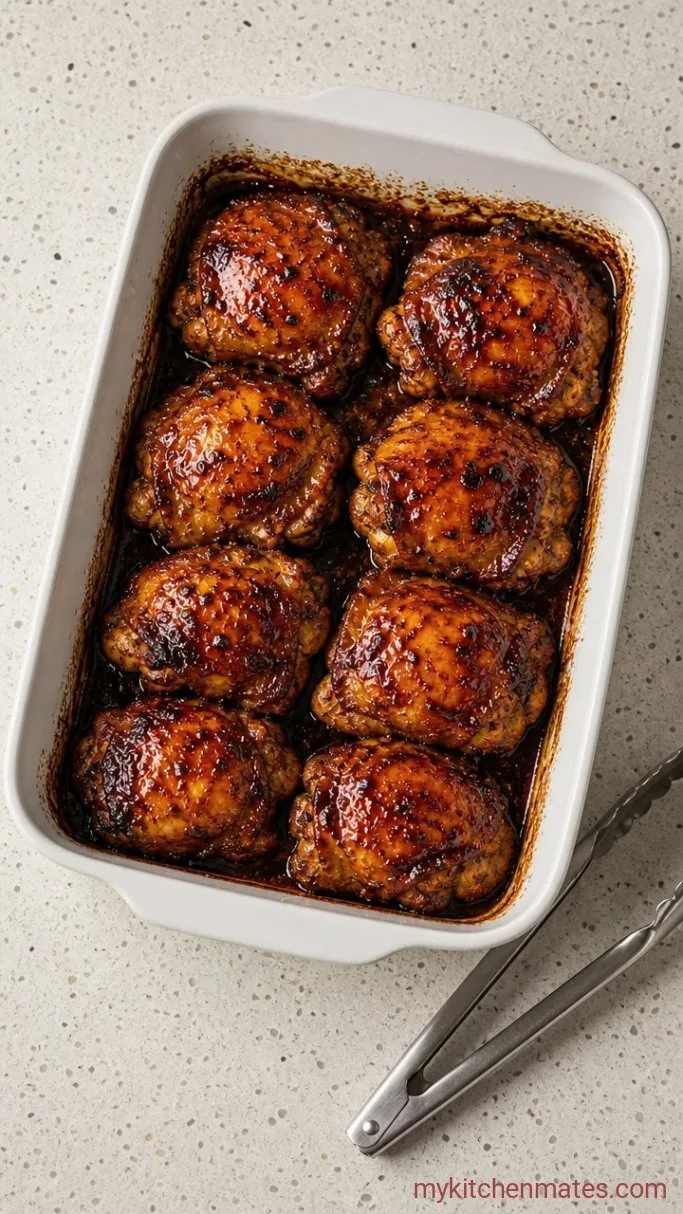
Let the chicken rest on the pan for about 5 minutes. This short wait lets the sticky glaze set so it doesn’t slide off when you move the thighs.
Transfer the chicken to a platter, spoon any pan juices and caramelized bits over the top, and serve right away while the skin is crackly.
Tips for the Best Glazed Chicken
- Line your baking sheet with foil and give it a light coat of cooking spray for no-stick cleanup.
- If the sauce clumps under the skin while coating, just smooth it out with your fingers before the pan goes in the oven.
- Use any leftover sauce from the bowl as a quick dip for roasted potatoes or fries.
- Leftover chicken is great cold the next day, sliced thin over a crunchy salad.
Cook times for different cuts of chicken:
| Cut | Bake Time at 400°F (before broiling) |
|---|---|
| Bone-in thighs | 45 to 50 minutes |
| Drumsticks | 40 to 45 minutes |
| Boneless thighs | 20 to 25 minutes |
Storing Leftover Chicken
- Refrigerate: store in an airtight container for up to 4 days.
- Reheating: warm on a foil-lined pan in a 350°F oven for 10 to 12 minutes to re-crisp the skin.
- Serve Cold: slice the chicken and add it to a green salad or grain bowl straight from the fridge.
What to Serve With Honey BBQ Chicken
A tangy coleslaw cuts right through the sweet glaze, and a skillet of cornbread is perfect for sopping up every bit of sauce. For something green, roasted broccoli or snap peas with a squeeze of lemon work well.
Frequently Asked Questions
Can I double this recipe for a crowd?
Yes, use two separate sheet pans and rotate them halfway through baking so the thighs cook evenly.
Can I make this on the grill?
You can. Set up the grill for indirect medium heat, cook the sauced thighs covered for about 35 minutes, then move them over the flame for a couple minutes to char the glaze.
What if my BBQ sauce is too thin?
Simmer it in a small pan on the stove for 4 to 5 minutes before whisking it with the other ingredients so it thickens and clings better.
Can I use chicken breasts instead of thighs?
You can, but bone-in breasts will take longer and can dry out more easily. Watch the internal temperature and pull them at 160°F (71°C).
Sticky Honey BBQ Chicken Thighs Recipe
Ingredients
Method
- Heat oven to 400°F (200°C). In a bowl, whisk together the BBQ sauce, honey, apple cider vinegar, garlic powder, salt, smoked paprika, and black pepper.
- Line a rimmed baking sheet with foil. Pat the chicken thighs dry, place them on the sheet, and pour about two-thirds of the sauce over them. Turn the thighs to coat, massaging the sauce under the skin.
- Bake for 30 minutes. Remove the pan, flip each thigh, and spoon the remaining sauce on top. Return to the oven and bake another 15 to 20 minutes, until the chicken registers 165°F (74°C) at the thickest part.
- Switch the oven to broil and move a rack to the top position. Broil the chicken for 2 to 3 minutes, watching closely, until the skin blisters and the sauce turns dark and sticky.
- Let the thighs rest on the pan for 5 minutes. Transfer to a platter, spoon any pan juices over the top, and serve right away.
Notes
