
Sweet and Fluffy Homemade Hawaiian Rolls

Homemade Hawaiian rolls bring that pillowy texture and gentle pineapple sweetness to your table, straight from your own oven.
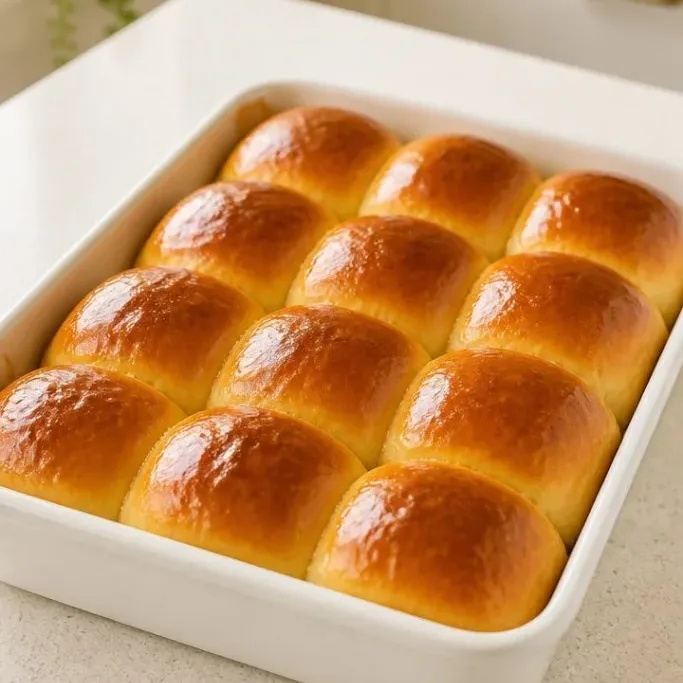
The dough comes together with a few pantry staples and a little patience for rising. Once you pull a pan of these golden rolls out, you will find any excuse to bake them again.
Why This Dough Wins Every Time
The combination of brown sugar and pineapple juice gives the crumb a soft, tender bite and a hint of sweetness that never overwhelms. It is the kind of roll that disappears fast at any dinner.
Butter brushed on top right after baking seeps into the warm crevices, making each roll glossy and rich. They are just sweet enough to work with ham, but also delicious on their own.
Ingredients
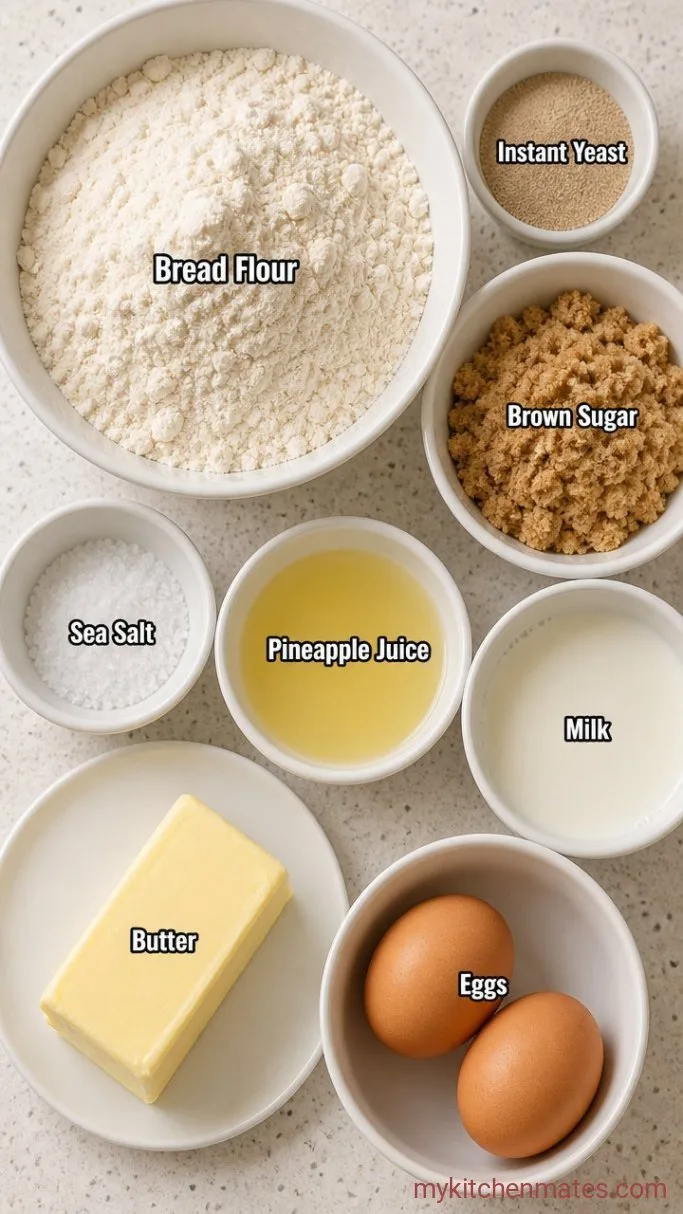
- 3 1/2 to 4 cups bread flour: use bread flour for a lofty, chewy structure; all-purpose will make softer rolls
- 2 1/4 tsp instant yeast: one packet; no proofing needed
- 1/3 cup light brown sugar, packed: keeps the rolls moist with a light caramel note
- 1 tsp fine sea salt: balances the sweetness
- 1/2 cup canned pineapple juice: warm to 110°F (43°C); do not use fresh juice, as enzymes can affect the rise
- 1/4 cup whole milk: warm; adds tenderness
- 4 tbsp unsalted butter: melted and cooled slightly, plus extra for brushing
- 2 large eggs: room temperature; one for the dough, one for the egg wash
Variations
- Use orange juice instead of pineapple: the rolls turn out citrusy and sweet, with a less tropical flavor.
- Swap in dark brown sugar: deepens the molasses notes and gives a slightly richer color.
- Make them dairy-free: replace milk with oat milk and butter with a plant-based butter stick; the texture will be a little less rich.
- Add 1 tsp vanilla extract: for a sweeter, almost dessert-like roll.
Creamy Coconut Lentil Soup makes a comforting soup to pair with these rolls.
How to Make Homemade Hawaiian Rolls
Step 1: Mix the Dough
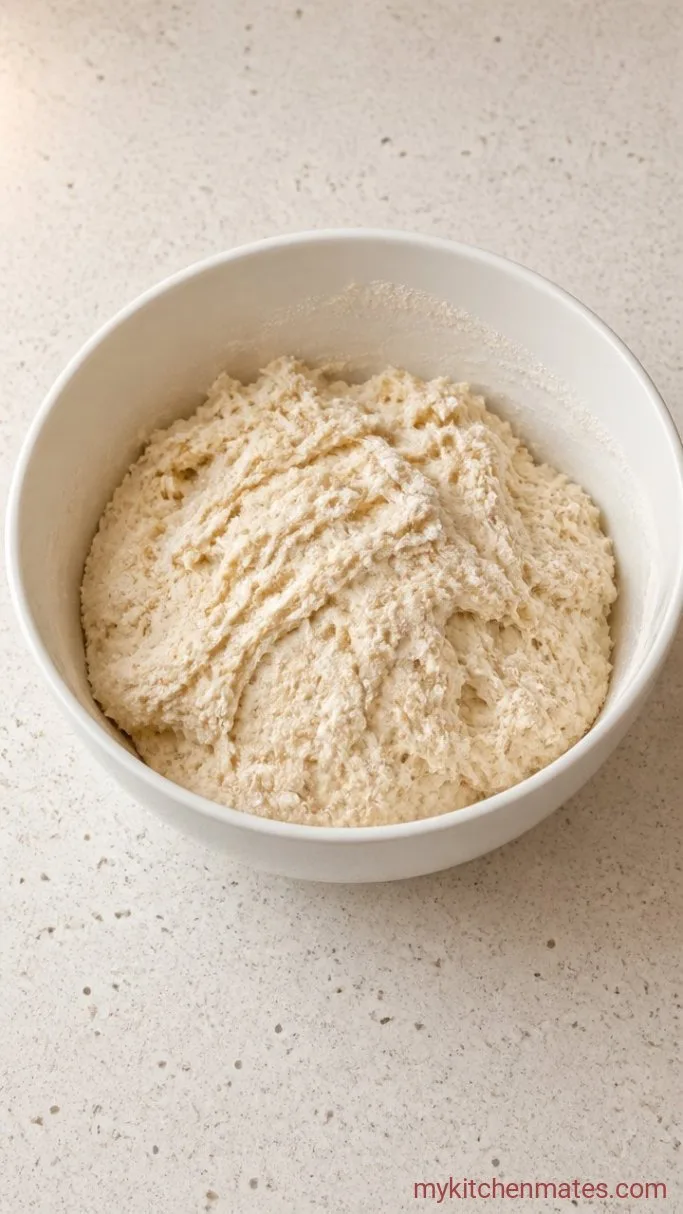
In a large bowl, whisk together the 1/2 cup warm pineapple juice, 1/4 cup warm milk, 2 1/4 tsp instant yeast, and 1 tablespoon of the brown sugar. Let it sit for 5 minutes until the mixture looks foamy on top. Stir in the remaining brown sugar, the melted butter, 1 egg, and 1 tsp salt. Add 3 1/2 cups of bread flour and mix with a wooden spoon until a shaggy dough comes together.
The dough will be sticky and start to pull away from the sides of the bowl. That stickiness is what keeps the finished rolls tender, so resist the urge to add much extra flour right now.
Step 2: Knead Until Smooth
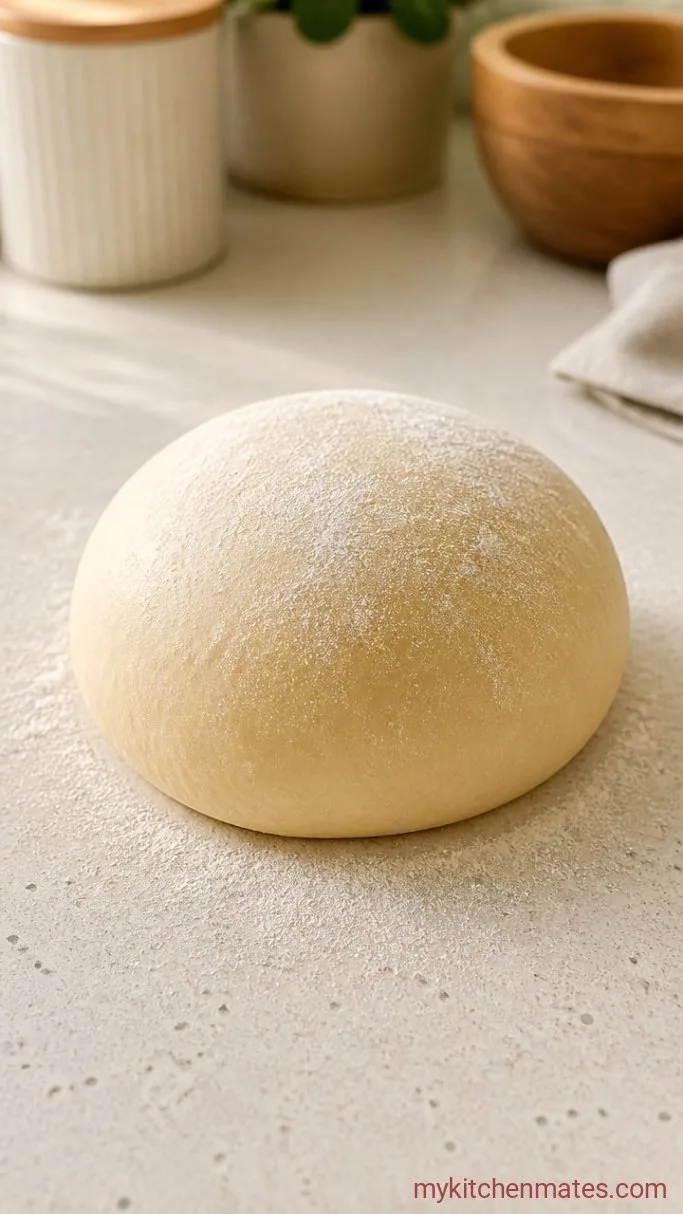
Turn the dough out onto a lightly floured surface and knead for 8 to 10 minutes. Sprinkle on the remaining flour a tablespoon at a time only if the dough gets too sticky to handle. You are after a smooth, elastic ball that springs back when you poke it.
To check if the gluten is developed enough, pull off a small piece and stretch it thin. If you can see light through the membrane without it tearing, your dough is ready for fluffy rolls.
Step 3: Let the Dough Rise
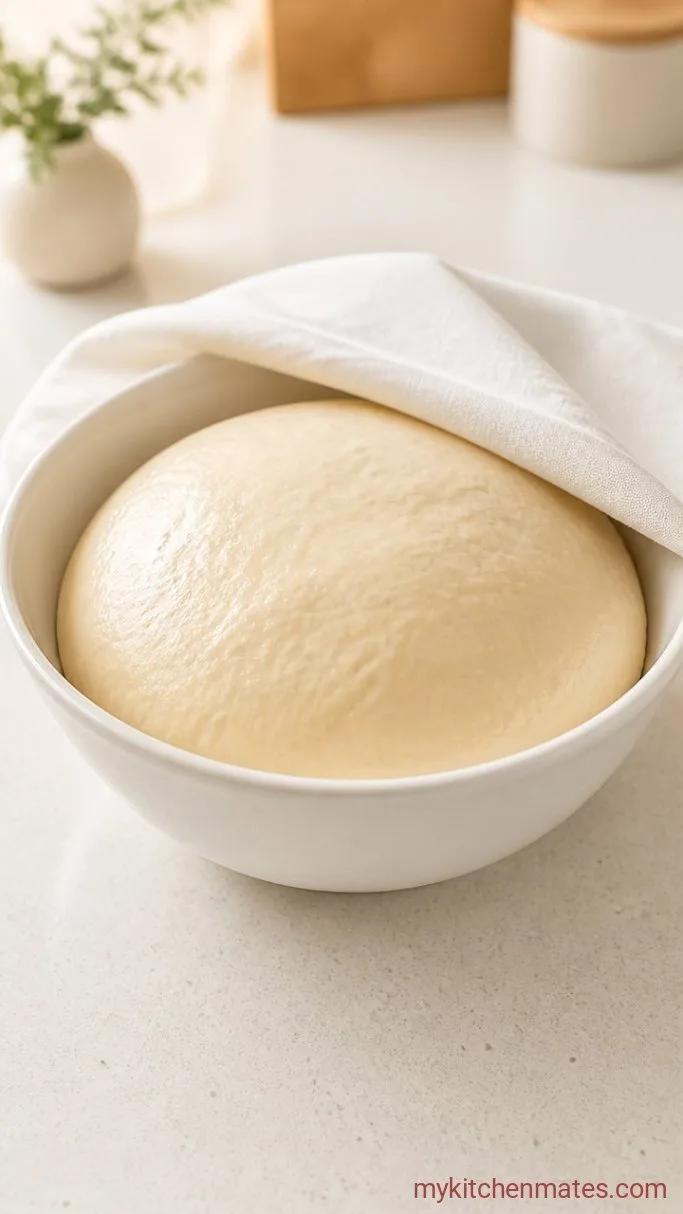
Place the dough in a greased bowl, cover it with plastic wrap or a clean towel, and set it in a warm spot. Let it rise until doubled in size, about 1 to 1 1/2 hours.
The dough will look puffed and feel airy when you press a finger into it. In a cool kitchen, you can put the bowl in the oven with just the light on to give it a gentle boost.
Step 4: Shape the Rolls
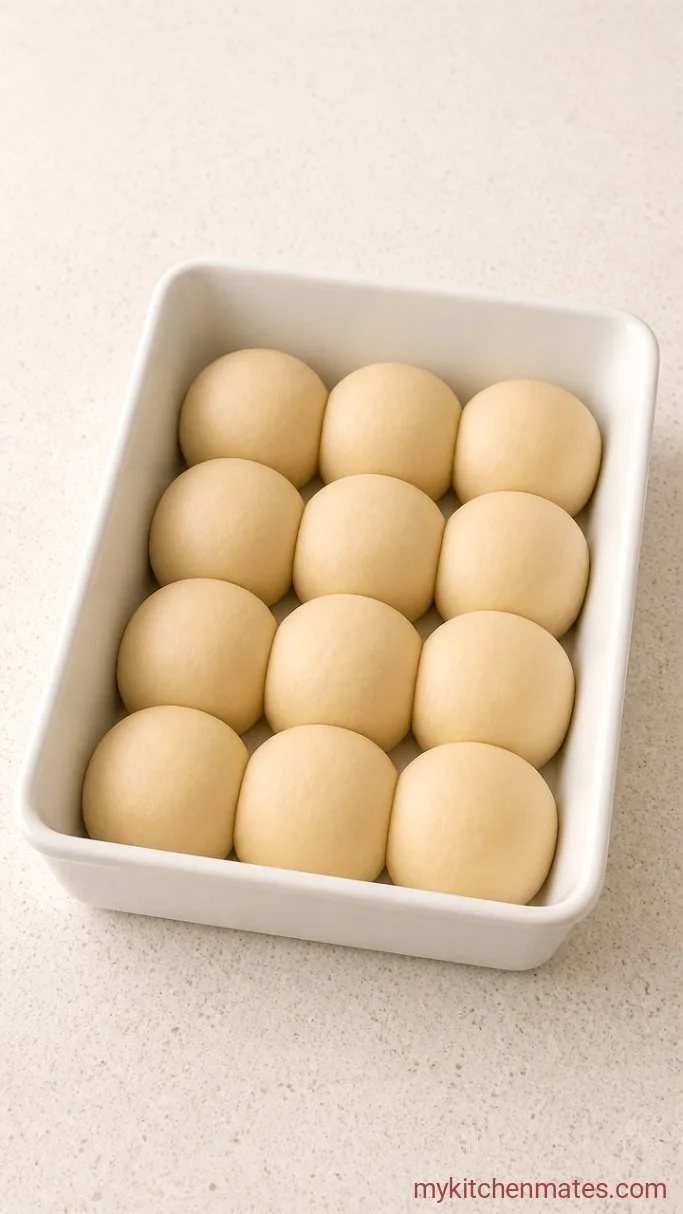
Punch down the risen dough to release the air, then transfer it to a clean work surface. Divide the dough into 12 equal pieces, roughly 2.5 oz each if you have a scale. Shape each piece into a smooth ball by pulling the edges under to create surface tension, then place them seam-side down in a greased 9×13 inch baking pan. Leave a little space between the balls so they have room to expand and touch during the second rise.
Rolling each piece with a cupped hand against the counter helps form tight, round tops that will bake evenly.
Step 5: Proof the Rolls and Preheat
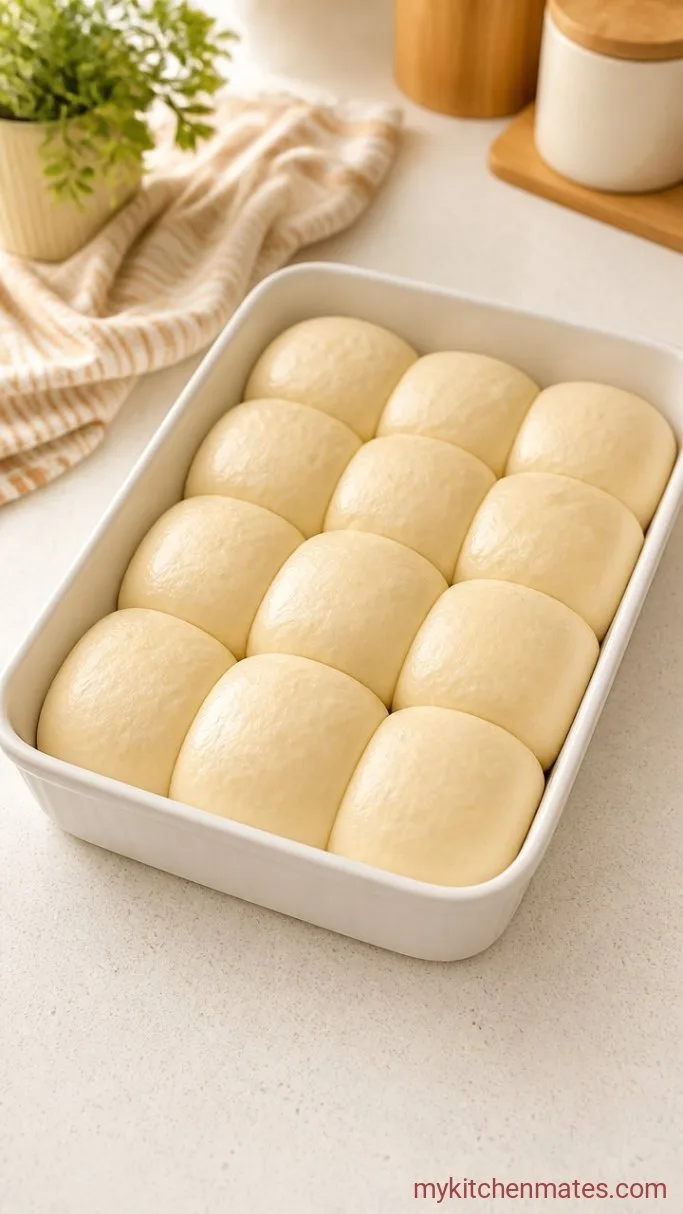
Cover the pan loosely and let the rolls proof for 30 to 45 minutes, until they are puffy and nearly doubled. About 15 minutes before you are ready to bake, preheat the oven to 350°F (175°C).
The rolls will be touching each other and look soft and domed. Move the pan carefully so the dough does not deflate while you adjust the oven racks.
Step 6: Brush with Butter and Serve
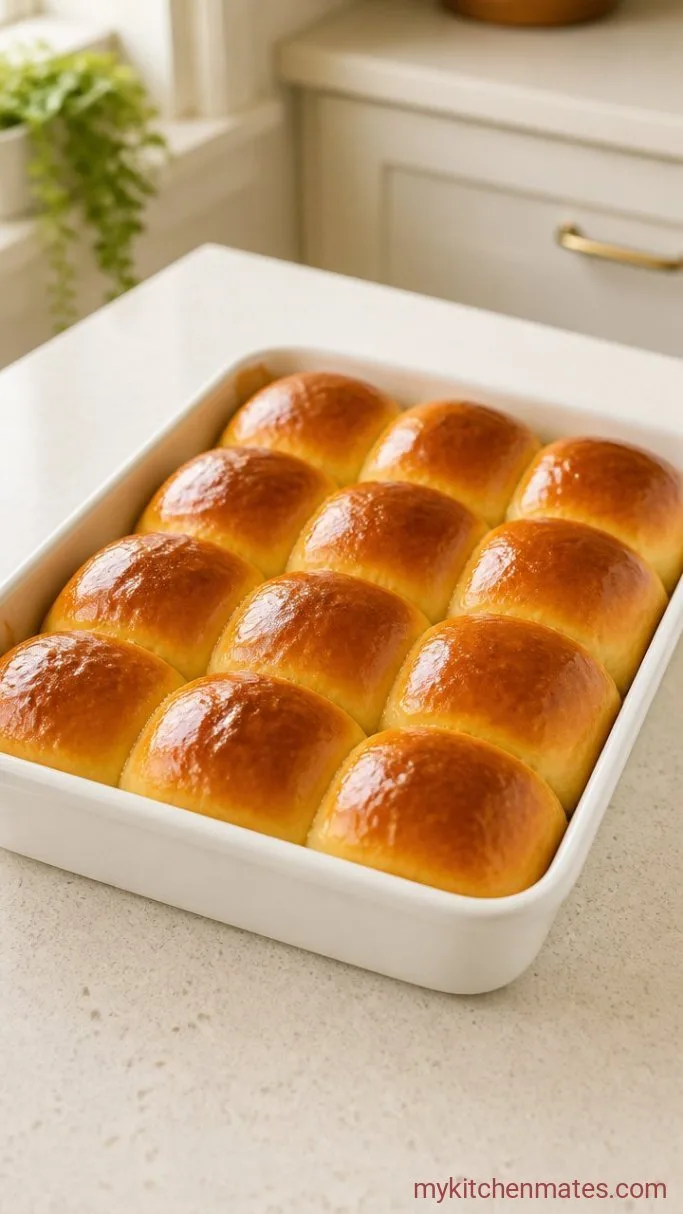
In a small bowl, beat the remaining egg with 1 tablespoon of water. Brush the tops of the proofed rolls gently with the egg wash, then bake for 20 to 25 minutes, until deep golden on top. As soon as the pan comes out of the oven, brush the hot rolls with an extra tablespoon or two of melted butter.
The butter soaks into the warm crust, giving the rolls a glossy finish and an extra layer of richness. Serve them while they are still warm and pull-apart soft.
Tips for the Softest Rolls
- Weigh your flour for the best texture. Too much flour makes dense rolls. If you do not have a scale, spoon the flour into your measuring cup and level it off with a knife.
- Use a kitchen scale to divide the dough into 12 equal portions. This way all the rolls finish baking at the same time.
- Do not skip the egg wash. It gives the rolls a shiny, deep golden crust that stays soft after baking.
- Brush the baked rolls with honey butter for a sweeter, sticky top. Mix equal parts melted butter and honey and brush on right after the plain butter.
Bake times can shift slightly depending on your pan:
| Pan Type | Bake Time |
|---|---|
| Light metal 9×13-inch | 20 to 25 minutes |
| Glass 9×13-inch | 22 to 27 minutes |
| Dark nonstick 9×13-inch | Check at 18 minutes |
Keeping Leftover Rolls Fresh
Store leftover rolls in an airtight container at room temperature for up to 2 days. For longer storage, refrigerate them for up to 4 days. Reheat briefly in a 300°F oven for 5 minutes, or microwave for 10 to 15 seconds to restore softness. To freeze baked rolls, wrap them tightly and freeze for up to 3 months. Thaw and reheat as above.
What to Serve with Hawaiian Rolls
These rolls are classic alongside a holiday ham, but they also make the best slider buns for shredded chicken. For a simple weeknight dinner, serve them warm with a bowl of creamy tomato soup. They are sweet enough to balance a spicy chili, too.
Frequently Asked Questions
Can I use active dry yeast instead of instant?
Yes, use the same amount. Dissolve it in the warm pineapple juice and milk with the tablespoon of sugar first and let it proof for 10 minutes until foamy, then proceed with the recipe.
Can I make the dough ahead of time?
After shaping the rolls, cover the pan and refrigerate overnight. The cold dough will rise slowly, and you can bake the rolls straight from the fridge the next day, adding a few extra minutes to the bake time.
Can I freeze unbaked rolls?
Yes. Place the shaped rolls on a parchment-lined sheet and freeze until solid, then transfer to a bag. Bake frozen, adding 5 to 10 minutes to the bake time.
Can I use all-purpose flour instead of bread flour?
You can, but the rolls will not have quite the same lofty, chewy texture. Replace the bread flour with an equal amount of all-purpose flour and knead a few extra minutes.
Can I make this dough in a stand mixer?
Absolutely. Use the dough hook and mix on low speed for about 8 minutes, until the dough clears the sides of the bowl and passes the windowpane test.
Homemade Hawaiian Rolls Recipe
Ingredients
Method
- Whisk together warm pineapple juice, milk, yeast, and 1 tbsp of the brown sugar. Let stand 5 minutes until foamy. Stir in remaining brown sugar, melted butter, 1 egg, and salt. Add 3 1/2 cups flour and mix to a shaggy dough.
- Knead on a floured surface for 8 to 10 minutes, adding flour only as needed, until smooth and elastic.
- Place dough in a greased bowl, cover, and let rise in a warm spot until doubled, about 1 to 1 1/2 hours.
- Punch down dough, divide into 12 equal pieces, and shape into tight balls. Arrange seam-side down in a greased 9×13-inch pan.
- Cover and let proof for 30 to 45 minutes until puffy. During the last 15 minutes, preheat oven to 350°F.
- Brush tops with beaten egg wash, then bake 20 to 25 minutes until deep golden. Brush hot rolls with extra melted butter and serve warm.
Notes
