
No-Bake Peanut Butter Granola Bars (Kid-Approved)

These no-bake granola bars are chewy, just sweet enough, and loaded with oats and crispy rice. They’re the lunchbox snack that actually comes home empty.
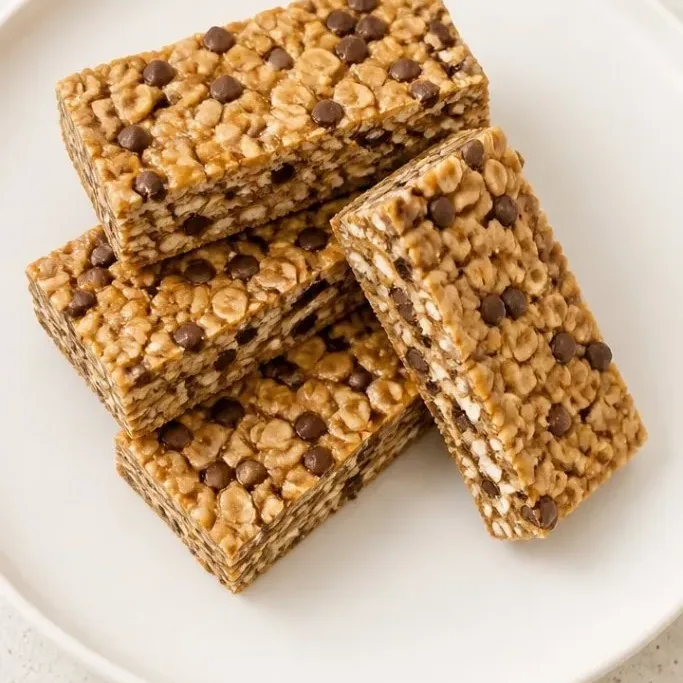
Six simple ingredients come together on the stovetop in about ten minutes, then firm up in the fridge. No oven, no fuss, and way fresher than anything from the snack aisle.
Why These Bars Stay in the Rotation
The texture lands right where a granola bar should: chewy with a little crunch from the rice cereal, never rock-hard or crumbly. The peanut butter and honey bind everything without the candy-like sweetness of store-bought versions.
I love that you can mix up the add-ins depending on what’s in the pantry. Swap the chocolate chips for raisins, toss in sunflower seeds, or use almond butter instead. My kids call these “the good bars,” which is all the review I need.
They last all week in the fridge, so Sunday batch-cooking actually pays off. A cold bar straight from the fridge has the best chew.
Ingredients
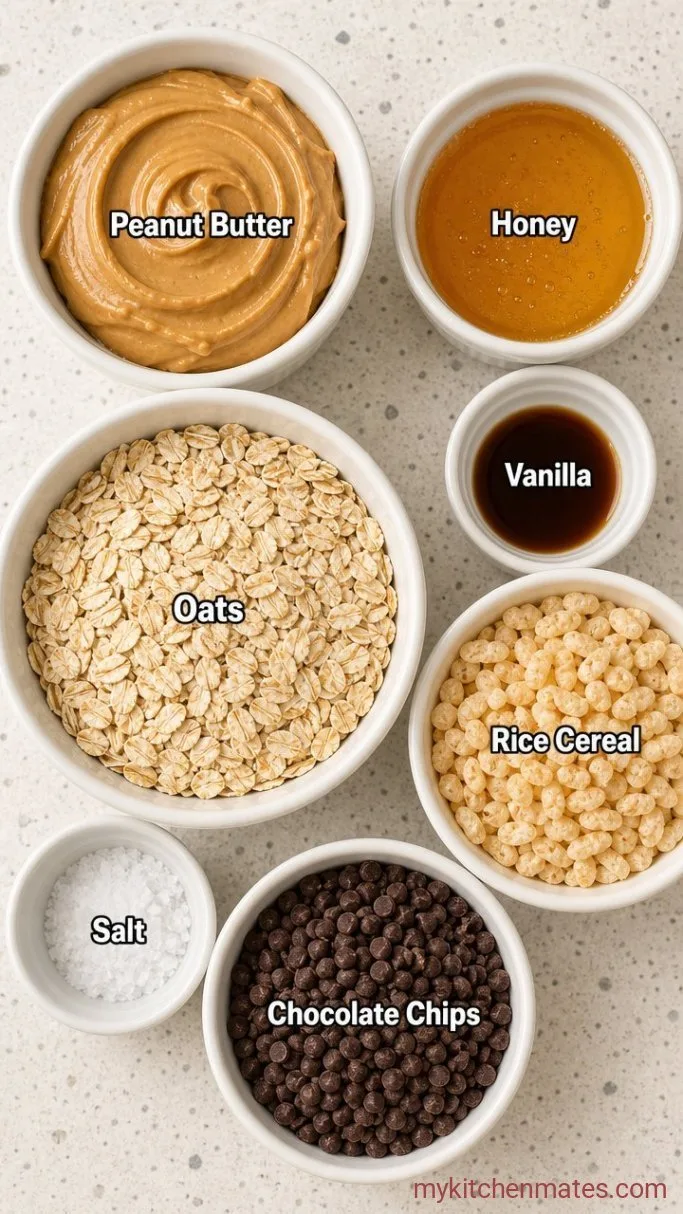
- 1 cup creamy peanut butter: natural, well-stirred, the drippy kind works best
- ½ cup honey: clover or wildflower, this is the main sweetener and binder
- 1 teaspoon vanilla extract: the real stuff makes a difference here
- 2 cups old-fashioned rolled oats: not quick oats, they give the bars proper chew
- 1 cup crisp rice cereal: any brand, adds lightness and crunch
- ¼ teaspoon kosher salt: skip if your peanut butter is already salted
- ½ cup mini chocolate chips: optional, but they make these feel like a treat
Variations / Substitutions
- Nut-free: swap the peanut butter for roasted sunflower seed butter, same amount
- Gluten-free: use certified gluten-free rolled oats
- Maple syrup instead of honey: maple syrup works and makes them vegan, the bars will be a touch softer
- Different add-ins: raisins, dried cranberries, chopped pretzels, unsweetened coconut flakes, or toasted seeds
- Double chocolate: use ¾ cup chips and drizzle melted dark chocolate over the top after chilling
Funfetti Dip is a dip that goes great with these granola bars.
How to Make No-Bake Peanut Butter Granola Bars
Step 1: Warm the Peanut Butter Mixture
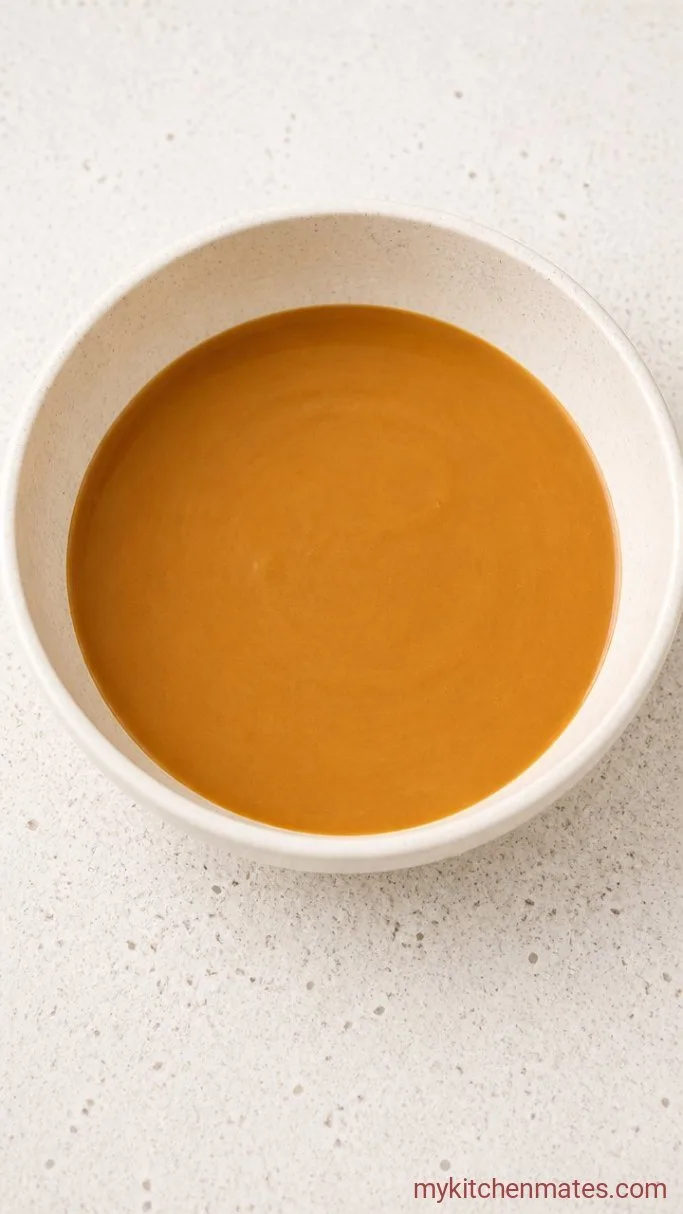
Line an 8-inch square baking pan with parchment paper and set it aside. In a medium saucepan, combine the 1 cup peanut butter, ½ cup honey, and 1 teaspoon vanilla. Warm over medium-low heat, stirring constantly, until the mixture is smooth and loosened, about 2 minutes. You just want it pourable, not simmering.
Step 2: Stir in the Oats and Cereal
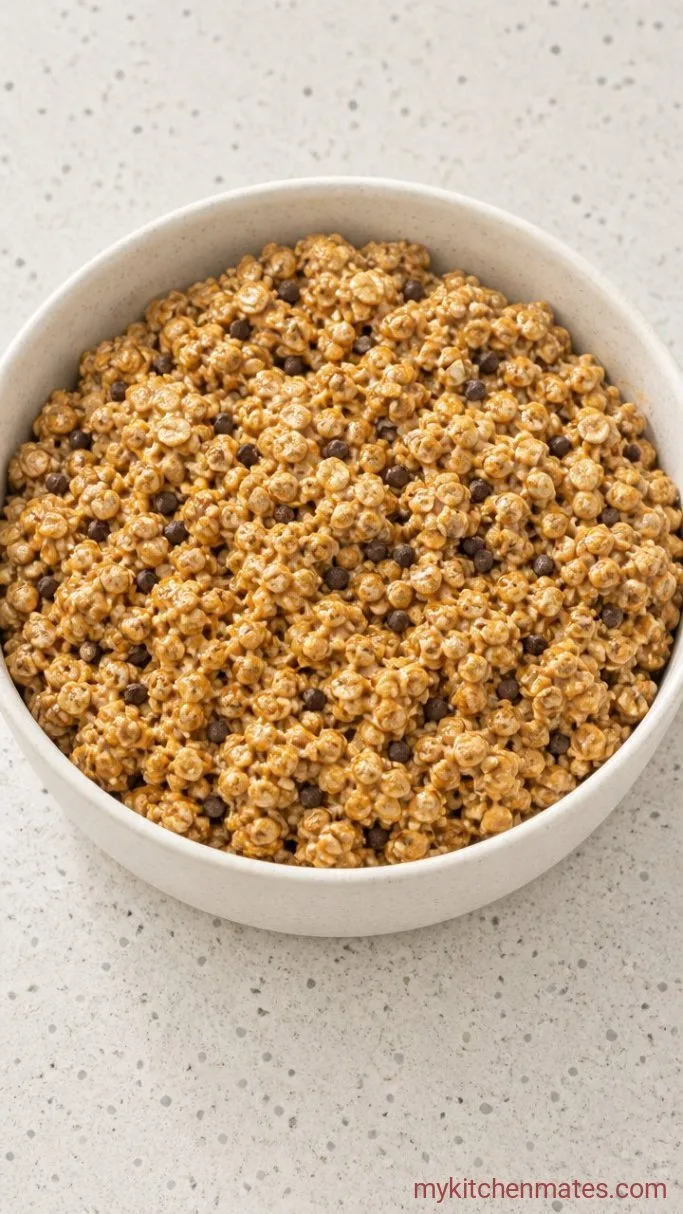
Remove the pan from the heat. Add the 2 cups rolled oats, 1 cup rice cereal, and ¼ teaspoon salt. Stir until every dry bit is coated with the peanut butter mixture, about 1 minute. Fold in the ½ cup mini chocolate chips last, working quickly so they don’t fully melt into the warm mix.
Step 3: Press Into the Pan
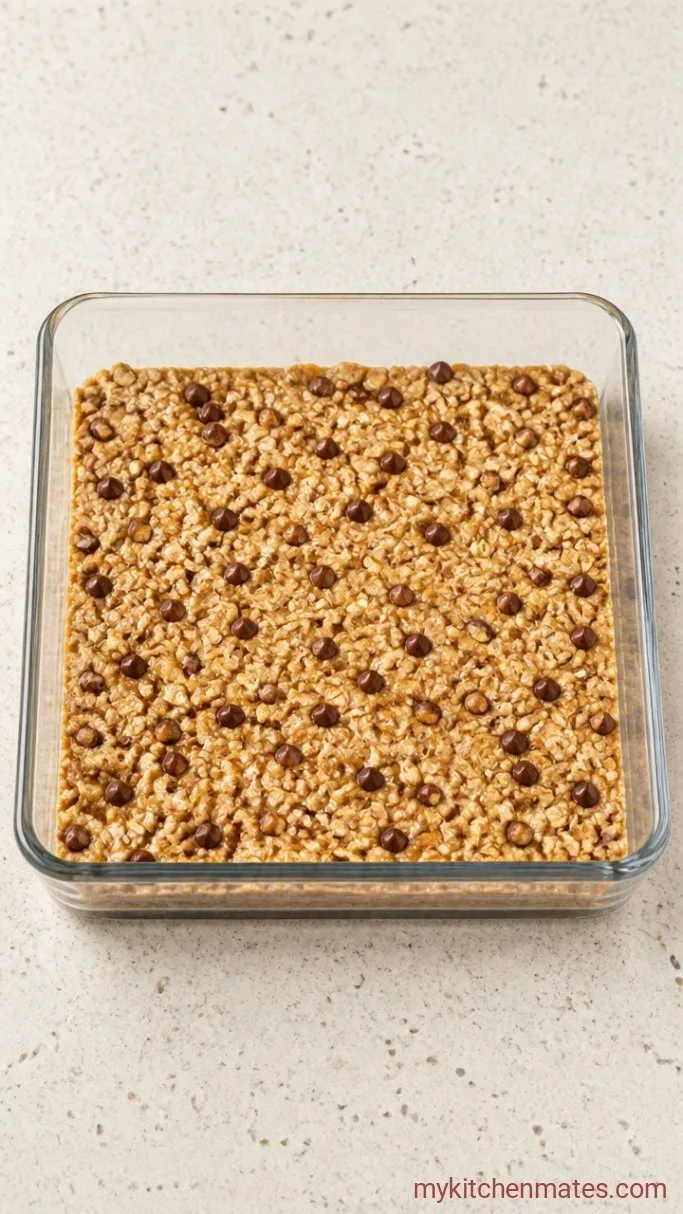
Scrape the mixture into the prepared pan. Use a flat-bottomed measuring cup or a piece of parchment paper on top to press it down firmly and evenly, sliding it into the corners. Pressing for about 1 minute compacts the bars so they hold together.
Step 4: Chill and Slice the Bars
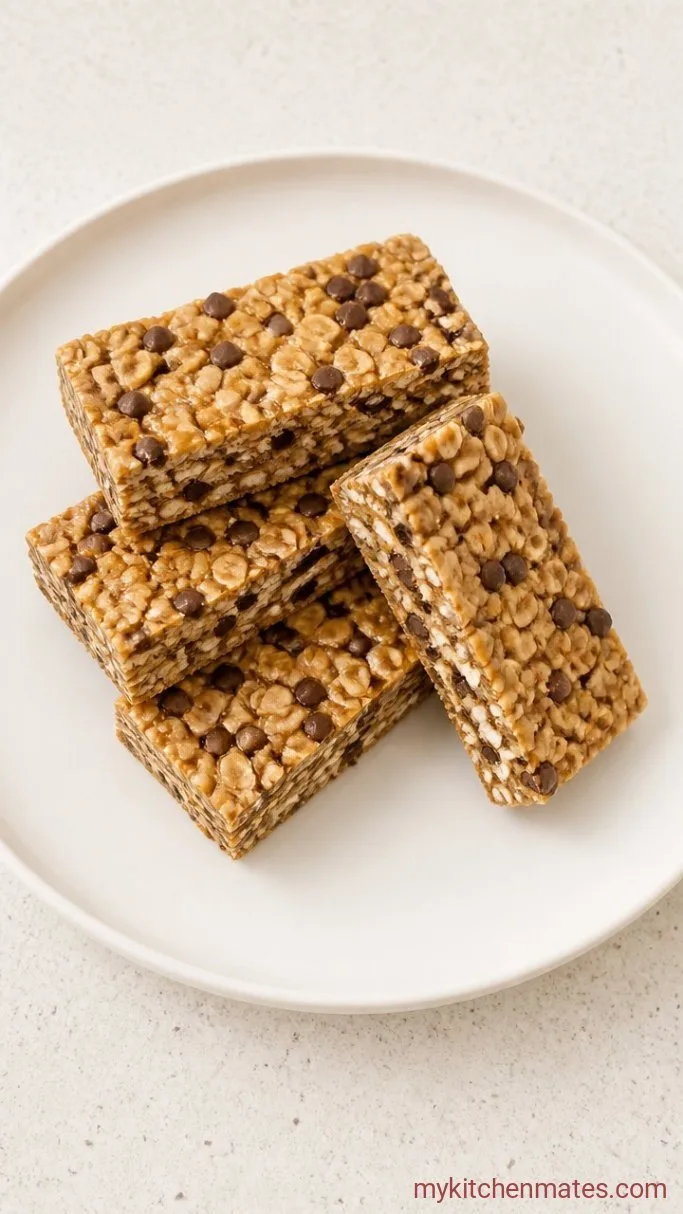
Refrigerate for at least 2 hours, until the block is completely firm and cold. Lift the parchment out of the pan and place the slab on a cutting board. Use a sharp chef’s knife to slice it into 16 bars (4 rows by 4 columns). Serve cold or at room temperature.
Tips for Granola Bars That Hold Together
- Stir your natural peanut butter really well before measuring so the oil is evenly distributed, or the bars can turn out dry and crumbly.
- Use a piece of parchment paper on top of the mixture when pressing it into the pan to keep your hands clean and get a smooth surface.
- Wet your hands lightly instead of using parchment if you prefer; the water prevents the mixture from sticking.
- Wait the full 2 hours in the fridge before slicing; if they’re even a little warm, the bars will fall apart.
- For the cleanest squares, use a sharp chef’s knife and wipe the blade between each cut.
Scale the recipe for different pan sizes:
| Pan Size | Yield | Ingredient Adjustments |
|---|---|---|
| 8×8 inch | 16 bars | use amounts as written |
| 9×13 inch | 32 bars | double all ingredients |
| 9×9 inch | 20 bars | increase by 1.5x (1½ cups peanut butter, ¾ cup honey, etc.) |
Storing Leftover Granola Bars
- Refrigerate: keep the bars in an airtight container with parchment between layers for up to 1 week. They stay firm and chewy cold straight from the fridge.
- Freeze: wrap bars individually in parchment, then store in a zip-top bag for up to 2 months. Thaw in the fridge overnight or pack frozen in a lunchbox; they’ll soften by snack time.
Frequently Asked Questions
Can I make these without a stovetop?
Yes, microwave the peanut butter and honey in a microwave-safe bowl in 20-second bursts, stirring between each, until smooth. Then proceed as written.
Can I reduce the honey to cut down on sugar?
You can reduce it by 1 tablespoon, but the bars may be slightly more crumbly. Any more than that and they likely won’t hold together.
Can I use crunchy peanut butter?
Absolutely. The bars will have more texture; just make sure it’s well-stirred and the mixture still comes together smoothly.
Can I skip the rice cereal?
You can, but the bars will be denser. Replace the cereal with an extra ½ cup of oats for structure.
Are these bars safe for nut-free schools?
As written, no. Swap the peanut butter for roasted sunflower seed butter and check that all packaged ingredients are made in a nut-free facility.
No-Bake Peanut Butter Granola Bars Recipe
Ingredients
Method
- Line an 8-inch square pan with parchment. Warm peanut butter, honey, and vanilla in a saucepan over medium-low heat, stirring, until smooth, about 2 minutes.
- Off heat, stir in oats, rice cereal, and salt until coated, then fold in chocolate chips.
- Press mixture firmly and evenly into the pan using a flat-bottomed cup or parchment.
- Refrigerate at least 2 hours until firm, then lift out and slice into 16 bars.
Notes
