
No-Knead High Hydration Sourdough Bread

This no-knead high hydration sourdough bread delivers that deep mahogany crust and tender, holey crumb you’d expect from a long-fermented artisan loaf. Once you nail the wet dough, you’ll feel like a pro every bake day.
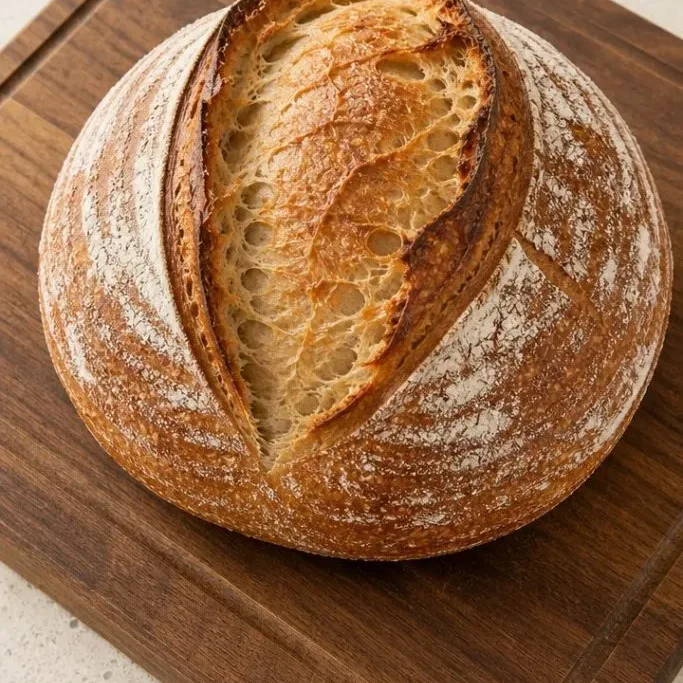
The dough is sticky by design and builds strength through simple folds instead of kneading. That means less active work and a loaf that rewards patience with tangy flavor and a crackly crust.
Why This Sourdough Works
The 80% hydration keeps the crumb open and soft for days, without turning gummy. It’s the same ratio many bakeries use to get those big, irregular holes.
A long overnight cold proof develops real sourdough character while slowing the rise so you can bake when you’re ready. The cold dough is easier to handle and scores cleanly, so your crust blooms exactly where you want it.
Ingredients
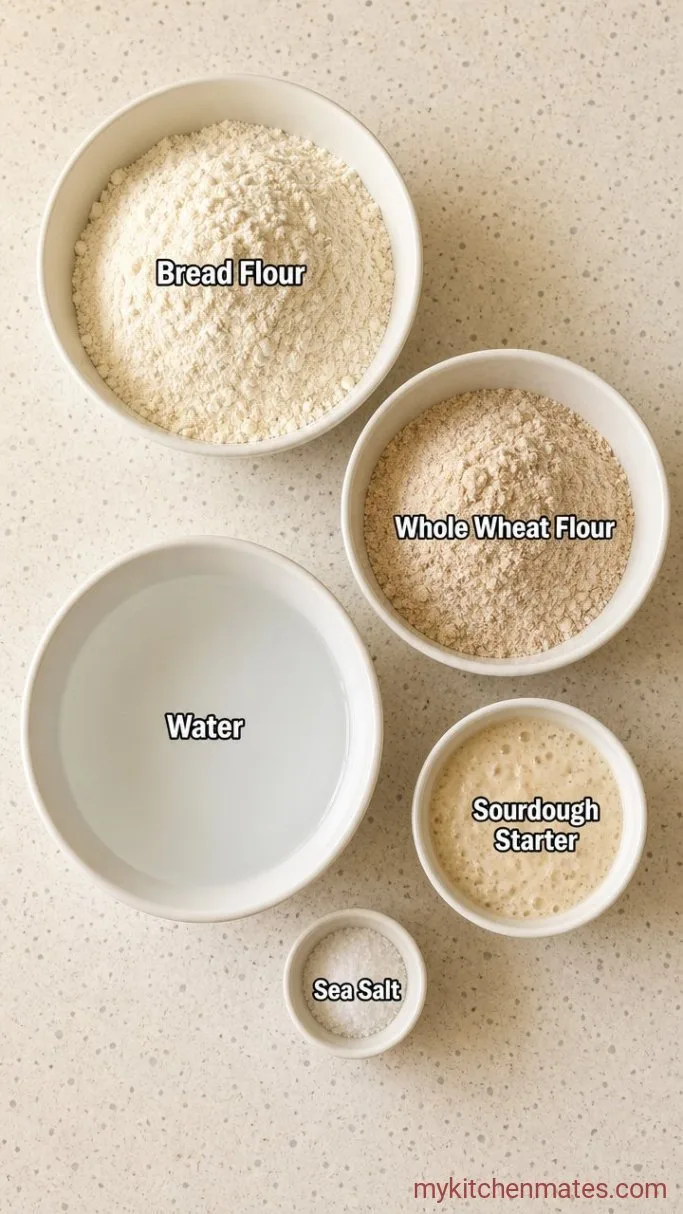
- 400 g bread flour: gives the loaf structure and a tall spring in the oven
- 100 g whole wheat flour: adds a nutty depth and feeds the starter well
- 400 g water (room temperature): 80% hydration for a lacy, tender crumb
- 100 g active sourdough starter (100% hydration): fed so it’s doubled and bubbly
- 10 g fine sea salt: tightens the gluten and seasons the dough without overpowering
Variations and Substitutions
- Flour swap: use all bread flour if you don’t have whole wheat, but the crust will lose a bit of character.
- Rye for tang: replace up to 50 g of the whole wheat with dark rye flour for a deeper sour note.
- Seedy crust: roll the shaped boule in a mix of sesame, poppy, or sunflower seeds after shaping for extra crunch.
Velvety Wild Mushroom Soup goes perfectly with this bread for a cozy meal.
How to Make High Hydration Sourdough Bread
Step 1: Mix the Dough
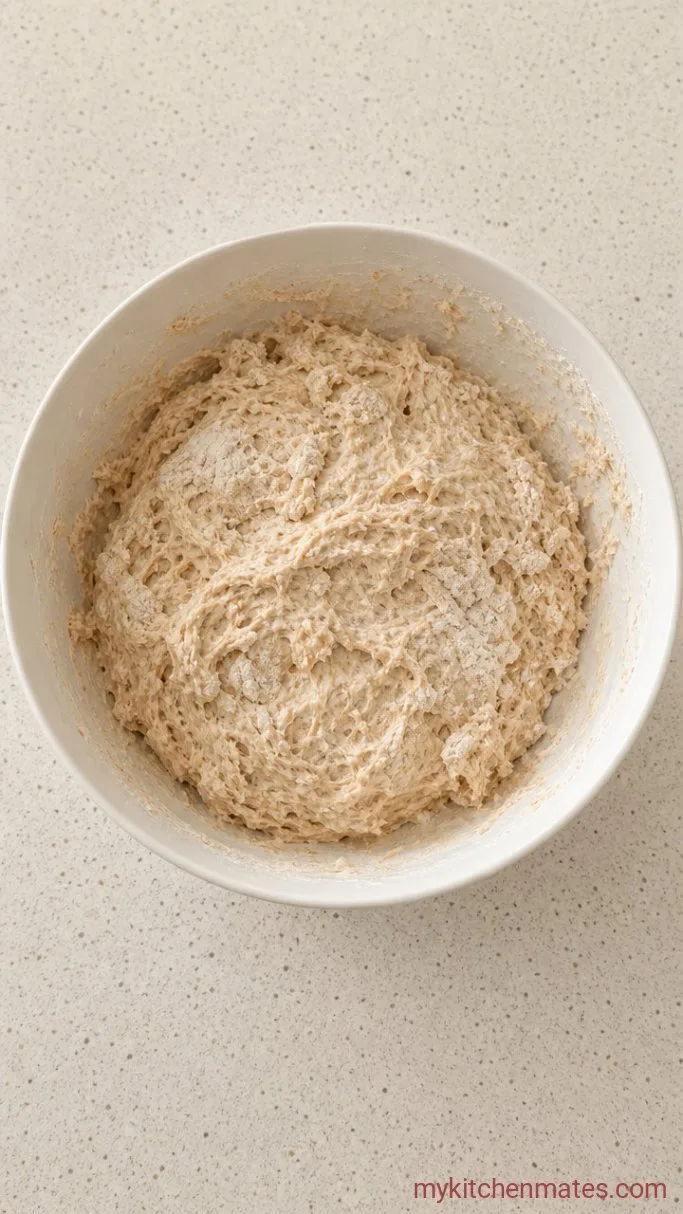
Combine the 400 g bread flour and 100 g whole wheat flour in a large bowl, then pour in 350 g of the water. Mix with a spatula or your hand until no dry flour hides at the bottom. Cover and let the flour hydrate for 30 minutes. This autolyse jump-starts gluten development so the later folds have less work to do.
The mixture will look shaggy and feel rough at first. After the rest it becomes a smoother, slightly sticky mass that already stretches when you pull a corner.
Stir the 100 g active starter and the remaining 50 g water into the rested dough until the starter fully disappears, then scatter the 10 g salt on top and pinch it in thoroughly. The dough will relax and feel very wet again. That stickiness is normal and will transform as you fold.
Step 2: Fold the Dough
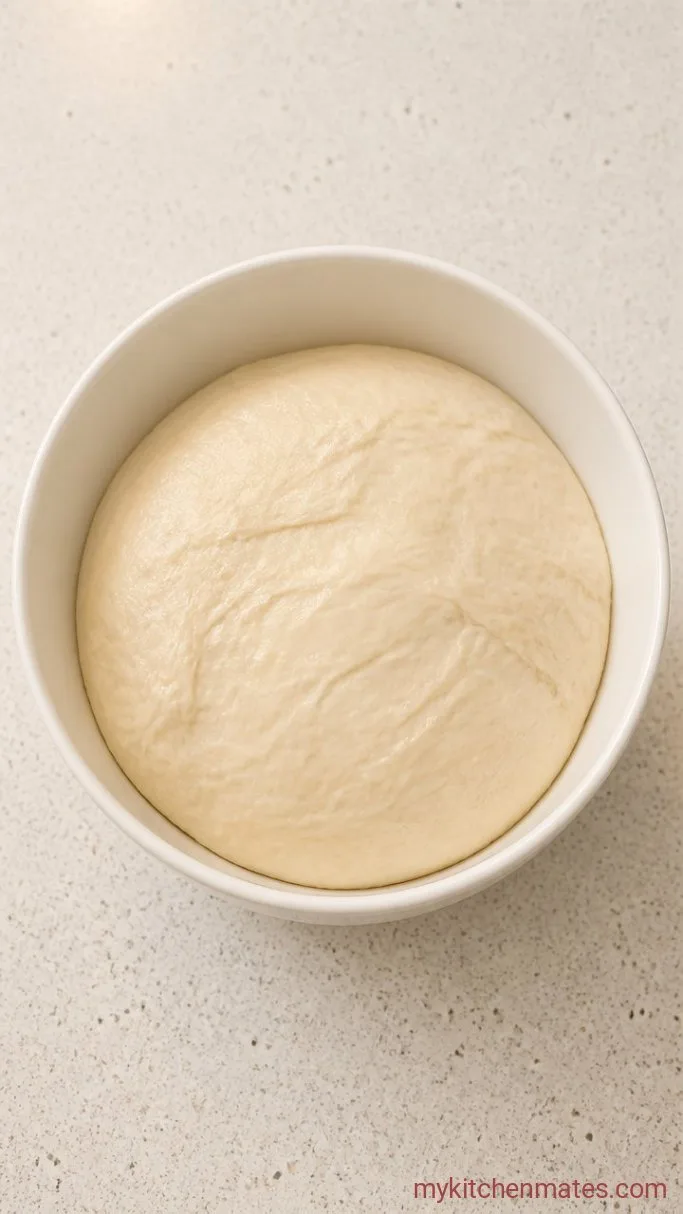
Perform a set of stretch and folds every 30 minutes for the first 2 hours, aiming for four sets total. To fold, wet your hand to prevent sticking, lift one edge of the dough until it resists, and fold it over itself. Rotate the bowl a quarter turn and repeat until you’ve worked all four sides. Cover the bowl between sets.
During the first fold the dough feels loose and puddly. By the third set it starts to dome upward and hold a gentle shape, and the surface looks smoother and slightly shiny.
These folds trap air and build the gluten network that gives high hydration dough its strength. Skipping them leaves you with a pancake, so even if the dough seems hopelessly sticky, trust the process and complete all four rounds.
Step 3: Chill and Ferment
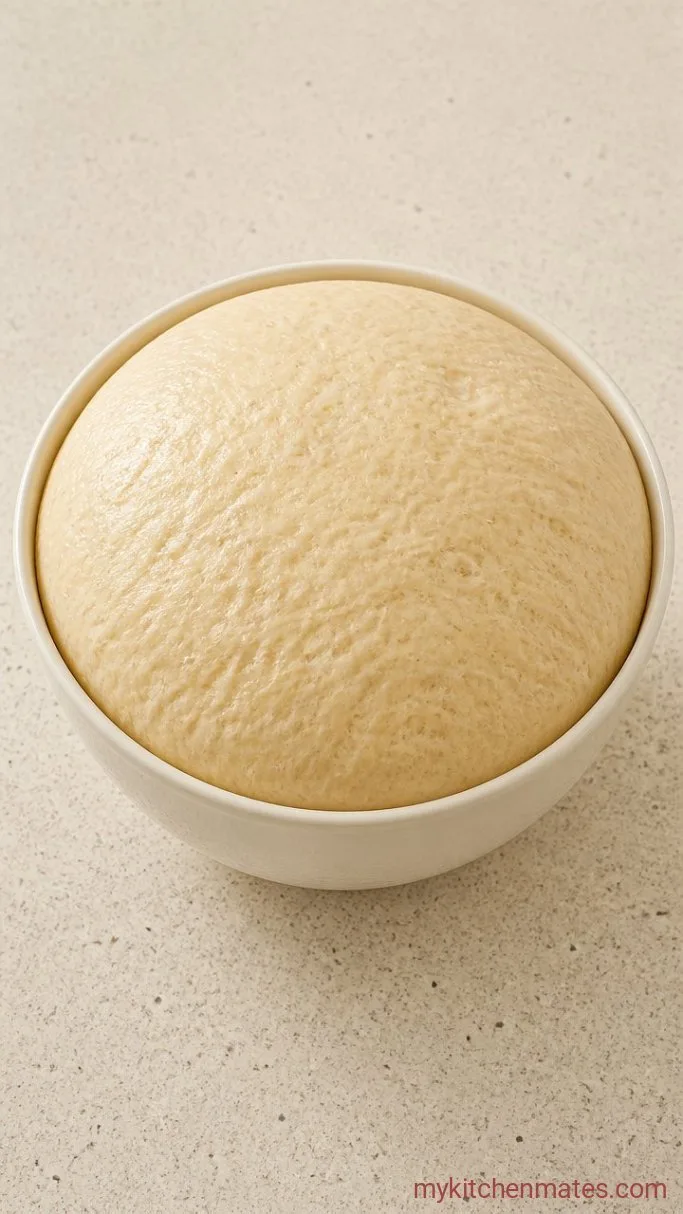
After the final fold, cover the bowl tightly and place it in the refrigerator for 12 to 16 hours. The dough will ferment slowly and develop its tang during this cold bulk rise. Look for a slightly domed top and a scattering of small bubbles on the surface by morning.
The dough should feel puffy but still jiggle when you shake the bowl gently. If your fridge runs cold, 16 hours is safer; a warmer fridge may hit full fermentation closer to 12 hours.
Cold fermentation makes the dough much less fragile to shape later. The long rest also deepens sourdough flavor in a way a same-day loaf just can’t match.
Step 4: Shape the Boule
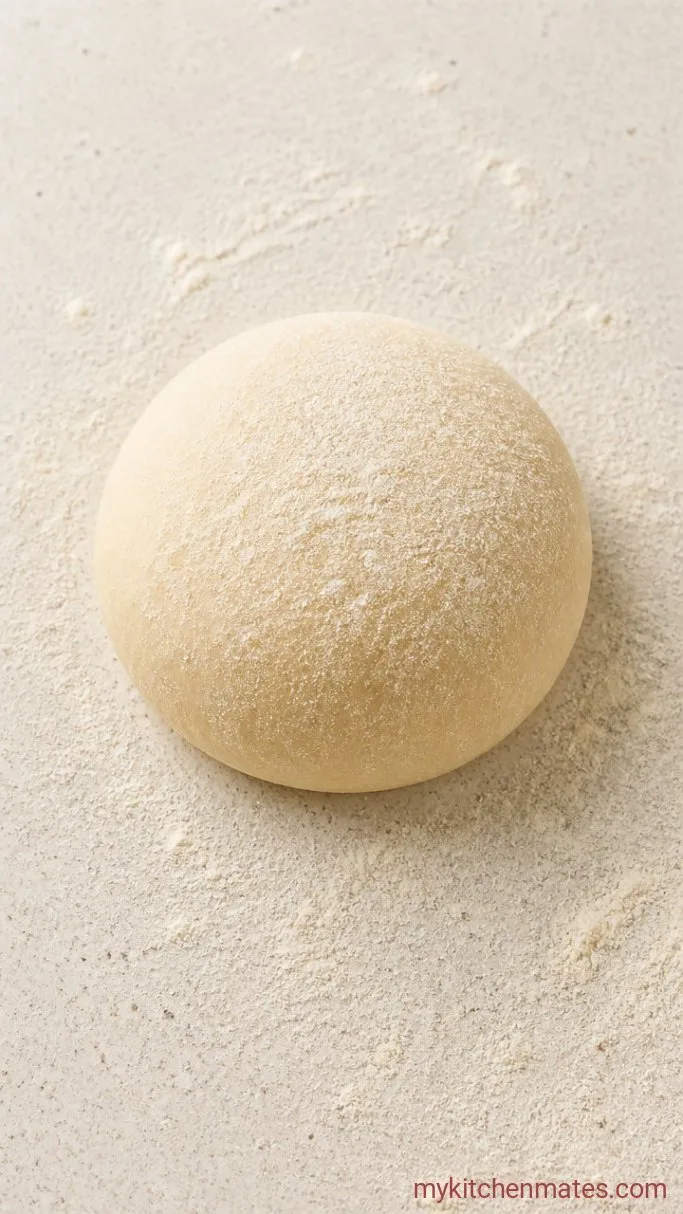
Scrape the cold dough onto a lightly floured counter. Working gently, fold the edges toward the center to form a loose round, then rest it uncovered for 30 minutes. This preshape relaxes the gluten so the final shaping doesn’t tear the skin.
After the bench rest, the dough should feel airy and a little jiggly, with a taut surface where you folded it. Dust the round lightly and use a bench scraper to flip it over. Pull and fold the top third down, the bottom third up, and seal the seam with your fingertips. Then roll the dough toward you, dragging it across the counter to build tension until the boule stands up firm.
A tight shape channels all the oven spring upward, giving you an ear that lifts dramatically. If the seam splits during shaping, pinch it closed and keep going; the cold dough is forgiving.
Step 5: Score and Bake
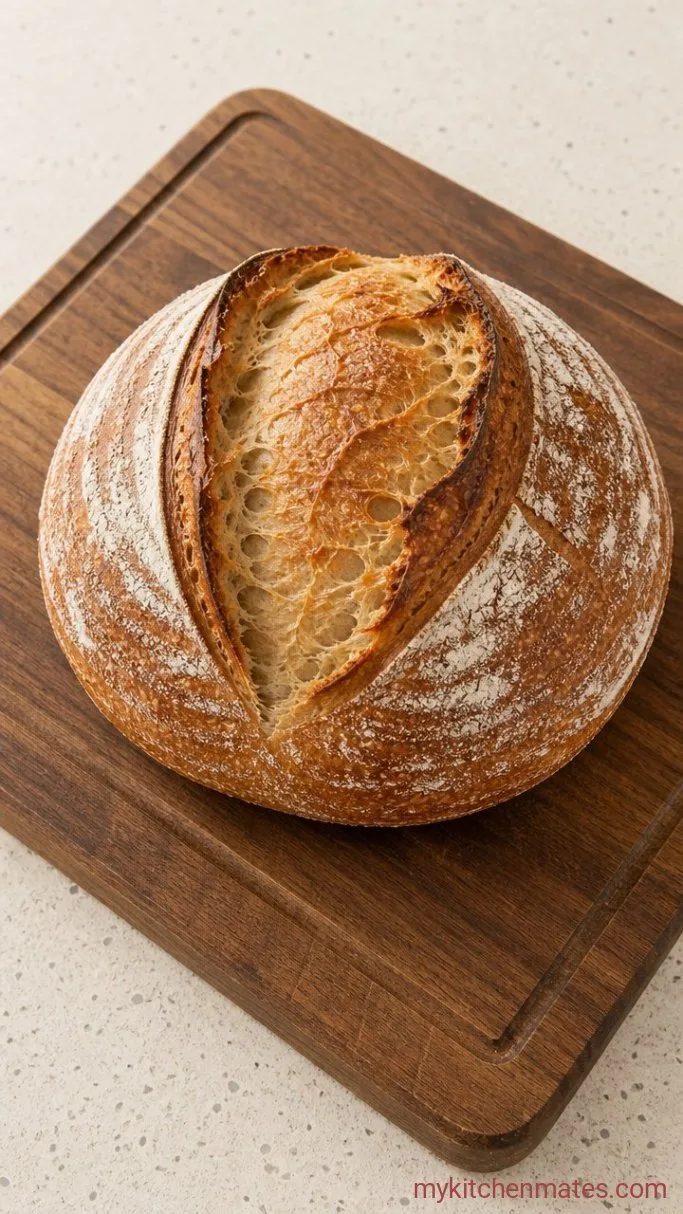
Set a Dutch oven with its lid in the oven and preheat to 500°F (260°C) about 45 minutes before baking. Turn the shaped dough out of its proofing basket onto a piece of parchment paper. Slash a deep half-moon score across the top at a 45-degree angle, then lift the loaf into the hot pot. Cover and bake at 500°F for 30 minutes, then remove the lid, drop the temperature to 450°F (230°C), and bake another 20 to 25 minutes until the crust is deep amber.
Steam will fog the oven window during the covered bake, and when you lift the lid the kitchen fills with a nutty, toasted wheat smell. The crust should sound hollow when you tap the bottom of the loaf.
Transfer the bread to a wire rack and let it cool for at least 1 hour before slicing. The interior sets during cooling, so cutting too early risks a gummy crumb. Once sliced, you’ll see an open, lacy pattern with a soft chew and a crust that crackles under your knife.
Tips for Handling High Hydration Dough
- Wet hands rule: keep a bowl of water nearby. Wet hands prevent the dough from sticking to you far better than flouring your fingers during folds.
- Bench scraper is your friend: use it to lift and move the dough. It keeps your hands cleaner and handles the wet mass without deflating it.
- Watch the dough, not the clock: fermentation times vary with kitchen temperature. Look for a domed, bubbly surface rather than counting every minute.
- Don’t rush the final proof: after shaping, a cold proof of 1 to 2 hours in the fridge while the oven preheats helps the score open cleanly.
- Preheat the Dutch oven thoroughly: a hot pot creates the steam needed for a blistered crust. Let it heat for the full 45 minutes.
Storing and Reviving Sourdough
- Refrigerate: wrap the cooled loaf in a clean tea towel inside a paper bag for up to 3 days. Plastic bags soften the crust too much.
- Reheating: revive the crust with a 10-minute bake at 350°F (175°C) directly on the oven rack. Slice after reheating.
- Serve cold: the bread tastes great at room temperature for days, especially toasted with butter.
What To Serve With This Sourdough
A thick slice toasted and rubbed with garlic makes an honest bruschetta that holds up to juicy tomatoes. Ladle a chunky vegetable soup over torn hunks, and the open crumb soaks up broth without falling apart. For a simple snack, smear the bread with salted butter and a drizzle of honey while it’s still slightly warm from the oven.
Frequently Asked Questions
My dough didn’t rise much overnight. What should I check?
Your starter likely isn’t strong enough. Feed it twice a day for a few days before baking until it reliably doubles in 4 to 6 hours at room temperature.
Can I bake this without a Dutch oven?
Yes, you can duplicate steam by placing a tray of boiling water on the bottom rack and baking on a preheated stone. The crust will still blister, though baking times may shift.
Why did my loaf flatten during scoring?
The dough probably over-proofed or wasn’t shaped with enough tension. Next time look for more doming during fermentation and really tighten the surface when shaping.
Is it safe to leave the dough in the fridge longer than 16 hours?
A few extra hours will usually deepen flavor without harm, but beyond 24 hours the gluten may weaken enough to produce a denser crumb.
Can I substitute instant yeast for the sourdough starter?
This recipe’s timing and hydration are built around a natural leaven. Using commercial yeast would require a completely different formula, so it’s not a direct swap.
High Hydration Sourdough Bread Recipe
Ingredients
Method
- Mix bread flour, whole wheat flour, and 350 g water. Cover and rest 30 minutes for autolyse.
- Stir in starter, remaining 50 g water, and salt until smooth.
- Perform 4 sets of stretch and folds at 30-minute intervals over 2 hours, covering the bowl between sets.
- Cover and refrigerate 12 to 16 hours for a cold bulk ferment.
- Turn dough onto a floured surface, preshape into a round, and bench rest 30 minutes.
- Shape tightly into a boule, place seam-side up in a proofing basket, and cold proof 1 to 2 hours while preheating.
- Preheat oven with Dutch oven inside to 500°F for 45 minutes.
- Score the dough deeply at a 45-degree angle and bake covered at 500°F for 30 minutes.
- Uncover, reduce heat to 450°F, and bake 20 to 25 minutes until deep amber and hollow-sounding when tapped.
- Cool on a wire rack at least 1 hour before slicing.
Notes
