
No-Spread Halloween Sugar Cookies

These no-spread Halloween sugar cookies are soft, buttery, and hold their cut-out shape cleanly for ghosts, pumpkins, and bats. They look like you fussed for hours, but the dough comes together with basic pantry ingredients in about 15 minutes.

The dough chills while you gather the decorations, and it rolls out smooth every time. Whether you’re baking with kids or getting ahead for a party, you can count on these cookies turning out the same way each batch.
What Makes These Sugar Cookies a Keeper
I keep this recipe close because it gives me dough that stays put in the oven instead of puffing into unrecognizable blobs. The edges stay crisp, the centers stay soft, and the flavor is buttery without being too sweet.
You can pile on icing and sprinkles and the cookie never tastes cloying. The dough is forgiving, so you can re-roll the scraps more than once without it turning tough.
Ingredients
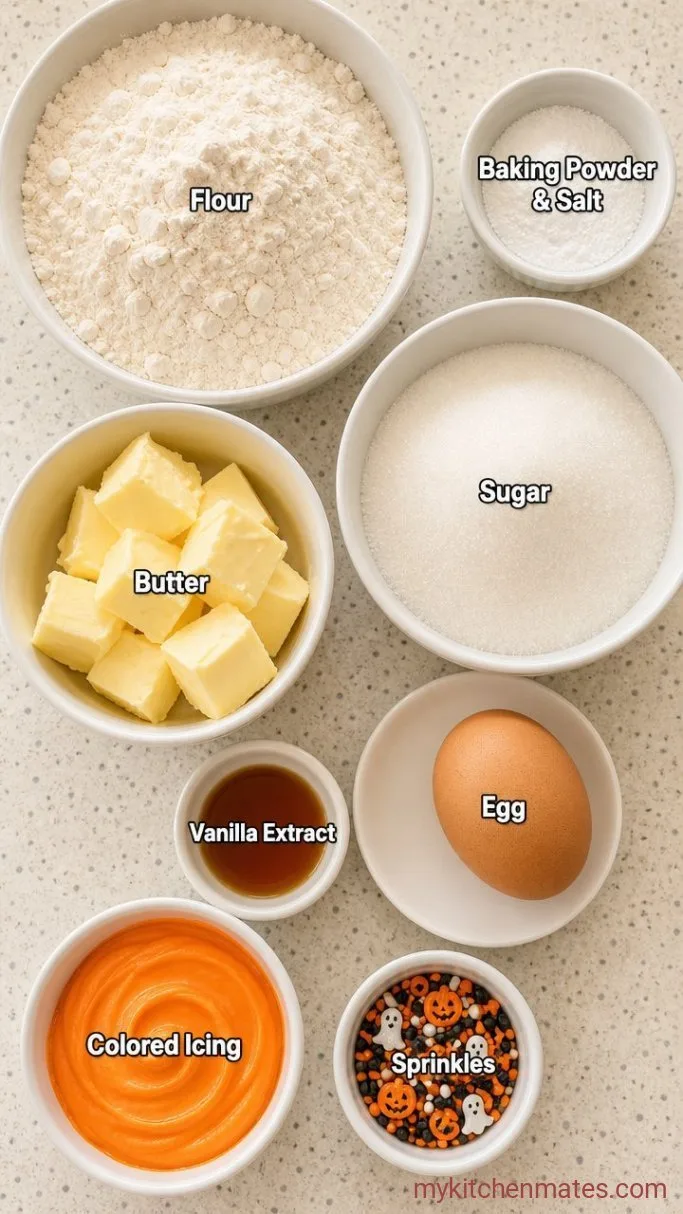
- 2 ¼ cups (280g) all-purpose flour: spoon and level for accuracy, or weigh it
- ½ tsp baking powder: helps just enough lift without distortion
- ¼ tsp salt: fine sea salt or table salt
- ¾ cup (170g) unsalted butter, softened: leave it at room temp about 30 minutes
- ¾ cup (150g) granulated sugar
- 1 large egg, room temperature
- 2 tsp pure vanilla extract
Variations
- Orange-Spice: add 1 tsp orange zest and ¼ tsp cinnamon to the butter-sugar mix
- Almond: swap the vanilla for ½ tsp almond extract
- Chocolate: replace ¼ cup of the flour with unsweetened cocoa powder
- Colorful Dough: knead a few drops of gel food color into a portion of the dough before chilling
Leftover Halloween Candy Cookies are next on our list if these cookies are your kind of dessert.
How to Make No-Spread Halloween Sugar Cookies
Step 1: Cream the Butter and Sugar
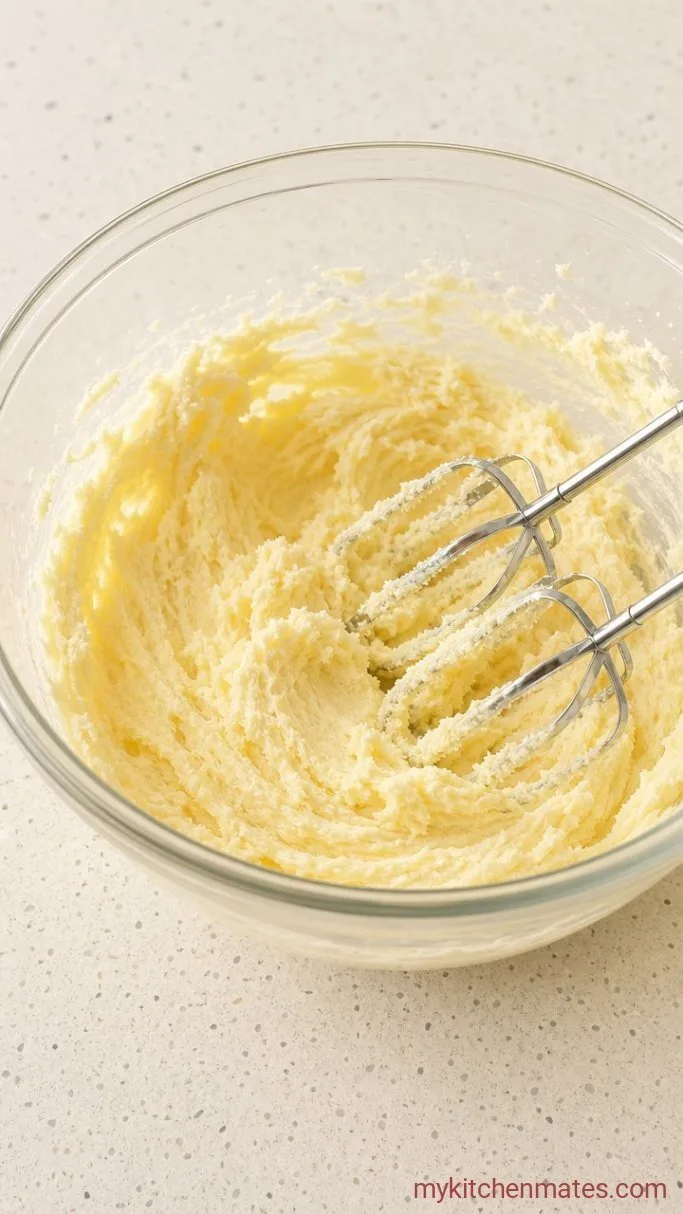
Beat the ¾ cup softened butter and ¾ cup sugar together on medium speed until the mixture looks light and fluffy, about 3 minutes. Scrape the bowl, add the 1 large egg and 2 teaspoons vanilla, and beat until just combined.
The mixture will turn pale and increase in volume. That bit of air is what gives the cookies their tender crumb while still holding a clean edge.
Step 2: Form the Dough and Chill
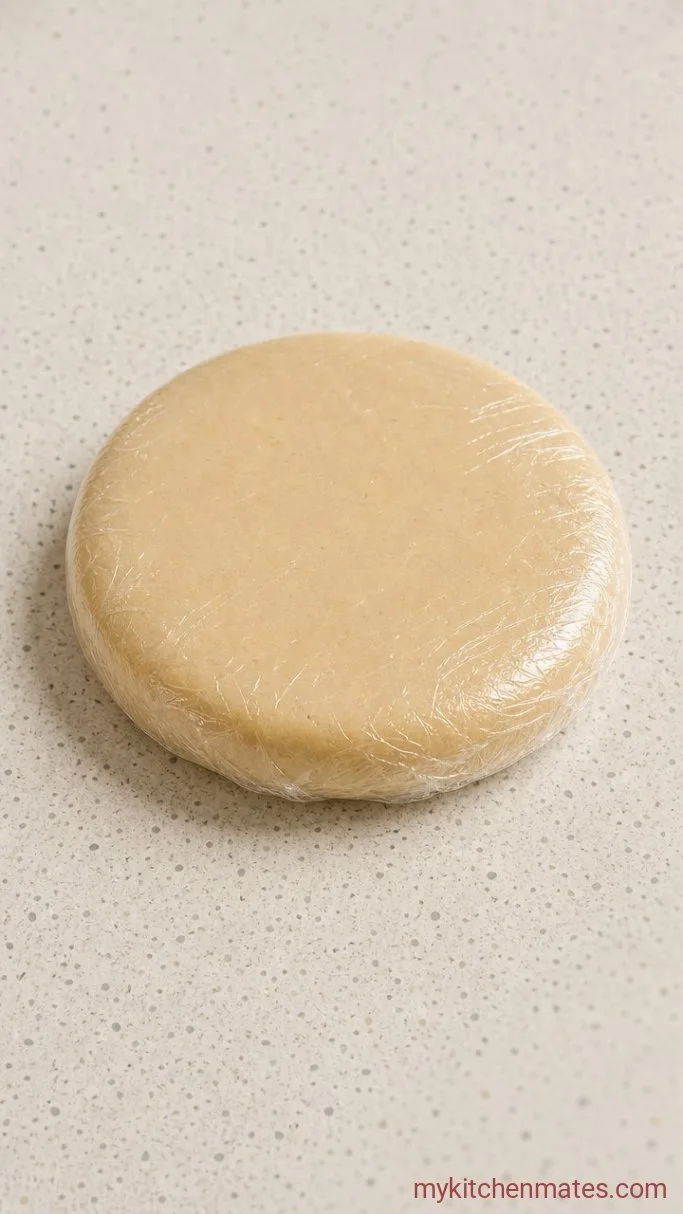
Whisk the 2 ¼ cups flour, ½ teaspoon baking powder, and ¼ teaspoon salt in a separate bowl. With the mixer on low, gradually add the dry ingredients to the butter mixture and mix only until no dry streaks remain. The dough will be soft. Gather it into a ball, flatten it into a disc about 1 inch thick, wrap it tightly in plastic, and refrigerate for at least 1 hour, or up to 2 days.
Chilling firms the butter so the dough is easier to roll and less likely to spread in the oven. If you are short on time, 30 minutes in the freezer works, but an hour in the fridge gives the most consistent results.
Step 3: Roll, Cut, and Bake the Cookies
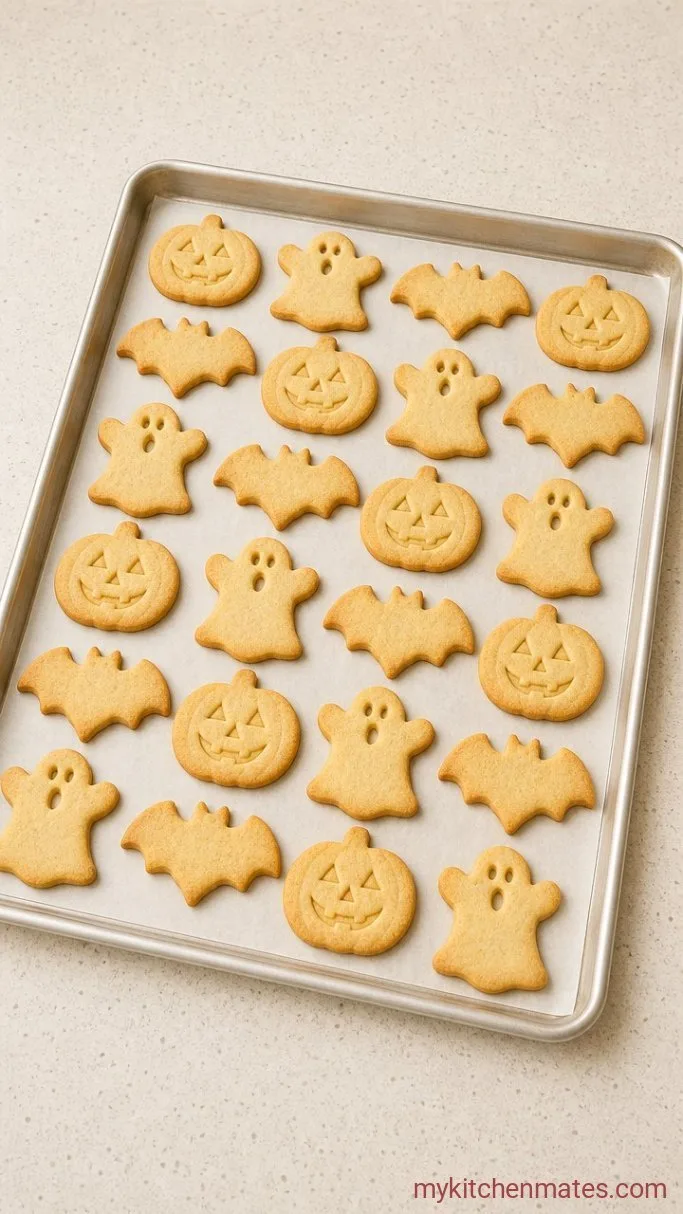
Preheat the oven to 350°F (175°C) and line two baking sheets with parchment paper. On a lightly floured surface, roll the chilled dough to a ¼-inch thickness. Cut your shapes, place them about 1 inch apart on the sheets, and bake for 8 to 10 minutes, until the edges are just set and the bottoms are barely golden. Let the cookies cool on the sheets for 5 minutes, then move them to a wire rack.
Rotate the baking sheets halfway through if your oven has hot spots. For softer cookies, pull them from the oven when the centers still look a little underdone. They will firm up as they cool.
Step 4: Decorate the Cookies

Once the cookies are completely cool, spread them with royal icing, buttercream, or a quick powdered sugar glaze. While the icing is still wet, add sprinkles, candy eyes, or colored sugar. Let the icing set fully before you stack or store the cookies.
For the fastest finish, just dust the cookies with powdered sugar or drizzle them with melted chocolate. A single layer of paper towel between layers in the container keeps the decorations from getting smudged.
Tips for Crisp-Edged Cookies
- To keep the cut edges sharp, dip your cutter in flour before each press.
- If the chilled dough feels rock-hard when you take it out, let it sit at room temperature for 5 to 10 minutes.
- Gel food color gives vibrant dough without adding extra liquid. Knead a few drops into a portion before you chill it.
- Freeze unbaked cut-out shapes on a parchment-lined sheet, then transfer them to a freezer bag. Bake straight from frozen, adding 1 to 2 minutes to the bake time.
Baking times shift a little depending on how thick you roll the dough.
| Rolled thickness | Bake time |
|---|---|
| ⅛ inch | 6–8 minutes |
| ¼ inch | 8–10 minutes |
| ⅜ inch | 10–12 minutes |
Keeping Cookies Fresh
Store decorated cookies in an airtight container at room temperature for up to 5 days. Undecorated cookies freeze well layered between sheets of parchment for up to 3 months. Thaw them at room temperature, then decorate.
Frequently Asked Questions
Can I make the dough ahead?
Yes, the dough can be refrigerated up to 2 days or frozen up to 3 months. Thaw it overnight in the fridge before you roll it out.
Why did my cookies spread?
The most common reason is butter that was too warm, over-creaming, or skipping the chill. Make sure the butter is just softened, not melty, and chill the dough thoroughly.
Can I use this recipe for other holidays?
Absolutely, swap the cutter shapes and sprinkle colors for any celebration.
What is the easiest icing for kids?
A powdered sugar glaze made with 1 cup powdered sugar, 2 to 3 tablespoons milk, and ½ teaspoon vanilla is quick to stir up and sets firm enough to stack.
No-Spread Halloween Sugar Cookies Recipe
Ingredients
Method
- Beat the butter and sugar on medium until light and fluffy, about 3 minutes. Add the egg and vanilla, and beat until combined.
- Whisk flour, baking powder, and salt in a separate bowl. Gradually mix into the wet ingredients on low just until a soft dough forms. Flatten into a disc, wrap, and chill at least 1 hour.
- Preheat oven to 350°F (175°C). Roll dough to ¼-inch thickness, cut shapes, and bake 8 to 10 minutes until edges are barely golden. Cool on sheet 5 minutes, then transfer to a wire rack.
- Once completely cool, decorate with icing and sprinkles. Let icing set before stacking.
Notes
