
Soft & Chewy Gluten Free Peanut Butter Blossoms

These gluten free peanut butter blossoms bring all the soft, crackly-edged charm of the classic cookie, with a chocolate kiss pressed right into the center. No one will guess they are missing wheat because the peanut butter keeps them rich and tender.
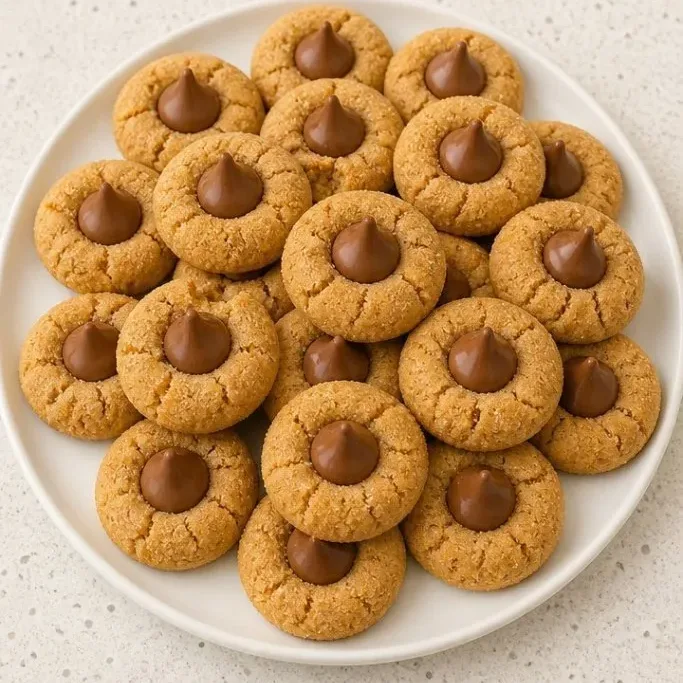
They come together in one bowl, use a simple gluten free flour blend, and bake up in about 12 minutes. A warm pan of these on the counter means the holidays are here, even if it’s just a Tuesday.
What Makes These Blossoms So Good
The texture is what hooks you. A soft, almost fudgy peanut butter cookie with a slight chew from the brown sugar, rolled in sparkly granulated sugar so the outside gets that delicate crackle. The chocolate kiss on top stays solid but gets just warm enough to melt slightly at the base.
Because the dough leans heavily on peanut butter, the lack of gluten is not something you notice. It tastes exactly like the cookie you remember from childhood, only safe for anyone avoiding gluten.
A 1-to-1 gluten free flour blend with xanthan gum handles the structure. No gritty aftertaste, no crumbly mess. Just a classic blossom that holds its shape and melts in your mouth.
Ingredients

- 1/2 cup unsalted butter, softened: room temperature, so it creams smoothly.
- 1/2 cup creamy peanut butter: use a no-stir, conventional peanut butter; natural separated kinds make the dough oily and can cause spreading.
- 1/2 cup granulated sugar: plus about 1/4 cup extra for rolling the dough balls.
- 1/2 cup packed light brown sugar: the molasses adds softness and chewy edges.
- 1 large egg: cold is fine, just beat it in well.
- 1 tsp vanilla extract: rounds out the peanut butter.
- 1 1/4 cups gluten free all-purpose flour blend: look for a blend that lists xanthan gum in the ingredients for the best structure.
- 1 tsp baking soda: gives the cookies a gentle lift.
- 1/4 tsp fine salt: if your peanut butter is salted, you can reduce this to a pinch.
- 24 unwrapped Hershey’s Kisses: milk chocolate is traditional, but dark chocolate kisses work too.
Variations / Substitutions
- Make them nut-free: swap the peanut butter for a no-stir sunflower seed butter. The dough will spread a little more, so chill it for 30 minutes before baking.
- Go dairy-free: use a vegan butter stick and a dairy-free chocolate kiss or a square of dairy-free chocolate pressed in the same way.
- Change the chocolate: try caramel-filled or white chocolate kisses for a different finish. Press them while the cookies are still hot so the base sticks.
- Add a little crunch: fold in 1/4 cup finely chopped roasted peanuts after the flour is mixed in.
Veggie Rice Bowl is a perfect match if you’re wondering what to serve this recipe with.
How To Make Gluten Free Peanut Butter Blossoms
Step 1: Cream the Butter, Peanut Butter, and Sugars

Preheat your oven to 350°F (175°C) and line two baking sheets with parchment paper. In a large bowl, beat the 1/2 cup softened butter, 1/2 cup peanut butter, 1/2 cup granulated sugar, and 1/2 cup brown sugar together with a hand mixer or stand mixer on medium speed. Keep going until the mixture looks light and fluffy, about 2 minutes, scraping down the bowl once.
The color will lighten a shade and the texture turns creamy with no visible butter chunks. This step builds the structure that keeps the cookies from spreading into pancakes.
Step 2: Mix in the Egg and Dry Ingredients

Beat in the 1 large egg and 1 tsp vanilla extract until just combined, about 30 seconds. In a separate small bowl, whisk together the 1 1/4 cups gluten free flour blend, 1 tsp baking soda, and 1/4 tsp salt. Add the dry mix to the butter mixture in two parts, mixing on low speed each time until no dry streaks remain.
The dough will be soft and slightly tacky, but it should pull away from the sides of the bowl. If it feels greasy, your peanut butter may be the culprit. A quick 10-minute chill in the fridge firms it right up.
Step 3: Shape and Coat the Dough
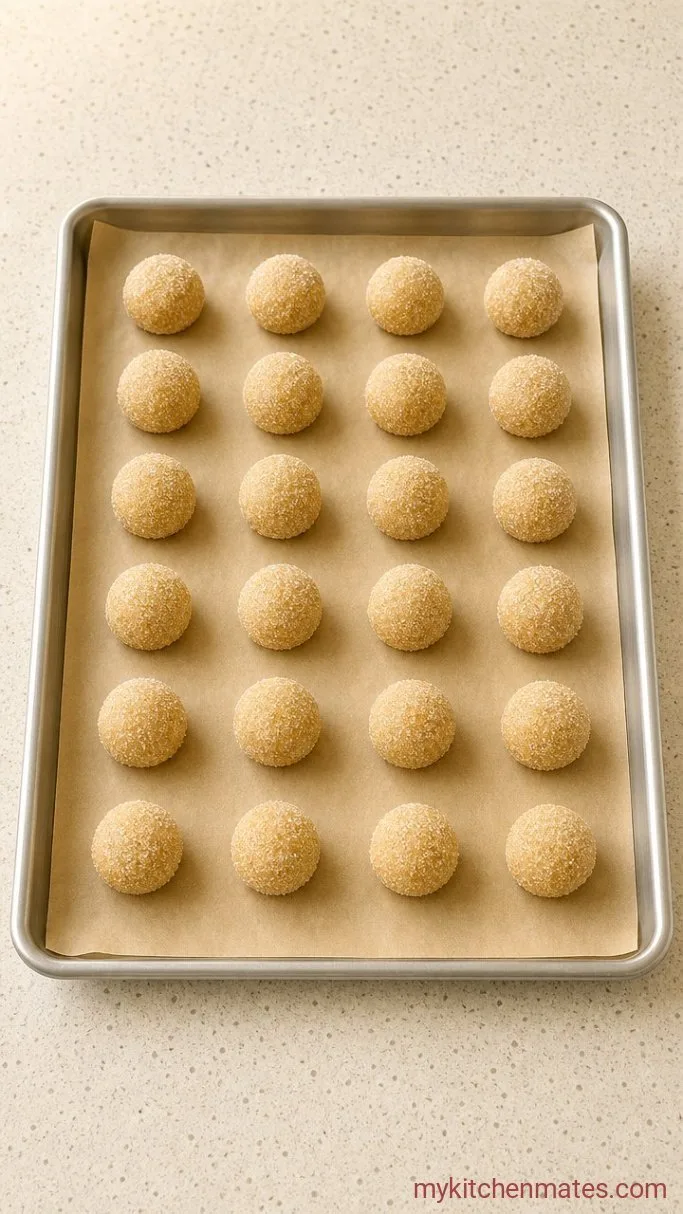
Scoop out a generous tablespoon of dough for each cookie (a small cookie scoop works perfectly here) and roll it into a smooth ball with your palms. Roll each ball in the reserved granulated sugar until coated all over, then place on the prepared baking sheets about 2 inches apart.
The sugar coating gives the cookies that signature glittery crackle. You will notice the dough becomes less sticky once the sugar is on, so it is easier to handle.
Step 4: Bake and Press in the Kisses
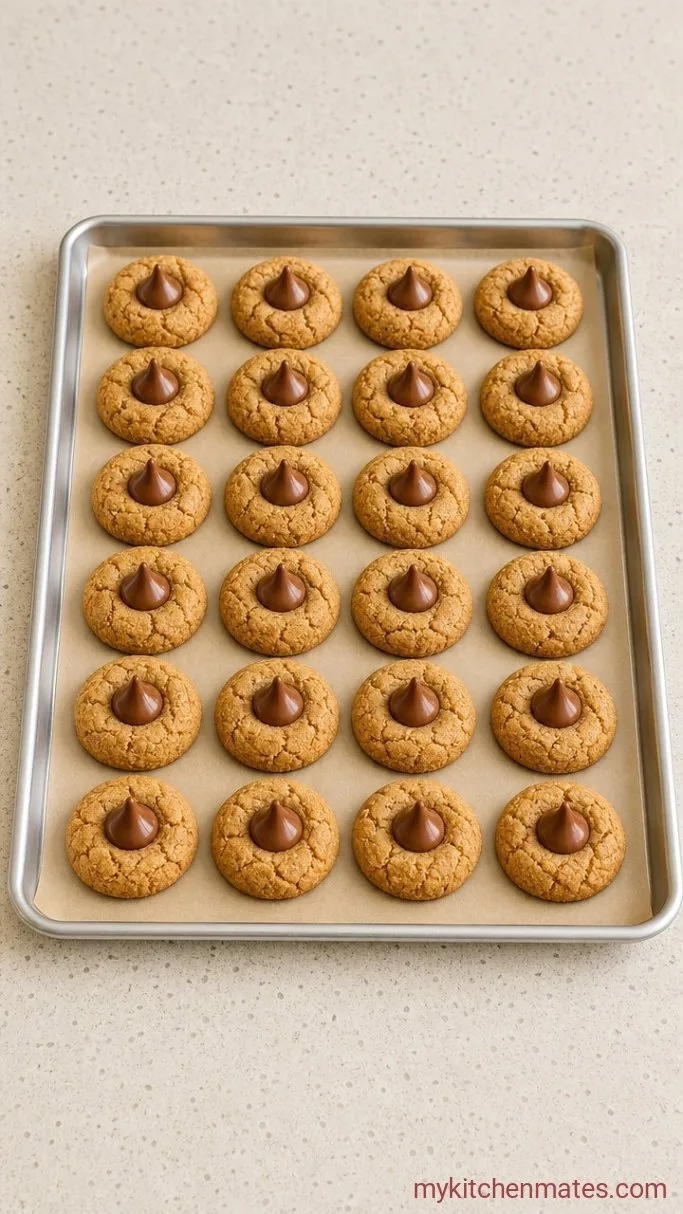
Bake the cookies, one sheet at a time, for 10 to 12 minutes. They are done when the edges look set and the tops are puffed and craggy but still very pale. Do not let them brown or they will turn crunchy instead of soft.
Pull the sheet from the oven and immediately press one unwrapped Hershey’s Kiss gently into the center of each hot cookie. The heat will soften the chocolate base just enough so it sticks. If the cookies crack a little around the kiss, that is normal. Transfer the parchment, cookies and all, directly to a wire rack to cool completely.
Step 5: Cool Completely and Serve
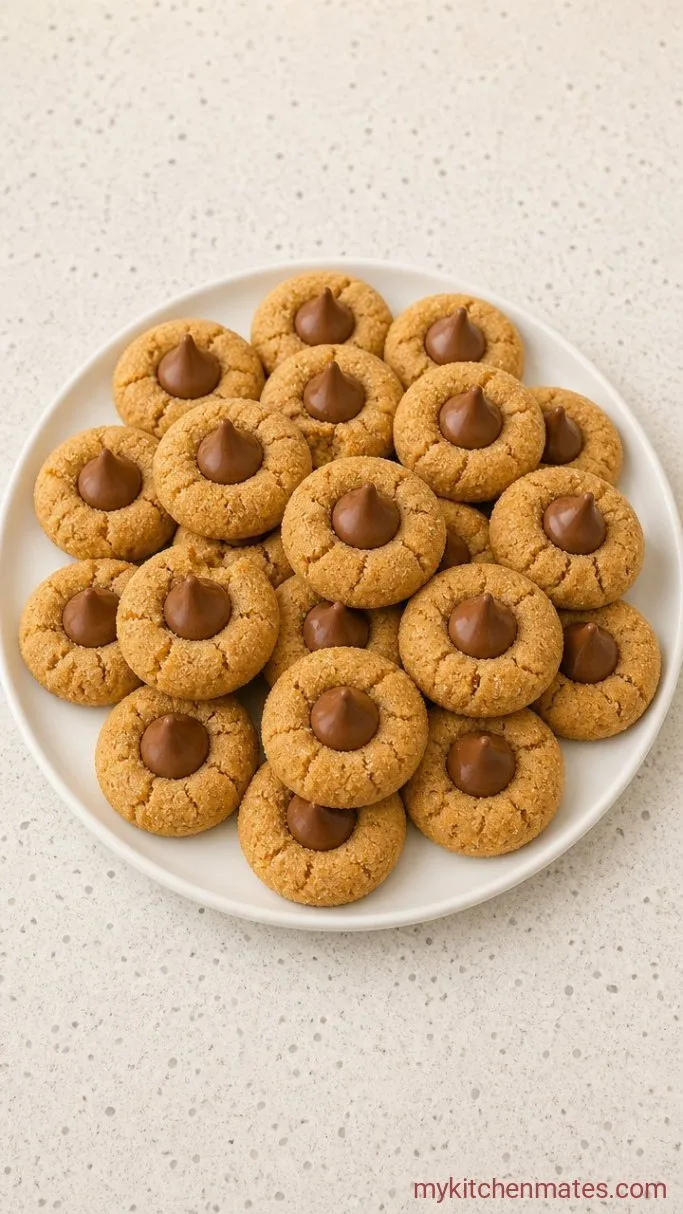
Leave the cookies undisturbed on the rack for at least 20 minutes. As they cool, the chocolate kiss will firm up again and the cookie underneath will settle into a soft, chewy round. Moving them too soon can smear the chocolate.
Once the kisses are solid and the bottoms are cool, arrange them on a plate. The contrast between the sugary crackle and the creamy kiss is at its best within a few hours, but they stay delightful for days.
Tips for Perfect Blossoms
- Unwrap the kisses first.: Get that tiny chore out of the way before your hands get sticky with dough. Count out 24 and keep them in a bowl by the oven so you can press them quickly.
- Use a cookie scoop.: Evenly sized mounds mean even baking, and the scoop makes quick work of the soft dough.
- Watch the oven window at the 10-minute mark.: Gluten free flours can go from puffed to over-baked fast. Pull the cookies when the tops no longer look wet in the center but have not started to brown.
- If the chocolate kiss loses its tip, pop the tray in the fridge for 5 minutes to chill the chocolate before moving the cookies. It will firm right back up.
- Chill the dough if your kitchen is warm.: If your peanut butter was extra oily or the butter got too soft, 20 minutes in the fridge before rolling prevents puddles.
Bake times for different cookie sizes:
| Scoop Size | Approx Dough Weight | Bake Time |
|---|---|---|
| 2 tsp | .5 oz (15 g) | 8 to 10 minutes |
| 1 tbsp | 1 oz (28 g) | 10 to 12 minutes |
| 1.5 tbsp | 1.5 oz (42 g) | 12 to 14 minutes |
How to Keep Blossoms Fresh
- Refrigerate: Store cooled cookies in an airtight container with parchment between layers. They keep for up to 5 days in the fridge, though the sugar coating may soften slightly.
- Freeze unbaked dough balls: Roll the dough in sugar, place on a plate, and freeze solid. Bag them and bake straight from frozen, adding 1 to 2 minutes to the bake time.
- Freeze baked cookies: Wrap individually and freeze. Thaw on the counter for 15 minutes, and they taste nearly fresh-baked.
Frequently Asked Questions
Can I use natural peanut butter (the kind that separates)?
Yes, but the dough will feel greasier and spread more in the oven. Stir it very well and chill the dough for 30 minutes before rolling. The cookies will still taste great, just a bit flatter.
My cookies spread into flat discs. What went wrong?
This usually means the dough was too warm or the peanut butter was very oily. Next time, chill the shaped dough balls for 15 minutes on the baking sheet before baking. Also double-check your flour blend has xanthan gum, which helps control spread.
Why did the chocolate kisses melt into puddles instead of holding their shape?
The cookies were likely too hot when you pressed the kisses, or they sat in the oven a moment too long. Press the kiss into the center right after the sheet comes out but do not move the cookie afterward. If a few get soft, let the whole tray cool completely and the chocolate will firm back up.
Can I make the dough ahead of time?
Yes. Cover and refrigerate the dough for up to 2 days. Let it sit at room temperature for about 20 minutes so it’s scoopable, then roll and bake as directed.
Gluten Free Peanut Butter Blossoms Recipe
Ingredients
Method
- Preheat oven to 350°F (175°C). Line two baking sheets with parchment. Beat butter, peanut butter, granulated sugar, and brown sugar until light and fluffy, about 2 minutes. Beat in egg and vanilla.
- Whisk together gluten free flour blend, baking soda, and salt. Gradually mix into the butter mixture on low speed until a soft dough forms.
- Shape dough into 1-tablespoon balls. Roll each ball in the extra granulated sugar and place 2 inches apart on prepared sheets.
- Bake one sheet at a time for 10 to 12 minutes, until edges are set and tops are puffed but pale. Immediately press an unwrapped kiss into the center of each hot cookie.
- Transfer cookies on the parchment to a wire rack and let cool completely, about 20 minutes, until chocolate is firm.
Notes
