
Crispy, Clumpy Gluten-Free Granola

This gluten-free granola bakes into big, crunchy clusters you can actually pick up with your fingers. It’s just sweet enough, with toasted nuts and seeds for a salty edge that keeps it from tasting like candy.
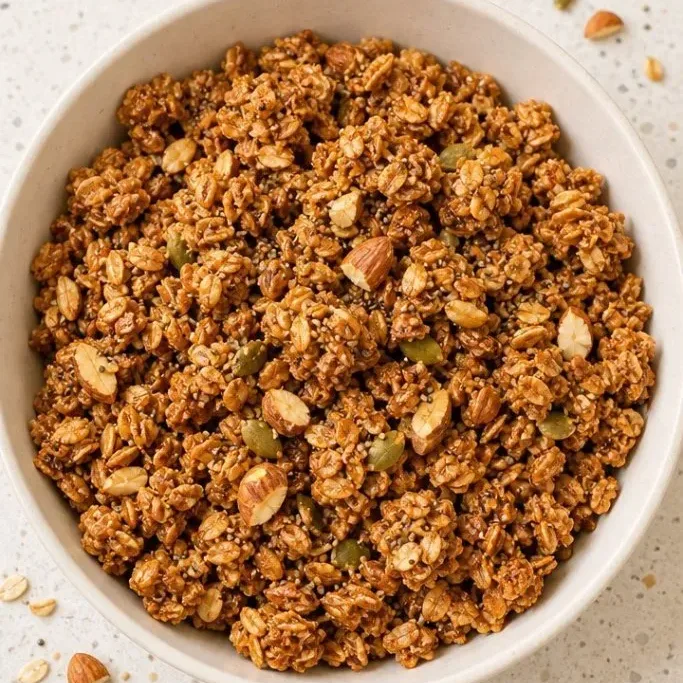
I make a batch most Sundays when the kitchen is quiet and the oven warms up the whole room. It stays crisp in the jar all week, and I never have to think about breakfast again.
Why This One Stays in the Rotation
Most homemade granola comes out loose and sandy, which is fine for yogurt but useless on its own. This version leans on a classic trick: pressing the mixture flat on the pan and leaving it alone while it cools. That gives you real clusters you can break into whatever size you like.
The flavor is deep and nutty, with a little salty pop from the pumpkin seeds and just enough maple to carry it. I don’t use dried fruit here because I like the pure toasted crunch, but you can toss some in after baking if that’s your thing.
Ingredients
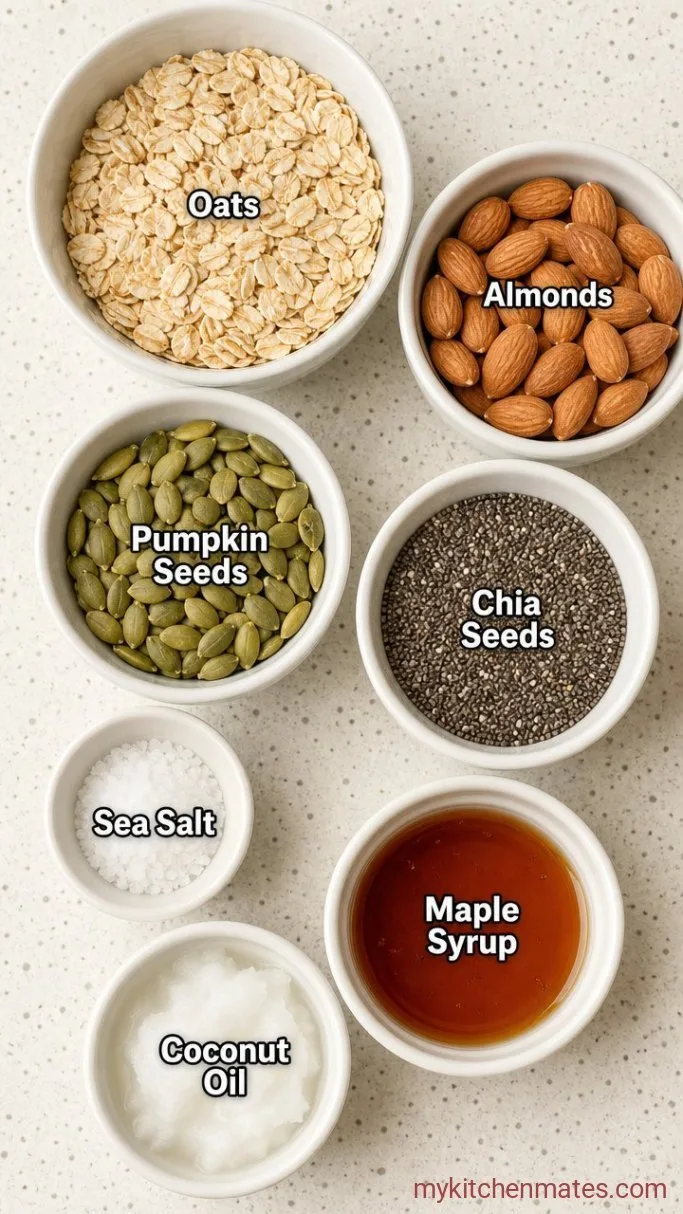
- 3 cups certified gluten-free rolled oats: use thick-cut if you can find them, they hold their shape better.
- ¾ cup raw almonds, roughly chopped: any nut works, but almonds stay crunchy longest after baking.
- ½ cup raw pumpkin seeds: pepitas add a salty, savory note that balances the sweetness.
- ¼ cup chia seeds: they help the clusters bind without needing egg whites.
- ½ tsp fine sea salt: just enough to wake up the oats.
- ½ cup pure maple syrup: the real stuff, because pancake syrup makes granola soggy.
- ¼ cup melted coconut oil or olive oil: coconut oil gives the clusters a toasty scent and a cleaner break.
Variations / Substitutions
- Swap the almonds: pecans, walnuts, or hazelnuts all work, chop them the same size so they toast evenly.
- Use honey instead of maple: honey will brown faster, so drop the oven to 275°F and add 5 or 6 minutes to the bake time.
- Skip the chia: you can leave it out, but the clusters will be smaller. No other swap needed.
- Make it nut-free: replace almonds with sunflower seeds and use olive oil instead of coconut oil to keep the richness.
- Add spice: a teaspoon of cinnamon or cardamom stirred into the dry mix before baking adds warmth without overwhelming the toasted grains.
Soft and Toasty Gluten Free English Muffins go perfectly with this granola for a cozy morning or afternoon.
How to Make Gluten-Free Granola
Step 1: Mix the Dry Ingredients
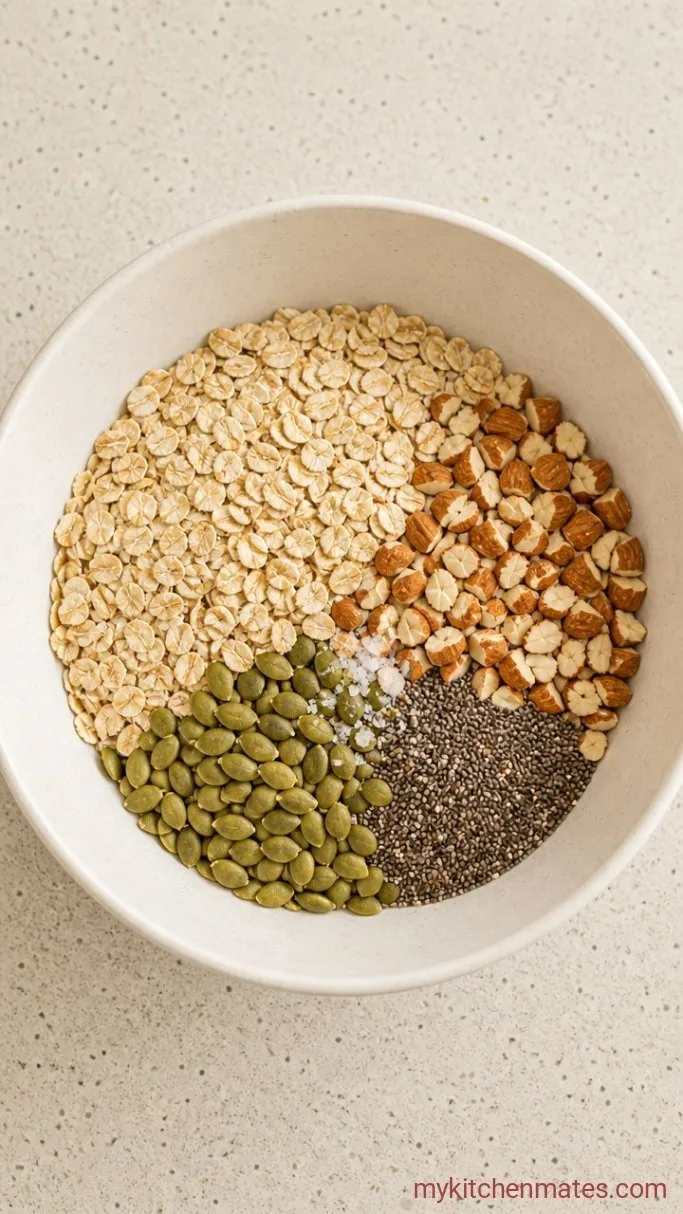
In a large bowl, stir together the 3 cups oats, ¾ cup chopped almonds, ½ cup pumpkin seeds, ¼ cup chia seeds, and ½ teaspoon salt. Keep mixing until the oats and seeds are evenly spotted throughout so you don’t end up with a mouthful of plain oats later.
The mixture should look like a pile of raw granola before anything is added. Take a second to breathe in the dry, earthy smell, that’s the flavor starting to build.
Step 2: Coat with the Wet Mixture
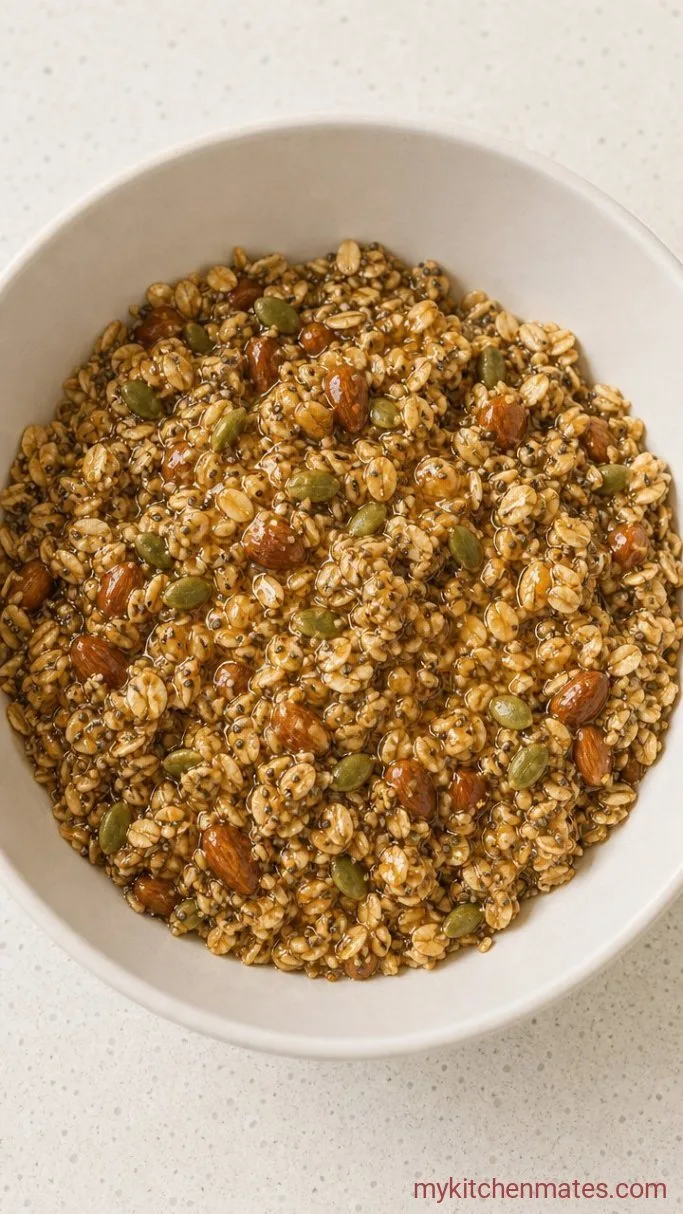
Pour in the ½ cup maple syrup and the ¼ cup melted coconut oil. Stir with a flexible spatula, scraping the bottom and folding the mixture over itself until every oat and seed looks slick and shiny, about 30 seconds. No dry pockets should remain.
When it’s properly coated, the granola will clump slightly in the bowl even before it hits the oven. That’s a good sign the chia is already doing its job.
If the mixture feels too dry and won’t hold together when you squeeze a handful, drizzle in an extra tablespoon of maple syrup and stir again.
Step 3: Bake the Granola
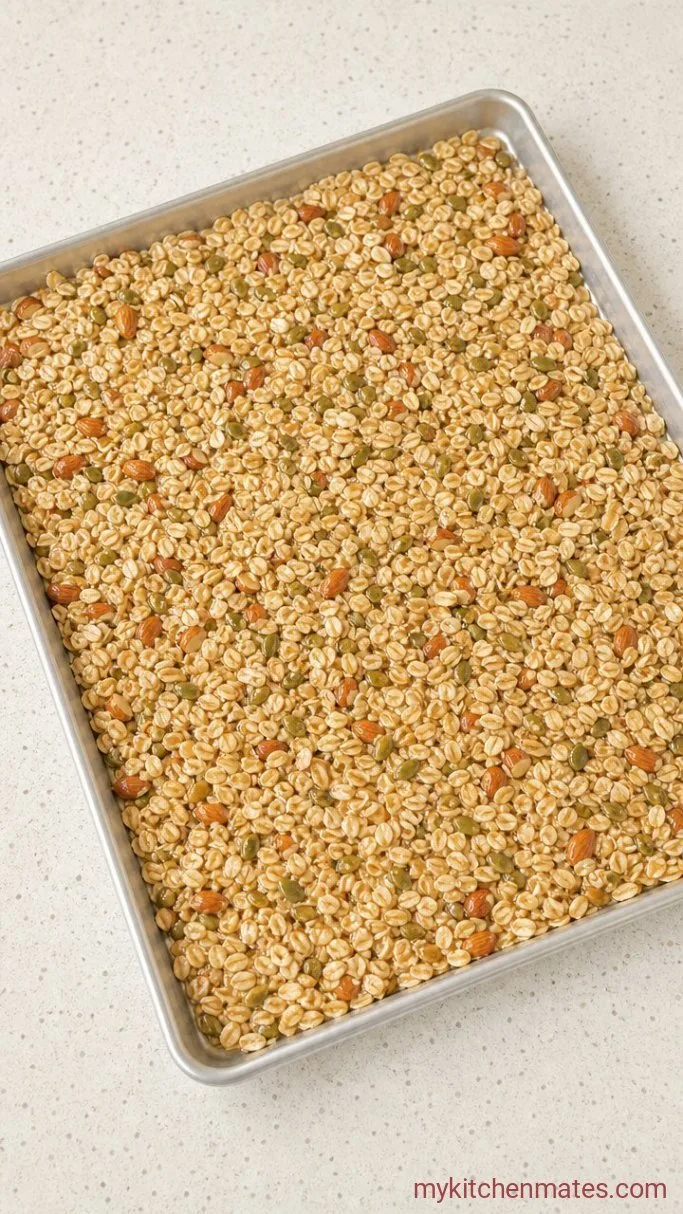
Line a large rimmed baking sheet with parchment paper and preheat the oven to 300°F (150°C). Spread the granola out in an even layer, then press it down firmly with the back of a spatula or the flat bottom of a measuring cup, you want a compact single sheet with no gaps. Bake for 20 minutes, then rotate the pan and bake another 15 to 20 minutes, until the top is golden brown and smells deeply toasty.
Don’t stir the granola during baking, that’s what creates the large clusters. After you pull it from the oven, the whole slab might puff slightly at the edges and look a little soft in the middle. That’s fine, it will crisp as it cools.
If you prefer an extra-dark, toasty granola, give it 3 more minutes, but watch closely because the edges burn fast once they go past golden.
Step 4: Cool and Break into Clusters
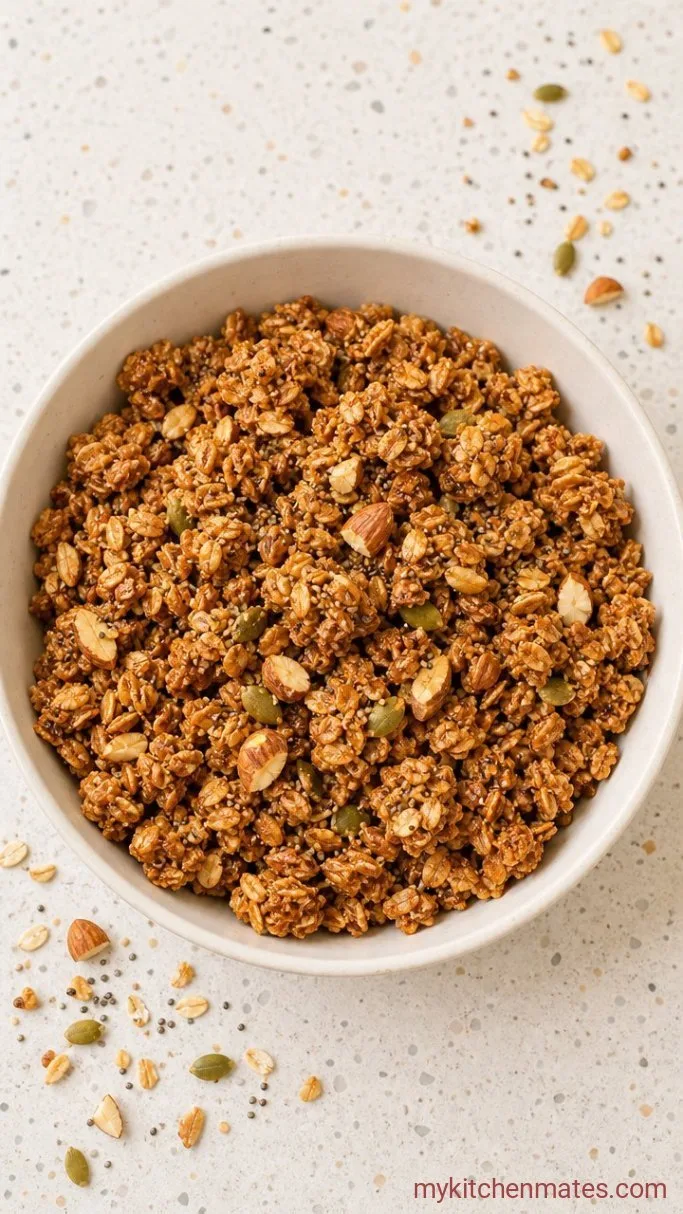
Set the pan on a wire rack and leave the granola completely alone until it’s fully cooled, about 45 minutes. You’ll hear a faint crackle as it sets. Once it’s room temperature, gently lift the slab and break it into pieces with your hands, as big or small as you like.
The clusters will be crisp and golden, with rough edges that catch the light. Use the large pieces for snacking straight from the jar, and let the tiny crumbs fall onto yogurt bowls or oatmeal.
Tips for Big, Crunchy Clusters
- Don’t skimp on the press.: Really pack the granola into the pan before baking. The tighter the layer, the better the clusters hold together after cooling.
- Choose the right oat.: Thick-cut oats absorb moisture more slowly than quick or instant oats, which keeps the granola crunchy instead of stale.
- Cool completely on the pan.: Moving the granola while it’s still warm breaks the sugar bonds that create clusters. Wait until the pan is cool to the touch.
- Use the leftover chia seeds from the pantry, but if yours have been open a while, give them a sniff. Stale chia tastes flat and won’t help bind the granola.
Adjust the bake time for your texture preference:
| Texture | Total Bake Time | What to Look For |
|---|---|---|
| Chewier with crisp edges | 30–35 minutes | Golden top, soft center when pressed |
| Crisp throughout | 35–40 minutes | Deep golden brown, firm all over |
| Extra dark and toasty | 40–43 minutes | Edges barely darker, intense nutty scent |
Storing Leftovers
- Room temperature: Store the cooled granola in an airtight container like a mason jar or a tight-sealing plastic bin. It keeps well for up to 2 weeks.
- Reheating: No need to reheat. If it loses some crunch after a week, you can spread it on a pan and warm it in a 275°F oven for 5 minutes, then let it cool again.
What To Serve With Gluten-Free Granola
A handful of this granola over plain Greek yogurt with a spoonful of honey is my go-to when I need breakfast in 30 seconds. The thick yogurt cools the toasted nuts, and the honey pulls the maple flavor forward without adding more work. On weekends, I pile it onto a bowl of cold oat milk with sliced banana, the milk softens the clusters just enough around the edges while the centers stay crisp. It also works as a crunchy topping for baked apples or roasted pears if you want a simple dessert that feels intentional.
Frequently Asked Questions
Can I use quick oats for this granola?
No, quick oats turn powdery and won’t form clusters. Stick with old-fashioned rolled oats labeled gluten-free.
My granola didn’t form clusters. What went wrong?
You probably stirred it during baking or didn’t press it firmly enough before putting it in the oven. Next time, pack it down hard and leave it untouched while baking and cooling.
Is this recipe safe for celiacs?
Yes, as long as you use certified gluten-free oats and check that your chia seeds and nuts are processed in a gluten-free facility. Oats themselves don’t contain gluten, but cross-contact is common.
Can I double this recipe?
You can, but use two baking sheets so the granola stays in a thin, even layer. If you pile it too thick, the middle won’t dry out properly and the clusters will be soft.
Gluten-Free Granola Recipe
Ingredients
Method
- In a large bowl, stir together the oats, almonds, pumpkin seeds, chia seeds, and salt.
- Pour in the maple syrup and melted coconut oil, then stir until every piece is evenly coated.
- Line a large rimmed baking sheet with parchment paper, preheat oven to 300°F (150°C), spread the mixture in an even layer, and press firmly with a spatula. Bake 20 minutes, rotate the pan, then bake 15 to 20 minutes more until deep golden.
- Cool completely on the pan, about 45 minutes, then break into clusters.
Notes
