
Simple Gluten-Free Dairy-Free Vanilla Cake (Moist & Fluffy)

This gluten-free dairy-free vanilla cake is moist, tender, and tastes like the classic yellow cake you grew up with. It uses a reliable flour blend and everyday ingredients, and it comes together in one bowl in about 15 minutes.
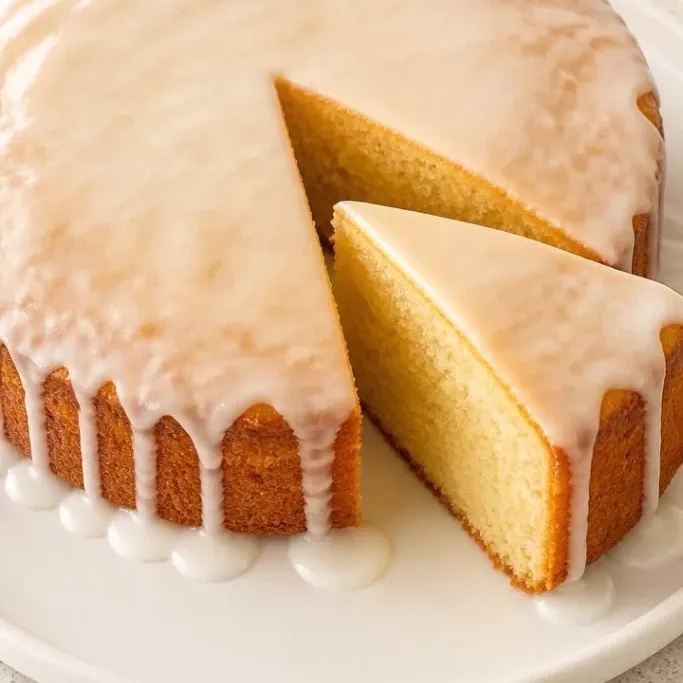
It bakes up fluffy with a golden crumb and a gentle vanilla scent. A quick powdered sugar glaze makes it feel like a real celebration, even on a low-key Tuesday night.
What Makes This Cake So Good
I keep coming back to this cake because it does not taste like a compromise. The crumb is soft and even, not gritty or dry the way some gluten-free cakes can be. The oat milk and a little vinegar give it a tender, fine texture, while the neutral oil keeps it moist for a couple of days on the counter.
It uses the same method as a standard butter cake: whisk the wet, fold in the dry. No stand mixer, no odd flax eggs, just a bowl and a whisk. The batter comes together fast, and the baked cake slices cleanly every time.
Ingredients
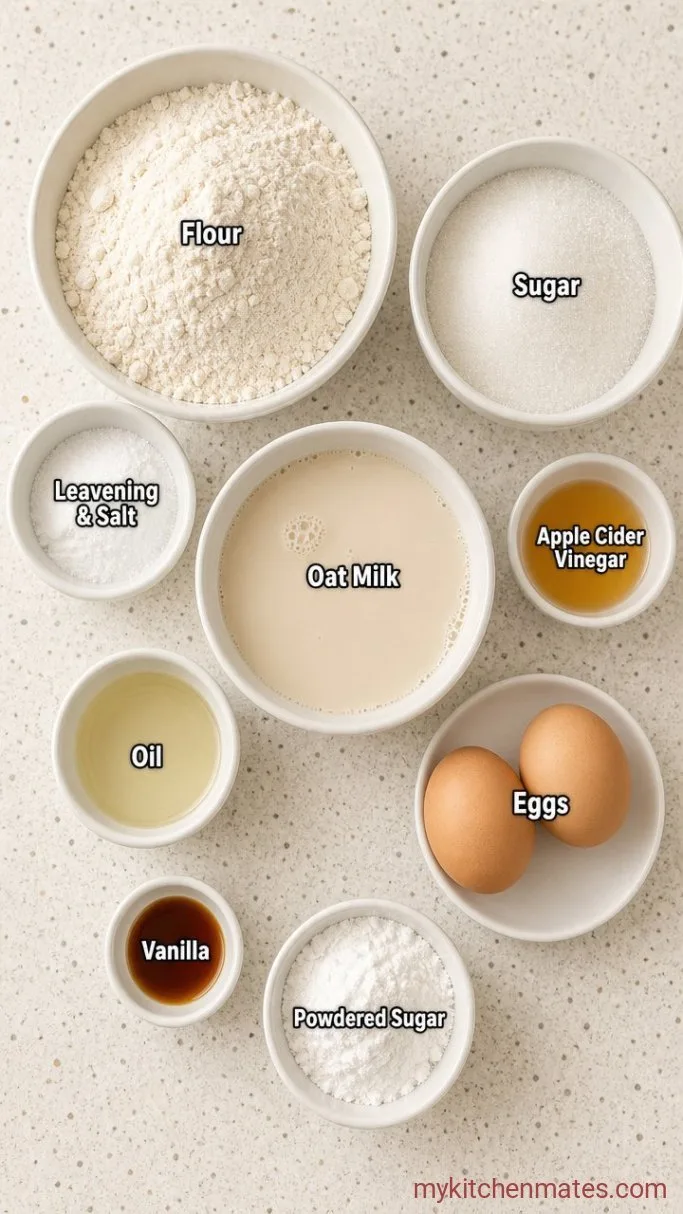
- 2 cups (280g) gluten-free 1-to-1 baking flour: use a blend that contains xanthan gum, like Bob’s Red Mill in the blue bag.
- 1 cup (200g) granulated sugar: cane sugar works best here.
- 1½ teaspoons baking powder: helps the cake lift without tunnels.
- ½ teaspoon baking soda: reacts with the vinegar for extra tenderness.
- ½ teaspoon fine sea salt: rounds out the sweetness.
- 1 cup (240ml) unsweetened oat milk: or any plain non-dairy milk you have on hand.
- 1 tablespoon apple cider vinegar: added to the milk to create a dairy-free “buttermilk.”
- ½ cup (120ml) neutral oil: canola, vegetable, or light olive oil.
- 2 large eggs: bring them to room temperature for better volume.
- 2 teaspoons vanilla extract: use the real stuff if you can.
- For the glaze: 1 cup (120g) powdered sugar, 2 to 3 tablespoons non-dairy milk, ½ teaspoon vanilla extract.
Variations / Substitutions
- Sweetener: swap the granulated sugar for an equal amount of coconut sugar for a deeper, caramel note (the crumb will be slightly denser).
- Flour: this recipe was tested with a 1-to-1 blend so I do not recommend subbing almond or coconut flour on its own. A good all-purpose gluten-free mix is worth it here.
- Flavor: replace the vanilla with 1 teaspoon of almond extract or the zest of one lemon. If you go lemon, add a tablespoon of poppy seeds to the dry mix.
- Acid: if you do not have apple cider vinegar, white vinegar or lemon juice work the same way to sour the milk.
- Egg-free: I have not tested this one without eggs, but my Vegan Gluten-Free Vanilla Cupcakes use flax eggs and a similar base if you need a fully plant-based version.
No-Churn Dairy-Free Vanilla Ice Cream is next on our list if this cake is your kind of dessert.
How to Make Gluten-Free Dairy-Free Vanilla Cake
Step 1: Combine the Wet Ingredients
Preheat your oven to 350°F (175°C). Grease an 8-inch round pan or a square 8×8 baking dish and line the bottom with a round of parchment paper.
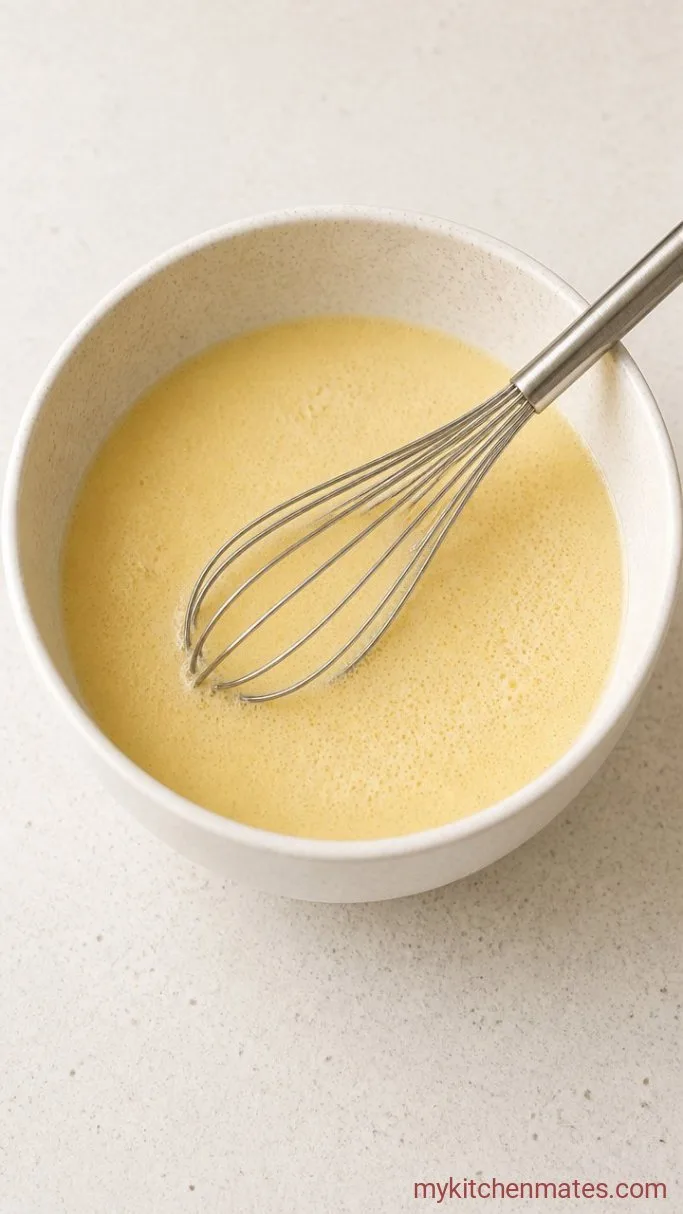
In a large mixing bowl, pour the 1 cup oat milk and add the 1 tablespoon apple cider vinegar. Let it sit for 5 minutes while you get everything else out. The milk will look slightly curdled, exactly what you want. Whisk in the ½ cup oil, 1 cup sugar, 2 eggs, and 2 teaspoons vanilla until the mixture is glossy and uniform.
The wet mix should look pale yellow and feel a little thicker than plain milk. You will not see any oil floating on top. Give it an extra whisk if the sugar sits at the bottom of the bowl.
Step 2: Whisk the Dry Ingredients
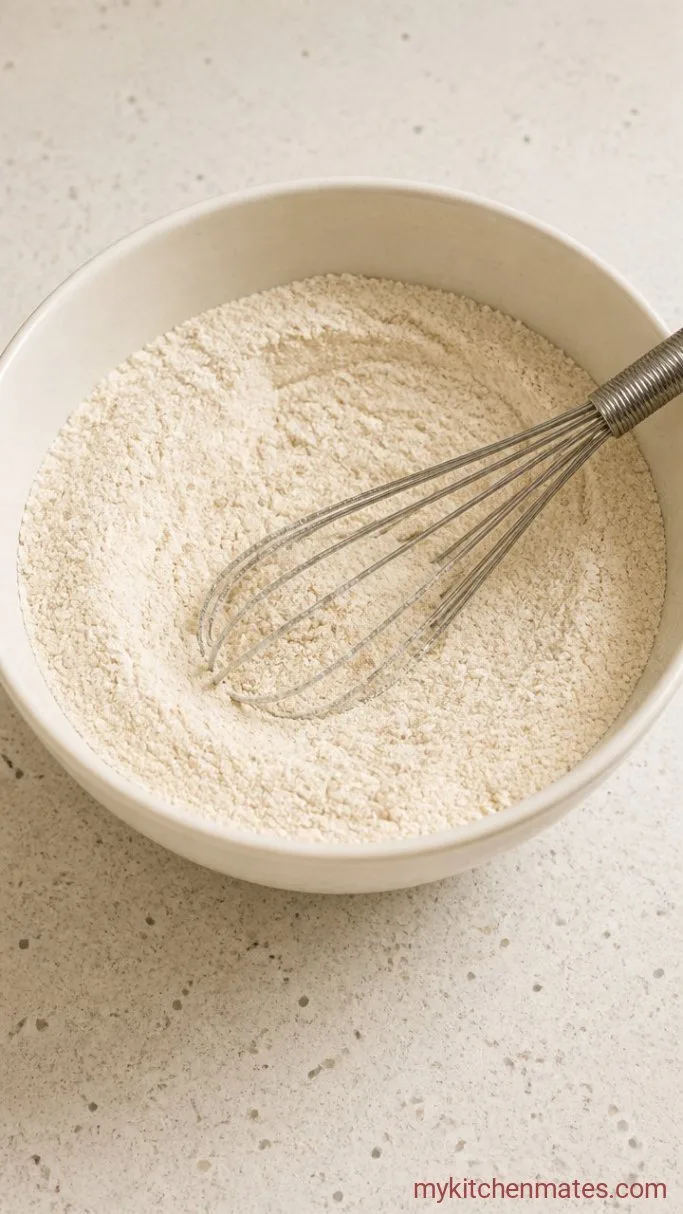
In a separate medium bowl, whisk together the 2 cups gluten-free flour, 1½ teaspoons baking powder, ½ teaspoon baking soda, and ½ teaspoon salt. Spend a full 30 seconds on this step so the leaveners are distributed evenly. Gluten-free flours tend to clump more than wheat flour, so a quick whisk here eliminates those dry pockets later.
The dry mix will be a uniform, pale beige with no visible streaks of baking powder or soda. It smells faintly of starch and salt.
Step 3: Fold the Batter Together
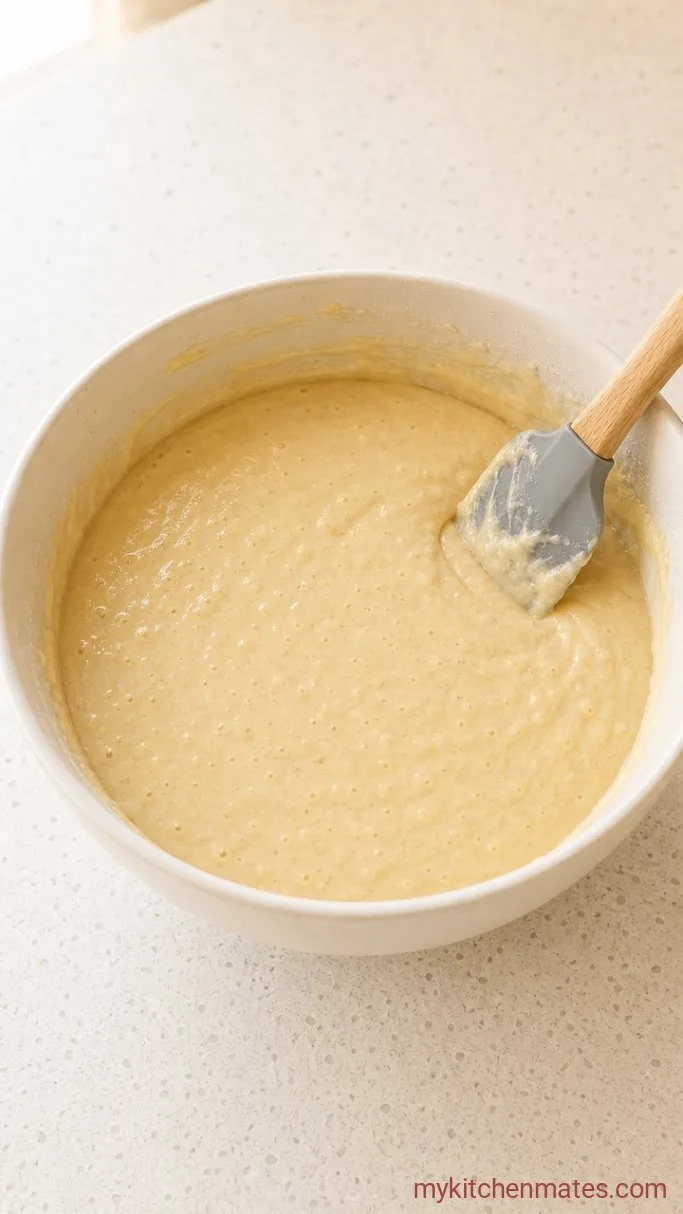
Pour the dry ingredients into the bowl of wet ingredients all at once. Using a silicone spatula or a large spoon, stir gently in broad strokes just until you no longer see dry flour. The batter will be thick but pourable, with a few small lumps. Do not beat it or keep mixing; overworking gluten-free batter can make the cake gummy.
Stop the moment the last streak of flour disappears. If you scrape the bottom of the bowl and find a dry patch, fold two more times gently and check again.
This is the point where the air you built in the wet mixture gets trapped in the batter, so a light hand now keeps the crumb tender. Expect a smooth, thick ribbon that slowly flows off the spatula.
Step 4: Bake the Cake
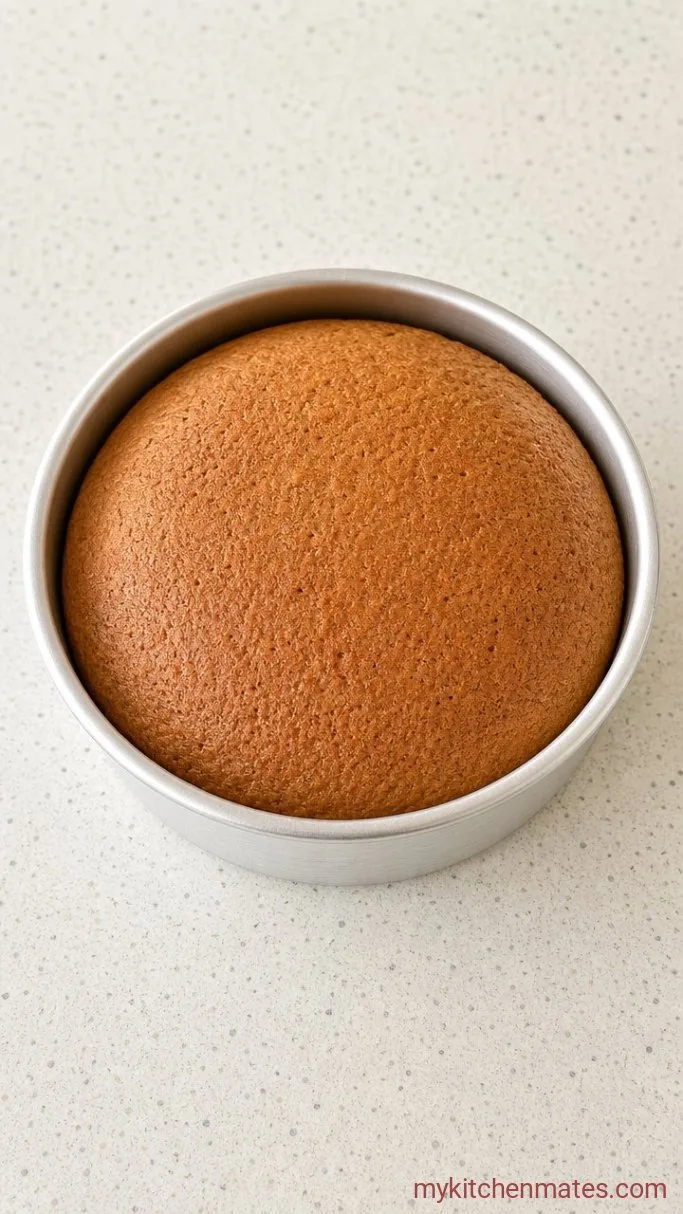
Scrape the batter into the prepared pan and smooth the top with the spatula. Tap the pan once against the counter to release any large air bubbles.
Slide it onto the middle rack of the preheated oven. Bake for 30 to 35 minutes, until the top is golden brown and a toothpick inserted in the center comes out with a few moist crumbs, not wet batter. The edges will pull away from the sides of the pan just slightly. Let the cake cool in the pan on a wire rack for 10 minutes, then run a knife around the edge, flip it out onto the rack, and peel off the parchment. Flip it right side up and cool completely, about 1 hour.
The top will be domed lightly and spring back when you press it. If the cake sinks in the middle, it needed a few more minutes in the oven, so I leave it in until the center feels firm.
Step 5: Glaze and Slice
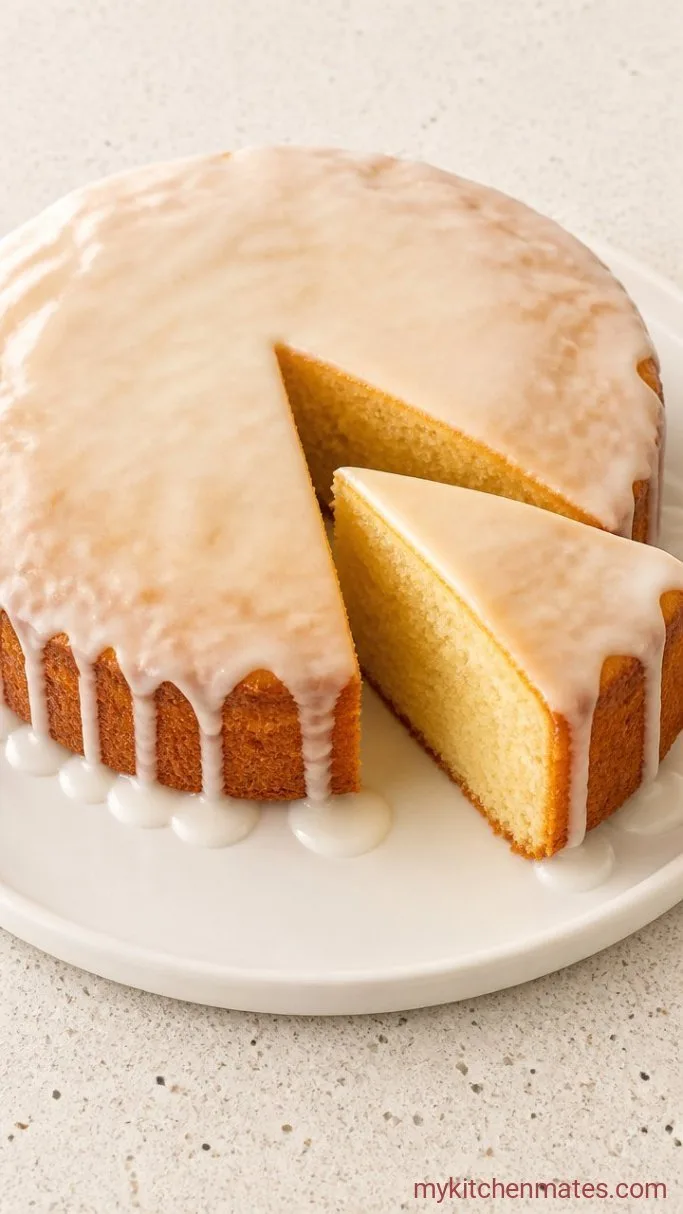
Once the cake is fully cool, whisk the 1 cup powdered sugar with 2 tablespoons of non-dairy milk and the ½ teaspoon vanilla in a small bowl. Add an extra tablespoon of milk if the glaze is too thick; you want it pourable but not watery. It should drip slowly from a spoon.
Set the cake on a serving plate. Pour the glaze right over the center, then use a spoon to nudge it toward the edges in a few soft swirls. The glaze will set in about 20 minutes at room temperature, or you can slice right away and let the glaze pool on each piece.
Cut into generous squares or wedges and serve with fresh berries if you have them. The cake stays soft and fragrant, and the vanilla glaze cracks just slightly under the fork.
How to Get a Tender, Fluffy Crumb
- Use a spoon-and-level method for the flour, or weigh it for the most accurate result. Too much flour makes the cake heavy, which happens fast with gluten-free blends.
- Do not skip the vinegar.: It reacts with the baking soda to lighten the crumb. You will not taste it in the finished cake.
- Line the pan.: Gluten-free cakes can stick, so a circle of parchment paper on the bottom prevents the top from tearing when you flip it out.
- Check the oven temperature.: An inexpensive oven thermometer helps because gluten-free batters can fall if the oven runs cool.
Bake times by pan type:
| Pan Size & Material | Bake Time |
|---|---|
| 8-inch round aluminum cake pan | 30 to 34 mins |
| 9-inch round aluminum cake pan | 25 to 28 mins |
| 8×8-inch glass dish | 34 to 38 mins |
| 8×8-inch metal baking pan | 30 to 34 mins |
| Two 6-inch round pans (layer cake) | 22 to 24 mins |
Storing Leftover Cake
- Room temperature: Keep the cake tightly wrapped or under a cake dome for up to 3 days. It stays moist on the counter without the glaze getting sticky.
- Refrigerator: Wrap slices well and refrigerate for up to a week. Bring to room temperature or warm gently in the microwave for 10 seconds before serving.
- Freezing: Wrap the unglazed cake layer in plastic, then foil, and freeze for up to 2 months. Thaw overnight in the fridge, then glazed and serve. I do not freeze it already glazed because the glaze can weep.
What to Serve With This Vanilla Cake
Fresh strawberries or raspberries cut the sweetness and look pretty against the white glaze. A scoop of dairy-free vanilla ice cream or a dollop of coconut whipped cream turns a slice into a proper dessert. For an extra layer, drizzle melted dairy-free chocolate or warm strawberry sauce right over the top.
Frequently Asked Questions
Can I use almond milk instead of oat milk?
Yes, any unsweetened non-dairy milk works the same way. Almond, soy, and rice milk all activate the vinegar and keep the crumb moist without changing the flavor.
Why did my cake sink in the middle?
Gluten-free cakes sink when they are underbaked or the oven temperature is too low. Use an oven thermometer and test with a toothpick at the earliest bake time. If the center still feels jiggly, give it 3 more minutes.
Can I make this cake into cupcakes?
Yes, fill 12 lined muffin cups about two-thirds full. Bake at 350°F (175°C) for 18 to 22 minutes, until the tops spring back. The glaze recipe will cover all 12 with a thin drizzle.
Can I double the recipe for a layer cake?
You can double the ingredients and bake two 8-inch rounds simultaneously. They take about the same bake time. Let the layers cool completely, then fill and frost with your favorite dairy-free buttercream.
Gluten-Free Dairy-Free Vanilla Cake Recipe
Ingredients
Method
- Preheat oven to 350°F (175°C). Grease an 8-inch round pan and line with parchment. Mix the oat milk and vinegar in a large bowl; let stand 5 minutes. Whisk in oil, sugar, eggs, and vanilla until glossy.
- In another bowl, whisk together the flour, baking powder, baking soda, and salt for 30 seconds.
- Pour the dry ingredients into the wet and fold gently with a spatula until no dry flour remains. Do not overmix.
- Scrape the batter into the prepared pan, smooth the top, and bake for 30 to 35 minutes until a toothpick comes out with moist crumbs. Cool in the pan 10 minutes, then invert onto a rack, remove parchment, and cool completely.
- Whisk the powder sugar, 2 tablespoons non-dairy milk, and vanilla for the glaze. Add up to 1 more tablespoon of milk for a pourable consistency. Pour over the cooled cake, nudge into a thin layer, and let set briefly. Slice and serve.
Notes
