
The Gluten Free Dairy Free Bread That Stays Soft for Days

This is the sandwich bread that actually bends without breaking, tears without crumbling, and tastes like real bread. It happens to be completely gluten free and dairy free, but you would never know it from the soft, squishy crumb.

I learned early on that psyllium husk is the secret to a loaf that holds its shape, and a few other small tweaks keep it moist for days. Once you nail this one, you will not need another loaf on the counter.
What Makes This Bread Work
It all comes down to structure. Gluten free flour on its own turns into a crumbly mess, so psyllium husk acts like the glue that traps moisture and gives the bread a proper chewy bite. The crumb is tight but still airy enough to toast into golden slices.
Stale gluten free bread is a thing of the past with this recipe. A good amount of olive oil and a touch of apple cider vinegar keep the loaf soft straight through day three, and it never gets that dry, sandy mouthfeel you get from store-bought versions.
The flavor is neutral with a whisper of tang, which means it works for everything from a turkey sandwich to a thick swipe of jam. It browns beautifully in the oven and fills your kitchen with a smell that is impossible to describe without just baking it yourself.
Ingredients
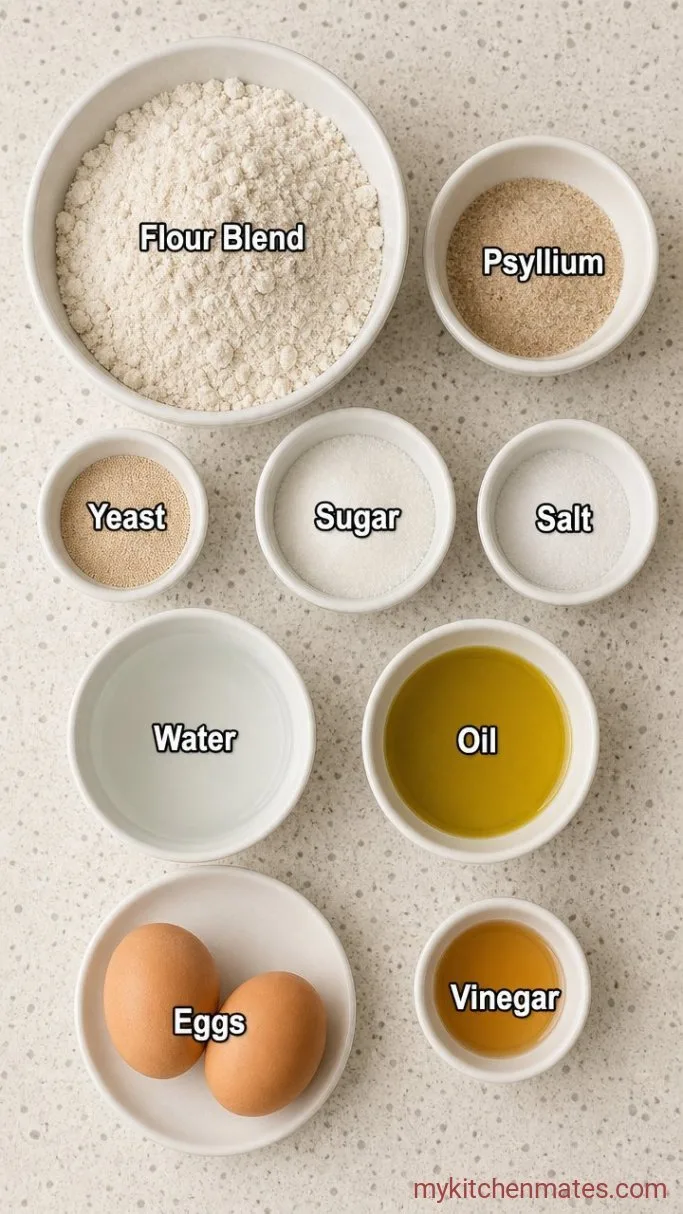
- 2 cups (280g) gluten free all-purpose flour blend with xanthan gum: I use Bob’s Red Mill 1-to-1; if your blend does not contain xanthan gum, add 1 tsp separately.
- ¼ cup (30g) psyllium husk powder: not whole husks; the powder dissolves into a gel that holds the entire loaf together.
- 2 ¼ tsp instant yeast: one standard packet; instant yeast goes straight into the dry mix, no blooming needed.
- 2 tbsp granulated sugar: feeds the yeast and rounds out the flavor without tasting sweet.
- 1 tsp fine sea salt: brings the other flavors forward.
- 1 ½ cups (355ml) warm water: roughly 110°F (43°C), warm to the wrist but not hot.
- ¼ cup (60ml) olive oil: keeps the crumb tender; any neutral oil works if needed.
- 2 large eggs: cold or room temperature both work here; they add structure and rise.
- 1 tbsp apple cider vinegar: brightens the loaf and reacts with the baking powder (if present) for a better rise; do not skip it.
Variations / Substitutions
- Swap the eggs: use 2 flax eggs (2 tbsp ground flaxseed whisked with 5 tbsp water, rested 5 minutes) for a vegan loaf. The texture will be slightly denser and the crust thinner, but it still slices cleanly.
- Change the oil: melted coconut oil or avocado oil both work. Avoid extra-virgin olive oil if you want a completely neutral flavor.
- Add a seed crust: sprinkle raw sunflower seeds or everything bagel seasoning over the top before baking; press them gently so they stick.
- Go herby: stir 1 tbsp dried rosemary or oregano into the dry ingredients, and fold 2 tbsp chopped sun-dried tomatoes (oil-packed, drained) into the batter before it rises.
Creamy Dairy-Free Tomato Soup makes a comforting soup to pair with this bread.
How to Make Gluten Free Dairy Free Bread
Step 1: Mix the Dry Ingredients
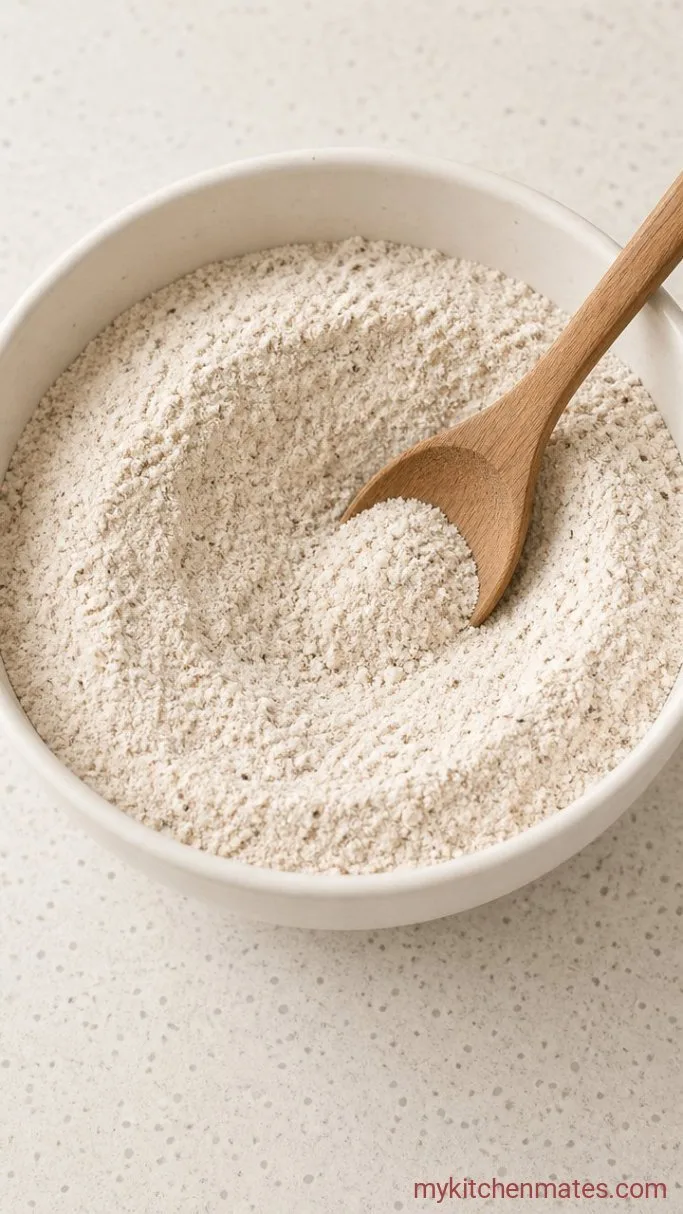
In a large mixing bowl, whisk together the 2 cups gluten free flour, ¼ cup psyllium husk powder, 2 ¼ tsp instant yeast, 2 tbsp sugar, and 1 tsp salt. Take a moment to sift or whisk really well so the psyllium does not clump later. You want a uniform, slightly speckled powder with no streaks.
Step 2: Whisk the Wet Ingredients

In a separate bowl or a large measuring cup, whisk the 1 ½ cups warm water, ¼ cup olive oil, 2 large eggs, and 1 tbsp apple cider vinegar. The mixture will look pale yellow and a little frothy at the edges. Make sure the water is warm to the touch, about 110°F, but not steaming, or it will kill the yeast.
Step 3: Stir the Batter
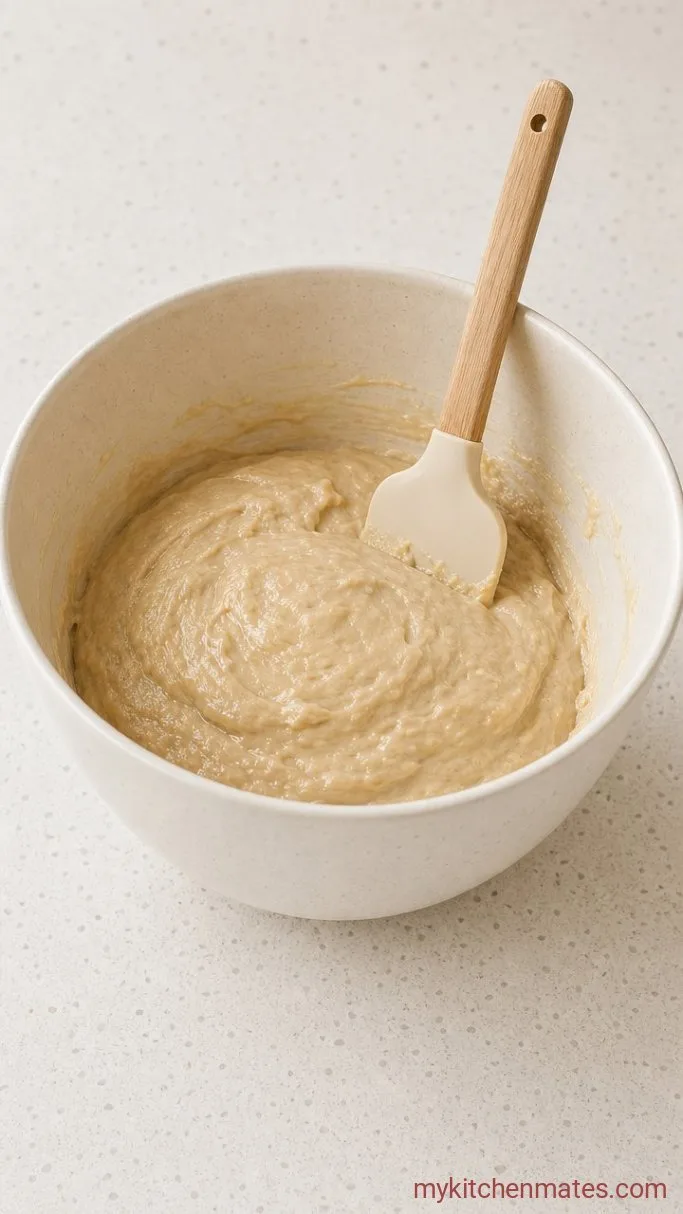
Pour the wet ingredients over the dry and stir with a sturdy wooden spoon until no dry pockets remain. The batter will be thick and stretchy almost immediately, that is the psyllium doing its job. Scrape down the sides and keep stirring for about 1 minute to build a little elasticity.
Step 4: Proof the Loaf
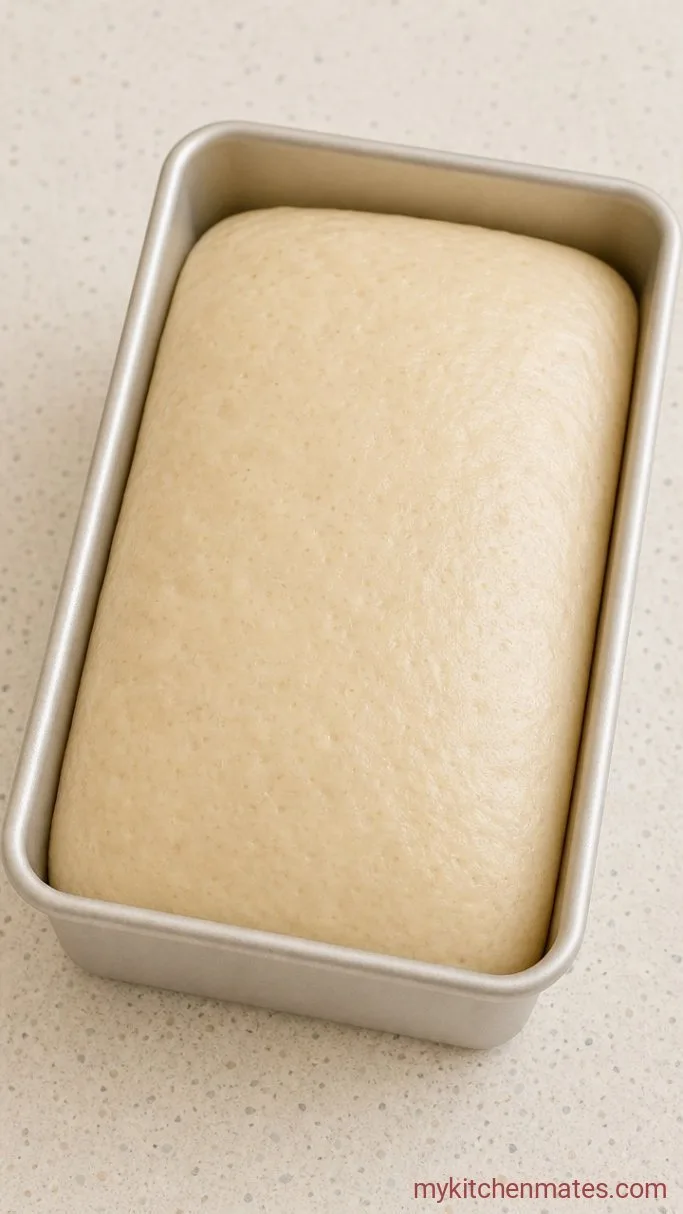
Scrape the thick batter into a greased 8.5 x 4.5 inch loaf pan. Wet your fingers or a spatula and smooth the top into an even dome. Cover loosely with a clean kitchen towel and set the pan in a warm, draft-free spot. Let it rise until the batter puffs up noticeably and just crests the rim of the pan, about 45 to 60 minutes.
About 20 minutes before the dough is done rising, preheat your oven to 375°F (190°C) so it is hot and ready. The loaf should look noticeably puffed but not ballooned; if it overproofs, it will collapse in the oven.
Step 5: Bake and Slice
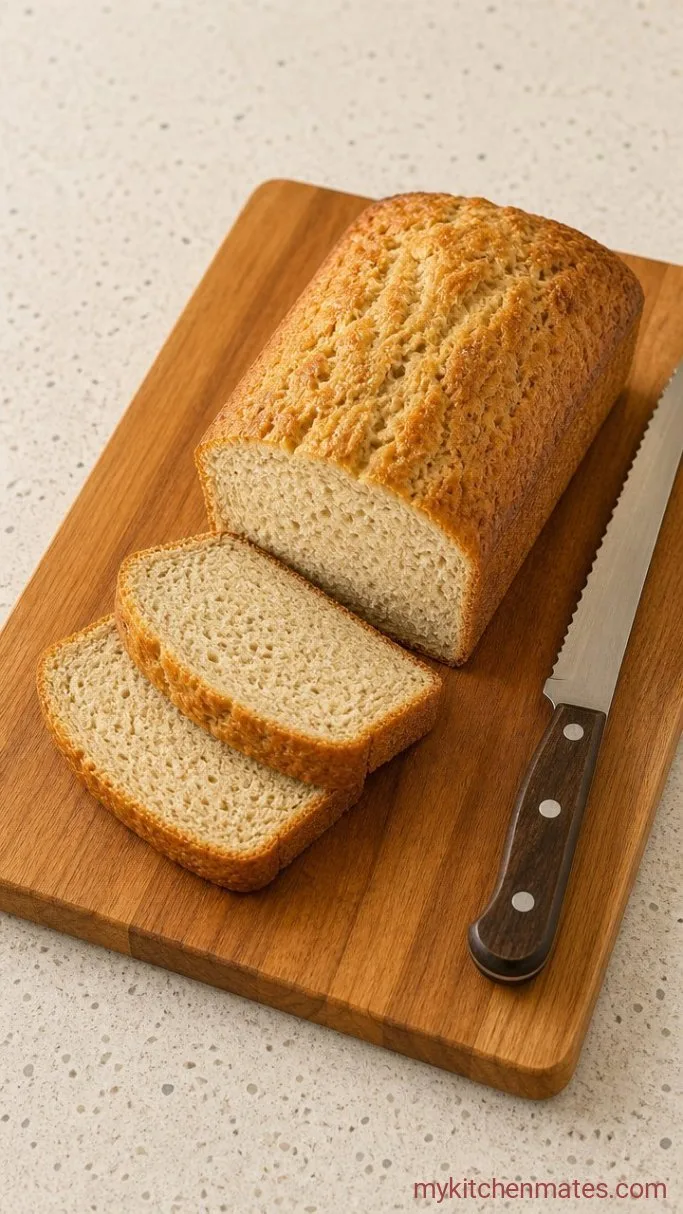
Remove the towel and slide the pan onto the center rack. Bake for 55 to 60 minutes, until the top is deep golden brown and a thermometer inserted into the center reads 200°F to 205°F (93°C to 96°C). The kitchen will smell incredible and the crust will be firm to the tap.
Let the bread cool in the pan on a wire rack for 10 minutes, then turn it out onto the rack to cool completely. I know it is hard, but cooling fully is what keeps the crumb from turning gummy when you cut. Once cooled, slice it thick with a serrated knife and marvel at that soft, hole-filled crumb.
Tips for a Loaf That Holds Together
- Weigh your flour if you can. A cup of gluten free flour can vary wildly by brand, and an extra 20g of flour will make the loaf dry.
- Cool the bread completely before slicing, or the crumb will compress and feel wet. I sometimes let it sit for 2 hours.
- Store the loaf in an airtight container or a zip-top bag at room temperature, never in the fridge. Cold dries it out faster.
- If the bread starts to feel stiff on day three, toast it. The heat brings back that just-baked bounce.
- Do not let the loaf overproof. If it rises well above the pan rim and deflates when you jostle it, it will sink in the oven. Better a little underproofed than over.
Bake times by loaf pan material:
| Pan material | Approx. bake time |
|---|---|
| Light aluminum | 55 to 60 minutes |
| Dark metal | 50 to 55 minutes |
| Glass | 60 to 65 minutes |
Keeping Gluten Free Bread Fresh
Refrigerate: do not. The fridge will dry it out within a day. Counter storage in an airtight bag is best for up to 3 days.
Freeze: slice the entire loaf first, then freeze slices in a sealed bag for up to 3 months. Pull out what you need and pop straight into the toaster.
Reheat: a toaster or toaster oven gives the best result. If you need a whole loaf warm, wrap it in foil and heat at 300°F (150°C) for 10 to 15 minutes.
Frequently Asked Questions
Can I use a different gluten free flour blend?
Yes, but use one that already contains xanthan gum and is designed for cup-for-cup baking. A bean-based blend will give a gummier crumb, while a rice-based blend will be lighter.
Why did my bread sink in the middle?
Almost always, it overproofed or the oven temperature was too low. Next time, stop the rise as soon as the dough crests the pan rim, and double-check your oven with a thermometer.
Can I make this without psyllium husk?
No. Psyllium is what gives the loaf its structure and soft texture. Without it, you will get a gritty, crumbly result, no matter how carefully you bake.
Is it possible to use active dry yeast instead of instant?
Yes. Proof 2 ¼ tsp active dry yeast in the warm water with the 2 tbsp sugar for 5 to 10 minutes until foamy, then whisk in the remaining wet ingredients and proceed.
Can I double this recipe?
It is better to make two separate batches than one large loaf. A doubled loaf in a larger pan bakes unevenly and often collapses, so stick to one at a time.
Gluten Free Dairy Free Bread Recipe
Ingredients
Method
- In a large bowl, whisk together the flour, psyllium husk powder, instant yeast, sugar, and salt.
- In a separate bowl or measuring cup, whisk the warm water, olive oil, eggs, and apple cider vinegar until frothy.
- Pour the wet mixture into the dry and stir with a wooden spoon until a thick, uniform batter forms, about 1 minute.
- Scrape the batter into a greased 8.5 x 4.5 inch loaf pan, smooth the top, cover with a towel, and let rise in a warm place until the batter just crests the rim, 45 to 60 minutes. Preheat the oven to 375°F (190°C) toward the end of the rise.
- Bake for 55 to 60 minutes until deep golden and a thermometer reads 200°F to 205°F (93°C to 96°C). Cool in the pan 10 minutes, turn out onto a rack, and cool completely before slicing with a serrated knife.
Notes
