
Soft Gluten Free Burger Buns That Don’t Crumble

A good gluten free burger bun is hard to find, but this one is soft, tender, and actually holds up to a juicy patty. No more sad, crumbly bread that falls apart halfway through.
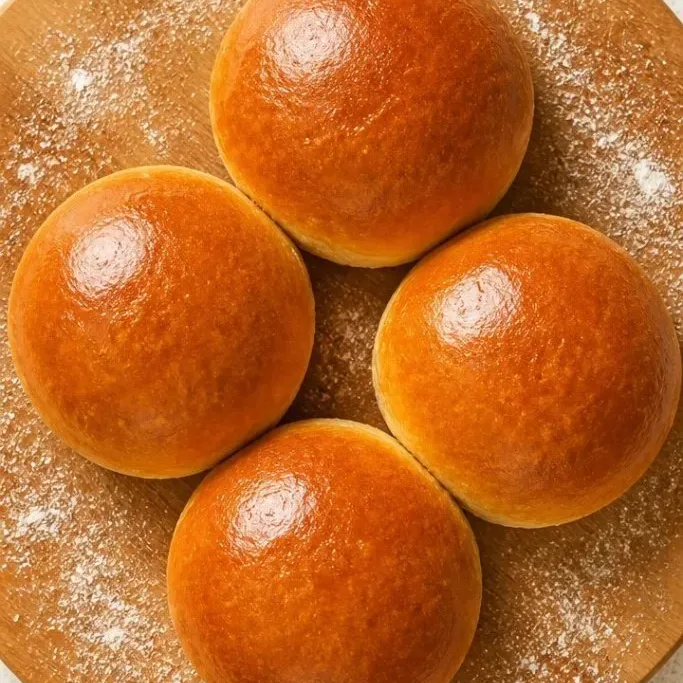
The dough mixes up in one bowl with a handful of familiar pantry ingredients, and the buns bake up golden with a light, airy crumb. Whether it’s burger night or a backyard barbecue, these are the buns you’ll reach for.
Why These Buns Stay Soft and Sturdy
Many gluten free breads taste fine right out of the oven but turn dry or crumbly after a few minutes. These buns use psyllium husk to lock in moisture and lend a chewy, bread-like bite that lasts.
The dough is more like a thick batter, so you don’t need any special kneading skills. A quick rest lets the flour hydrate fully, and a single rise gives them loft without turning spongy.
Ingredients
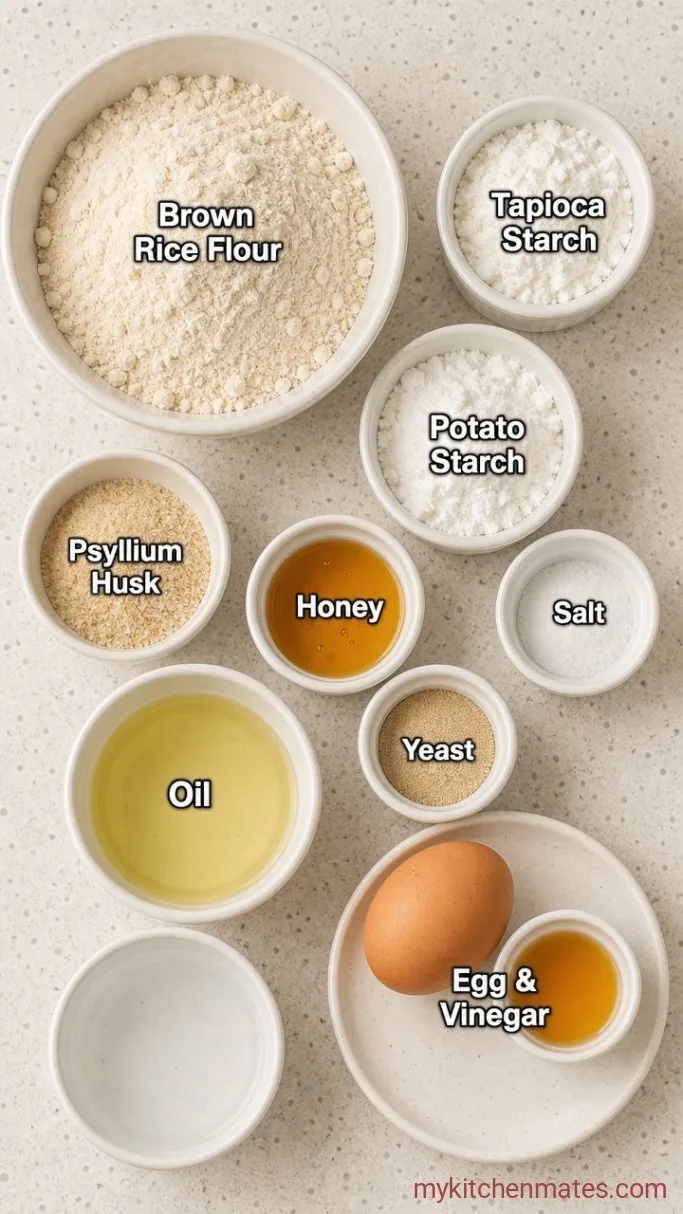
- 1 cup (140 g) brown rice flour: adds structure and a mild, nutty flavor.
- ½ cup (60 g) tapioca starch: keeps the crumb tender.
- ½ cup (80 g) potato starch: adds softness; don’t sub with extra tapioca.
- ¼ cup (30 g) psyllium husk powder: this is the binder that replaces gluten.
- 1 tablespoon honey: feeds the yeast and adds a hint of sweetness.
- 1 (7 g) packet instant yeast: use instant so you can skip the proofing step.
- 1 teaspoon fine sea salt:
- 1 cup (240 ml) warm water, about 110°F (43°C): no hotter or you’ll kill the yeast.
- 2 large eggs, room temperature: 1 goes into the dough; beat the other to brush on top.
- 3 tablespoons avocado oil or light olive oil: any neutral oil works.
- 1 teaspoon apple cider vinegar: helps with rise.
Variations / Substitutions
- Flour blend: an all-purpose gluten free blend that contains xanthan gum works, but reduce the psyllium to 2 tablespoons.
- Dairy-free: the recipe is already dairy-free as written.
- No honey: use an equal amount of granulated sugar or maple syrup.
- Psyllium husk: you can swap for 1 tablespoon xanthan gum, but the buns will be less chewy and may spread more.
Skyline Chili is a cozy soup to serve with these buns.
How To Make Gluten Free Burger Buns
Step 1: Mix the Dough
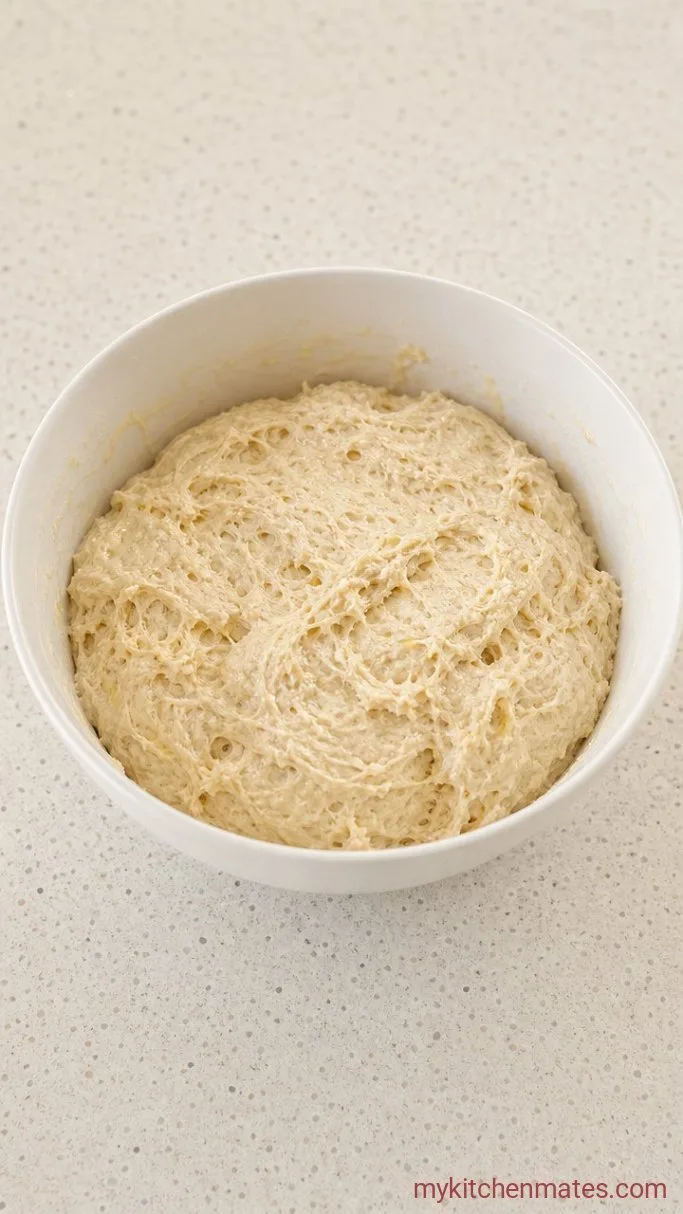
In a large bowl, whisk together the 1 cup brown rice flour, ½ cup tapioca starch, ½ cup potato starch, ¼ cup psyllium husk, the packet of yeast, and 1 teaspoon salt. In a separate measuring cup or small bowl, whisk the 1 cup warm water, 1 tablespoon honey, 1 of the eggs (reserving the other for egg wash), 3 tablespoons oil, and 1 teaspoon apple cider vinegar. Pour the wet ingredients into the dry and stir with a sturdy wooden spoon or spatula for about 2 minutes, until a smooth, thick dough forms.
The dough will look like a sticky, thick paste and pull away from the sides of the bowl. Don’t be tempted to add more flour; it thickens as it rests.
Step 2: Rest the Dough
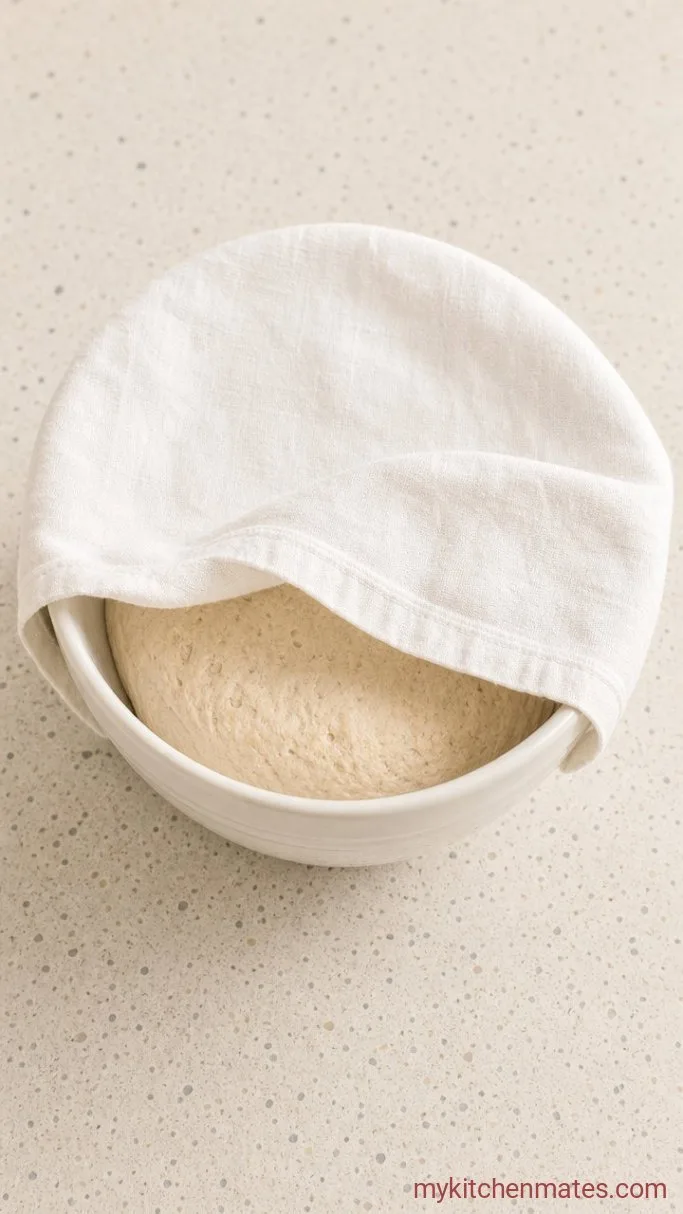
Cover the bowl with a clean kitchen towel and let the dough rest at room temperature for 10 minutes. This gives the flours time to absorb the liquid so the buns bake up light instead of gritty.
After 10 minutes, the dough will feel slightly firmer but still tacky. If it’s very sticky, wet your hands lightly before shaping in the next step.
Step 3: Shape the Buns
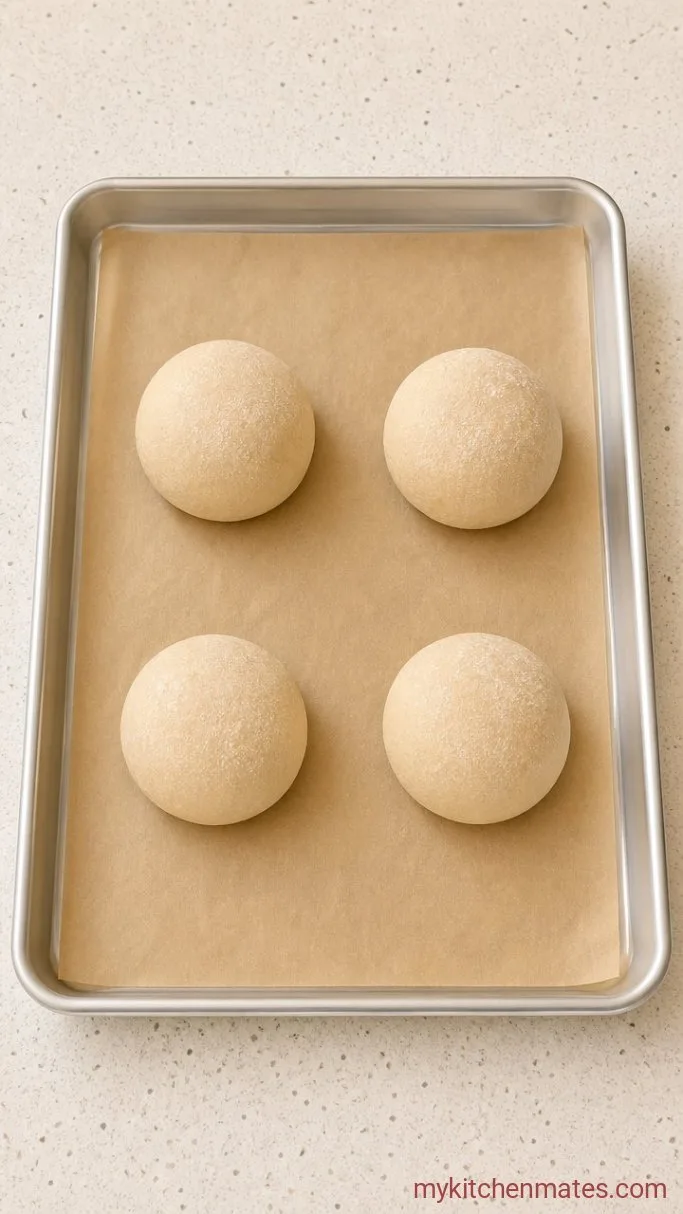
Line a baking sheet with parchment paper. Turn the dough out onto a lightly oiled surface (or leave it in the bowl for less mess) and divide it into 6 equal pieces. Use a large spoon to scoop the dough, then use damp hands to gently round each piece into a ball. Place the balls on the prepared sheet, spaced 2 inches apart, and flatten each slightly into a round about 3½ inches wide and 1 inch thick.
The dough will feel soft and pliable. If it sticks to your hands, keep them damp, not floured, so you don’t incorporate gritty dry flour.
Step 4: Proof the Buns
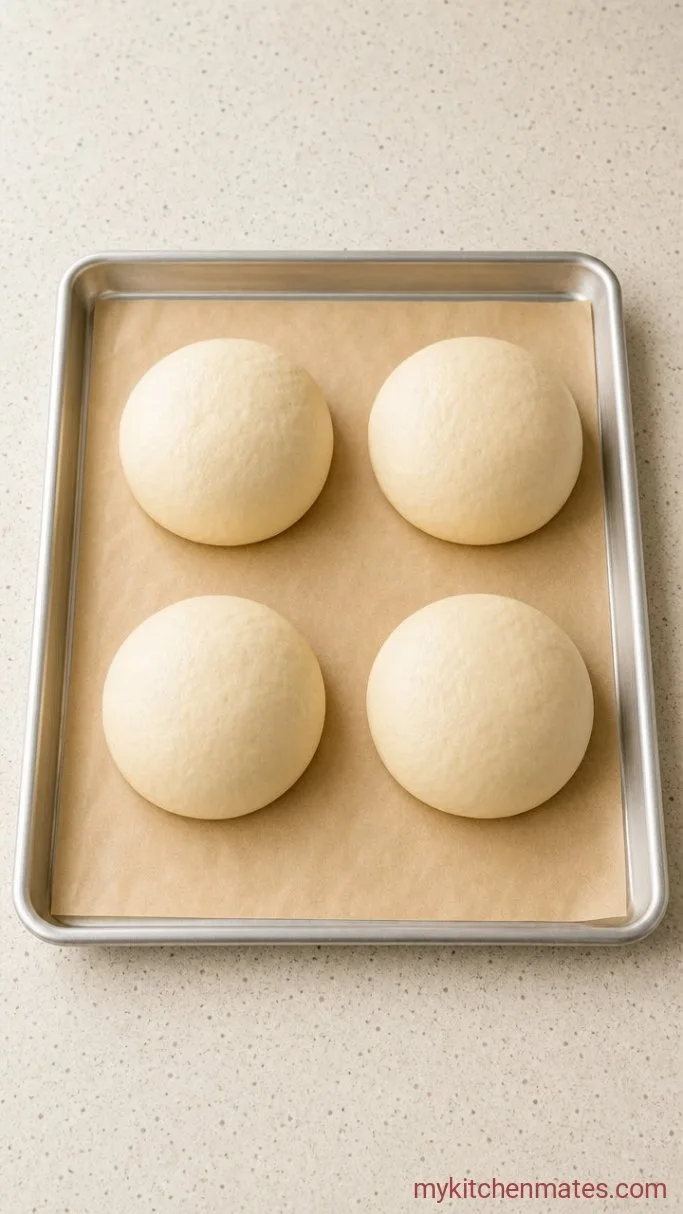
Cover the shaped buns loosely with greased plastic wrap or a damp towel and let them rise in a warm, draft-free spot until noticeably puffy, about 30 to 45 minutes. They won’t double in size like wheat dough, but they should look swollen and feel airy when pressed gently.
While they rise, preheat your oven to 375°F (190°C) so it’s ready to go. A warm kitchen helps the rise; if your kitchen is cold, set the pan on top of the preheating oven for gentle warmth.
Step 5: Bake the Buns

Uncover the risen buns. Brush the tops generously with the remaining beaten egg (you can add a teaspoon of water if you want a shinier crust). Bake on the middle rack for 18 to 22 minutes, until the buns are deep golden brown and sound hollow when tapped on the bottom.
Rotate the pan halfway through if your oven bakes unevenly. The buns will feel firm to the touch, with a slight give when squeezed gently.
Step 6: Cool and Serve the Buns
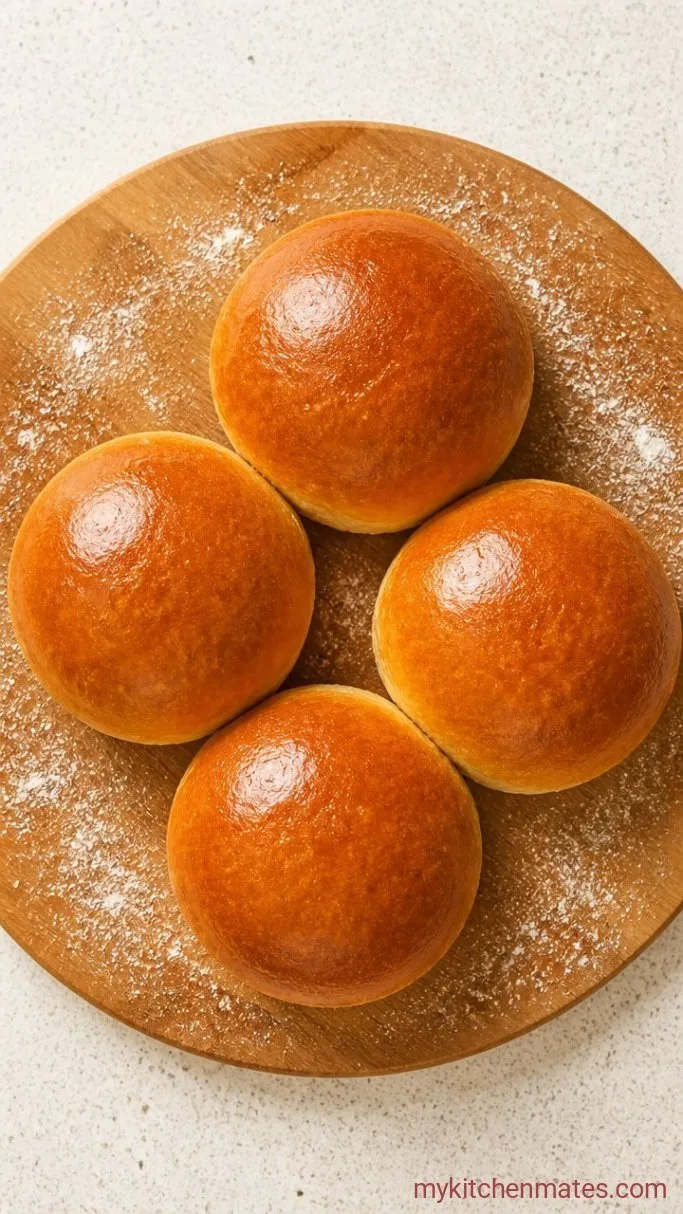
Transfer the buns to a wire rack and let them cool for at least 10 minutes before slicing. This short rest lets the crumb set so the buns don’t tear when you cut them open.
Once they’re just warm, split them with a serrated knife, pile on your favorite burger with all the fixings, and serve right away. That first bite with a juicy patty and soft, springy bun is why you made them from scratch.
Tips for the Best Gluten Free Burger Buns
- Weigh your flours for the most accurate results; gluten free baking is less forgiving than wheat flour recipes.
- For even buns, use a kitchen scale to divide the dough into 6 equal portions.
- If you want perfectly round buns, set each dough ball inside a greased 4-inch round ring mold on the baking sheet (like a canning ring) so they rise straight up instead of spreading. Remove the rings before baking.
- These buns freeze beautifully; cool completely, then wrap and freeze for up to 2 months.
Scaling the recipe up or down:
| Buns | Brown Rice Flour | Tapioca Starch | Potato Starch | Psyllium Husk |
|---|---|---|---|---|
| 4 | ⅔ cup (93 g) | ⅓ cup (40 g) | ⅓ cup (53 g) | 2½ Tbsp (20 g) |
| 8 | 1⅓ cups (187 g) | ⅔ cup (80 g) | ⅔ cup (107 g) | 5 Tbsp (40 g) |
Storing and Freezing Leftover Buns
- Refrigerate: Keep baked buns in an airtight container at room temperature for up to 2 days, or refrigerate for up to 5 days. Bring to room temperature or toast before serving.
- Reheating: A quick toast or a few minutes in a 350°F oven revives the texture.
What to Serve with These Buns
A classic smash burger with melted cheddar and pickles is an obvious match, but the buns also hold up to a thick black bean patty. Their slight chew and neutral flavor mean they never compete with the filling.
Frequently Asked Questions
Why are my buns dense and heavy?
Dense buns usually mean the dough was under-proofed or you added too much flour. Let the buns rise until they look puffy and feel airy to a light touch, and if you’re not weighing ingredients, spoon the flour gently into the cup.
Can I make these without eggs?
You can try a flax egg (1 tablespoon ground flax plus 3 tablespoons water) for the dough, but the buns will be less sturdy and more crumbly. The egg wash can be replaced with a brush of melted butter or a little milk.
Can I prepare the dough the night before?
Yes, shape the buns, cover, and refrigerate for up to 12 hours. The next day, let them sit at room temperature while the oven preheats, then proof 45 to 60 minutes until puffy before baking.
Why did my buns spread out instead of rising up?
The dough was too wet or didn’t have enough binder. Double check your flour measurements by weight if possible, and make sure you used the full ¼ cup of psyllium husk. A cold kitchen can also slow the rise and let them spread more.
Gluten Free Burger Buns Recipe
Ingredients
Method
- In a large bowl, whisk together the brown rice flour, tapioca starch, potato starch, psyllium husk, yeast, and salt. In a separate cup, whisk the warm water, honey, 1 egg, oil, and vinegar. Pour into the dry ingredients and stir into a thick, smooth dough.
- Cover and rest the dough for 10 minutes.
- Line a baking sheet with parchment. Divide the dough into 6 pieces and use damp hands to shape each into a 3½-inch round on the sheet.
- Cover and let rise in a warm spot until puffy, 30 to 45 minutes. Preheat the oven to 375°F (190°C).
- Brush the buns with the remaining beaten egg. Bake for 18 to 22 minutes, until deep golden and hollow-sounding when tapped.
- Cool on a rack for at least 10 minutes, then slice and serve.
Notes
