
Creamy Gluten Free Banana Pudding (Made from Scratch)

This gluten free banana pudding starts with a real stovetop custard instead of a boxed mix, layered with ripe bananas and crunchy gluten free vanilla wafers. It is the dessert I reach for when I want something that tastes like a lazy Sunday but comes together without a lot of fuss.
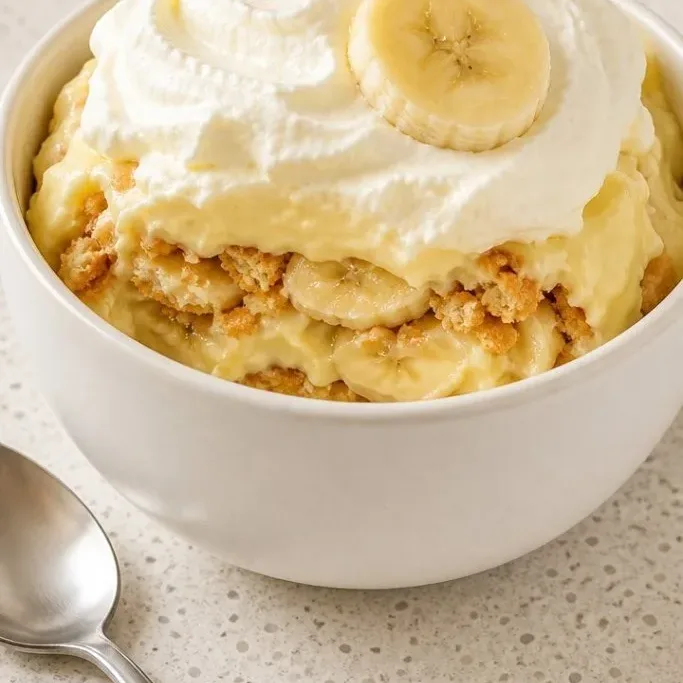
The custard is silky and vanilla-forward, the bananas bring natural sweetness, and after a few hours in the fridge the wafers soften into tender, cake-like layers that taste exactly the way banana pudding should.
What Makes This Pudding So Good
The homemade custard is the real reason. Cornstarch and egg yolks give it enough body to hold the layers together, but it still feels light on the spoon. No gums, no gritty starches, just a clean vanilla taste.
Warm custard poured over cold bananas and crisp wafers starts softening everything right away. By the time you scoop the first serving the whole dish tastes like one cohesive dessert, not three separate ingredients stacked in a dish.
Ingredients
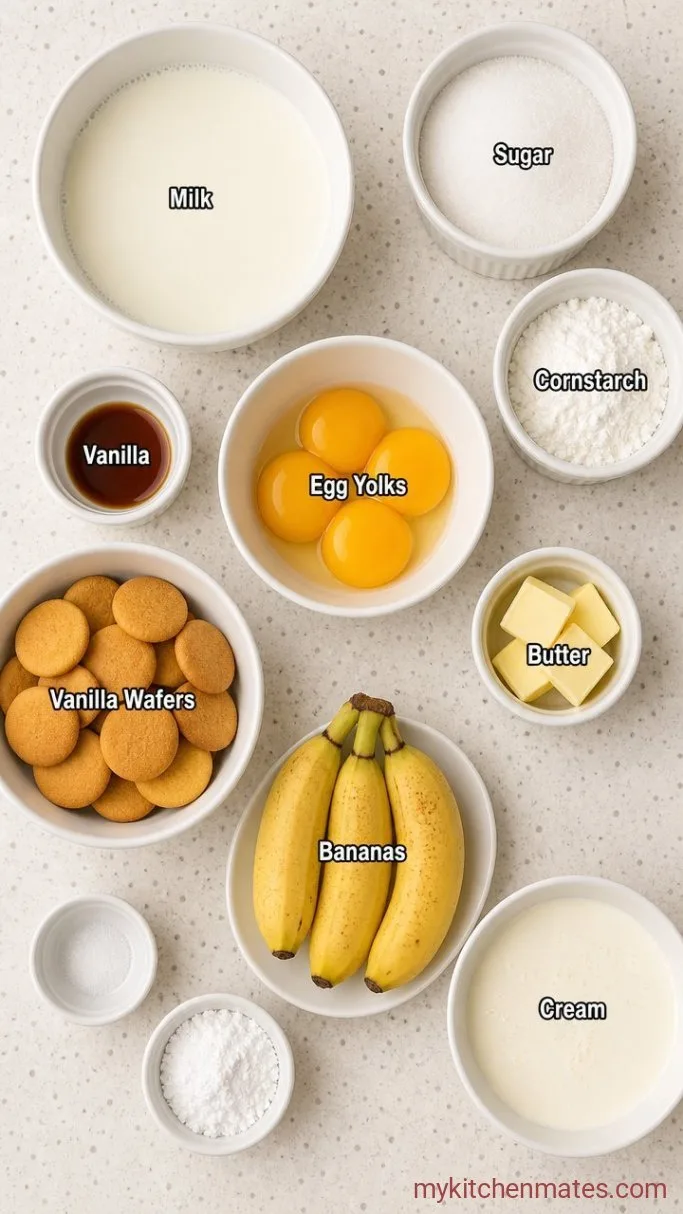
- 4 cups whole milk: cold from the fridge, any percentage works but whole milk gives the richest pudding
- 3/4 cup granulated sugar: plain white sugar, do not reduce or the custard will taste flat
- 1/4 cup cornstarch: binds the pudding without flour, so the whole dessert stays gluten free
- 4 large egg yolks: save the whites for another use
- 1/8 tsp fine salt: just enough to round out the sweetness
- 2 tsp vanilla extract: the real stuff tastes much cleaner here
- 2 tbsp unsalted butter: cold, cut into a couple of small pieces
- 5 oz (about 1 box) gluten free vanilla wafers: look for a brand like Kinnikinnick or Schar, or use homemade
- 4 large ripe but firm bananas: yellow with a few tiny brown spots, not mushy
- 1 cup heavy whipping cream: cold
- 2 tbsp powdered sugar: for the whipped cream
Variations / Substitutions
- Dairy-free: swap the milk for full-fat oat milk, the butter for a neutral vegan stick, and the cream for whipped coconut cream (the thick part from a chilled can). The custard will be slightly looser but still holds up.
- No gluten free wafers around: crisp gluten free graham crackers or shortbread cookies work well, just break them into similar-sized pieces.
- Add a little chocolate: drizzle a spoonful of chocolate ganache or chopped dark chocolate between the layers for a banana split vibe.
- Less sweet topping: skip the powdered sugar and whip the cream plain, it balances the sweet custard nicely.
Buttery Gluten-Free Blueberry Cobbler is next on our list if this banana pudding is your kind of dessert.
How to Make Gluten Free Banana Pudding
Step 1: Cook the Custard
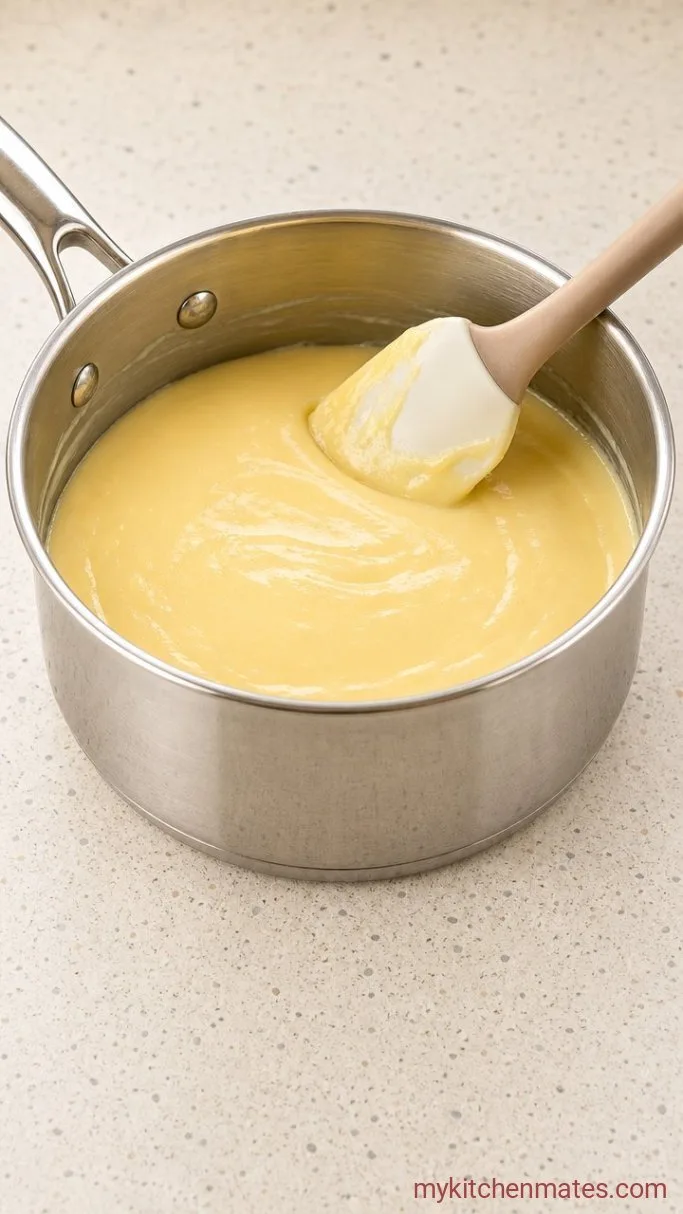
In a medium saucepan off the heat, whisk together 3/4 cup sugar, 1/4 cup cornstarch, and 1/8 tsp salt. Pour in about 1/2 cup of the 4 cups milk and whisk until smooth and no lumps remain, then whisk in the 4 egg yolks and the rest of the milk until everything is combined.
Set the pan over medium heat and cook, stirring constantly with a flexible spatula so the bottom does not scorch. After about 8 to 10 minutes the mixture will go from thin and frothy to noticeably thick, leaving a clear trail when you drag the spatula through. Once you see the first lazy bubble break the surface, cook and stir for 1 more minute, then pull the pan off the heat. Off the heat, stir in the 2 tsp vanilla and the 2 tbsp cold butter until the butter melts and the custard looks glossy. Pour the custard through a fine-mesh strainer into a clean bowl to catch any cooked egg bits, then press a piece of plastic wrap directly onto the surface so a skin does not form. Let it cool while you whip the cream.
Step 2: Whip the Cream
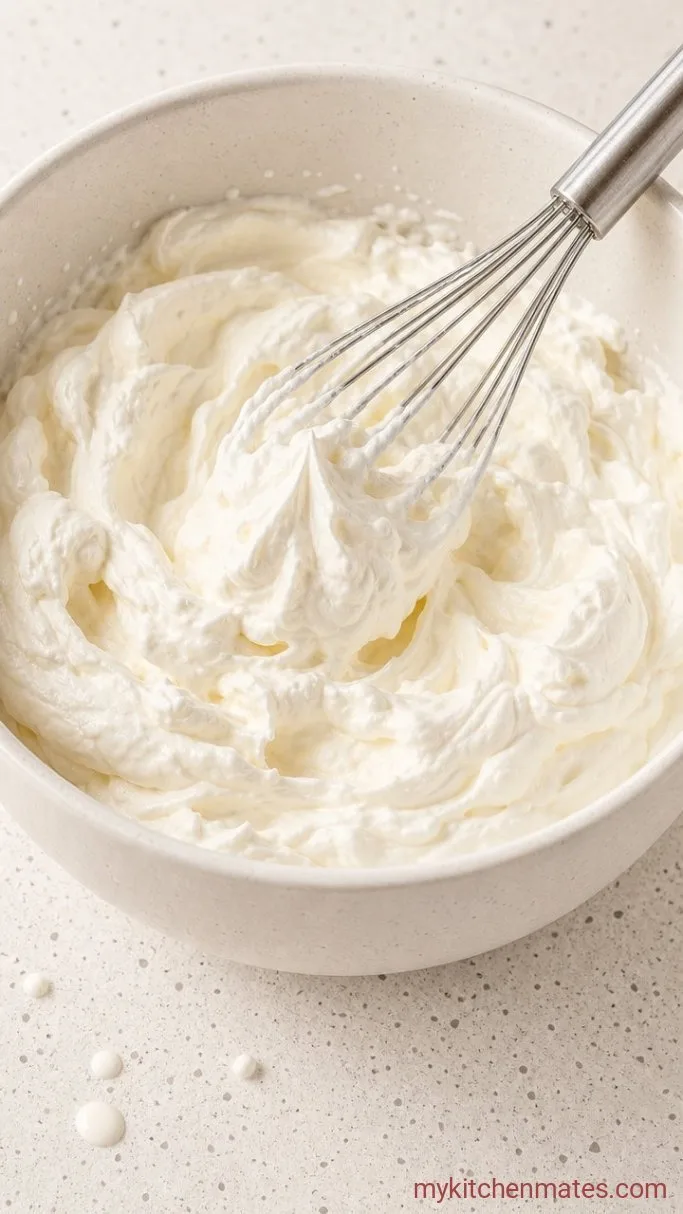
In a cold mixing bowl, combine the 1 cup heavy cream and 2 tbsp powdered sugar. Whip with a hand mixer (or a whisk and some patience) on medium speed until soft peaks form, about 2 to 3 minutes. You are looking for a billowy cream that holds a floppy peak but still looks smooth, not grainy. Keep the whipped cream in the fridge until you assemble the layers.
Step 3: Assemble the Layers

Slice the 4 bananas into rounds about 1/4 inch thick. Spread a thin layer of the slightly warm custard across the bottom of an 8×8 inch dish or a 2-quart trifle bowl. Add a single layer of the gluten free wafers over the custard, followed by a layer of banana slices. Spoon half of the remaining custard over the bananas and spread it gently to the edges with an offset spatula. Repeat with another layer of wafers, bananas, and the rest of the custard. Cover the top with the whipped cream, spreading it all the way to the sides to seal in the pudding. The wafers will already feel a little softer from the warm custard, and that is a good sign.
Step 4: Scoop and Serve
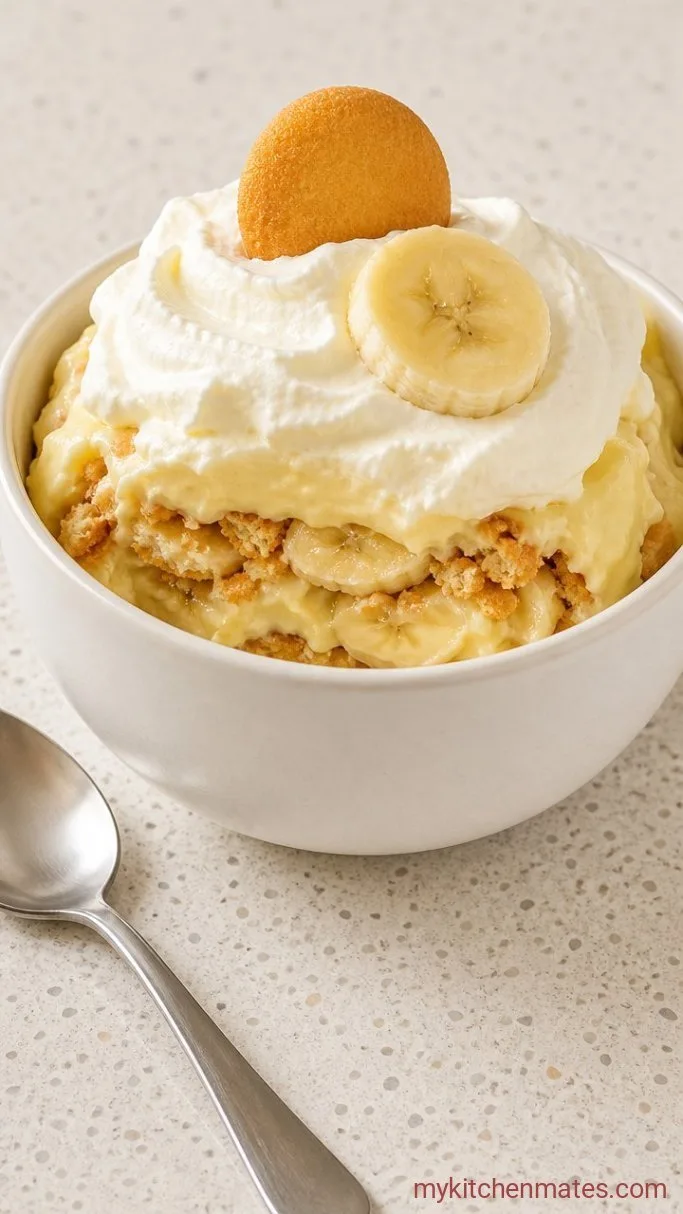
Chill the pudding for at least 4 hours, which gives the wafers time to absorb moisture and turn cakey. When you are ready to serve, run a large spoon through all the layers in one scoop so each bowlful gets custard, cream, softened wafers, and banana. The top should be fluffy and white, and the custard underneath will hold creamy ridges when you pull the spoon away.
A Few Notes Before You Start
- Banana ripeness matters a lot.: You want fully yellow bananas with just a speckling of brown spots. Green bananas taste starchy and won’t sweeten the pudding the same way. Overripe bananas turn mushy and watery.
- Avoid a lumpy custard by whisking the dry ingredients with a little milk first, then adding the yolks and remaining milk off the heat. Stirring constantly over medium heat and straining the cooked custard catches any small curds before they ruin the texture.
- Chill your mixing bowl and beaters for the whipped cream.: Even 10 minutes in the freezer helps the cream whip faster and hold a softer peak.
- Some gluten free vanilla wafers break down more than others after a long soak.: The Kinnikinnick brand and Schar version both hold their shape nicely for a couple of days.
Storing Leftovers
Keep the pudding covered in the fridge for up to 3 days. The wafers will continue to soften and the bananas may release some liquid, so the texture is best on the first day. Serve it cold straight from the fridge, no reheating needed.
What to Serve with Banana Pudding
A big bowl of this pudding feels right after a plate of saucy barbecue or grilled chicken, where the cool, creamy dessert offsets smoky, savory flavors. For a simpler finish, just pour tall glasses of sweet iced tea and call it a night. The tannins in the tea cut through the custard’s richness without competing.
Frequently Asked Questions
What if I cannot find gluten free vanilla wafers?
Look for crisp gluten free graham crackers, shortbread cookies, or even gluten free speculoos. Break them into wafersized pieces and use the same amount.
Can I use a different fruit?
Yes, sliced strawberries swap in cleanly. The color bleeds a little into the custard, so the pudding will have pink streaks, but the flavor works. Avoid frozen fruit because the extra liquid thins the custard.
Why do I have to strain the custard?
Even with careful whisking, a few bits of egg can seize on the bottom of the pan. Pouring the cooked custard through a fine strainer guarantees a velvety, lump-free texture every time.
How far ahead can I assemble this?
You can assemble the pudding up to 8 hours before serving. After that the bananas start to darken and the wafers soften past the ideal tender stage, though the pudding will still taste fine for a day or two.
Gluten Free Banana Pudding Recipe
Ingredients
Method
- Whisk sugar, cornstarch, and salt in a saucepan. Whisk in a splash of milk, then egg yolks and remaining milk. Cook over medium heat, stirring constantly, until thickened and bubbly, about 8 to 10 minutes. Off heat, stir in vanilla and butter, then strain custard into a bowl. Cover surface with plastic wrap.
- Whip heavy cream and powdered sugar to soft peaks. Refrigerate.
- Spread a little custard in an 8×8 dish. Layer wafers, sliced bananas, and custard. Repeat layers, then top with whipped cream.
- Chill at least 4 hours. Scoop through all layers to serve.
Notes
