
Gingerbread Thumbprint Cookies with Lemon Glaze

These gingerbread thumbprint cookies are soft, warmly spiced, and filled with a tangy lemon glaze that cuts through the rich molasses. The dough comes together in one bowl and needs no chilling, so they are a holiday cookie you can actually pull off on a weeknight.
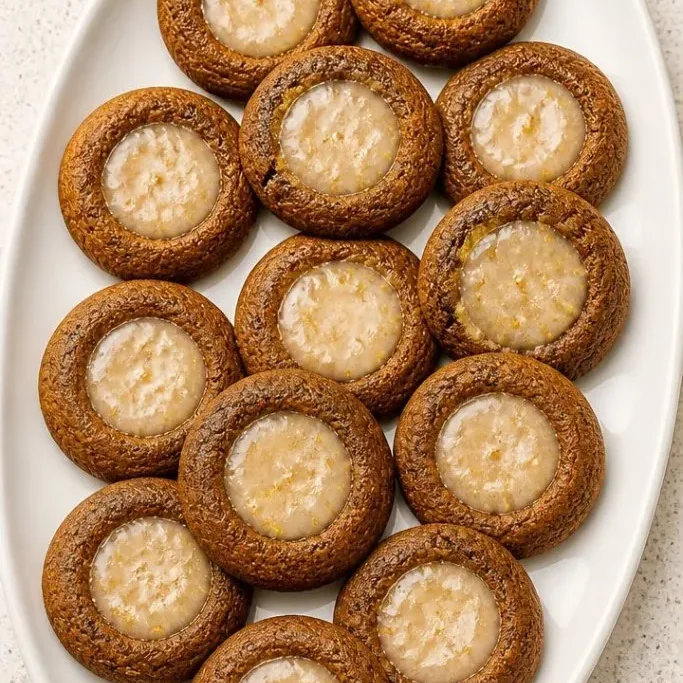
The centers set just firm enough that the cookies stack and travel well, which makes them a great choice for cookie swaps or care packages.
What Makes These Cookies So Good
The cookie itself is tender and a little chewy, with the deep, peppery warmth of fresh ginger and cinnamon. I use dark brown sugar for extra moisture, which keeps them soft for days.
Then that bright lemon glaze hits. It is sharp and sweet, and it balances the spice in a way that makes you reach for a second cookie without thinking. The glaze stays creamy even after it sets, so every bite has a little puddle of lemon.
I keep coming back to this recipe because it tastes like classic gingerbread but feels less fussy than rolling and cutting shapes. Pressing your thumb into the dough is just more fun.
Ingredients
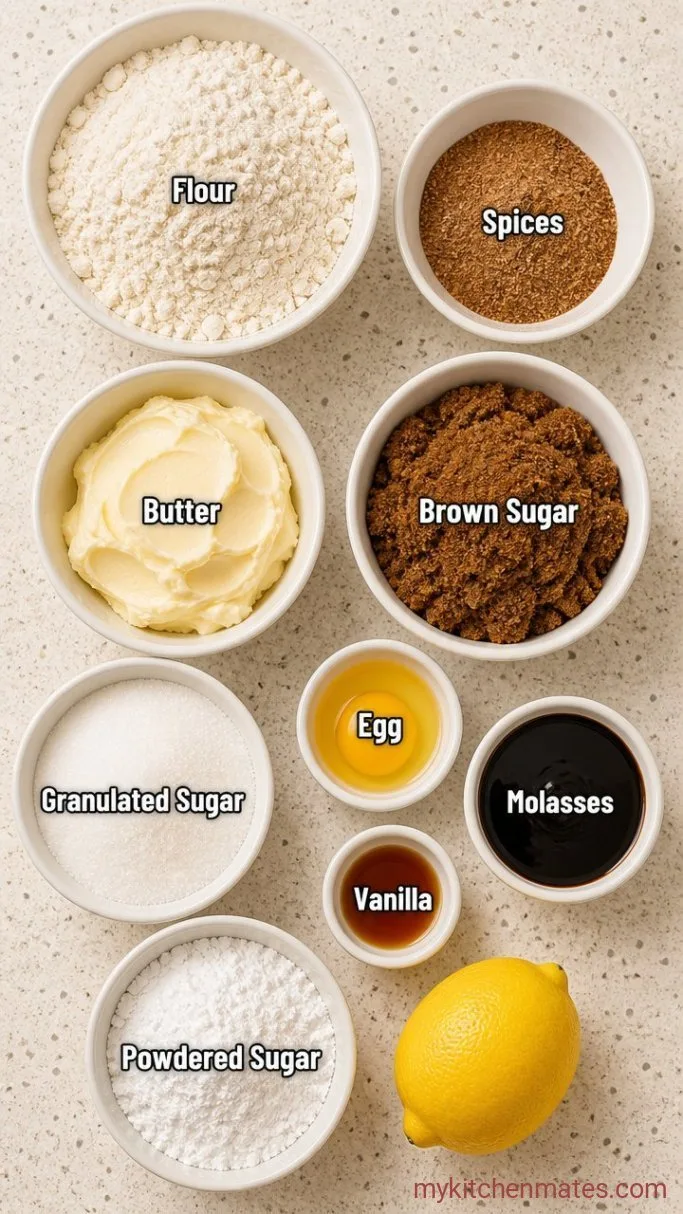
- 2 1/4 cups (280g) all-purpose flour: spoon and level to avoid dense cookies
- 1 tsp baking soda
- 2 tsp ground ginger
- 1 1/2 tsp ground cinnamon
- 1/4 tsp ground cloves
- 1/4 tsp salt
- 3/4 cup (170g) unsalted butter, softened: let it sit at room temperature for about 30 minutes
- 1/2 cup (100g) dark brown sugar, packed: light brown works, but dark gives a deeper molasses flavor
- 1/4 cup (50g) granulated sugar
- 1 large egg, at room temperature
- 1/4 cup (60ml) unsulphured molasses: not blackstrap, which is too bitter
- 1 tsp vanilla extract
- For the glaze: 1 cup (120g) powdered sugar, 2 to 3 tbsp fresh lemon juice, 1 tsp lemon zest
Variations / Substitutions
- Spice swap: No individual spices? Use 1 tablespoon of pumpkin pie spice plus 1/2 teaspoon of extra ginger for the same cozy kick.
- Molasses: Maple syrup works, but the cookies spread more and the spice character shifts toward caramel notes.
- Lemon glaze: Swap lemon juice for orange juice and zest if that is what you have on hand, or skip citrus and use a few tablespoons of milk with a pinch of cinnamon for a simple spiced glaze.
- Dairy-free: Use a stick-style vegan butter that is at least 78% fat. The texture changes slightly, but the cookies are still tender.
Soft Gingerbread Cookies are next on our list if these cookies are your kind of dessert.
How to Make Gingerbread Thumbprint Cookies
Step 1: Mix the Dough
Whisk the 2 1/4 cups flour, 1 teaspoon baking soda, 2 teaspoons ginger, 1 1/2 teaspoons cinnamon, 1/4 teaspoon cloves, and 1/4 teaspoon salt together in a medium bowl.
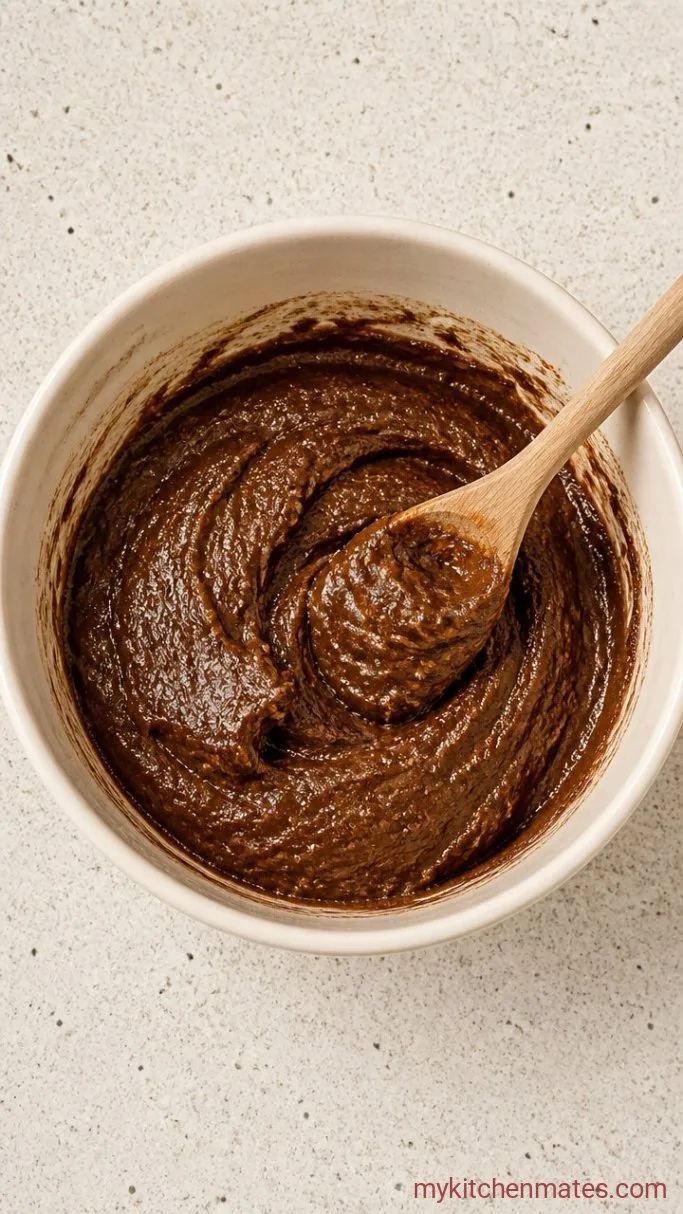
In a large bowl, beat the 3/4 cup softened butter, 1/2 cup dark brown sugar, and 1/4 cup granulated sugar with a hand mixer on medium speed for about 2 minutes, until the mixture looks fluffy and lightened in color. You are not creaming it as long as you would for a cake; just go until the sugar looks well blended. Add the 1 large egg, 1/4 cup molasses, and 1 teaspoon vanilla. Beat until smooth, scraping the sides once. The molasses will make everything look like a glossy, dark caramel.
Pour the dry ingredients into the wet and mix on low just until streaks of flour disappear. Stop as soon as you see a soft, pliable dough. Overmixing makes the cookies tough, so a few small floury patches you can press together by hand are fine.
Step 2: Shape and Indent
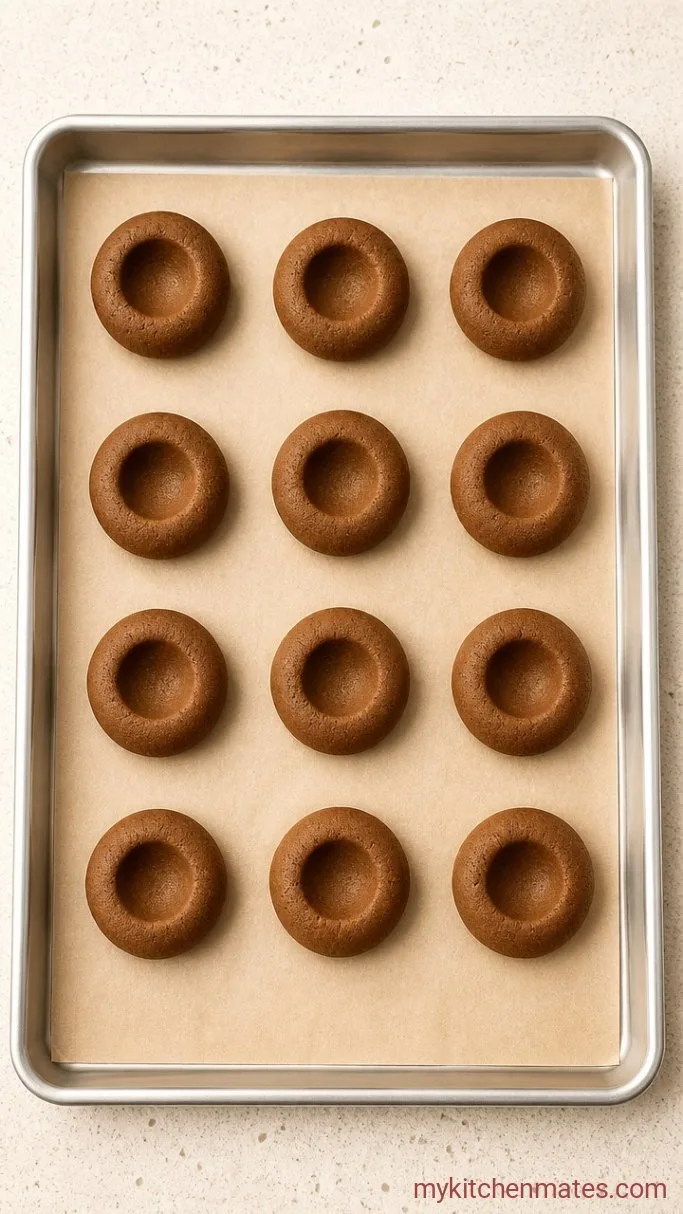
Scoop out about 1 tablespoon of dough and roll it into a ball with your palms. The dough is a little sticky but should release easily. Place the balls on a parchment-lined baking sheet, leaving about 2 inches of space between them.
Use your thumb to press a deep well into the center of each ball, going almost to the bottom of the cookie. You want a well about 1/2 inch wide and deep enough to hold a generous puddle of glaze later. If the edges crack, just pinch them back together with your fingers. The cookie rounds will look like little doughy bowls.
Pop the sheet into the fridge while the oven heats. Ten minutes in the cold firms up the butter so the cookies puff instead of spreading thin.
Step 3: Bake the Cookies
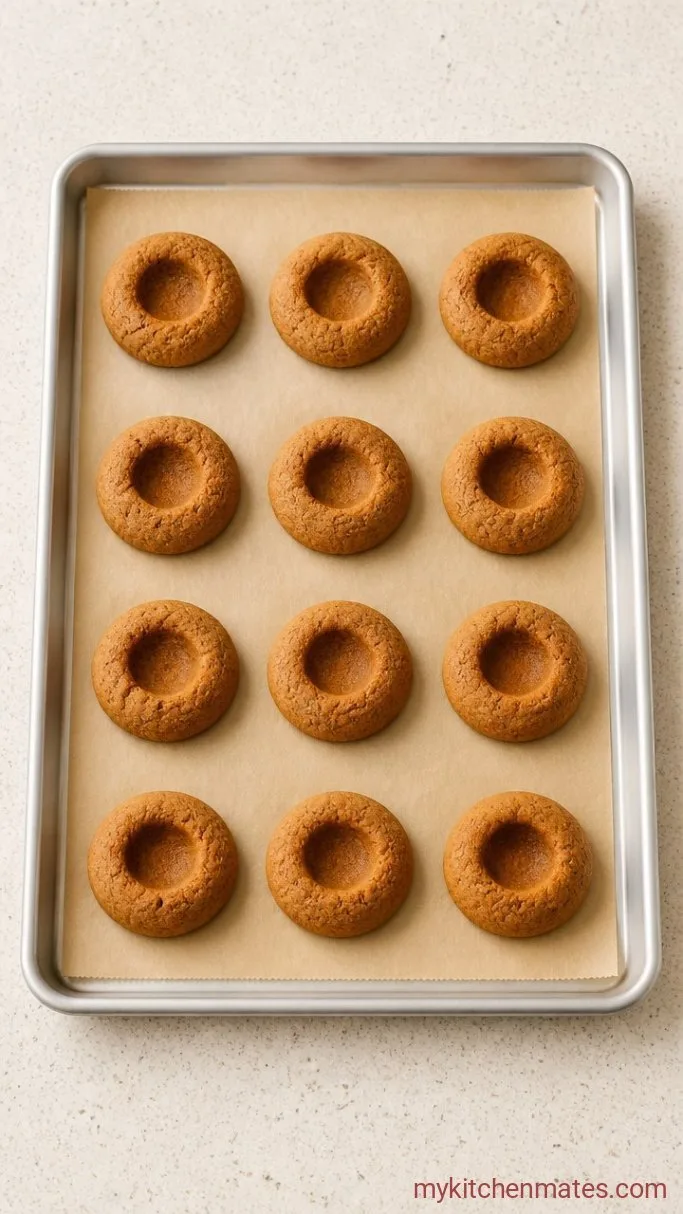
Heat the oven to 350°F (175°C). Bake the cookies for 10 to 12 minutes, until the edges are set and the tops look dry and just beginning to crack.
The centers will still feel soft when you press them lightly, but they firm up as they cool. You may need to re-press the indentations right when they come out of the oven because the dough puffs a bit. Use the back of a small spoon if the well has closed up. Let the cookies sit on the baking sheet for 5 minutes, then transfer them to a wire rack to cool completely.
Step 4: Glaze the Centers
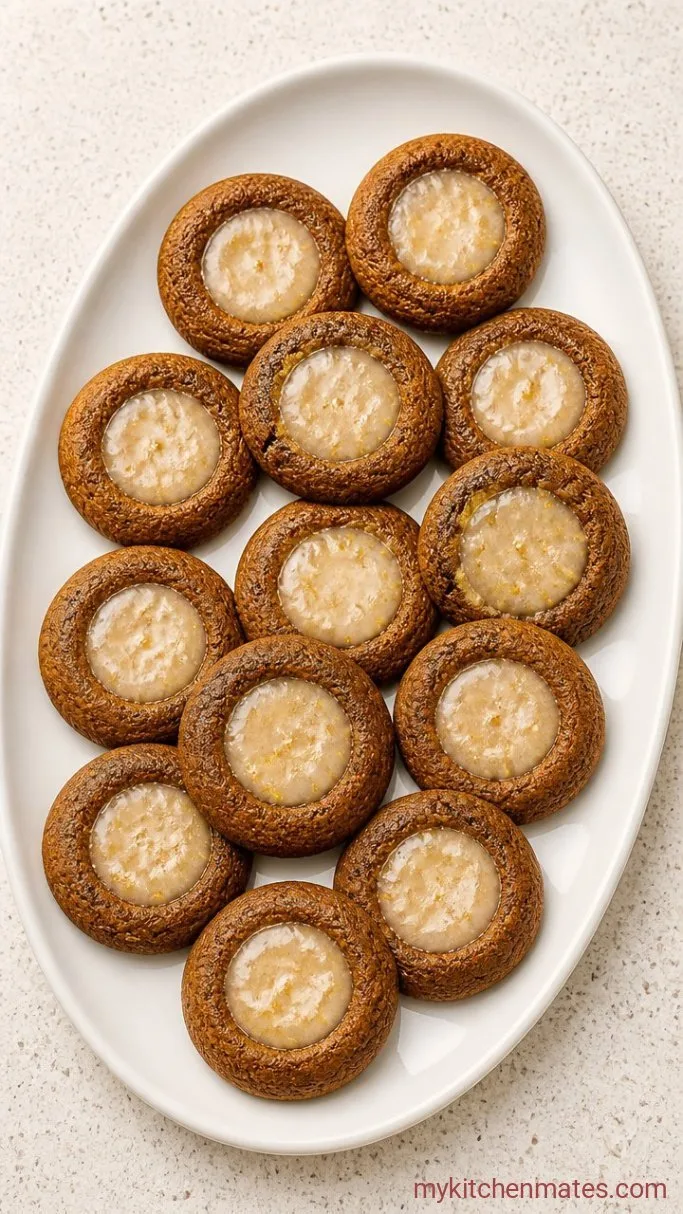
Whisk the 1 cup powdered sugar, 2 tablespoons lemon juice, and 1 teaspoon lemon zest together in a small bowl. Add a little more lemon juice if the glaze feels too thick; you want it pourable but not runny. It should ribbon slowly off the whisk.
Spoon about 1/2 teaspoon of glaze into the center of each fully cooled cookie. The glaze will spread just to the edges of the well and set in about 30 minutes. Serve them once the tops feel dry to the touch, with a little extra lemon zest scattered over the tray if you like.
Tips for the Best Texture
- Use fresh spices. Ground ginger and cinnamon lose their punch after six months, and this dough needs that sharp warmth to compete with the molasses.
- If your kitchen is warm and the dough feels greasy while you shape, chill the bowl for 15 minutes. Soft dough spreads too fast in the oven and the thumbprint wells collapse.
- Press the indentations deeper than you think you should. A shallow well means the glaze pools out and makes a sticky mess instead of a neat center.
- Bake one test tray first. Ovens vary, and a minute too long turns these from tender to snappy. Pull them when the edges look dry.
Storing Leftovers
- Room temperature: Store cooled cookies in an airtight container with wax paper between layers. They stay soft for up to 3 days.
- Refrigerate: In a sealed container, they keep for up to a week, though the glaze may soften slightly. Let them come to room temperature before eating.
Frequently Asked Questions
Can I use a different filling?
Yes. A teaspoon of raspberry or apricot jam pressed into the well before baking works beautifully, or fill cooled cookies with salted caramel sauce. Just skip the lemon zest in the dough if you go with caramel to keep the flavors from clashing.
My cookies spread into flat discs. What went wrong?
The butter was likely too warm, or the dough sat on the counter too long before baking. Next time, chill the shaped dough for at least 10 minutes while the oven preheats, and measure the flour carefully with a scale if you have one.
Can I make the dough ahead?
Yes. Wrap the dough tightly and refrigerate it for up to 2 days. Let it sit at room temperature for about 20 minutes before you roll it into balls, just until it is soft enough to handle without cracking.
Are these gluten-free?
Not as written, but a 1:1 gluten-free flour blend that contains xanthan gum works well. The cookies spread a little less, so you may need to flatten them slightly before baking.
Gingerbread Thumbprint Cookies Recipe
Ingredients
Method
- Whisk flour, baking soda, ginger, cinnamon, cloves, and salt together in a bowl.
- Beat butter, brown sugar, and granulated sugar until fluffy, about 2 minutes. Add egg, molasses, and vanilla; beat until smooth. Mix in dry ingredients on low just until no flour streaks remain.
- Scoop 1-tablespoon balls of dough onto lined baking sheets. Press a deep thumbprint into each ball. Chill sheets for 10 minutes while the oven heats to 350°F.
- Bake 10 to 12 minutes, until edges are set. Re-press indentations with a spoon if needed. Cool on the sheet 5 minutes, then transfer to a rack to cool completely.
- Whisk powdered sugar, lemon juice, and lemon zest until smooth. Spoon glaze into the center of each cooled cookie and let set about 30 minutes.
Notes
