
Crispy Pan-Fried Chicken Breast

Crispy pan-fried chicken breast is the weeknight dinner that gives you that deep-fried crunch without a pot of oil. The coating is golden and shatteringly crisp, and the meat stays juicy because we pound it thin and cook it fast.
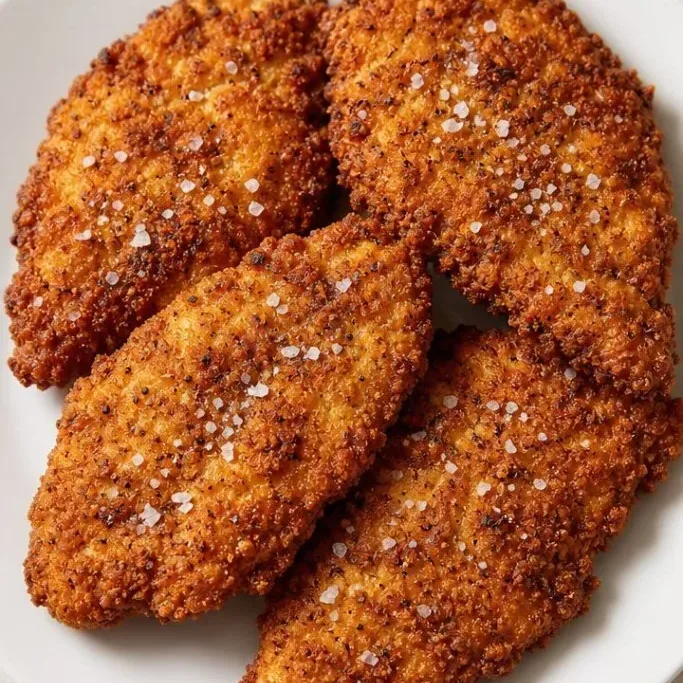
It’s ready in under 30 minutes and only asks for a few pantry staples.
Why This Pan-Fried Chicken Works
This recipe is my go-to when I want fried chicken but not the mess of deep frying. A shallow pan of oil and thin cutlets gives you that crackly crust with a tender, not dry, interior.
The cornstarch in the flour mix is the trick for extra crunch, and a quick soak in buttermilk keeps the chicken seasoned through to the center.
It never fails to please, and you can dress it up with a drizzle of hot honey or sandwich it between buns with pickles.
Ingredients
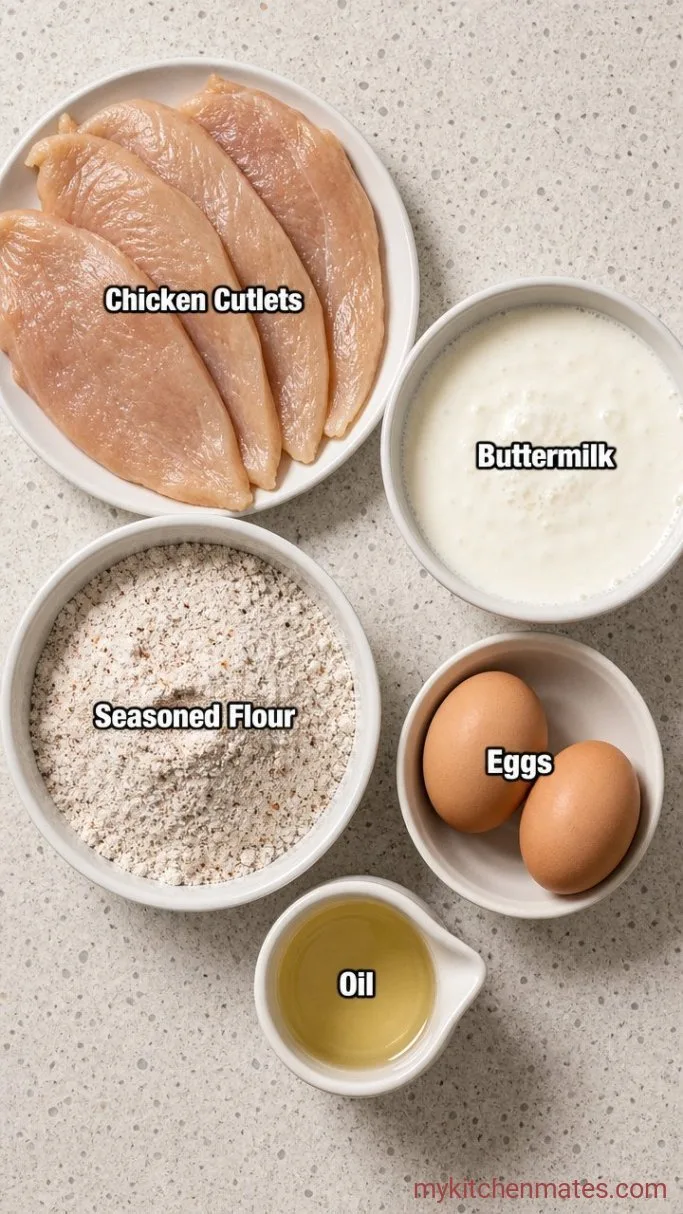
- 2 large boneless, skinless chicken breasts (about 8 oz each): halved horizontally to make 4 thin cutlets
- 1 cup buttermilk: use full-fat for the most tender meat
- 1 cup all-purpose flour
- 3 tablespoons cornstarch: the key to a lighter, crispier crust
- 1 teaspoon sweet paprika
- 1 teaspoon garlic powder
- 1 teaspoon onion powder
- 1 teaspoon fine sea salt, plus more for finishing
- 1/2 teaspoon black pepper
- 1/4 teaspoon cayenne pepper: optional, for a touch of heat
- 2 large eggs
- Vegetable oil, for frying: enough to come 1/2 inch up the side of your skillet
Variations and Substitutions
- Buttermilk swap: Use 1 cup milk mixed with 1 tablespoon lemon juice or white vinegar; let it sit 5 minutes.
- Seasoning twist: Add 2 teaspoons Cajun seasoning or smoked paprika instead of sweet paprika for a spicy, smoky kick.
- Dairy-free: Use unsweetened almond milk with the lemon juice trick; the crust still crisps up well.
- Gluten-free: Swap the flour for a 1:1 gluten-free flour blend; the cornstarch stays the same.
Honey Mustard Marinade for Juicy Chicken makes this recipe even better, and it takes just minutes.
How To Make Crispy Pan-Fried Chicken Breast
Step 1: Pound and Marinate the Chicken
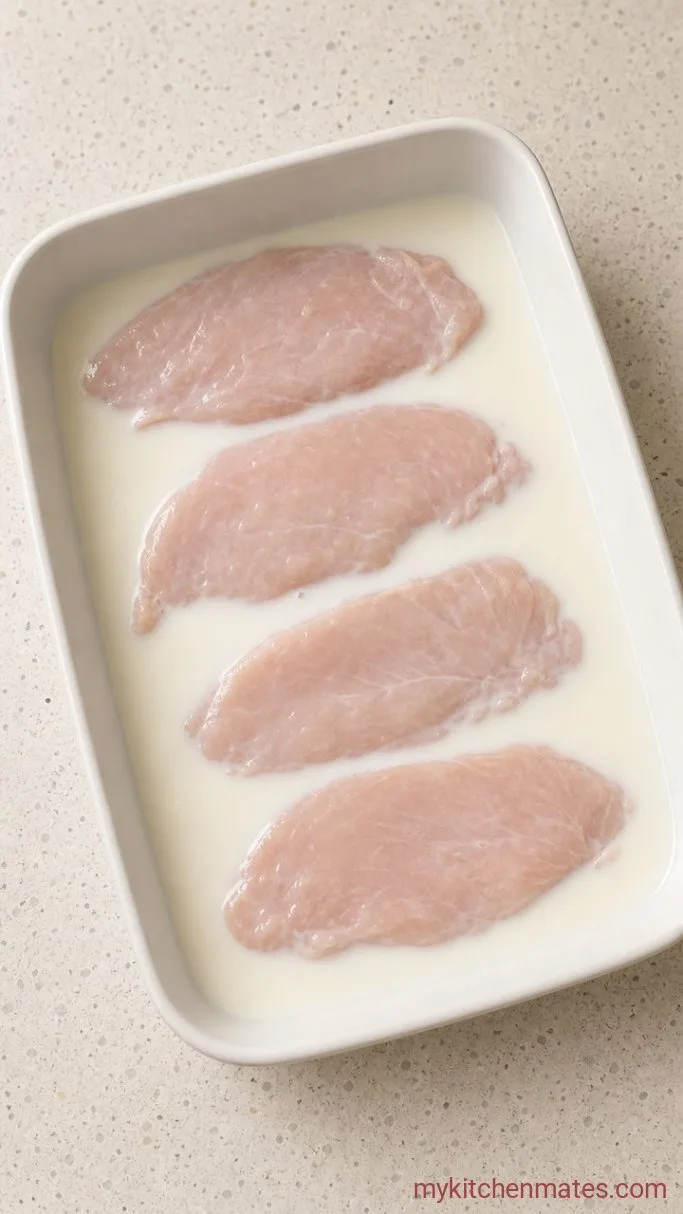
Start by slicing each chicken breast in half horizontally to create 4 even cutlets. Place them between two sheets of plastic wrap and pound with a meat mallet or rolling pin until they’re about 1/4 inch thick. Transfer to a shallow dish and pour in the buttermilk, turning to coat. Let them sit for at least 15 minutes while you get the breading ready (or up to 4 hours in the fridge).
Pounding the cutlets ensures they cook quickly and evenly, so the inside hits 165°F the same moment the coating turns deep golden. The buttermilk soak tenderizes and seasons the meat.
Step 2: Dredge the Chicken
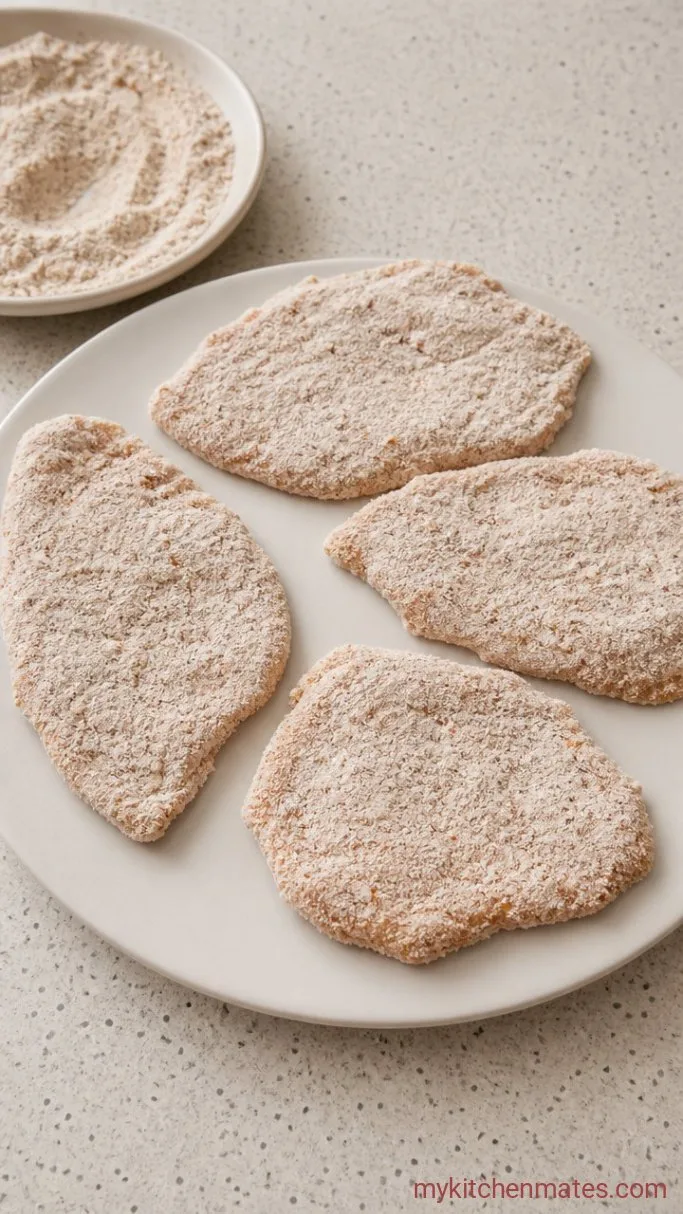
In a wide, shallow bowl, whisk together the 1 cup flour, 3 tablespoons cornstarch, 1 teaspoon paprika, 1 teaspoon garlic powder, 1 teaspoon onion powder, 1 teaspoon salt, 1/2 teaspoon black pepper, and 1/4 teaspoon cayenne. In another bowl, beat the 2 eggs. Remove one cutlet from the buttermilk, letting the excess drip off, then dip it in the egg to coat. Lay it in the flour mixture and press firmly on both sides to create a thick, shaggy crust. Place the breaded cutlet on a wire rack set over a baking sheet and repeat with the rest.
That press-it-down move is what gives you those craggy bits that fry up extra crispy. If you have time, slide the rack into the fridge for 10 minutes; it helps the coating stick.
Step 3: Fry the Chicken
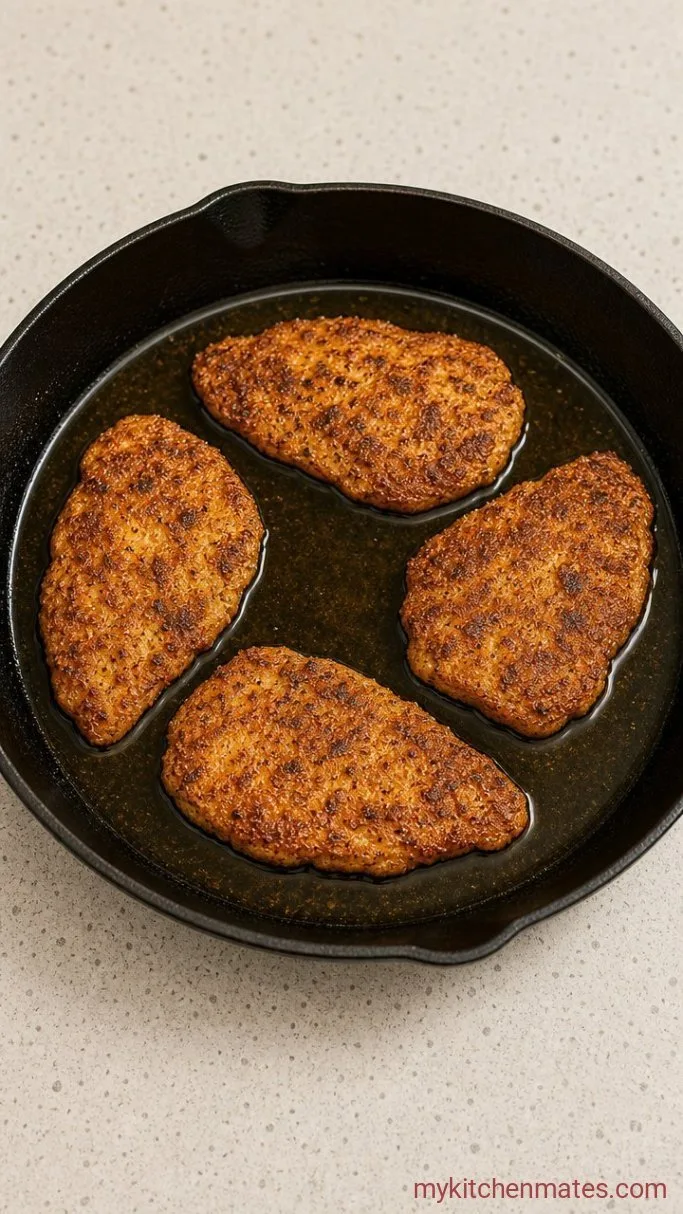
Pour enough vegetable oil into a large heavy skillet to come about 1/2 inch up the sides. Set the pan over medium-high heat and bring the oil to 350°F, 177°C (use a thermometer if you have one; a pinch of flour should sizzle immediately). Carefully lay 2 cutlets in the hot oil, making sure not to crowd the pan. Fry for 3 to 4 minutes on the first side, until the bottom is deep golden brown, then flip and fry another 3 to 4 minutes on the second side. The internal temperature should read 165°F (74°C) on an instant-read thermometer.
Keep an eye on the heat; if the oil gets too hot, the crust will burn before the chicken cooks through. Adjust the burner as needed to keep the sizzle going but not smoking. Transfer the fried cutlets to a clean wire rack (not paper towels) to keep them crisp while you cook the remaining batch.
Step 4: Plate and Serve
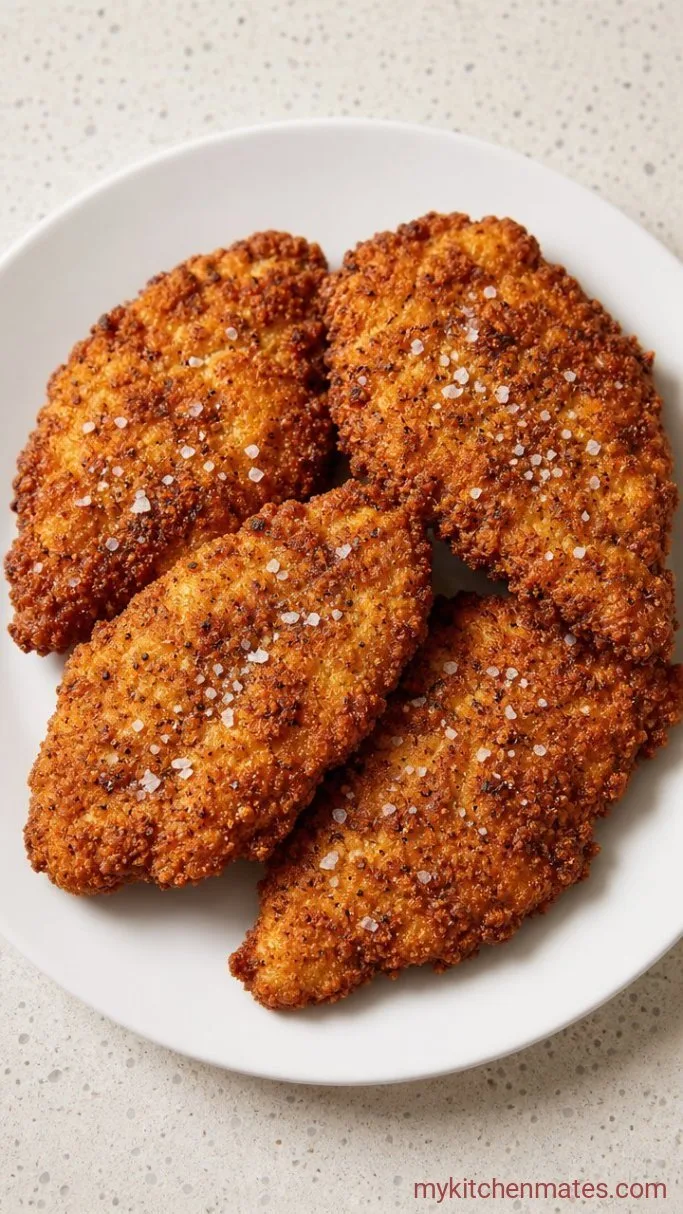
Move the chicken to a platter and give it a light sprinkle of flaky sea salt while it’s still hot. Serve right away with lemon wedges and your favorite sides.
The crust stays crunchy for about 20 minutes after frying, so this is a dish to gather everyone around the table for. Leftovers are great cold in a sandwich, too.
Tips for the Crunchiest Fried Chicken
- Pound the chicken to an even 1/4 inch thickness; thicker spots will take longer to cook and the breading may overbrown before the meat is done.
- Use a wire rack after frying. Paper towels trap steam and soften the crust, but a rack lets air circulate and keeps it shatteringly crisp.
- Don’t crowd the pan. Fry in two batches so the oil temperature doesn’t drop too much; between batches, bring it back to 350°F (177°C).
- For an even thicker crust, after dipping in egg and flour, dip back into the egg and flour a second time. Let the breaded cutlets rest on the rack for 10 minutes before frying to set the coating.
Pan-frying times based on cutlet thickness:
| Thickness | Time per side (approx.) |
|---|---|
| 1/4 inch | 3 to 4 minutes |
| 1/2 inch | 4 to 5 minutes |
| 3/4 inch | 5 to 6 minutes (check internal temp) |
Storing and Reheating Leftovers
- Refrigerate: Store cooled chicken in an airtight container, separated by parchment paper, for up to 3 days.
- Reheating: To revive the crisp, reheat in a 375°F (190°C) oven or air fryer for 5 to 7 minutes, flipping halfway. Microwaving makes it soggy.
- Serve Cold: Slice it for salads or sandwiches straight from the fridge; the crust gives you a nice salty crunch.
What Goes Well With Fried Chicken Breast
Creamy mashed potatoes and a drizzle of gravy are classic. A tangy coleslaw with apple cider vinegar dressing cuts through the richness, and buttered corn on the cob feels like summer. For a quick weeknight plate, just toss a simple green salad and put out some hot sauce.
Frequently Asked Questions
Can I use chicken thighs instead?
Yes, boneless thighs work beautifully. Pound them to an even thickness and extend the cook time by about 1 minute per side, until 175°F (79°C) internal temp for extra tenderness.
Can I bake or air-fry these instead?
Yes. For baking, place breaded cutlets on a greased wire rack over a baking sheet and bake at 400°F (200°C) for 18 to 22 minutes, flipping once. For air frying, spray both sides with oil and cook at 400°F (200°C) for 10 to 12 minutes, flipping halfway.
What’s the best oil to use?
Use a neutral oil with a high smoke point, like vegetable, canola, or peanut oil. They won’t flavor the chicken and handle the heat well.
Crispy Pan-Fried Chicken Breast Recipe
Ingredients
Method
- Halve chicken breasts horizontally to make 4 cutlets; pound to 1/4 inch thick. Marinate in buttermilk for at least 15 minutes.
- Whisk flour, cornstarch, and spices in one bowl; beat eggs in another. Dip each cutlet in egg, then press into flour mixture firmly on both sides. Place on a wire rack.
- Heat 1/2 inch of oil in a skillet to 350°F (177°C). Fry cutlets in batches, 3 to 4 minutes per side, until golden and internal temp reaches 165°F (74°C). Drain on a wire rack.
- Sprinkle with flaky salt and serve hot with lemon wedges.
Notes
