
Crispy Baked Tacos (No Frying Needed)

These crispy baked tacos come out of the oven deep golden and crackly, with a hot, savory filling tucked inside.
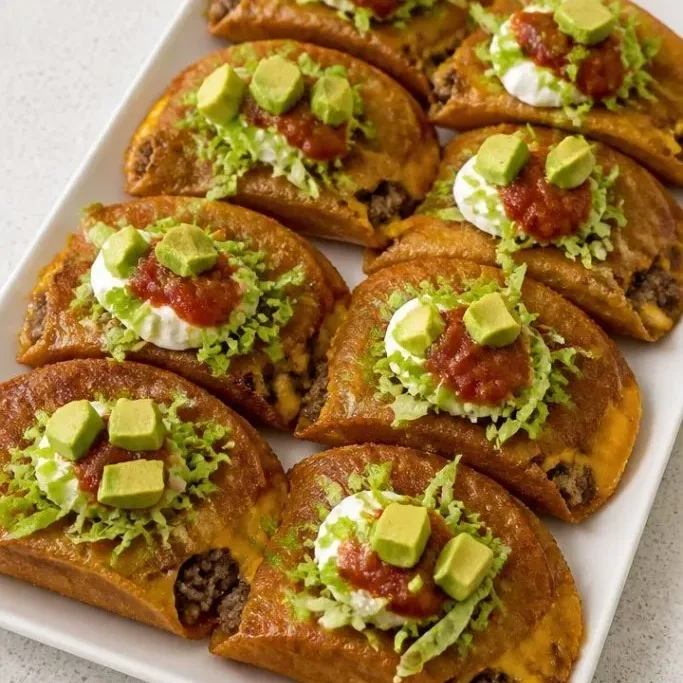
You don’t need a pot of oil or a messy stovetop. A quick assembly on a sheet pan and a hot oven do all the work, giving you that taqueria crunch with a lot less fuss.
Why Baked Tacos Are a Weeknight Win
I love a fried taco, but the mess and the oil are a lot for a Tuesday. Baking gives you a shell that shatters the same way but feels lighter, and the filling stays juicy because you build the tacos before they hit the heat.
The cheese melts against the hot pan and crisps into lacy, golden edges. It all happens in one go, and the kitchen smells like a taco shop without the splatter.
Ingredients
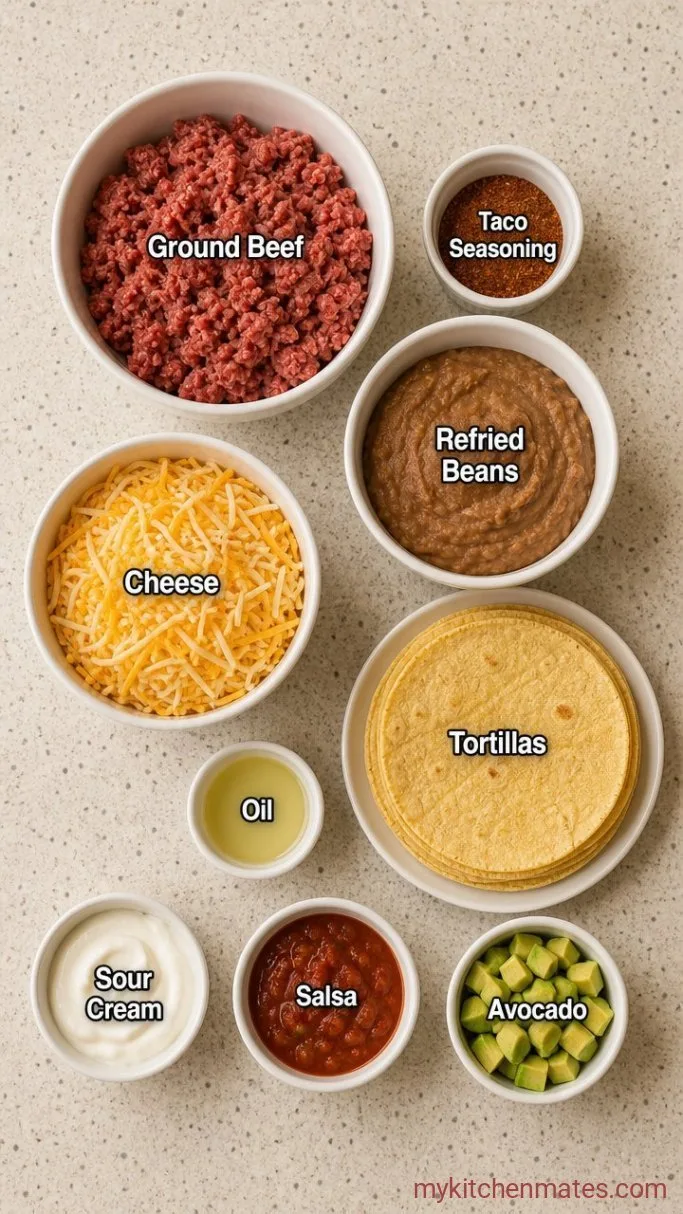
- 1 lb ground beef: 85/15 keeps it rich without turning greasy.
- 2 tbsp taco seasoning: store-bought blend or a homemade mix.
- ½ cup refried beans: canned, warmed just enough to spread.
- 1 cup shredded Mexican blend cheese: or sharp cheddar for more bite.
- 8 corn tortillas (6-inch): the soft kind, not tostadas.
- 2 tbsp vegetable oil: or use an oil spray; enough to coat both sides of each tortilla.
- Toppings for serving: sour cream, salsa, diced avocado, or shredded lettuce.
Variations and Swaps
- Ground turkey or chicken: brown it the same way. You may need a small splash of oil if the meat is very lean.
- Black bean tacos: skip the beef and double the beans. Season the beans with the taco seasoning and a squeeze of lime.
- Pepper Jack instead of cheddar: adds a mild heat and melts even creamier.
- Flour tortillas: they work but won’t get as shatteringly crisp. Bake them a minute or two longer and watch closely so they don’t burn.
Queso Chicken Tacos are another dinner you’d probably love if you enjoy these tacos.
How to Make Crispy Baked Tacos
Step 1: Brown the Beef
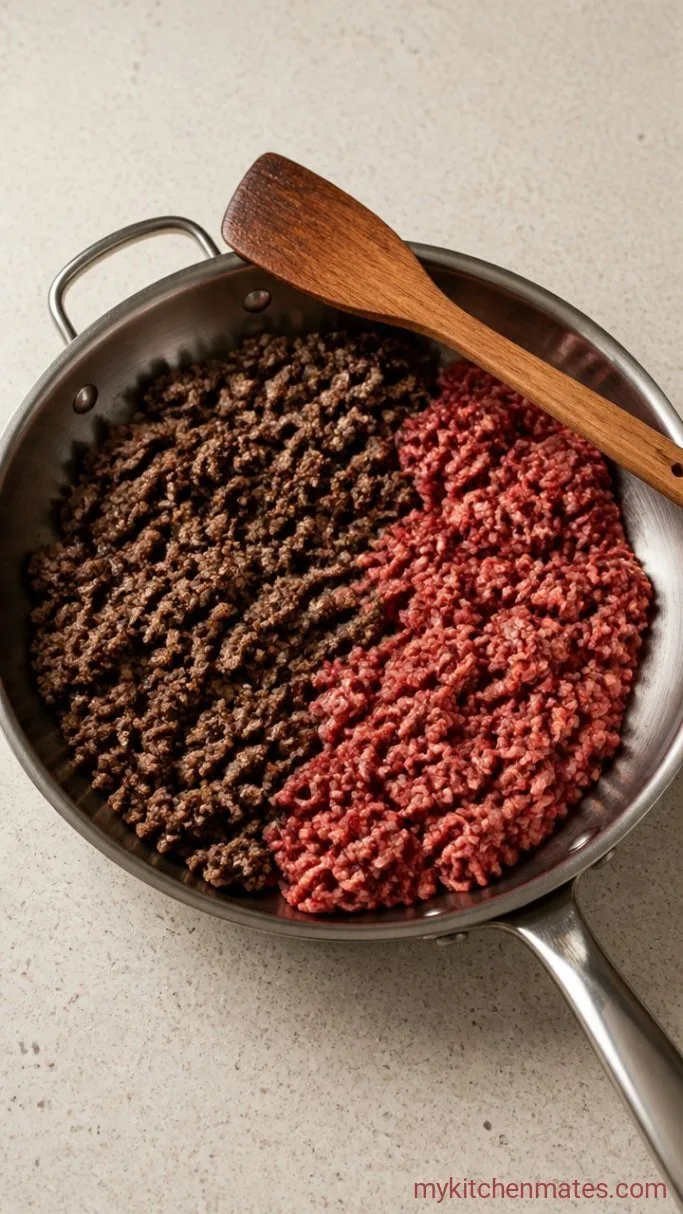
Set a large skillet over medium-high heat. Add the 1 lb ground beef and cook, breaking it up with a spoon, until no pink remains, about 6 to 8 minutes.
As it cooks, the sound shifts from a wet sizzle to a sharper crackle. That’s when the bits around the edges start to brown. Stir in the 2 tbsp taco seasoning and a couple of tablespoons of water, then let it simmer for a minute until the pan looks glossy and the seasoning coats every crumble.
Step 2: Assemble the Tacos
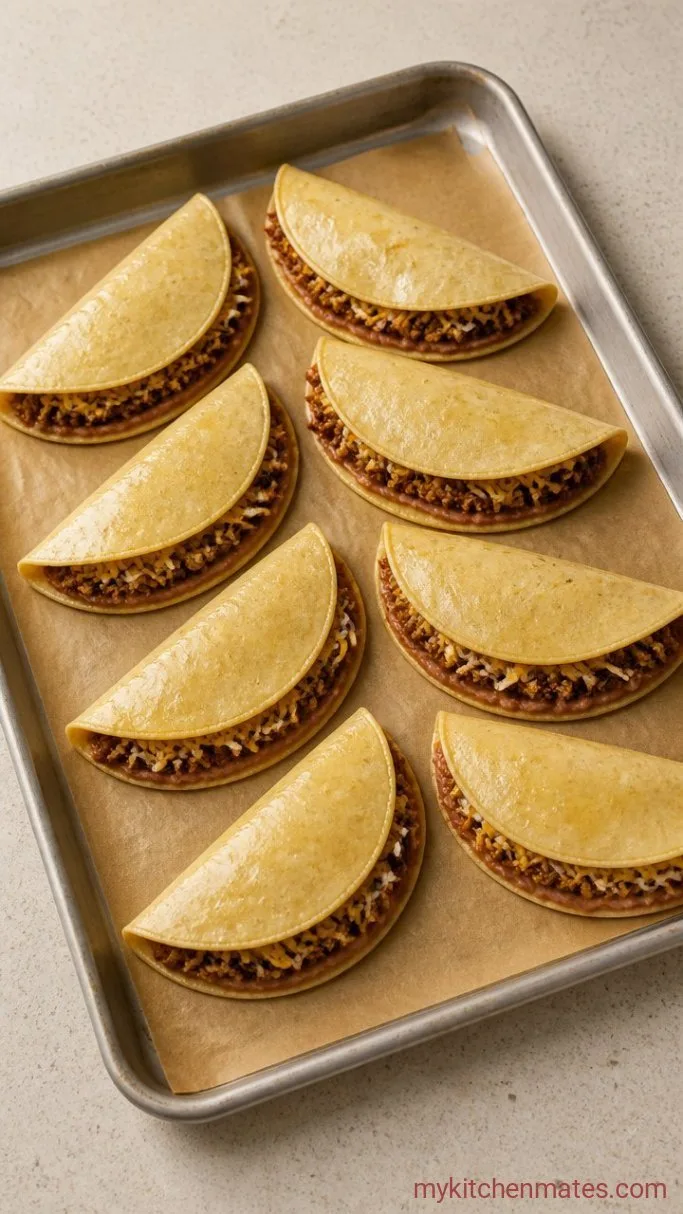
Preheat your oven to 425°F (220°C) and line a large baking sheet with parchment. Warm the corn tortillas briefly so they fold without cracking: wrap them in a damp paper towel and microwave for 20 seconds.
Spread a thin spoonful of refried beans down the center of each tortilla, then add a couple of tablespoons of the seasoned beef and a generous pinch of cheese. Fold each tortilla over, pressing gently so it stays shut. Brush or spray both sides with vegetable oil and arrange them on the sheet pan with a little breathing room between each one.
Step 3: Bake the First Side
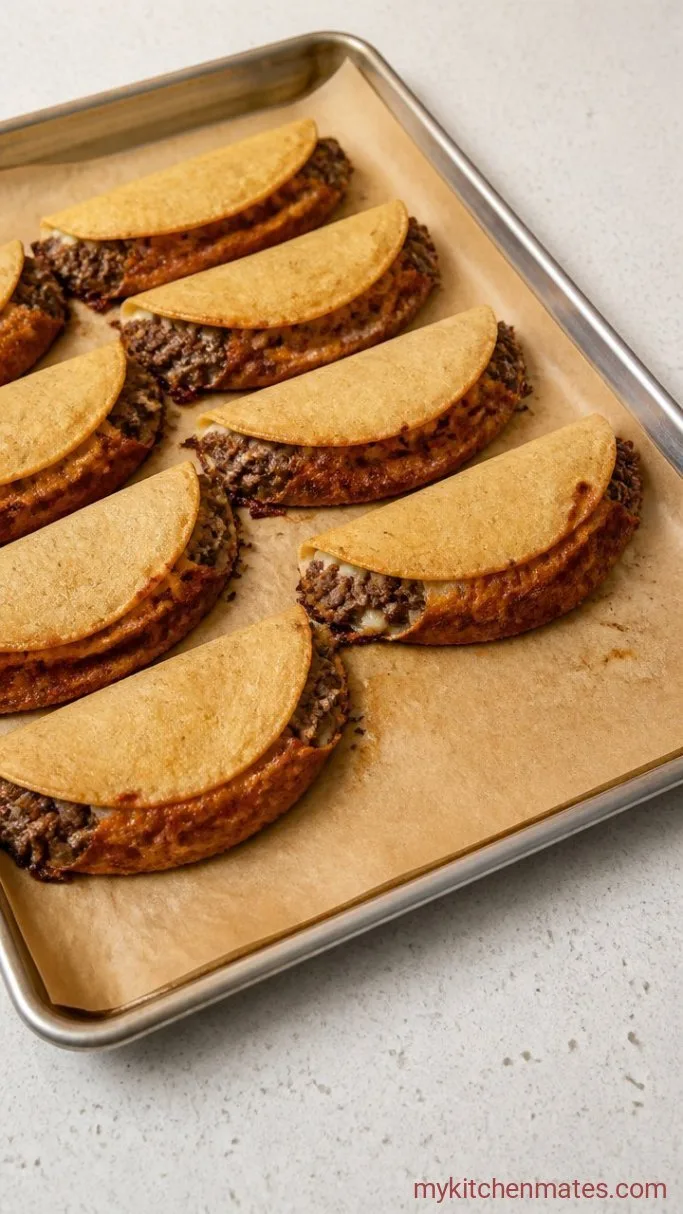
Slide the pan into the hot oven and bake for 10 minutes. The tortillas will look lighter on top, but the undersides should be turning a sandy gold and the cheese around the edges will start to bubble.
You’ll hear a faint sizzle from the oil against the parchment. That’s a good sign the crust is forming.
Step 4: Flip and Finish Baking
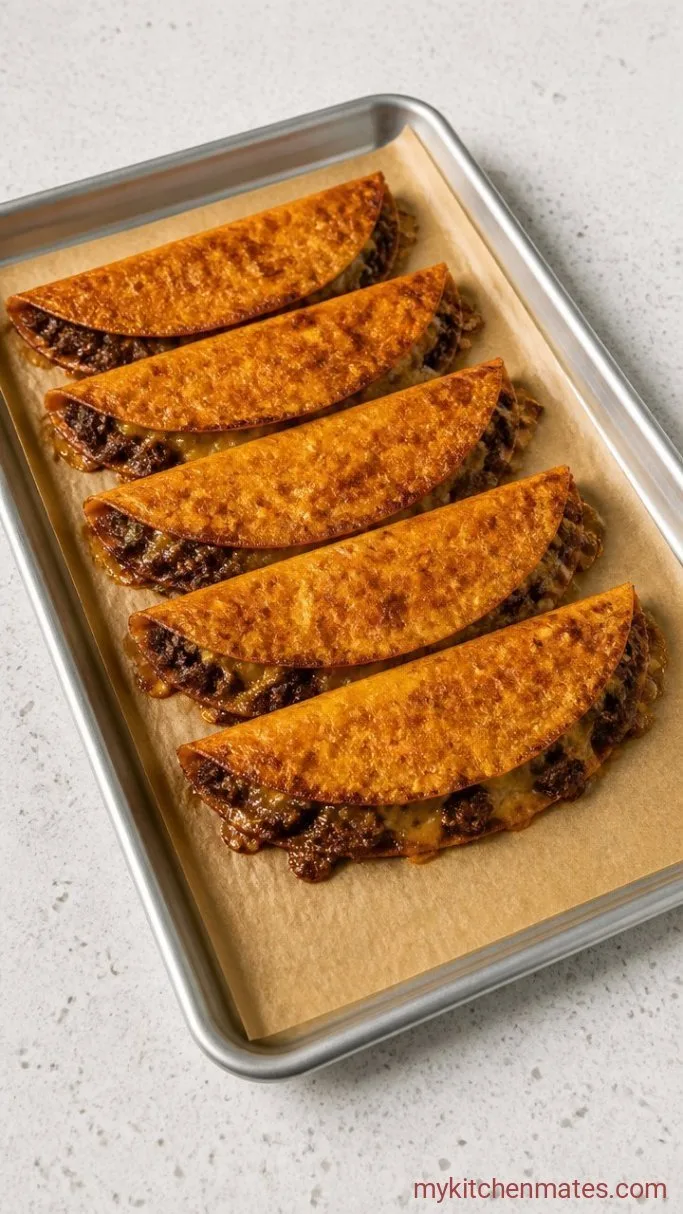
Pull the pan out and carefully flip each taco with a spatula. The bottom side should already be crisp and lightly blistered. Return the pan to the oven for another 8 to 10 minutes, until the tops are deep golden and the shells feel firm when you press on them.
Keep an eye on them in the last couple of minutes. They go from perfectly brown to too dark fast.
Step 5: Serve Them Hot
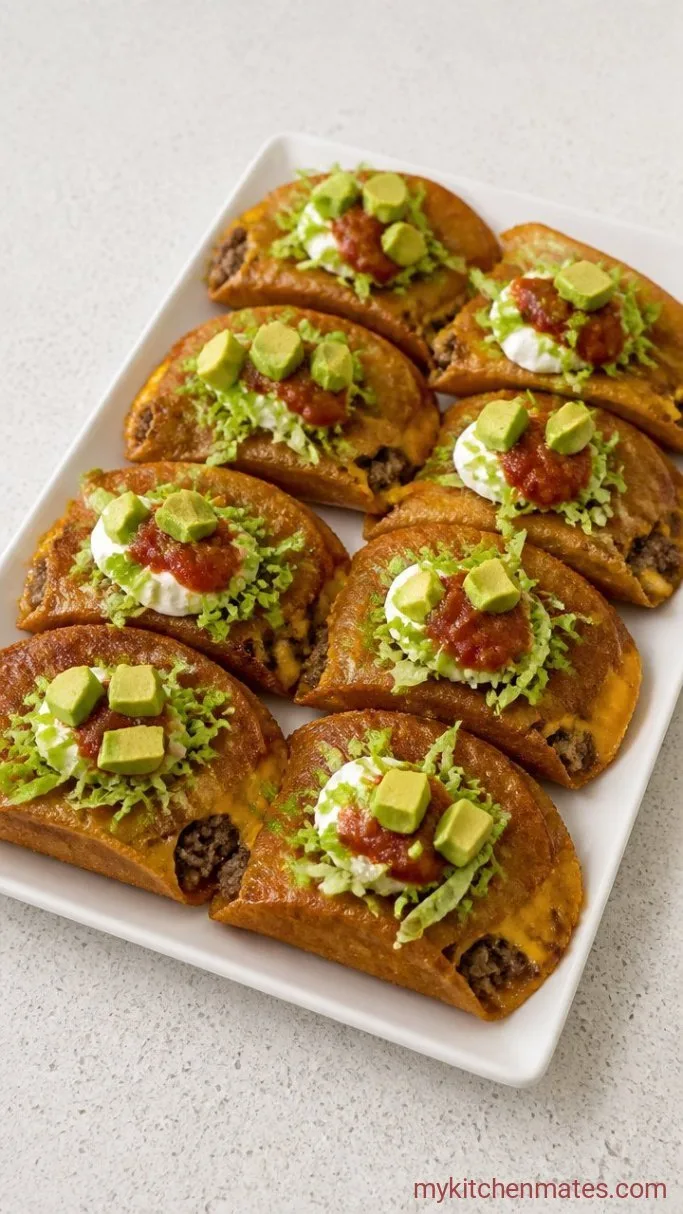
Transfer the hot tacos to a platter and let them rest for about 2 minutes on the pan before you move them. They’ll crisp up even more as they sit. Pile on sour cream, salsa, and whatever toppings you like, and eat right away while the shells are at their crunchiest.
Secrets for Extra-Crispy Baked Tacos
- Line the sheet with parchment, not foil. Parchment helps the oil do its job without sticking, and any cheese that escapes turns into crunchy little chips you can nibble.
- Give each taco its own space on the pan. Crowding traps steam, which softens the shells instead of crisping them.
- If you want an even deeper golden shell, brush the tops with a little more oil just before you flip them.
- Let the baked tacos sit on the sheet for a minute or two after you pull them from the oven. They firm up as the steam inside settles.
What to Serve with Crispy Baked Tacos
These are a full meal with a few toppings, but a side of Mexican rice or a lime-dressed slaw cuts the richness. For a bigger spread, add creamy guacamole and a cold beer.
Frequently Asked Questions
Can I use store-bought tostada shells instead?
No. Tostada shells are already fried and stiff. You want the soft corn tortillas so they can crisp up around the filling without cracking.
My tacos came out soft. What went wrong?
A few things can cause it: the oven wasn’t hot enough, the pan was too crowded, or the tortillas didn’t get enough oil. Brush or spray them lightly on both sides and bake at 425°F with space between each taco.
Can I bake these on a wire rack?
Yes. A wire rack set over a baking sheet helps air circulate all around the shells, which makes them even crispier. You’ll still want to oil the tortillas well so they don’t stick.
Can I make them dairy-free?
Absolutely. Skip the cheese or use a plant-based shred that melts. The beans and taco seasoning still carry plenty of flavor.
Crispy Baked Tacos Recipe
Ingredients
Method
- Brown the ground beef in a skillet over medium-high heat until no longer pink, about 6 to 8 minutes. Stir in the taco seasoning and 2 tbsp water, simmer 1 minute.
- Preheat the oven to 425°F and line a baking sheet with parchment. Warm the tortillas briefly, spread each with refried beans, then add beef and cheese. Fold and brush both sides with oil. Arrange on the sheet with a little space between them.
- Bake for 10 minutes, until the bottoms are golden and the cheese starts bubbling.
- Flip the tacos carefully and bake another 8 to 10 minutes, until deep golden and crisp.
- Let them rest on the pan for 2 minutes, then serve hot with your favorite toppings.
Notes
