
Cookie Dough Cake Pops (Safe to Eat Raw!)

These cookie dough cake pops combine the nostalgic taste of raw cookie dough with the fun of cake pops, and they’re totally safe to eat. Soft vanilla cake crumbs get folded into an egg-free, heat-treated cookie dough, then dipped in chocolate for a handheld treat that tastes just like the real thing.
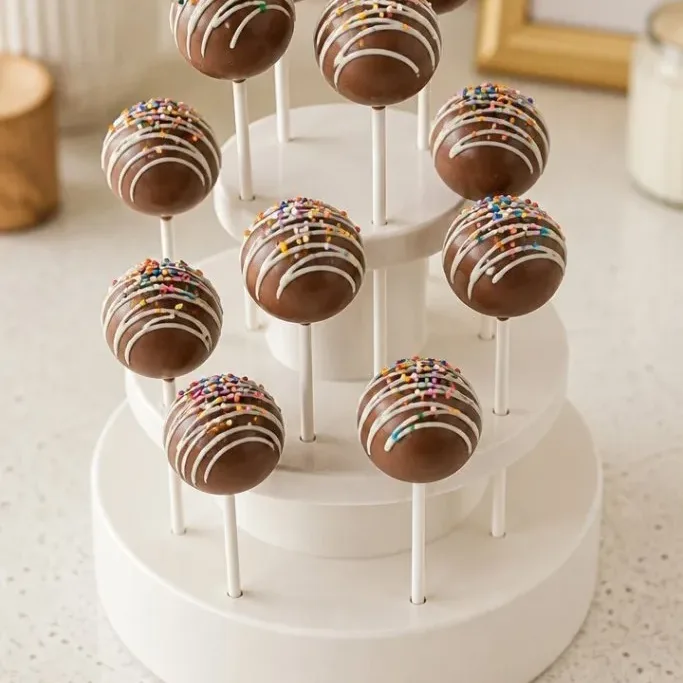
The center is fudgy and chewy, and the crisp chocolate shell snaps when you bite in. It’s everything you love about sneaking a spoonful of dough, minus the worry.
Why These Cookie Dough Cake Pops Are a Winner
The texture is the best part: a rich, chewy center meets a crackly coating. The boxed cake stays soft and moist, so the pops never turn dry, and the edible dough adds buttery brown sugar notes and little pops of mini chocolate chips.
They hold up well in the fridge for days, so you can make a batch ahead and grab one whenever the craving hits. And because there are no raw eggs or untreated flour anywhere in the recipe, they’re genuinely safe for everyone to eat.
Ingredients
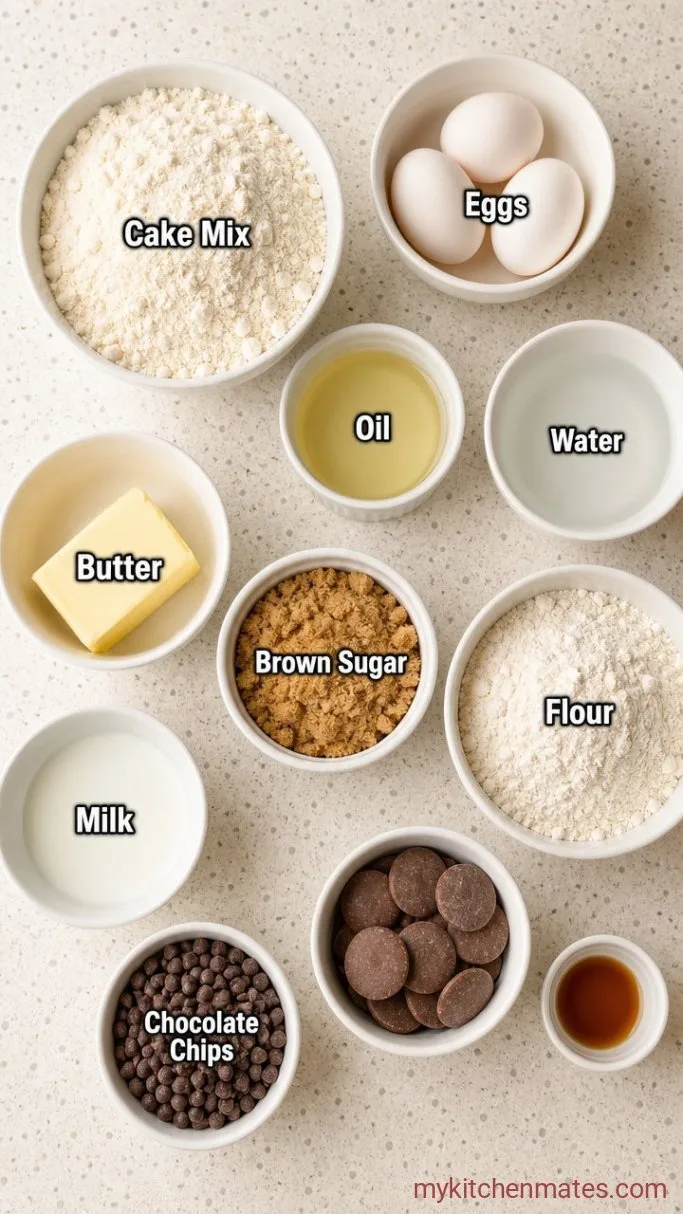
- 1 box (15.25 oz) vanilla cake mix: plus the eggs, oil, and water called for on the box
- ½ cup unsalted butter, softened: for the cookie dough
- ⅓ cup packed brown sugar: light or dark both work
- 1 tsp vanilla extract
- 1 cup all-purpose flour: heat-treated to make it safe to eat raw (see tip below)
- 2 to 3 tbsp milk: any kind; start with 2 and add more if the dough seems dry
- ½ cup mini chocolate chips
- 12 oz chocolate candy coating or melting wafers: milk, dark, or white chocolate
- Optional: extra melted chocolate or sprinkles for decorating
Variations and Easy Swaps
- Use a chocolate cake mix: gives you a double-chocolate version that tastes like chocolate chip cookie dough.
- White chocolate coating: goes especially well with the brown sugar notes; also looks pretty with pastel sprinkles.
- Dairy-free: swap in vegan butter, dairy-free chocolate coating, and a splash of oat or almond milk.
- No mini chips?: chop a regular chocolate bar into small pieces instead.
- Change the shape: press the mixture into a small silicone mold instead of rolling into balls, then pop in the stick and freeze.
Stuffed Cookie Dough Cupcakes are another dessert you’d probably love if you enjoy these cake pops.
How to Make Cookie Dough Cake Pops
Step 1: Bake the Cake
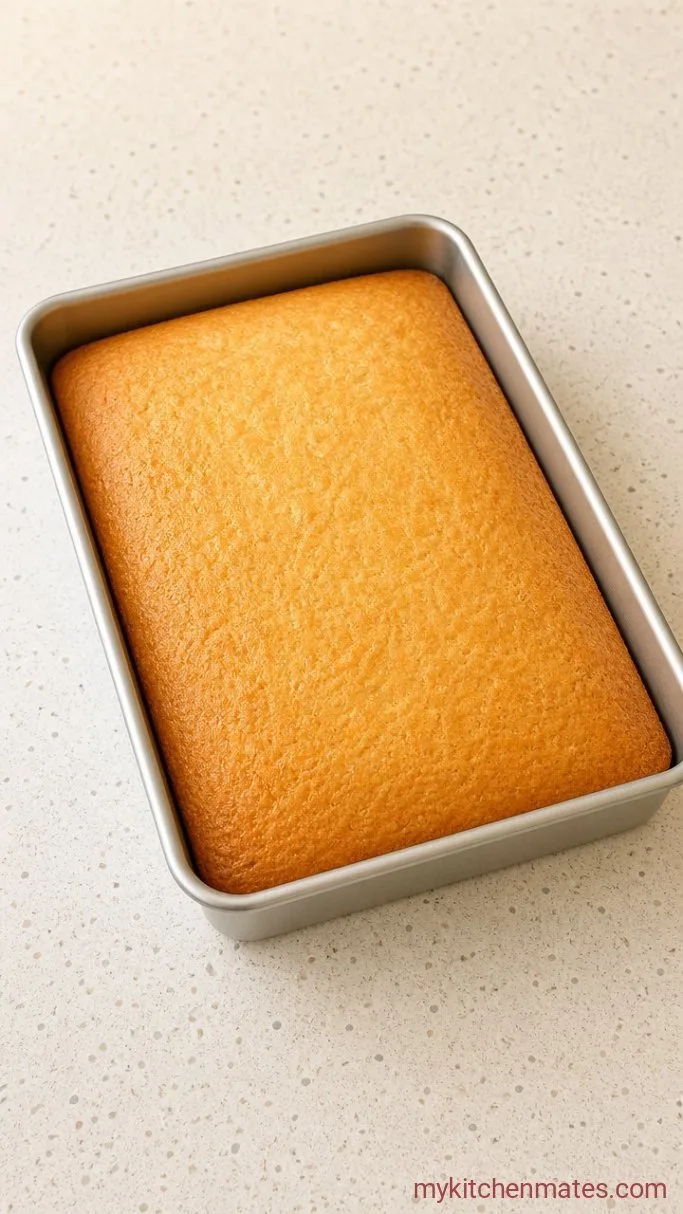
Preheat your oven and prepare the vanilla cake mix according to the package directions, using the eggs, oil, and water it calls for. Bake until a toothpick inserted in the center comes out clean, about 25 minutes at 350°F (175°C). Let the cake cool in the pan for 10 minutes, then turn it out onto a rack to cool completely.
You’re looking for a cake that’s fully set with a light golden top. Cutting a corner and baking it the day before actually helps because a cold cake crumbles more cleanly.
Step 2: Crumble the Cake and Mix the Dough
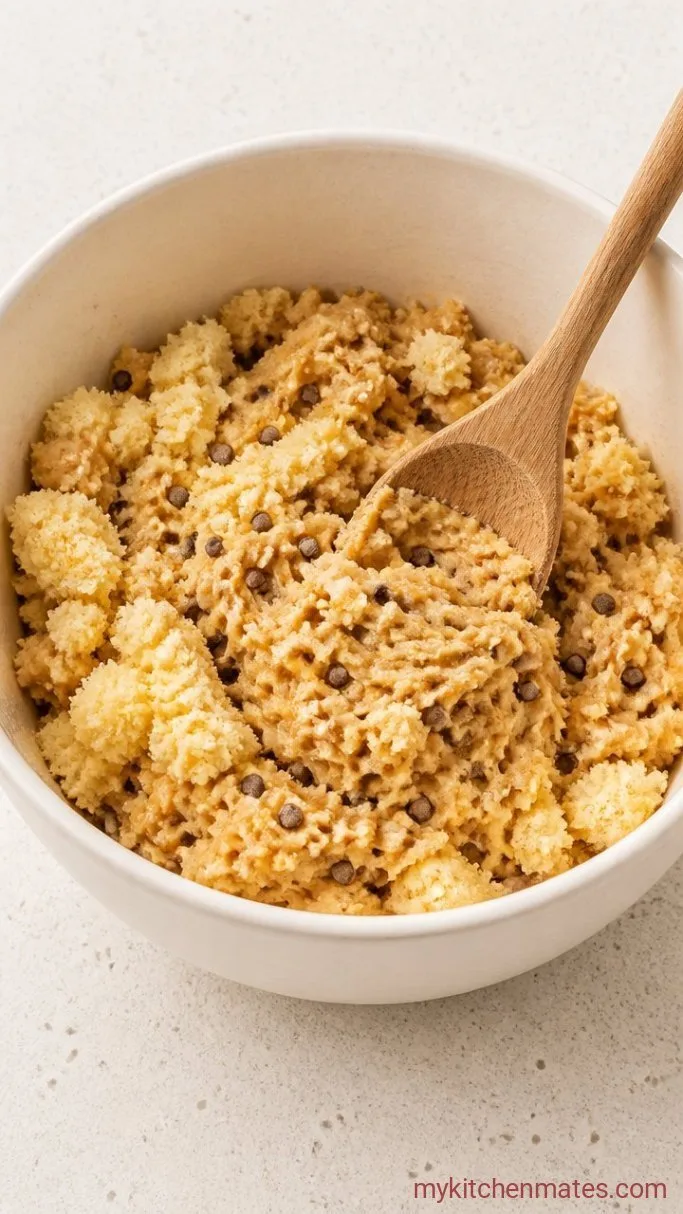
Once the cake is completely cool, crumble it into a large bowl until you have fine, even crumbs. In a second bowl, beat the ½ cup softened butter and the brown sugar until fluffy, then mix in the vanilla. Add the heat-treated flour and 2 tablespoons of milk, stirring until a soft dough forms. If the dough feels crumbly, add the remaining 1 tablespoon of milk.
Fold the cake crumbs and mini chocolate chips into the dough, using your hands or a sturdy spoon, until you have a uniform mixture that holds together when squeezed. It should feel like damp sand that molds easily without cracking.
Step 3: Shape and Chill the Pops
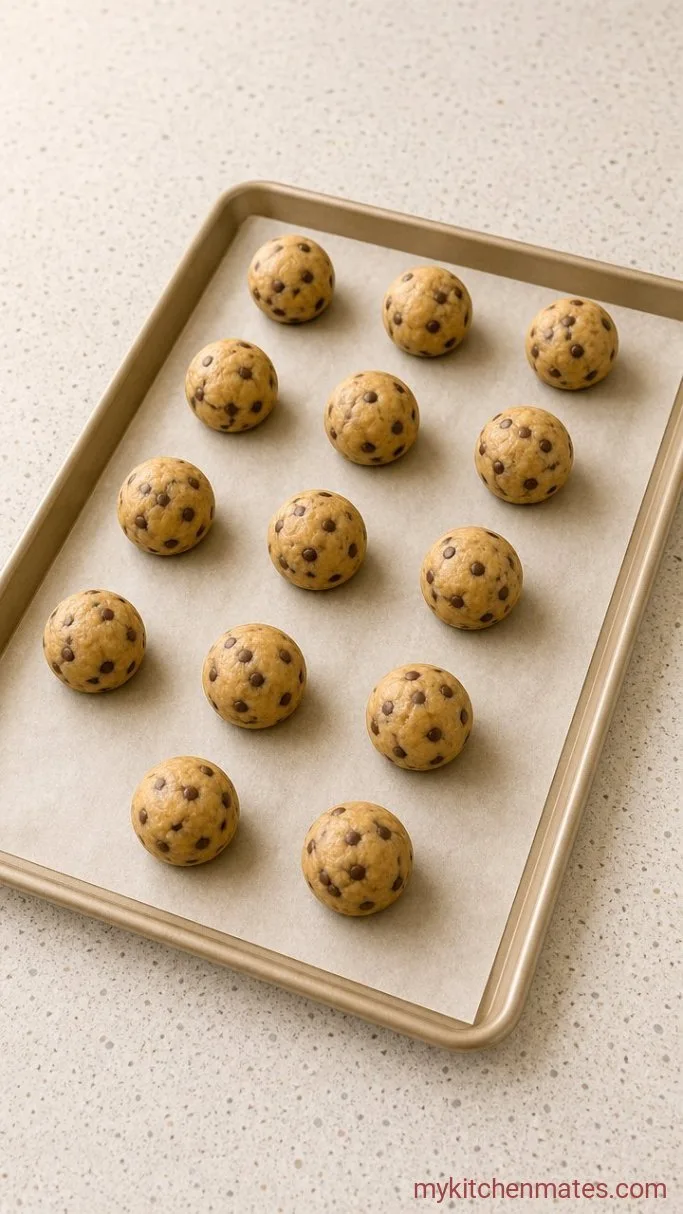
Line a baking sheet with parchment. Scoop out about 2 tablespoons of the mixture and roll it between your palms into a smooth 1-inch ball. Insert a lollipop stick about halfway through each ball, then set it on the prepared sheet. Repeat with the rest of the mixture.
Slide the sheet into the freezer and let the pops chill for 20 minutes. They should feel firm and cold but not frozen solid. That short chill is what keeps them from sliding off the sticks when you dip them in warm chocolate.
Step 4: Dip the Pops
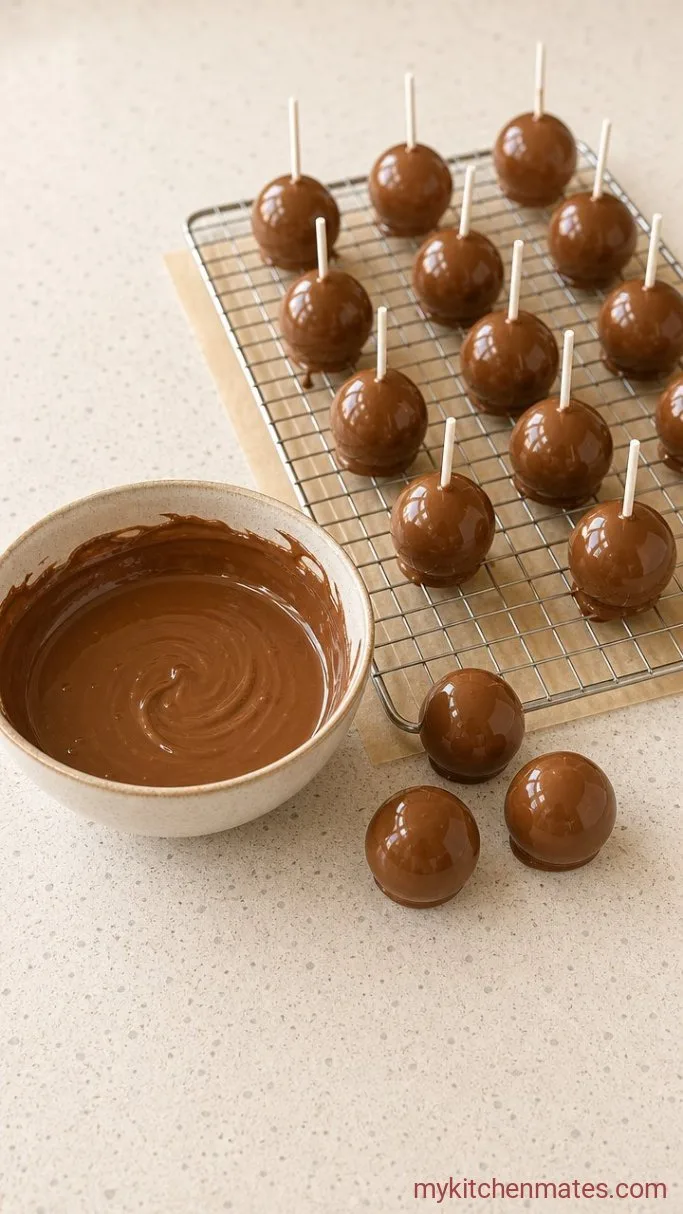
Melt the chocolate candy coating according to the package directions until smooth. Holding a pop by the stick, dip it straight down into the chocolate, then lift and let the excess drip off. Gently tap the stick against the edge of the bowl to help the coating even out.
Place each dipped pop on a fresh sheet of parchment or stand them upright in a foam block. If you see any cracks appear, the pop was probably too cold; let the next one sit at room temperature for 2 minutes before dipping. Work with 2 or 3 pops at a time, keeping the rest in the freezer.
Step 5: Drizzle and Serve
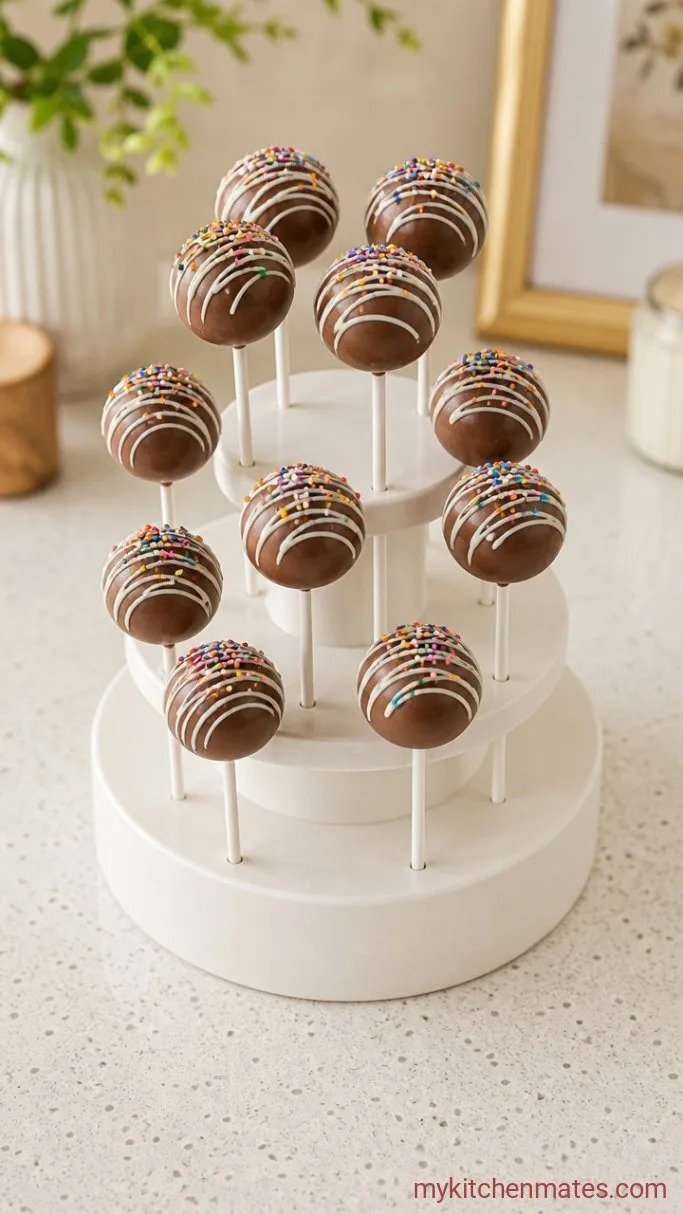
While the chocolate is still slightly tacky, drizzle a zigzag of melted chocolate over the tops or add a few sprinkles. Let the coating set completely at room temperature, about 10 minutes.
Once the shell is firm, the pops are ready to eat. They taste best when the center has softened just a little, so let them sit out of the fridge for 5 to 10 minutes before serving.
Little Tricks for Better Cake Pops
- Heat-treat the flour: spread it on a baking sheet and bake at 350°F (175°C) for 5 minutes, or microwave in 30-second bursts, stirring between each, until an instant-read thermometer reads 160°F (71°C). Let it cool completely before using.
- Keep hands damp: when rolling the balls; a quick rinse with water prevents sticking.
- If your chocolate is too thick, stir in a teaspoon of coconut oil or vegetable shortening to thin it out. Don’t add water.
- Use a foam block: or an overturned egg carton with small holes to hold the pops upright while the chocolate sets. It keeps one side from flattening.
Storing and Freezing These Cake Pops
- Refrigerate: store the finished pops in an airtight container in the fridge for up to 5 days. The shell stays crisp and the center stays chewy.
- Freeze: arrange them in a single layer in a freezer-safe container and freeze for up to 2 months. Thaw in the fridge overnight before serving.
- Serve cold: they’re great straight from the fridge, but the center turns a little softer and more fudgy if you let them sit at room temp for about 10 minutes.
Frequently Asked Questions
Can I use a homemade vanilla cake instead of a boxed mix?
Yes, any un-iced cake works. You’ll need about 4 cups of fine crumbs, so bake an 8- or 9-inch round cake and let it cool completely.
How do I make these gluten-free?
Use a gluten-free cake mix for the cake, and swap in a gluten-free all-purpose flour blend for the cookie dough. Heat-treat the flour the same way you would regular flour.
Why did my chocolate crack after dipping?
The pops were probably too cold when they met the warm chocolate. Let them sit at room temperature for 2 to 3 minutes after the freezer before you dip, and avoid over-chilling past 20 minutes.
Can I skip the sticks and make cake balls instead?
Absolutely. Roll the mixture into balls, skip inserting the sticks, and serve them on a platter or in mini cupcake liners.
Cookie Dough Cake Pops Recipe
Ingredients
Method
- Bake the cake according to the package directions until a toothpick comes out clean, about 25 minutes at 350°F (175°C). Let it cool completely.
- Crumble the cooled cake into fine crumbs in a large bowl. In a separate bowl, beat the butter and brown sugar until fluffy, then mix in the vanilla, heat-treated flour, and 2 tablespoons milk. Stir in the cake crumbs and mini chocolate chips until the mixture holds together, adding the extra tablespoon of milk if needed.
- Roll the mixture into 1-inch balls, insert a lollipop stick halfway into each, and place them on a parchment-lined baking sheet. Freeze for 20 minutes until firm.
- Melt the chocolate coating and dip each pop, letting the excess drip off. Set them on parchment or stand them upright in a foam block.
- Drizzle with extra melted chocolate or add sprinkles while the coating is still tacky, then let the chocolate set completely at room temperature, about 10 minutes.
Notes
