
No-Bake Coconut Cream Bars with Toasted Coconut

These no-bake coconut cream bars have a buttery graham cracker crust, a silky coconut custard filling, and a cloud of whipped cream on top. They’re the kind of dessert you can make in the morning and pull from the fridge after dinner, with no oven needed.
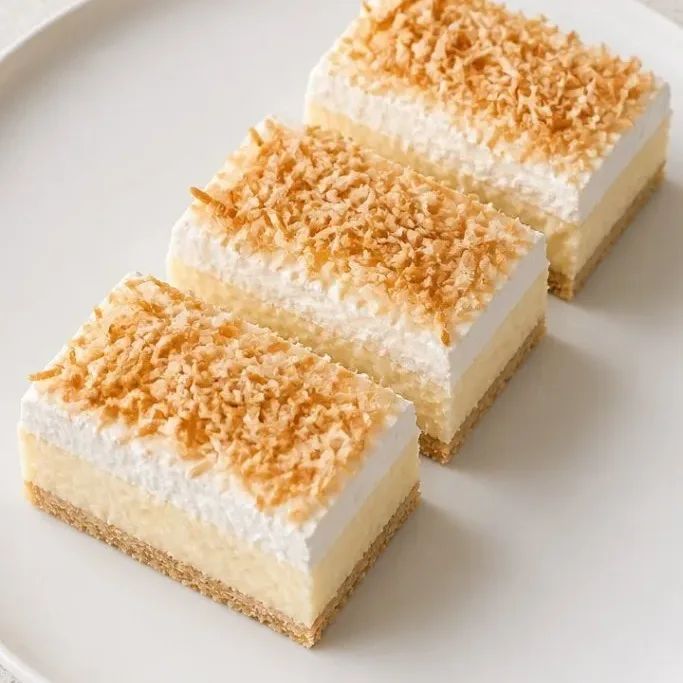
A generous layer of toasted coconut adds crunch and a deep, nutty flavor that makes every bite feel special. Best part? You can build them in about 20 minutes, then let the fridge do the rest.
What Makes These Coconut Cream Bars So Good
The filling is the star: it’s rich and creamy, but not heavy, with a clean coconut taste that comes from real coconut cream and coconut milk. No boxed pudding mix here.
The crust stays crisp because it’s pressed firm and chilled, not baked. And that whipped cream top? It’s light and just sweet enough to balance the custard underneath.
The toasted coconut on top gives the whole bar a toasty crunch that cuts through the creaminess. It’s the kind of dessert that feels fancy but takes almost no effort.
Ingredients
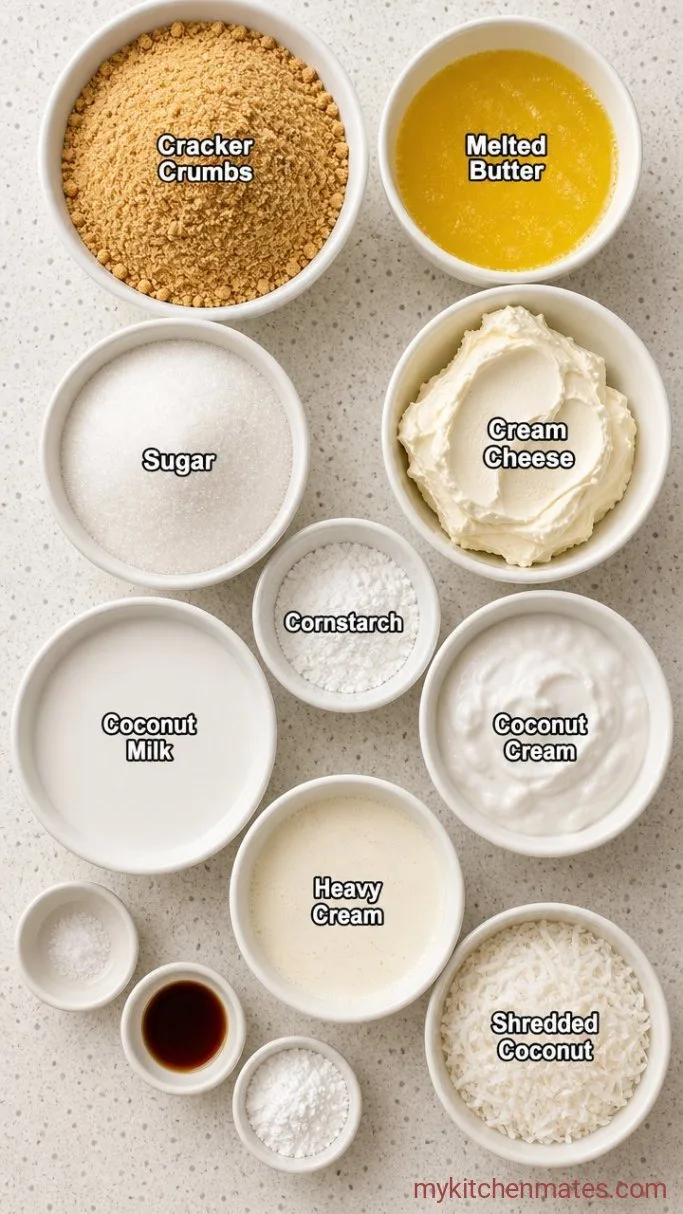
- 1 1/2 cups graham cracker crumbs: about 12 full sheets, crushed fine
- 6 tbsp unsalted butter, melted: plus a little extra for the pan if needed
- 2 tbsp granulated sugar: for the crust
- 8 oz cream cheese, softened: full-fat helps the custard set
- 1/2 cup granulated sugar: for the filling
- 1/4 cup cornstarch: thickens the custard without flour
- 1 (13.5 oz) can full-fat coconut milk: shake well before opening
- 1/2 cup coconut cream: the thick part scooped from a chilled can of full-fat coconut cream
- 1 tsp vanilla extract: in the filling
- Pinch fine sea salt
- 1 cup heavy whipping cream: cold, for the topping
- 2 tbsp powdered sugar
- 1/2 tsp vanilla extract: in the whipped cream
- 1/2 cup sweetened shredded coconut, toasted
Variations / Substitutions
- Make them gluten-free: use a gluten-free graham cracker or vanilla wafer crumb for the crust.
- Dairy-free option: swap the cream cheese for a dairy-free cream cheese alternative and use coconut whipped cream (chill a full can of coconut cream, scoop the fat, and whip).
- No coconut cream on hand: you can use all coconut milk, but the custard may take a few extra minutes on the stove to thicken completely.
- Change the topping: a drizzle of dark chocolate ganache or a dusting of cocoa powder works beautifully over the whipped cream.
No-Bake Chocolate Coconut Balls are another dessert you’d probably love if you enjoy these bars.
How to Make No-Bake Coconut Cream Bars
Step 1: Press the Crust
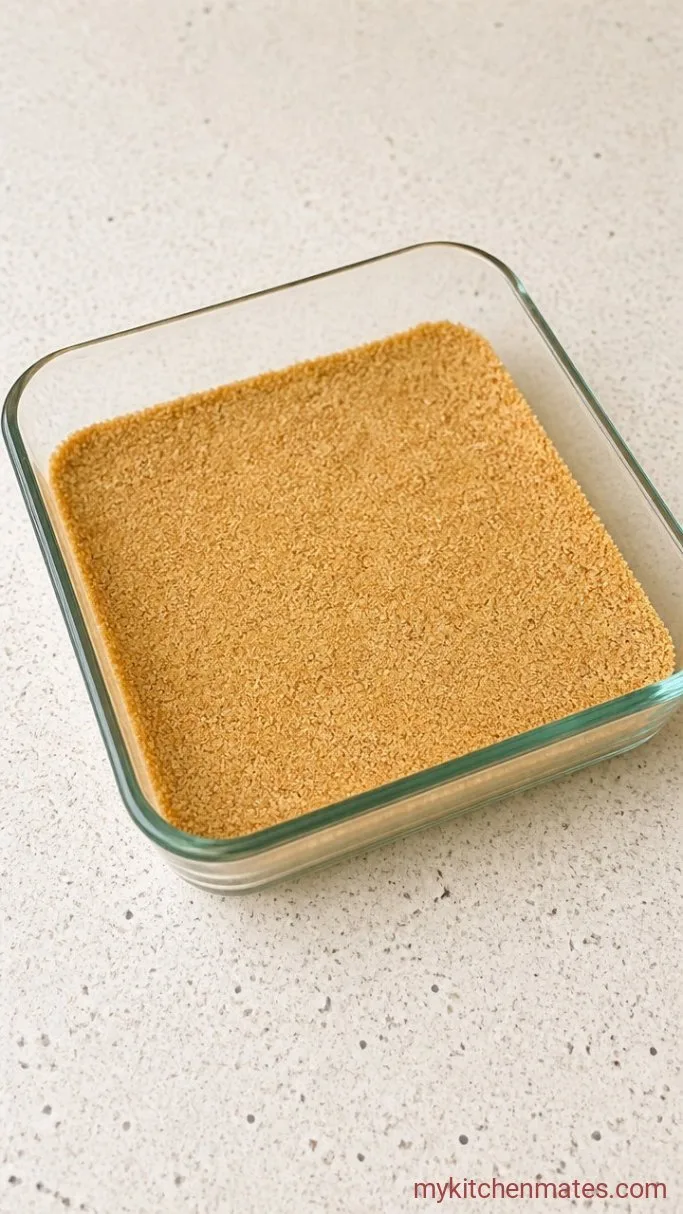
In a bowl, stir together the 1 1/2 cups graham cracker crumbs, 6 tbsp melted butter, and 2 tbsp sugar until the mixture looks like wet sand. Line an 8×8 inch baking pan with parchment paper, leaving a little overhang on two sides, and press the crumb mixture firmly and evenly into the bottom. Use a flat-bottomed measuring cup to pack it. Slide the pan into the fridge while you make the filling.
The crust will feel damp and hold together when you pinch a bit between your fingers. Chilling it now helps it stay firm under the warm custard you’ll pour in next.
Step 2: Cook the Coconut Custard
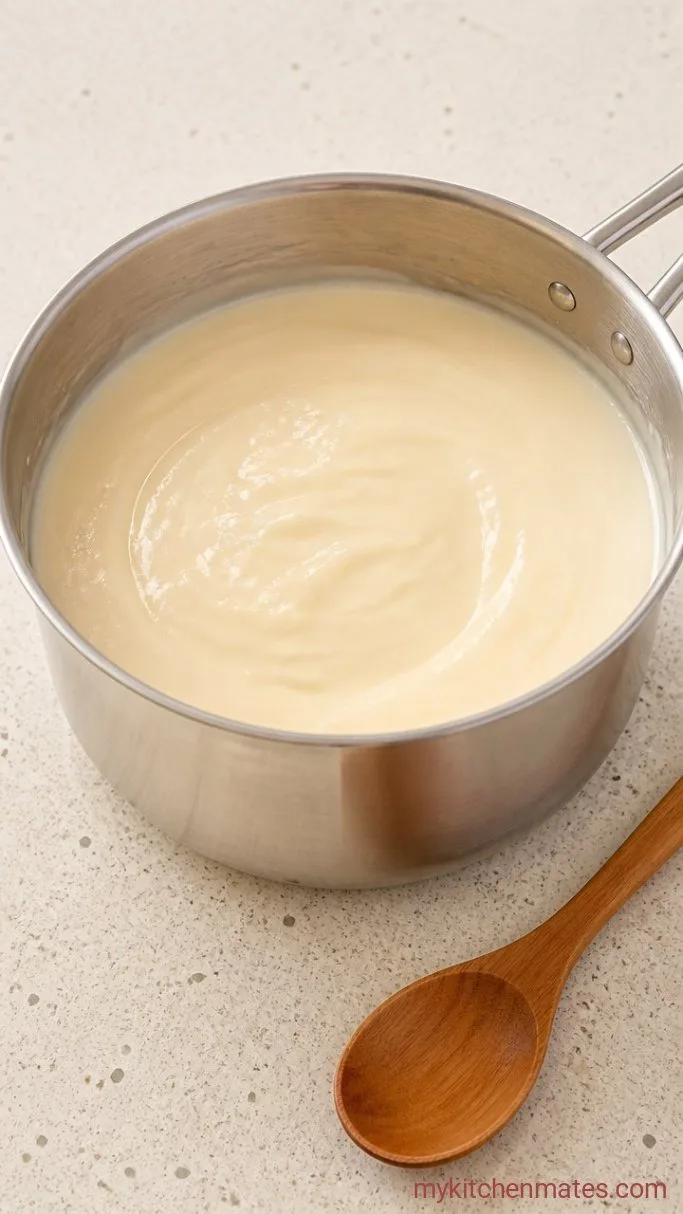
In a medium saucepan off the heat, whisk the 8 oz softened cream cheese, 1/2 cup sugar, 1/4 cup cornstarch, the whole can of coconut milk, 1/2 cup coconut cream, 1 tsp vanilla, and a pinch of salt until smooth. Place the pan over medium heat and cook, whisking constantly, for 5 to 7 minutes. The mixture will steam, then gradually thicken and start to bubble gently.
You’ll know it’s ready when it coats the back of a spoon and a line drawn through it with your finger holds its shape. Don’t let it boil hard, a few lazy bubbles are enough. Boiling too vigorously can cause the cornstarch to thin back out.
Step 3: Pour and Chill the Filling
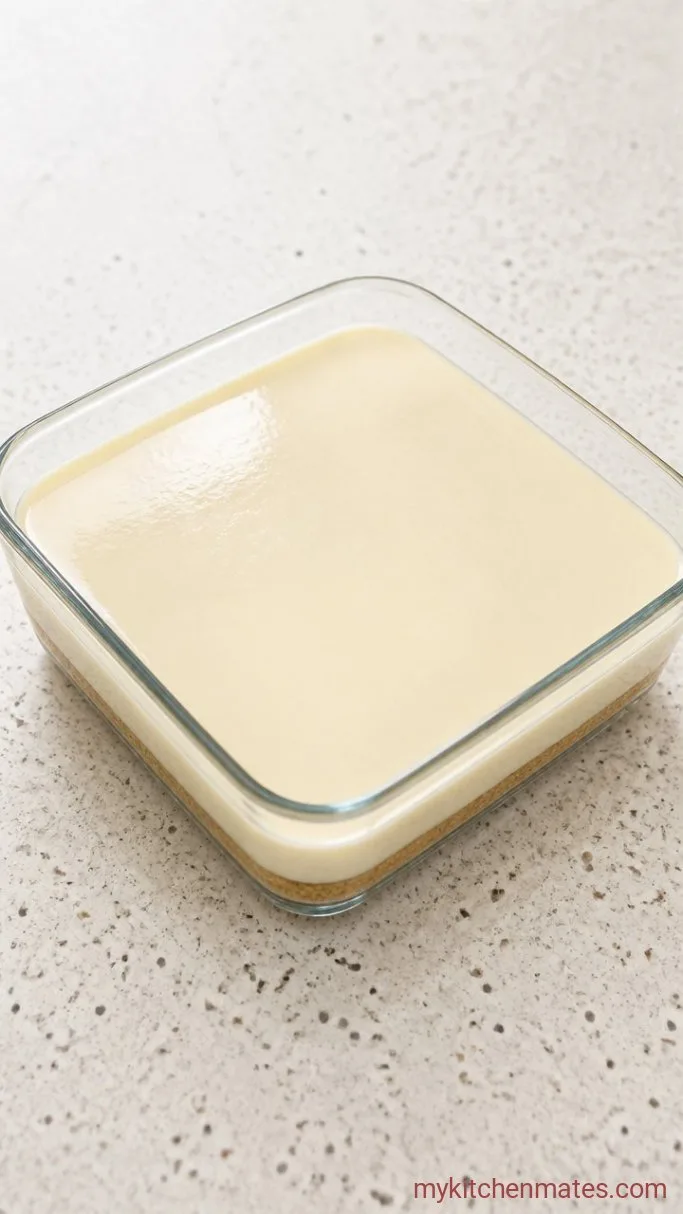
Take the crust out of the fridge and pour the hot custard right over it. Spread it into an even layer with a spatula. Refrigerate the whole pan, uncovered, for at least 4 hours, or overnight, until the filling is completely firm and sliceable.
The custard turns into a creamy slab that doesn’t wobble. If you’re chilling longer than a few hours, cover the pan loosely with plastic wrap after the first hour to keep a skin from forming on top.
Step 4: Whip and Toast the Toppings
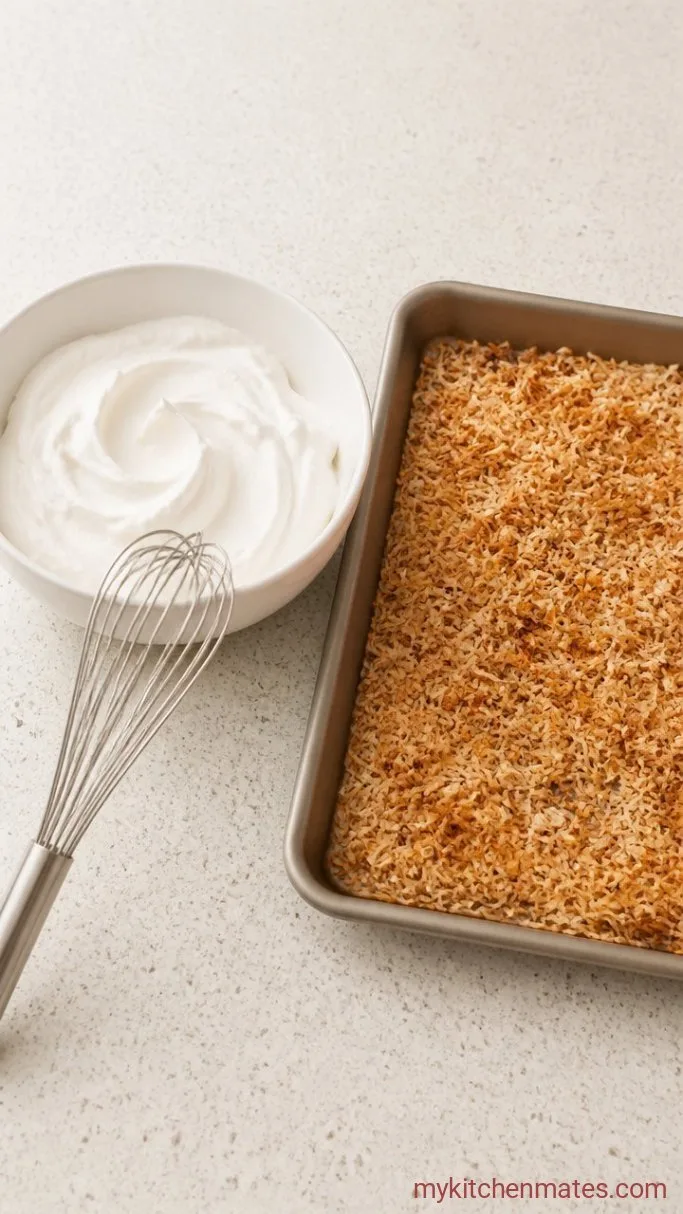
Pour the 1 cup cold heavy cream, 2 tbsp powdered sugar, and 1/2 tsp vanilla into a large bowl. Beat with an electric mixer until stiff peaks form, about 2 to 3 minutes. Meanwhile, put the 1/2 cup shredded coconut in a dry skillet over medium heat. Stir it constantly for 3 to 4 minutes, just until the shreds are golden brown and smell toasty. Tip it onto a plate right away.
Coconut can go from pale to burnt in seconds once it starts browning, so keep your eye on it after the first two minutes. Spreading it on a cool plate stops the carryover heat.
Step 5: Top and Slice the Bars
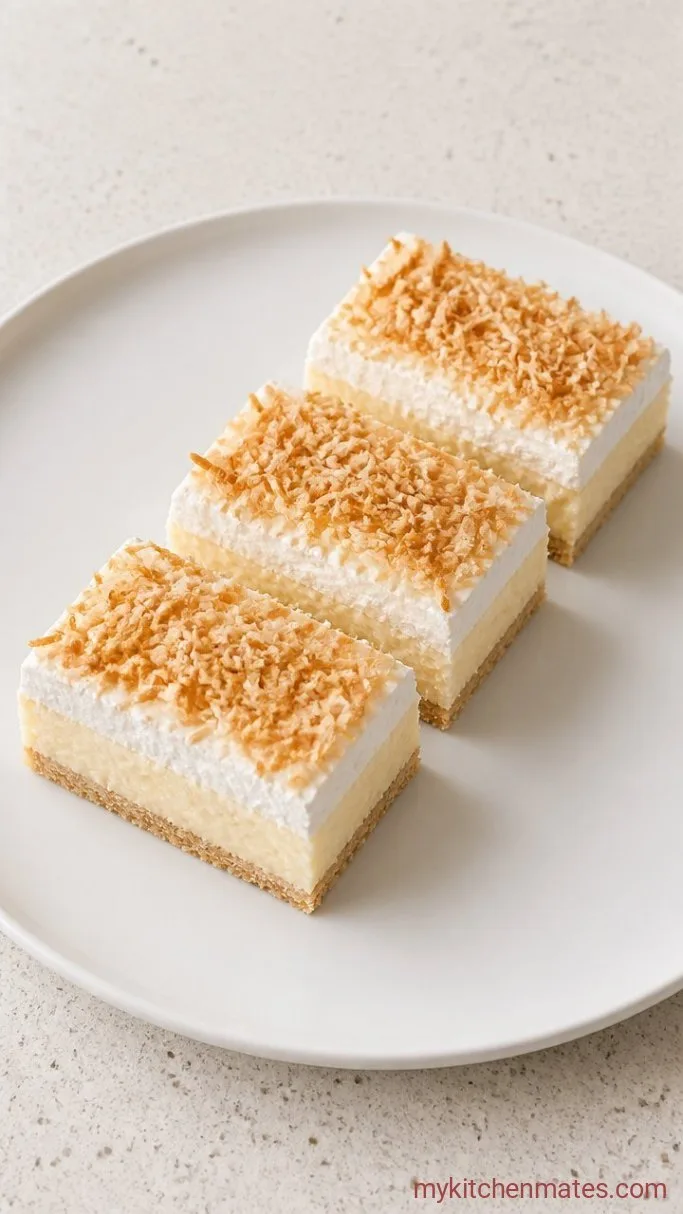
Pull the chilled pan from the fridge and spread the whipped cream over the custard in an even layer. Scatter the toasted coconut across the top. Use the parchment overhang to lift the whole block out of the pan and set it on a cutting board. Slice into 9 bars and serve them cold.
Wipe your knife clean between cuts for the neatest squares. The bars hold their shape well and the coconut stays crunchy against the soft cream layers.
Tips for the Best Coconut Cream Bars
- Always use full-fat canned coconut milk and coconut cream. The fat content is what lets the custard set into a sliceable layer. Light versions will make it soupy.
- Chill the can of coconut cream overnight so the thick cream separates from the watery liquid. Scoop only the firm white portion into your measuring cup for the recipe.
- Keep the custard over medium heat and whisk the whole time. High heat can cause the cornstarch to clump or stick to the bottom of the pan before the mixture thickens evenly.
- For the cleanest bars, chill them fully and run a sharp knife under hot water, then dry it, between each cut.
Scale the recipe for a larger pan:
| Pan Size | Ingredient Multiplier | Serves |
|---|---|---|
| 8×8 inch | 1x (as written) | 9 |
| 9×13 inch | 2x | 18 |
Storing Leftovers
Cover leftover bars loosely and refrigerate up to 4 days. The whipped cream will soften a little, but the custard stays creamy. To freeze, wrap just the crust and custard layer well for up to 1 month, then thaw in the fridge and add fresh whipped cream and coconut before serving.
Frequently Asked Questions
Can I use light coconut milk?
No, light coconut milk lacks enough fat to thicken the custard properly and will give you a runny filling.
Can I make these bars dairy-free?
Yes. Use a dairy-free cream cheese alternative and make the whipped topping from full-fat chilled coconut cream instead of heavy cream. The texture stays smooth and sliceable.
How do I toast coconut without burning it?
Toast the shredded coconut in a dry skillet over medium heat, stirring constantly, for 3 to 4 minutes. Pull it from the heat the second it turns golden, then spread it on a plate to cool.
Can I freeze the bars fully assembled?
Freezing is best done before adding the whipped cream and coconut. Wrap the set crust and custard tightly, freeze up to 1 month, thaw in the fridge overnight, then top and serve.
Coconut Cream Bars Recipe
Ingredients
Method
- Line an 8×8 inch baking pan with parchment, leaving overhang. Stir crust ingredients together, press firmly into the pan, and chill.
- In a medium saucepan, whisk cream cheese, sugar, cornstarch, coconut milk, coconut cream, vanilla, and salt until smooth. Cook over medium heat, whisking constantly, until thickened, 5 to 7 minutes.
- Pour the hot custard over the chilled crust and smooth the top. Refrigerate until completely firm, at least 4 hours or overnight.
- Beat heavy cream, powdered sugar, and vanilla until stiff peaks form. Toast the shredded coconut in a dry skillet over medium heat, stirring often, 3 to 4 minutes until golden.
- Spread whipped cream over the set custard, scatter the toasted coconut on top. Lift out using the parchment, slice into 9 bars, and serve cold.
Notes
