
No-Spread Christmas Tree Sugar Cookies

These buttery sugar cookies keep their crisp tree shape in the oven, so every branch and pointed top comes out just the way you cut it.

They are soft in the middle with lightly golden edges, and a simple green icing and a few sprinkles turn them into a festive holiday treat. The dough is easy to work with, and a short chill in the fridge makes all the difference.
What Makes These Trees Stand Tall
I tested a lot of cut-out cookies that puffed into blobs. This recipe uses cornstarch and a quick dough chill to keep every sharp angle right where it should be.
The result is a cookie that is sturdy enough for little hands to decorate but still tender when you bite in. The vanilla butter base pairs nicely with the sweet icing without being cloying.
Ingredients
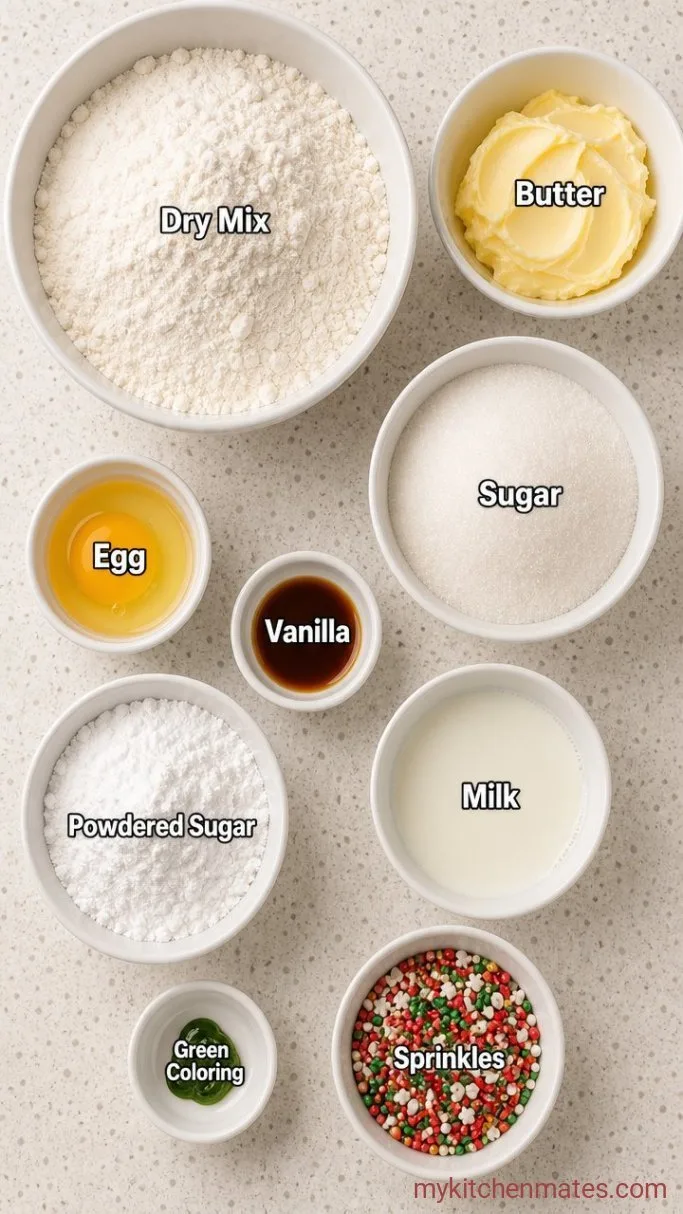
For the Cookies
- 2 ½ cups all-purpose flour, spooned and leveled: too much flour makes the cookies dry, so measure carefully
- ¼ cup cornstarch: keeps the dough tender and helps prevent spreading
- ½ tsp baking powder
- ½ tsp fine salt
- 1 cup unsalted butter, softened: cold butter will not cream properly
- ¾ cup granulated sugar
- 1 large egg, at room temperature
- 2 tsp vanilla extract
For the Icing
- 2 cups powdered sugar
- 3 to 4 tbsp whole milk, plus more as needed
- ½ tsp vanilla extract
- Gel green food coloring: liquid coloring can make the icing too runny
- Festive sprinkles, for decorating
Variations / Substitutions
- Dairy-free: swap in a stick-style vegan butter. The dough may be a little softer, so chill it for an extra 20 minutes.
- Gluten-free: use a 1-to-1 gluten-free flour blend that contains xanthan gum. Check the bake 1 minute early, as gluten-free flour can brown faster.
- Lemon trees: replace the vanilla in both the dough and the icing with 1 tsp lemon extract and add the zest of 1 lemon to the sugar before creaming.
- Other shapes: this dough holds any cut-out shape well, from stars to snowmen. Roll it the same thickness and bake until just set at the edges.
Soft and Chewy Christmas Monster Cookies are another dessert you’d probably love if you enjoy these cookies.
How to Make No-Spread Christmas Tree Sugar Cookies
Step 1: Cream the Butter and Sugar
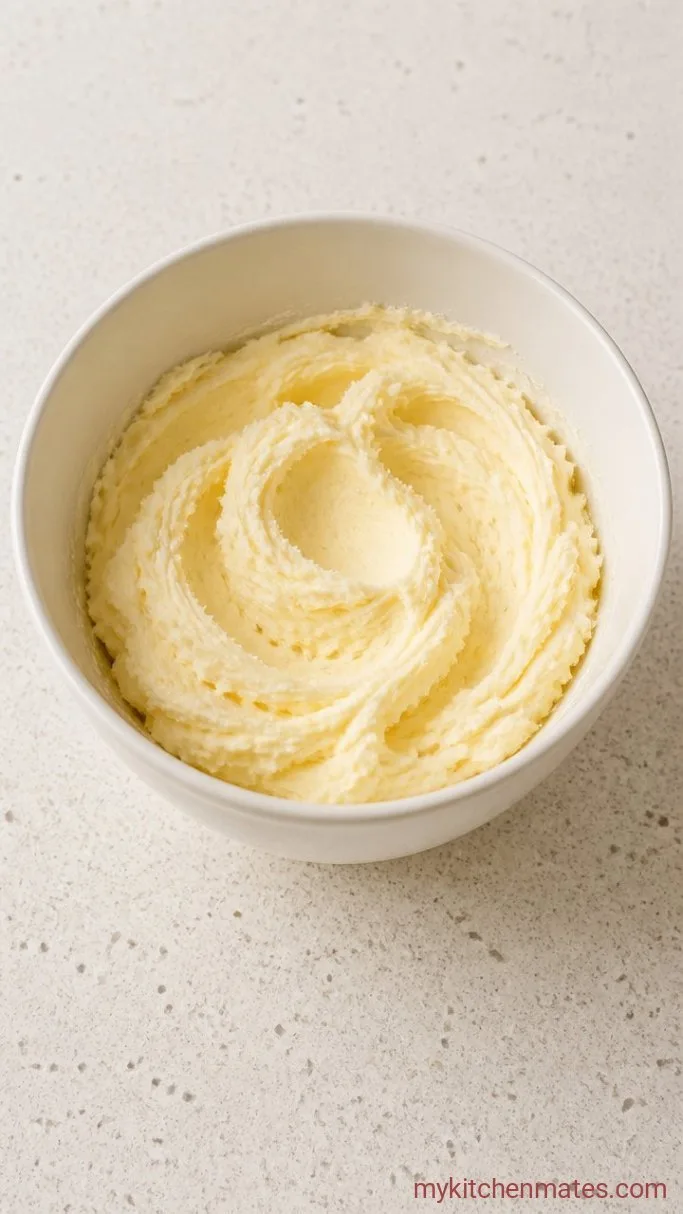
Heat your oven to 350°F (175°C) and line two baking sheets with parchment paper. In a large bowl, beat the 1 cup softened butter and ¾ cup granulated sugar with an electric mixer on medium speed until the mixture looks pale and fluffy, about 3 minutes. Stop to scrape down the bowl once so no streaks of butter remain.
It should resemble thick, smooth frosting. Add the egg and 2 tsp vanilla, then beat until just combined. The mixture may look a little curdled at first, but it will come together after another 20 seconds of mixing.
Step 2: Mix in the Dry Ingredients

Sift together the 2 ½ cups flour, ¼ cup cornstarch, ½ tsp baking powder, and ½ tsp salt. With the mixer on low, gradually add the dry ingredients to the butter mixture. Stop as soon as no dry patches remain and the dough looks soft but not sticky.
If the dough feels tacky, stir in an extra tablespoon of flour. Shape the dough into a flat disc, wrap it tightly, and chill it in the refrigerator for at least 1 hour. This rest gives the butter time to firm up again, which is what keeps the trees from losing their points in the oven.
Step 3: Roll and Cut the Trees
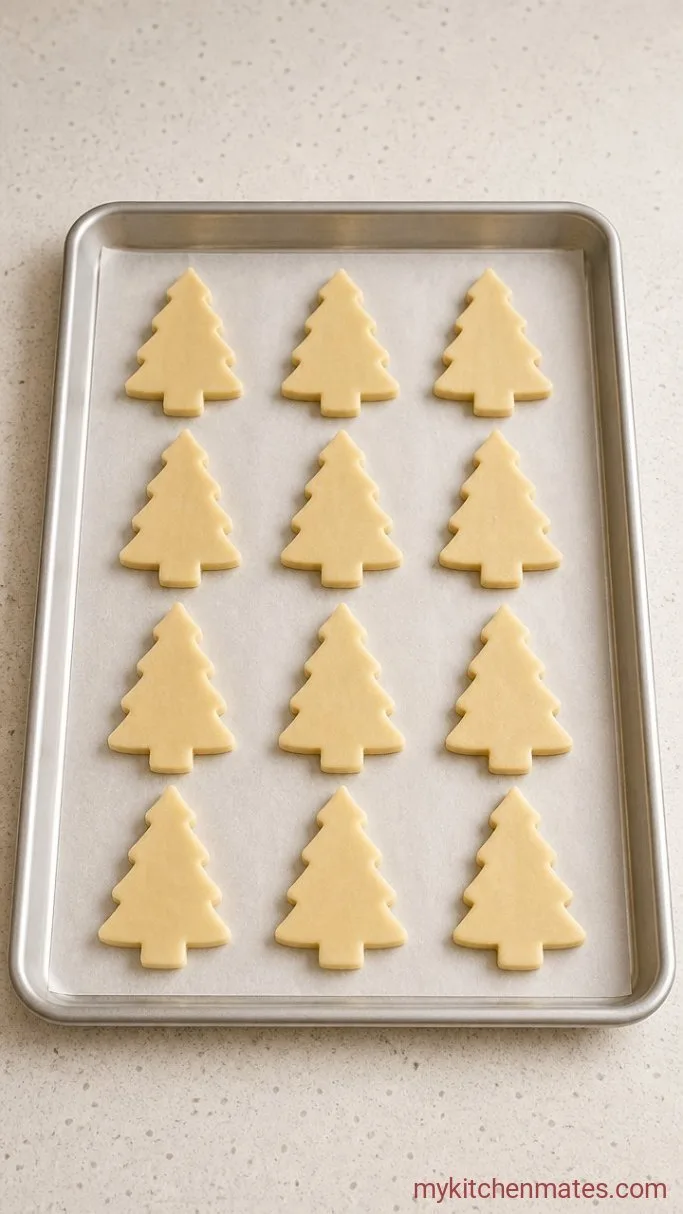
Unwrap the chilled dough and place it between two large sheets of parchment paper. Roll it out to an even ¼ inch thickness. Peel off the top sheet, then use a tree-shaped cookie cutter to cut as many cookies as you can. Transfer the cut shapes to the prepared baking sheets, spacing them about 1 inch apart.
Re-roll the scraps only once to avoid tough cookies. If your kitchen is warm and the cut trees start to look soft, slide the whole sheet into the fridge for 10 minutes before baking.
Step 4: Bake the Cookies
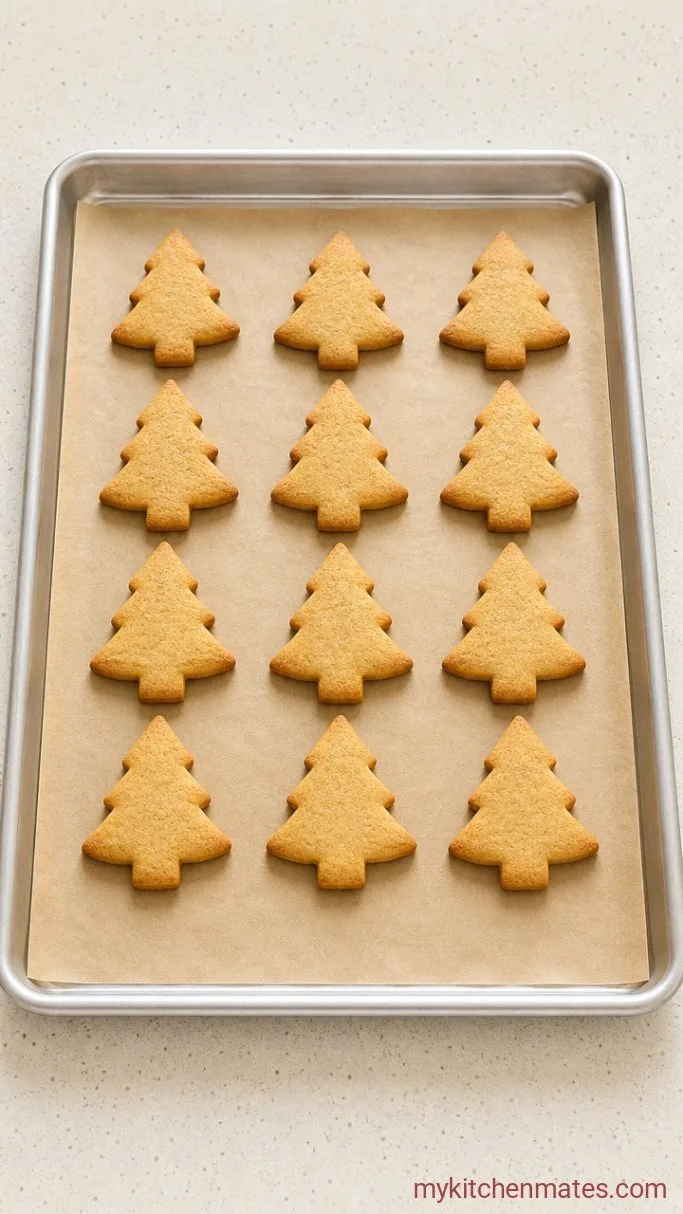
Bake one sheet at a time on the middle rack for 8 to 10 minutes, until the edges are just barely golden. Rotate the pan halfway through in case your oven has hot spots. The cookies will still look pale and soft when you pull them out, but they firm up as they cool.
Let them sit on the hot baking sheet for 5 minutes, then move them to a wire rack to cool completely before decorating. Overbaking by even a minute will turn them crisp rather than tender, so pull them as soon as you see the first hint of golden at the very outer edge.
Step 5: Decorate and Add the Sprinkles

Whisk together 2 cups powdered sugar, 3 to 4 tbsp milk, ½ tsp vanilla, and enough gel green food coloring to reach a shade you like. The icing should be thick enough to hold a line but still pipeable. Add milk drop by drop if it is too stiff, or a spoonful of powdered sugar if it runs too thin.
Spoon the green icing into a piping bag fitted with a small round tip, or use a zip-top bag with a tiny corner snipped off. Outline each tree, fill the center with zigzags, and immediately press on your sprinkles while the icing is still wet. Let the cookies sit at room temperature until the icing hardens completely, about 15 minutes, before stacking or serving.
Tips for Crisp Tree Shapes
- Gel food coloring gives a vibrant green without thinning the icing. Liquid food coloring can make the glaze so runny that it slides right off the cookie.
- Rolling between parchment lets you skip the flour dusting. Too much bench flour dries out the dough and can cause the edges to crack after baking.
- If the dough softens while you are cutting shapes, slide the whole sheet of unbaked trees into the freezer for 5 minutes. This firms the butter fast and preserves every sharp point.
- Test your icing on a scrap of wax paper before piping onto the cookies. Draw a line and see if it holds its shape. A ribbon that melts into a puddle needs more powdered sugar.
Bake times by dough thickness:
| Dough Thickness | Approx. Bake Time | Cookie Texture |
|---|---|---|
| ¼ inch | 8 to 9 minutes | Soft centers, pale edges |
| ⅜ inch | 10 to 11 minutes | Slightly crisp edges, light golden hue |
| ½ inch | 12 to 13 minutes | More substantial, crisp throughout |
Storing Decorated Cookies
Store completely cooled, decorated cookies in a single layer inside an airtight container at room temperature. They stay soft for up to 5 days. If you need to stack them, slip a sheet of parchment between each layer. Undecorated baked cookies freeze well for up to 2 months. Thaw them on the counter and ice fresh.
Frequently Asked Questions
Can I use a different icing?
Yes. Royal icing dries rock-hard and is better for stacking or mailing. The powdered sugar glaze here sets softer and keeps a slight gloss. Both work with these cookies.
Do I have to chill the dough?
Chilling is not optional if you want sharp tree shapes. The butter must be cold to stop the cookies from spreading in the oven. Even 1 hour in the fridge makes a real difference.
How thick should I roll the dough?
A ¼ inch thickness gives you a cookie that is tender in the middle with barely crisp edges, and it still holds its shape well. Thicker cookies will need a minute or two longer in the oven and will be chewier.
Why did my icing turn out runny?
If the icing is too thin, stir in more powdered sugar, a tablespoon at a time, until it holds a thick ribbon. Measuring the milk carefully and using gel color instead of liquid both help prevent it from starting too loose.
No-Spread Christmas Tree Sugar Cookies Recipe
Ingredients
Method
- Heat oven to 350°F (175°C). Line two baking sheets with parchment. Cream the butter and sugar until pale and fluffy, about 3 minutes, then beat in the egg and vanilla.
- Sift together flour, cornstarch, baking powder, and salt. Mix into the butter mixture on low just until combined. Shape into a disc, wrap, and chill at least 1 hour.
- Roll the dough between parchment to ¼ inch thick. Cut tree shapes and place on the prepared sheets.
- Bake 8 to 10 minutes, until edges are just barely golden. Cool on the sheet 5 minutes, then transfer to a rack to cool completely.
- Whisk powdered sugar, milk, vanilla, and green food coloring into a thick, pipeable icing. Pipe onto the cookies and add sprinkles while wet. Let icing set about 15 minutes.
Notes
