
Simple Christmas Stocking Cookies You Can Decorate with Kids

These simple Christmas stocking cookies start with a buttery sugar cookie dough that bakes up soft and pale gold. They get finished with a quick glaze and plenty of sprinkles, so decorating feels less like fussy work and more like play.

The stocking shape is the only “fancy” part, and you don’t need a special cutter. A knife and a paper template do the job, which means you can pull these off with what you already have in the kitchen.
Why These Stocking Cookies Are a Holiday Favorite
The dough is tender and just sweet enough to let the icing shine, and the cookies stay soft for days. I like that the finished stockings feel festive without demanding piping skills, because the glaze flows into the shape and smooths itself out.
It’s the cookie I reach for when a baking afternoon with kids should end with something cute, not a flour-covered mutiny. The decorating moves fast enough that attention spans survive, and the cleanup is mostly sprinkles you can sweep.
Ingredients

- 2 ½ cups all-purpose flour, plus more for rolling: spoon and level to keep the cookies tender
- ½ tsp baking powder: gives a hint of lift without puffing out the shape
- ¼ tsp salt: just enough to balance the sweet glaze
- 1 cup unsalted butter, softened: leave it at room temperature for a good hour
- 1 cup granulated sugar: creams up light and airy with the butter
- 1 large egg: cold from the fridge is fine
- 2 tsp vanilla extract: the only flavor you really notice in the dough
- 2 cups powdered sugar: for the glaze
- 2 to 3 tbsp milk: whole milk makes the glaze a little richer
- 1 tbsp light corn syrup: helps the glaze set with a slight shine
- ½ tsp vanilla extract: rounds out the glaze flavor
- Gel food coloring: red, green, or whatever your stockings need
- Red and green sanding sugar, white nonpareils: for the decorations
Variations / Substitutions
- Gluten-free: use a 1-to-1 cup-for-cup gluten-free flour blend. The dough will be a bit more fragile when rolling.
- Dairy-free: swap in a plant-based butter stick and unsweetened oat milk for the glaze.
- Natural color: beat a little freeze-dried strawberry powder into the glaze for pink, or matcha for green.
- Royal icing: pipe it on instead of glaze for sharper details. It dries harder and takes longer to set.
Stranger Things Birthday Cake is another reader favorite dessert worth making next.
How to Make Christmas Stocking Cookies
Step 1: Mix the Cookie Dough

In a medium bowl, whisk together the 2 ½ cups flour, ½ tsp baking powder, and ¼ tsp salt. In a large bowl, beat the 1 cup softened butter and 1 cup sugar together until light and fluffy, about 2 minutes. Beat in the 1 egg and 2 tsp vanilla until combined, then gradually mix in the dry ingredients. Gather the dough into a disc, wrap it in plastic, and chill for at least 1 hour.
The dough will feel soft but not sticky after mixing. Chilling it makes the butter firm up again, which means cleaner cuts and fewer puffy stockings that lose their shape.
Step 2: Roll and Cut the Stockings

On a lightly floured surface, roll the chilled dough to about ¼ inch thick. Use a stocking-shaped cookie cutter, or trace around a paper stocking template with a small knife. Transfer the cutouts to a parchment-lined baking sheet, leaving about 1 inch between them.
If the dough starts to stick, lift it with a bench scraper and dust the surface with a little more flour. You should get about 24 cookies, depending on the size of your template.
Step 3: Bake the Cookies
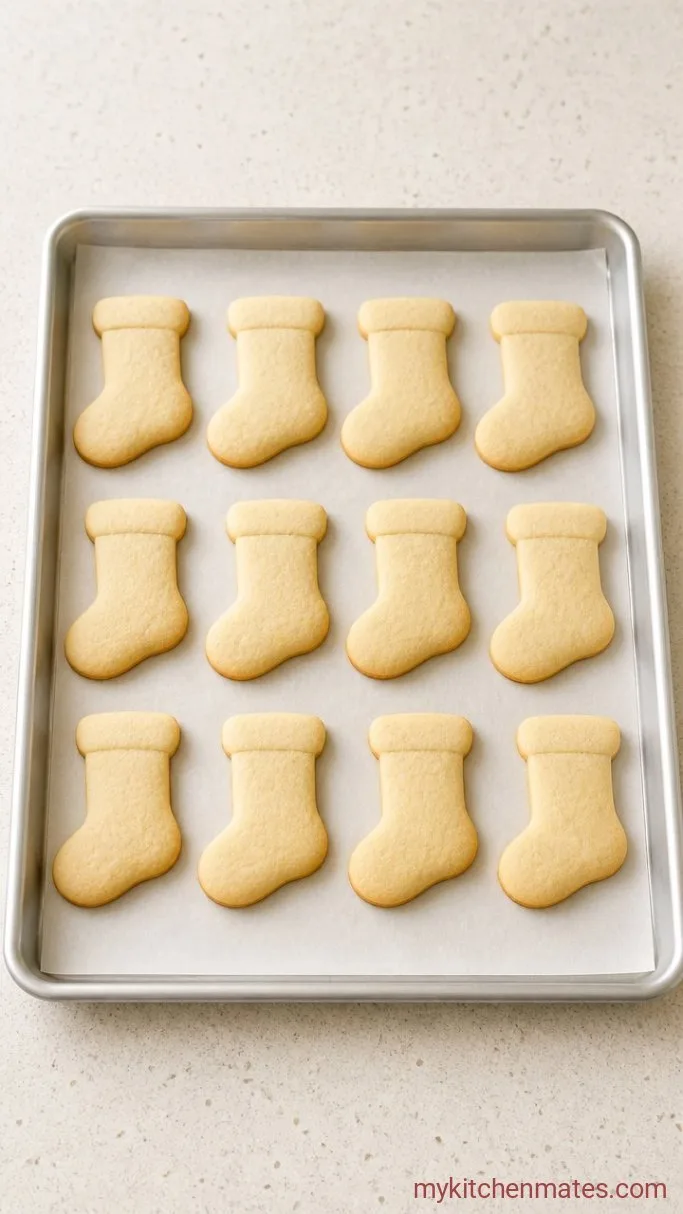
Preheat the oven to 350°F (175°C). Bake the cookies for 8 to 10 minutes, until the edges are just beginning to turn golden. Let them cool on the sheet for 2 minutes, then move them to a wire rack to cool completely.
The centers will look pale and slightly puffed. They firm up as they cool, so pulling them when they still look a little underdone in the middle keeps them soft. If your oven runs hot, check at 7 minutes.
Step 4: Make the Glaze
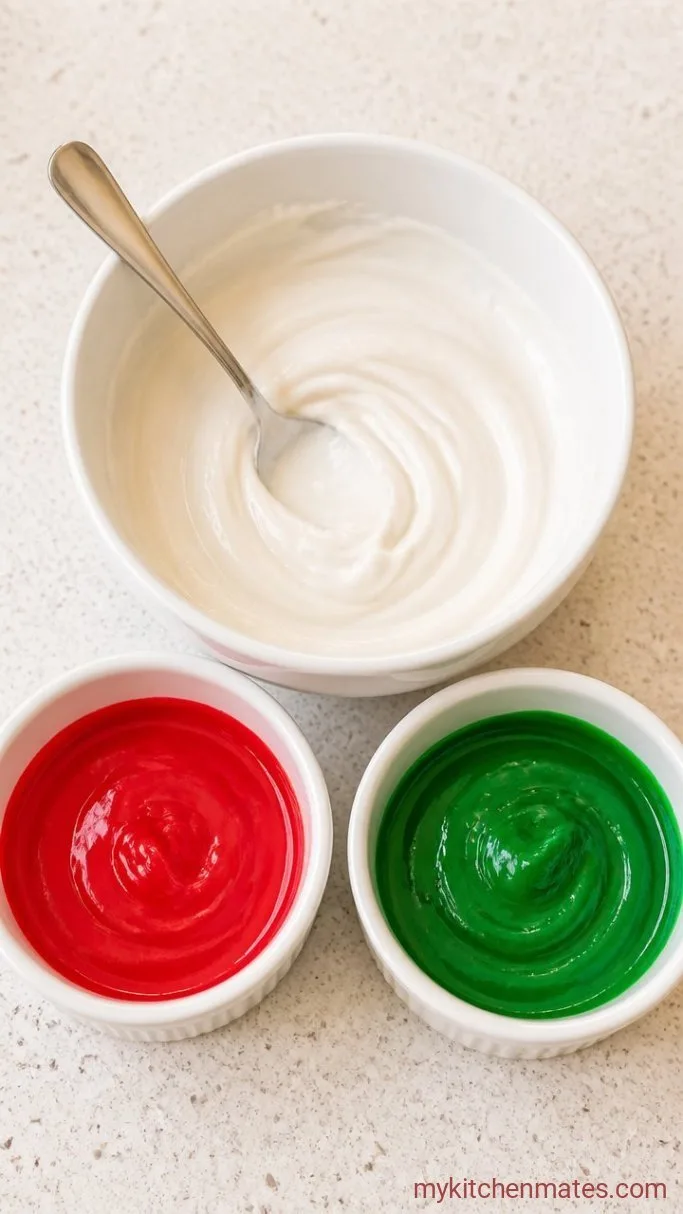
In a medium bowl, whisk together the 2 cups powdered sugar, 2 tablespoons of milk, 1 tablespoon corn syrup, and ½ teaspoon vanilla until smooth. Add more milk ½ teaspoon at a time if the glaze feels too thick. You want it to flow slowly off a spoon.
Divide the glaze into small bowls and tint each with gel food coloring. Cover any bowls you aren’t using right away with a damp paper towel so the surface doesn’t dry out and crust over.
Step 5: Decorate and Serve

Spoon or pipe the glaze onto the completely cooled cookies to fill the stocking shape. While the glaze is still wet, scatter sanding sugar or nonpareils over the heel and toe, or pipe a white cuff. Let the glaze set for about 20 minutes before serving or stacking.
The iced cookies look cheerful on a platter, and the soft cookie underneath gives way to a sweet, slightly crisp glaze. Hand them out with mugs of hot cocoa and watch them disappear.
A Few Things to Keep in Mind
- Chill the dough for the full hour, or even overnight. Cold dough cuts cleaner shapes and spreads less in the oven.
- If you don’t have a stocking cutter, draw one on cardboard, cut it out, and trace around it with a paring knife. A template works just fine.
- For smooth, even color, use gel food coloring instead of liquid. The liquid kind can thin out the glaze and make it harder to control.
- Let the cookies cool completely before glazing. Any warmth left in them will melt the glaze and send it sliding right off.
- Store the decorated cookies in a single layer with wax paper between them so the designs don’t smudge before the party.
Storing Your Decorated Cookies
Room temperature: Keep the cookies in an airtight container for up to 5 days. Layer them between sheets of wax paper to protect the icing.
Make ahead: The dough can be wrapped and refrigerated for up to 3 days before rolling and baking. Baked, undecorated cookies stay fresh in a tin for a week, so you can bake early and decorate the day before serving.
Frequently Asked Questions
Can I freeze the unbaked cookie dough?
Yes. Wrap the disc tightly and freeze for up to 2 months. Thaw in the refrigerator overnight before rolling.
My icing is sliding off the cookies—what went wrong?
The cookies were likely still warm. Let them cool completely before glazing, or the glaze will melt and slide off the edges.
Can I use royal icing instead of glaze?
Absolutely. Royal icing sets hard and is better for detailed piping, but it takes longer to dry. The glaze here is quicker and kid-friendly.
How far ahead can I make these?
Baked, undecorated cookies can be stored in a tin for a week. Decorate them the day before you plan to serve, and keep them in a single layer while the glaze sets.
Christmas Stocking Cookies Recipe
Ingredients
Method
- Whisk together flour, baking powder, and salt. Beat butter and sugar until light and fluffy, about 2 minutes. Add egg and vanilla, mix until combined, then gradually beat in dry ingredients. Shape dough into a disc, wrap, and chill at least 1 hour.
- On a floured surface, roll dough to ¼ inch thick. Cut stocking shapes with a cutter or a knife and template. Place on parchment-lined baking sheets.
- Preheat oven to 350°F (175°C). Bake 8 to 10 minutes until edges are pale golden. Cool on sheet 2 minutes, then transfer to a wire rack to cool completely.
- Whisk powdered sugar, 2 tbsp milk, corn syrup, and vanilla until smooth. Add milk ½ tsp at a time to reach a slow-flowing consistency. Divide and tint with gel color.
- Glaze cooled cookies and decorate with sanding sugar or nonpareils while wet. Let set 20 minutes before serving.
Notes
