
Red and Green Christmas Pinwheel Cookies

These red and green pinwheel cookies are the kind of holiday baking project that feels like a little celebration on its own. Buttery sugar cookie dough gets swirled with bright colors, then sliced into neat spirals that look like you spent all day on them even though you didn’t.
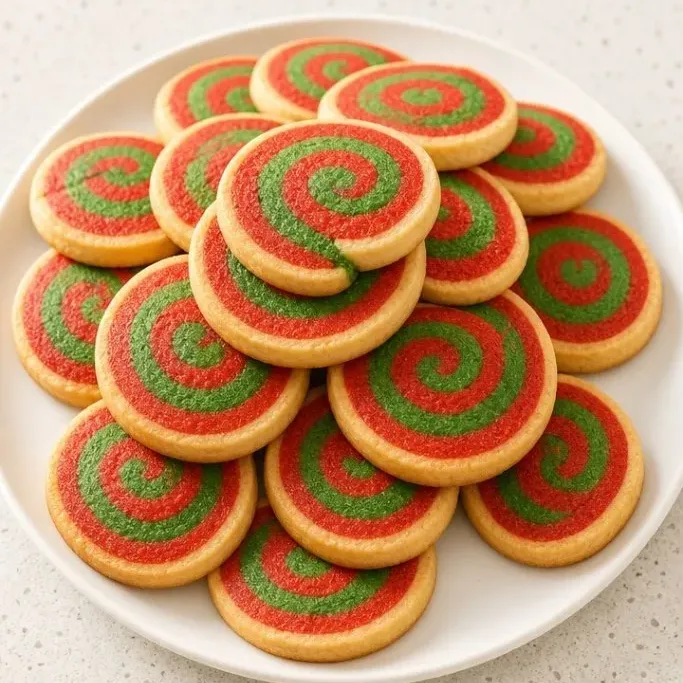
You don’t need any special decorating skills, just a little patience and a couple tricks to keep the colors crisp. The result is a tray of cookies with a tender crumb, a hint of vanilla, and that classic sugar cookie taste that holds its own next to any gingerbread or thumbprint on the cookie plate.
What Makes These Pinwheel Cookies So Good
The dough is the one I use for my favorite cut-out sugar cookies, so it stays firm in the oven instead of spreading into a puddle. That means the swirl keeps its shape and the red and green stay separate and vivid.
Flavor-wise it’s a classic sugar cookie, but I add a tiny bit of almond extract to the red dough and a whisper of peppermint to the green. Not enough to shout, but just enough that each bite has its own subtle note.
And the real win is that you can make the dough logs ahead and keep them in the fridge or freezer. Slice and bake whenever you need a tray of cookies for a party, a school event, or a last-minute neighbor gift.
Ingredients

- 2 1/4 cups (280 g) all-purpose flour: spooned and leveled, not scooped
- 1/2 tsp baking powder: helps the cookies rise just a little without spreading
- 1/4 tsp salt: fine sea salt or table salt
- 3/4 cup (170 g) unsalted butter, softened: let it sit at room temp for about an hour
- 3/4 cup (150 g) granulated sugar
- 1 large egg, at room temperature
- 1 tsp vanilla extract
- 1/4 tsp almond extract: (optional, for the red dough)
- 1/4 tsp peppermint extract: (optional, for the green dough)
- Red and green gel food coloring: use gel or oil-based colors so the dough stays the right texture
Variations / Substitutions
- No artificial colors: use beet powder for red and matcha powder for green, starting with 1 tsp each and adding more for deeper color. The colors will be more muted and the flavor will shift slightly.
- Gluten-free: swap in a good 1-to-1 gluten-free flour blend that contains xanthan gum. Chill the dough an extra 30 minutes before rolling because GF dough can be stickier.
- Dairy-free: replace the butter with a plant-based butter stick that has at least 80% fat. Margarine in a tub will be too soft and the dough will spread.
- Extra flavor: skip the separate extracts and keep both halves plain vanilla, or swap the peppermint for a tiny pinch of orange zest in the green dough.
Soft Grinch Sugar Cookies are another reader favorite dessert worth making next.
How to Make Red and Green Christmas Pinwheel Cookies
Step 1: Mix the Dough
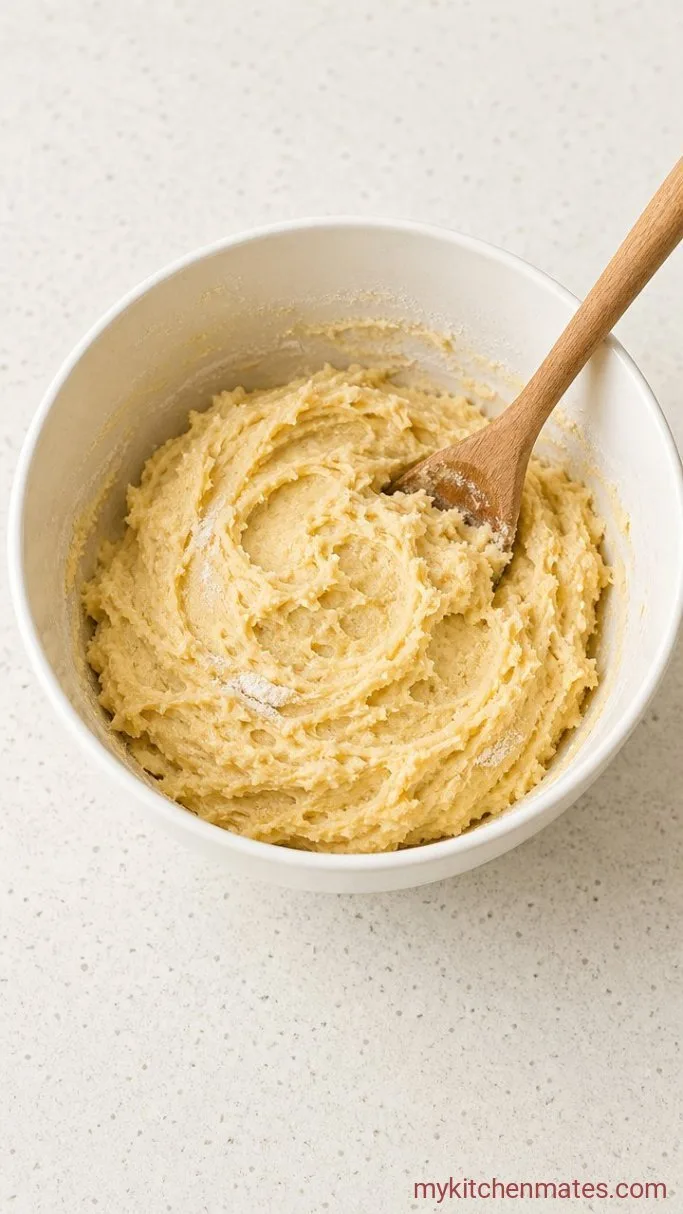
Whisk the 2 1/4 cups flour, 1/2 tsp baking powder, and 1/4 tsp salt together in a medium bowl. In a large bowl, beat the 3/4 cup softened butter and 3/4 cup sugar with an electric mixer on medium speed until it looks pale and fluffy, about 2 minutes. Scrape down the sides, then beat in the egg and 1 tsp vanilla until combined.
With the mixer on low, add the flour mixture in two additions, mixing just until no dry streaks remain. The dough will be soft but not sticky. Stop mixing as soon as it comes together so the cookies stay tender.
Step 2: Color the Dough

Divide the dough in half. Place one half in a separate bowl and add the red gel food coloring a tiny drop at a time, kneading it in with your hands or a spatula until the color is even and bright. If you want an almond note, work in the 1/4 tsp almond extract now.
Repeat with the other half using green coloring and the peppermint extract if using. Shape each half into a flat disc, wrap tightly in plastic wrap, and refrigerate for at least 2 hours or up to 2 days. Cold dough is much easier to roll and keeps the colors from smearing later.
Step 3: Layer the Dough
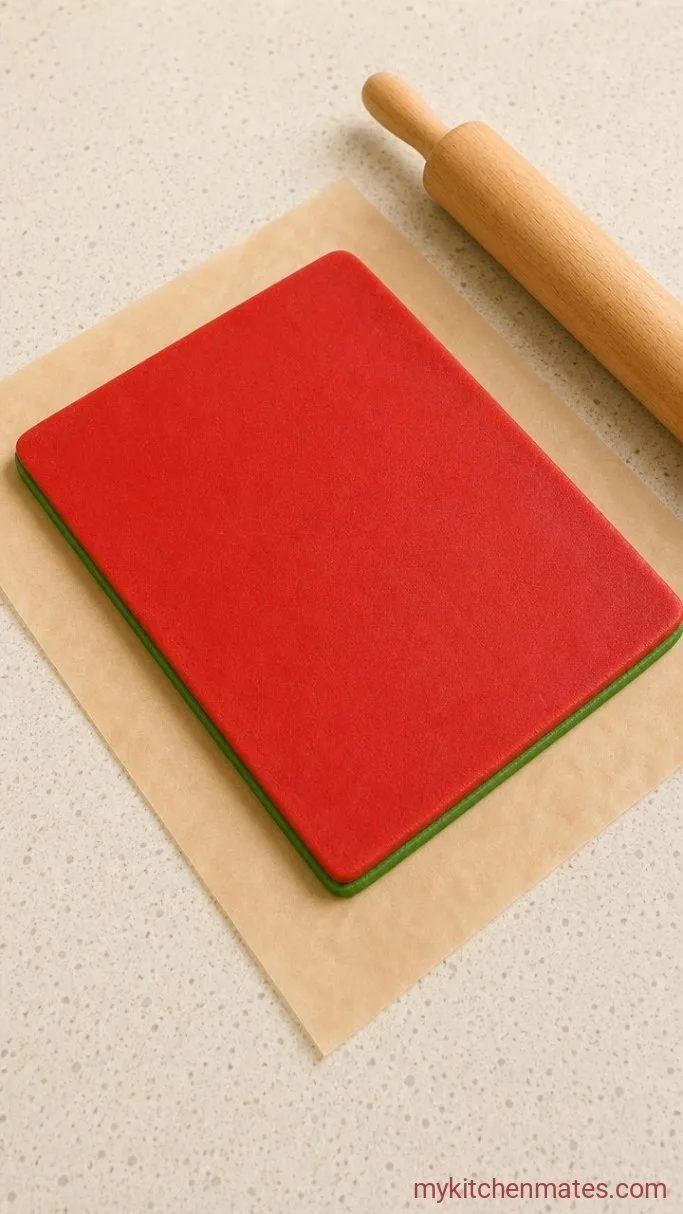
Remove the red disc from the fridge and let it sit on the counter for 5 minutes so it can soften just enough to roll. Place it between two large sheets of parchment paper and roll it into a rectangle roughly 10 x 12 inches and about 1/8 inch thick. Slide the parchment with the red dough onto a baking sheet and pop it in the fridge while you repeat with the green disc, rolling it to the same size.
Now take the red rectangle off the cold sheet but leave it on the bottom parchment. Peel the top parchment off the green rectangle and carefully flip it directly on top of the red layer, nudging the edges to line up. Gently peel away the top parchment from the green. If the dough feels soft at any point, slide the stack back onto the sheet and chill for 10 minutes before moving on. The layers need to be cold and firm so the swirl comes out clean.
Step 4: Roll into a Log
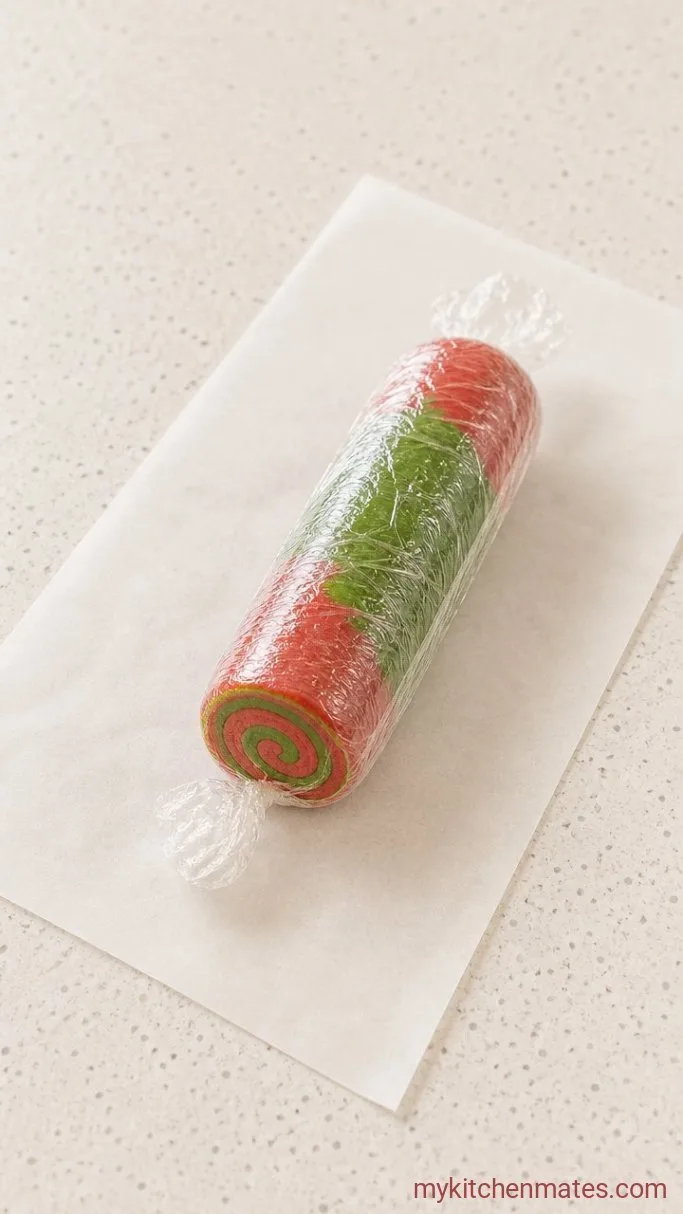
Starting from one long side, use the bottom parchment to lift and guide the dough as you roll it tightly into a log. Go slow, peeling the parchment away as you roll, and press the seam gently to seal. The log should feel firm and even, about 2 inches thick. Wrap it in plastic wrap and chill for at least 1 hour, or until very firm. This second chill is what gives you clean spirals when you slice.
If the log flattens on one side from sitting in the fridge, roll it on the counter a couple times after 30 minutes to round it out again.
Step 5: Slice and Bake the Cookies
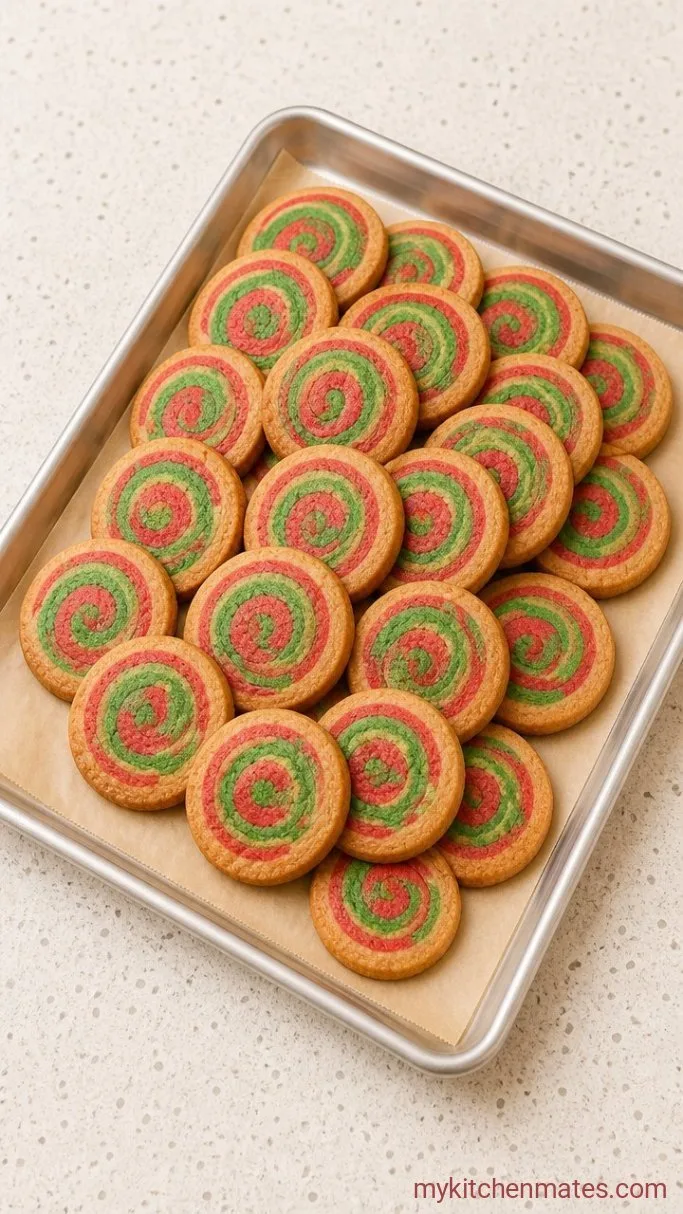
Heat your oven to 350°F (175°C) and line two baking sheets with parchment. Unwrap the log and place it on a cutting board. Using a sharp serrated knife or a piece of unflavored dental floss, slice the log into rounds that are a generous 1/4 inch thick. You should get about 22 to 24 slices. Arrange them on the baking sheets, leaving about 2 inches between cookies.
Bake one sheet at a time on the middle rack for 10 to 12 minutes, until the edges are just barely turning golden but the centers still look pale. Let them cool on the baking sheet for 5 minutes before moving them to a rack. The cookies will set up as they cool.
Step 6: Cool and Serve the Cookies
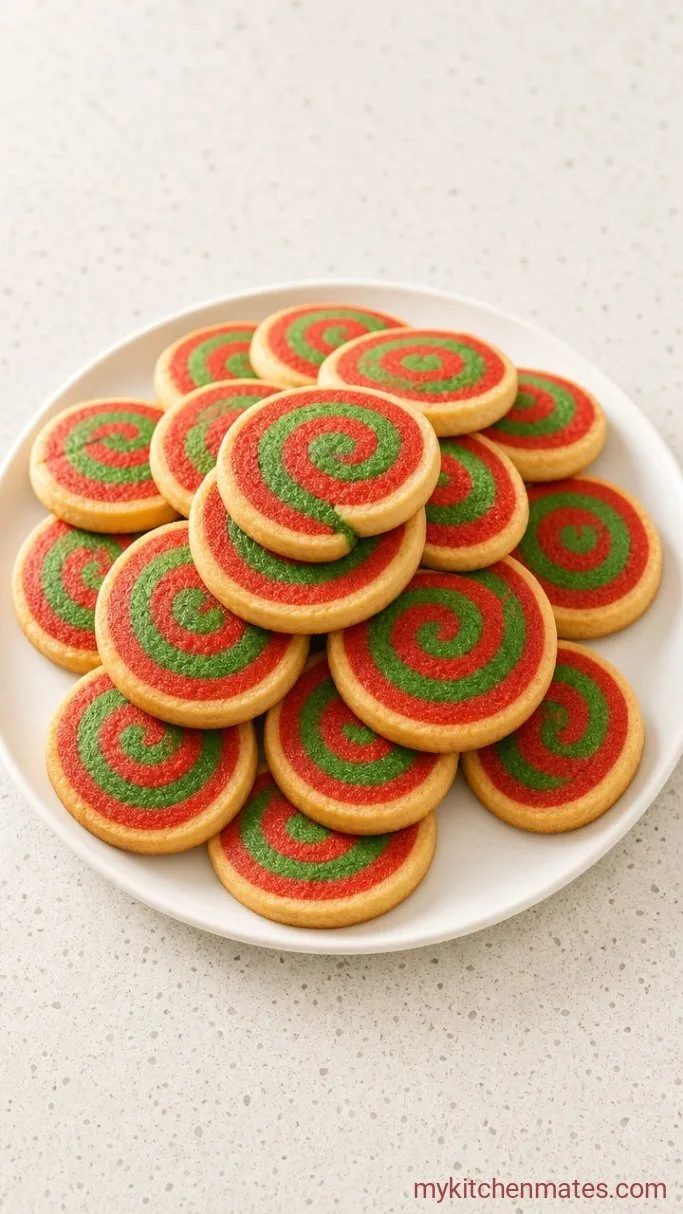
Transfer the cooled cookies to a wire rack and let them finish cooling completely. The red and green spirals will be bright and crisp against the pale cookie dough. Serve them on a big platter or pack them into a cookie tin, and they keep that buttery, tender bite for days.
Tips for the Cleanest Swirls
- Use gel or oil-based food coloring. Liquid from the grocery store can water down the dough and make the colors muddy.
- If the dough gets too warm while rolling, stop and chill it. A soft dough will smear the colors together the moment you try to roll the log.
- When layering the green on top of the red, work quickly but lightly. Press down only enough to smooth out air bubbles, not so much that the colors start to blend.
- A serrated knife or dental floss gives the cleanest slice because it cuts through the dough without squashing the log. Wipe the blade clean between cuts.
Bake times by slice thickness:
| Slice thickness | Bake time at 350°F |
|---|---|
| 1/4 inch | 10 to 12 minutes |
| 3/8 inch | 12 to 14 minutes |
| 1/2 inch | 14 to 16 minutes |
Storing and Freezing
Store cooled cookies in an airtight container at room temperature for up to 5 days. They stay soft and buttery the whole time.
To freeze baked cookies, stack them between sheets of parchment in a freezer container and freeze for up to 2 months. You can also freeze the unbaked dough log tightly wrapped in plastic and then foil for up to 3 months. Slice and bake straight from the freezer, adding 1 to 2 extra minutes to the bake time.
Frequently Asked Questions
Can I use liquid food coloring instead of gel?
You can, but the dough will be softer and the colors less bright. Liquid coloring contains water, so the dough may spread more during baking and the swirls can blur.
How far ahead can I make the dough logs?
The wrapped logs will keep in the fridge for up to 3 days before slicing and baking. For longer storage, freeze them. This makes holiday planning way easier.
Why did my colors bleed together?
This usually happens when the dough gets too warm at some point, either during rolling or when you rolled the log. Keep everything cold and handle the dough as little as possible once it is layered.
Can I make these without the separate extracts?
Absolutely. Leaving both halves as plain vanilla gives you a classic all-butter sugar cookie that still looks stunning. The tiny flavor accents are just an optional layer.
Red and Green Christmas Pinwheel Cookies Recipe
Ingredients
Method
- Whisk flour, baking powder, and salt. Beat butter and sugar until fluffy, about 2 minutes, then beat in egg and vanilla. Mix in dry ingredients just until combined.
- Divide dough in half. Tint one half red with gel coloring, adding almond extract if using. Tint the other green, adding peppermint extract if using. Shape each into a disc, wrap, and refrigerate at least 2 hours.
- Roll red disc between parchment to a 10×12-inch rectangle, 1/8 inch thick. Chill while rolling green dough to the same size. Layer green on top of red, peel off parchment, and chill if soft.
- Starting from a long edge, use the parchment to roll the layers tightly into a log. Wrap and chill at least 1 hour until very firm.
- Preheat oven to 350°F (175°C). Slice log into 1/4-inch rounds, place on parchment-lined sheets, and bake 10 to 12 minutes until edges are barely golden. Cool on sheet 5 minutes, then transfer to a rack.
- Cool cookies completely on a wire rack before serving or storing.
Notes
