
Decadent No-Bake Chocolate Crepe Cake

This chocolate crepe cake is the showstopper you can make without ever turning on the oven. Layers of thin, cocoa crepes alternate with a light, sweetened cream filling until you have a tower that looks like it came from a pastry shop.
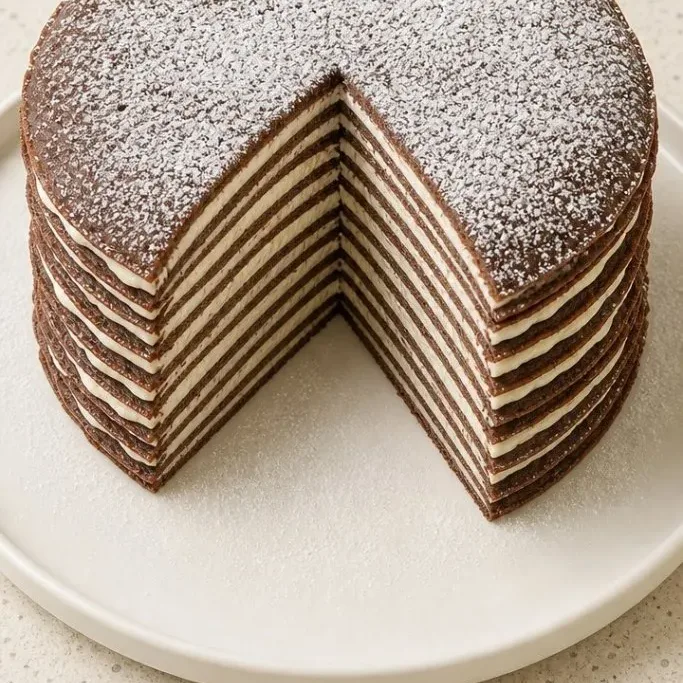
It’s the kind of dessert that makes a weeknight feel like a celebration, and it’s way easier than a layer cake. Plus, it needs to chill before serving, so you can make it the day before and cross dessert off your list.
What Makes This Crepe Cake So Special
The crepes are whisper-thin and deeply chocolatey, while the filling is just sweet enough to balance the cocoa without being cloying. Every bite is soft and creamy, with the slightest chew from all those layers.
I keep coming back to this version because the crepe batter is foolproof and the filling whips up with just three ingredients. You get all the drama of a tall layer cake with none of the stress.
Ingredients
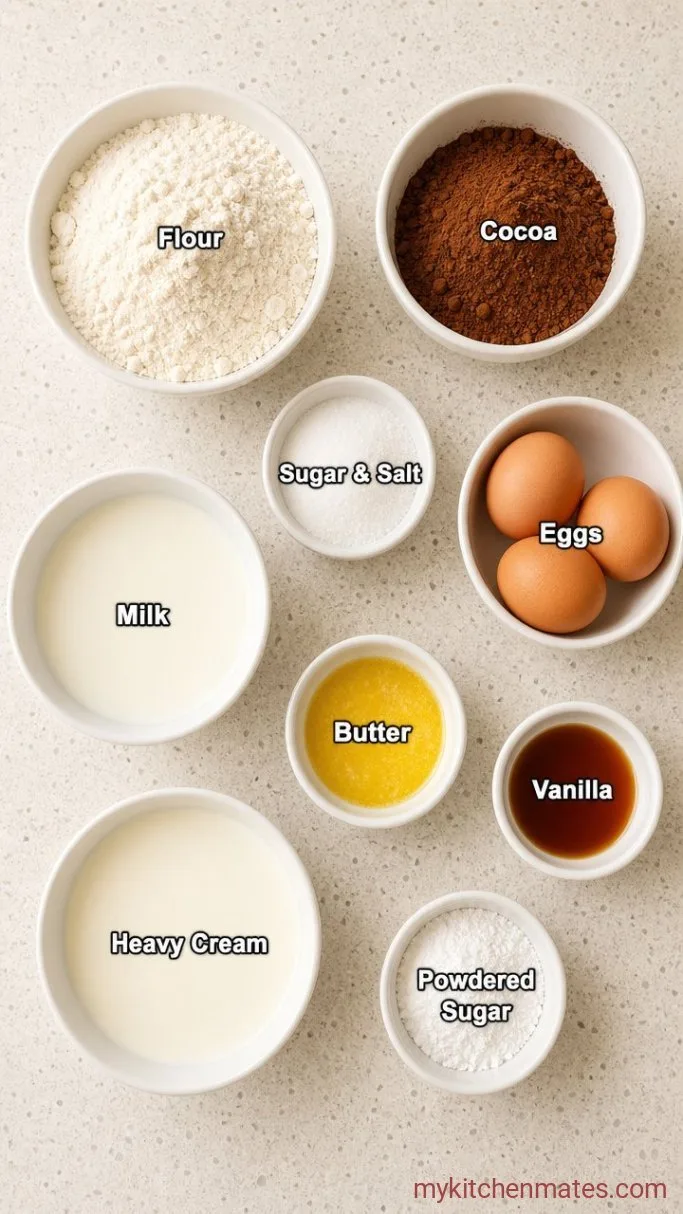
- 2 cups all-purpose flour: spooned and leveled
- 1/2 cup unsweetened cocoa powder: natural or Dutch-process both work
- 1/4 cup granulated sugar: adds a whisper of sweetness to the crepes
- 1/2 tsp salt: fine sea salt
- 4 large eggs: at room temperature
- 2 1/2 cups whole milk: room temperature, for the thinnest batter
- 4 tbsp unsalted butter, melted: plus more for the pan
- 1 tsp vanilla extract: for both batter and filling
- 3 cups cold heavy cream: straight from the fridge
- 3/4 cup powdered sugar: sifted if lumpy
- 2 tsp vanilla extract: for the filling
Variations / Substitutions
- Gluten-free: swap the flour for a 1:1 gluten-free flour blend that contains xanthan gum; the crepes will still hold together well.
- Dairy-free: use a thick oat or almond milk and replace the butter with a neutral oil; for the filling, chill full-fat coconut cream and whip it instead of heavy cream.
- Add a little kick: stir 1 tbsp espresso powder or 1 tbsp rum into the crepe batter to deepen the chocolate flavor.
- Change the filling: fold softened cream cheese or mascarpone into the whipped cream for a tangier, more stable layer. A thin spread of Nutella on every third crepe also works.
- Fruity twist: tuck a few fresh raspberries between some of the layers before you chill the cake. For a different classic, try a Classic Crepe Cake with Pastry Cream.
French Strawberry Yogurt Cake is next on our list if this cake is your kind of dessert.
How To Make Chocolate Crepe Cake
Step 1: Whisk the Crepe Batter
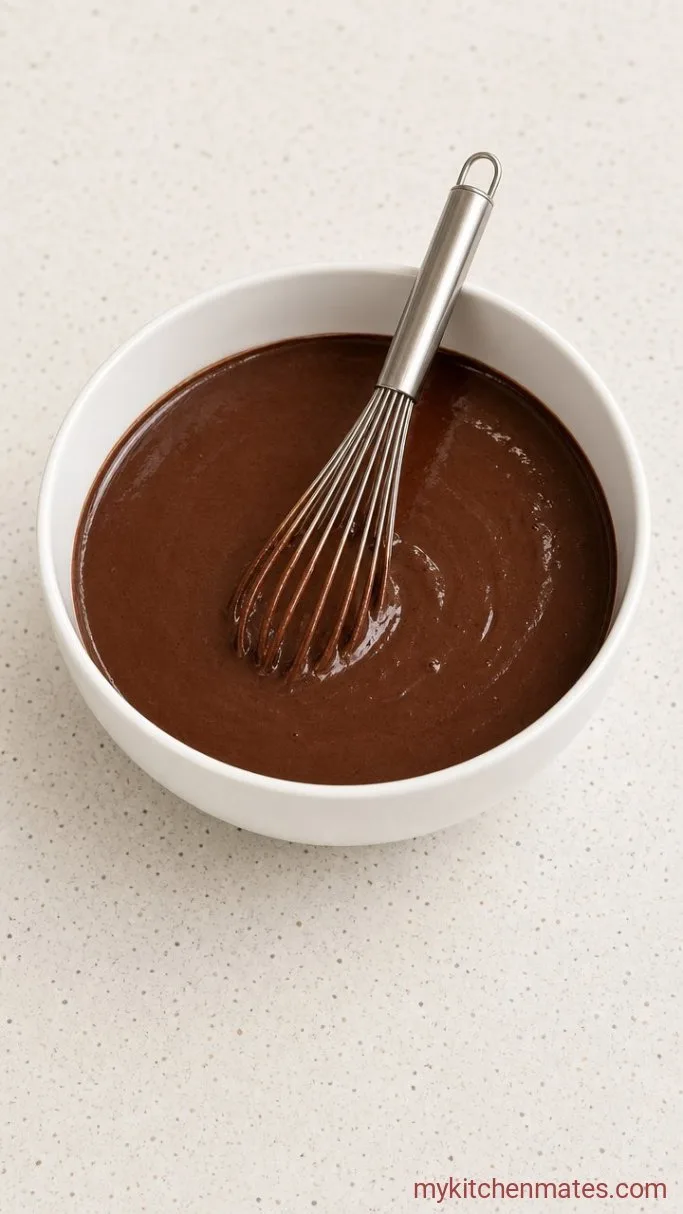
In a large bowl, sift together the 2 cups flour, 1/2 cup cocoa powder, 1/4 cup sugar, and 1/2 tsp salt. In a separate bowl, whisk the 4 eggs with the 2 1/2 cups milk, 4 tbsp melted butter, and 1 tsp vanilla until combined. Pour the wet ingredients into the dry in three additions, whisking gently after each until you have a smooth batter. This takes about a minute of whisking.
The batter should be thin, like heavy cream. If you spot any tiny lumps, pour it through a fine-mesh strainer for the silkiest crepes. Let it sit at room temperature for 20 minutes while you get the pan ready; this rest relaxes the gluten so your crepes stay tender.
Step 2: Cook the Crepes
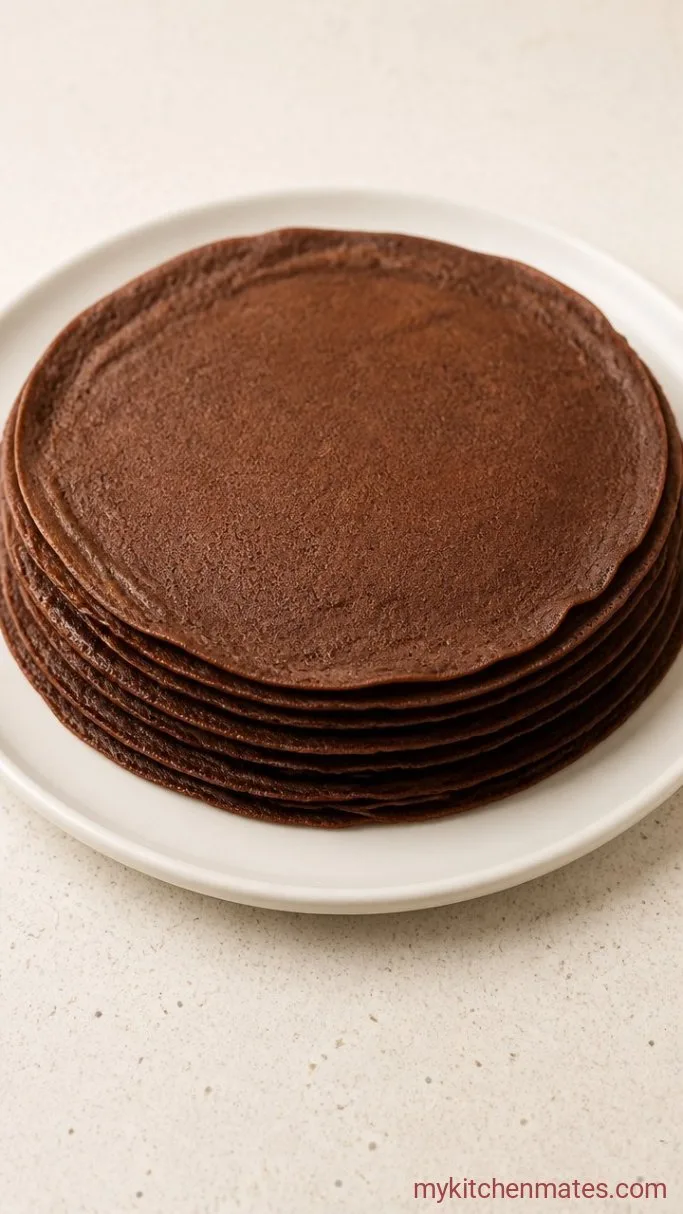
Set a nonstick skillet or crepe pan over medium heat and brush it lightly with butter. Once the pan is warm, lift it off the heat, pour about 1/4 cup batter right into the center, and immediately swirl to coat the bottom in an even circle. Return to the heat and cook for 1 to 2 minutes, until the surface looks dry and the edges begin to lift. Flip with a thin spatula and cook the second side for about 30 seconds, then slide the crepe onto a plate.
You’ll get 18 to 20 crepes from this batter. The first one often tears while the pan settles into the right temperature, so consider it your practice round. Stack the finished crepes as you go; they won’t stick to each other.
Step 3: Whip the Filling
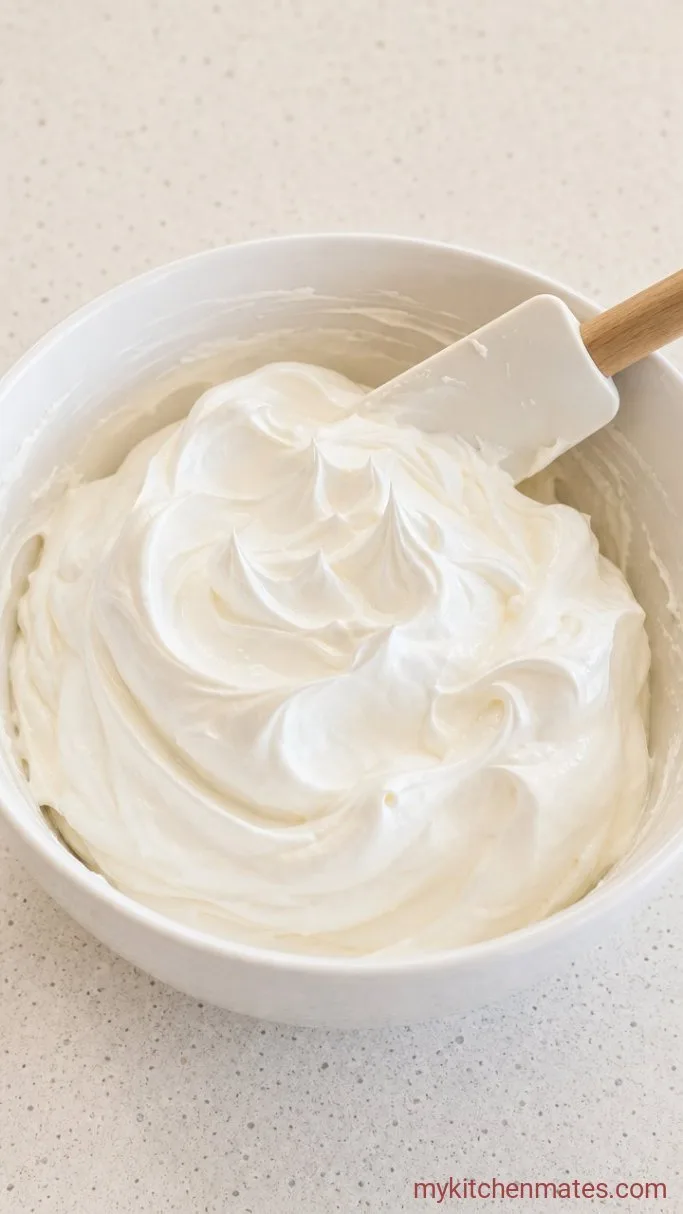
Pour the 3 cups cold heavy cream, 3/4 cup powdered sugar, and 2 tsp vanilla into a chilled mixing bowl. Beat with an electric mixer on medium-high speed until stiff peaks form, about 3 to 4 minutes.
Stop as soon as the cream stands up firmly when you lift the beaters. It should hold its shape without looking grainy, because those peaks will keep the layers from sliding apart.
Step 4: Layer the Cake
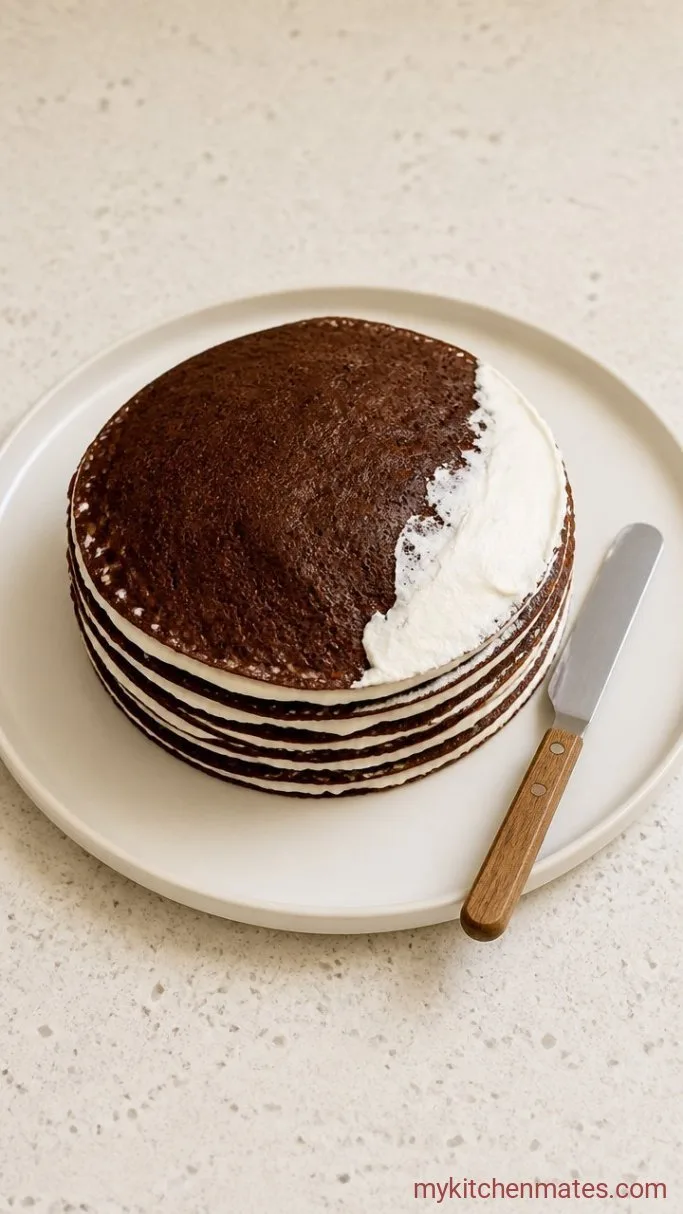
Place one crepe on a serving plate or cake stand. Spoon a scant 1/4 cup of the whipped cream onto the center and spread it evenly almost to the edges with an offset spatula. Top with another crepe and repeat the process, stacking and spreading, until you’ve used every crepe. Finish the cake with a plain crepe on top. Reserve a small spoonful of cream if you want to decorate the top, but a clean finish is just as pretty.
As you build the stack, the weight of the layers presses everything into an even tower. Try to center each crepe carefully so the sides look straight. The cake will already look tall and impressive before it even hits the fridge.
Step 5: Dust and Serve the Cake
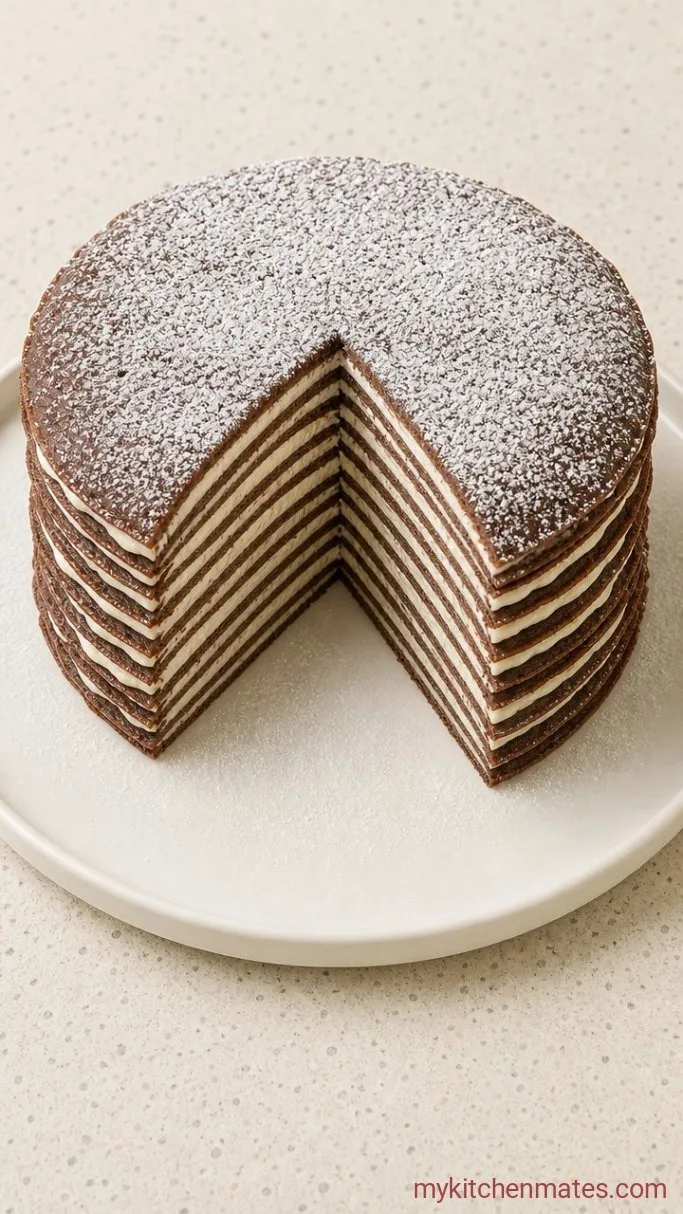
Chill the assembled cake for at least 4 hours, or up to overnight. Right before you bring it to the table, hold a fine-mesh sieve over the top and dust generously with extra cocoa powder. Slice with a sharp chef’s knife, wiping the blade clean between cuts.
The cold cake slices cleanly and reveals all those thin chocolate stripes. It’s a quiet moment that always gets a reaction when you set it down.
Tips for the Best Crepe Cake
- Control the heat: A nonstick pan over steady medium heat gives you thin, pliable crepes without burning. If the butter smokes when you brush it on, the pan is too hot.
- Chill your tools: A cold bowl and beaters help the cream whip faster and hold stiff peaks longer, especially in a warm kitchen.
- Use an offset spatula: It spreads the cream in an even layer in half the time, which helps you keep the stack level.
- Double the filling if you love cream: For an even creamier bite and a slightly taller cake, make 4 1/2 cups of whipped cream instead of 3 cups.
Storing Leftovers
Cover the cake loosely with plastic wrap or tuck it under a cake dome and keep it in the refrigerator for up to 3 days. The crepes soften just a little more over time, and the cake stays sliceable and creamy straight from the fridge.
Frequently Asked Questions
Can I make the crepes ahead of time?
Yes. Cook them, let them cool, stack with sheets of parchment between each one, wrap the whole stack tightly, and refrigerate for up to 2 days. Assemble the cake when you’re ready.
Can I use a different filling?
Absolutely. A chocolate ganache or a thin spread of Nutella works, though the cake will be denser and richer. For a lighter option, fold some Greek yogurt into the whipped cream.
Why are my crepes tearing?
Tearing usually means the pan is running too hot or too cool. Aim for steady medium heat and give the batter a quick swirl the moment it hits the pan.
How many layers does this cake have?
This recipe typically yields 18 to 20 crepes, so you’ll get that many layers depending on how thick you pour them.
Chocolate Crepe Cake Recipe
Ingredients
Method
- Sift flour, cocoa, sugar, and salt into a large bowl. Whisk eggs, milk, melted butter, and vanilla in a separate bowl, then gradually whisk the wet mixture into the dry until smooth. Let the batter rest 20 minutes.
- Heat a lightly buttered nonstick pan over medium heat. Pour 1/4 cup batter, swirl to coat, cook 1–2 minutes per side. Repeat with remaining batter, stacking crepes as you go.
- Beat cold heavy cream, powdered sugar, and vanilla until stiff peaks form.
- Spread a scant 1/4 cup whipped cream over one crepe, top with another, and repeat until all crepes are used, ending with a crepe on top.
- Chill the cake at least 4 hours. Just before serving, dust the top with cocoa powder and slice.
Notes
