
Crispy Chicken Katsu Rice Bowl with Homemade Tonkatsu Sauce

A chicken katsu rice bowl is one of those meals that feels like a Friday treat but comes together fast enough for a Tuesday. Crispy panko-crusted chicken cutlets sit over fluffy rice, with a tangy, slightly sweet sauce that soaks into every bite.
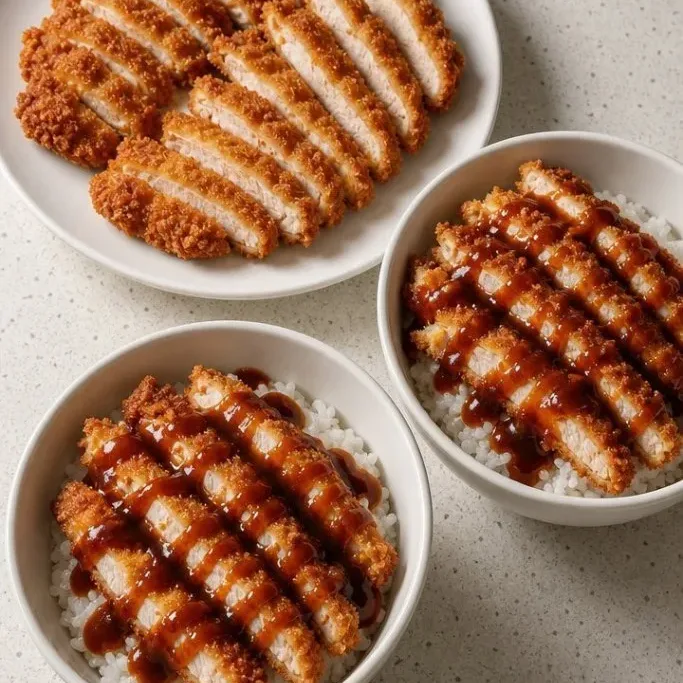
It’s the kind of dish I crave when I want fried chicken without the fuss of a full fryer. The cutlets stay juicy inside, and the sauce balances the crunch with just enough kick.
What Makes This Chicken Katsu So Good
The double crunch from panko breadcrumbs sets it apart. I’ve tried regular breadcrumbs, and while they work, panko gives you that shatteringly crisp shell that holds up even under a drizzle of sauce.
The homemade tonkatsu sauce is the real reason I keep coming back to this. It takes a minute to stir together from fridge staples, and it’s sharper and brighter than the bottled kind. You control the sweetness and the tang, so every bowl tastes exactly how you want it.
Ingredients
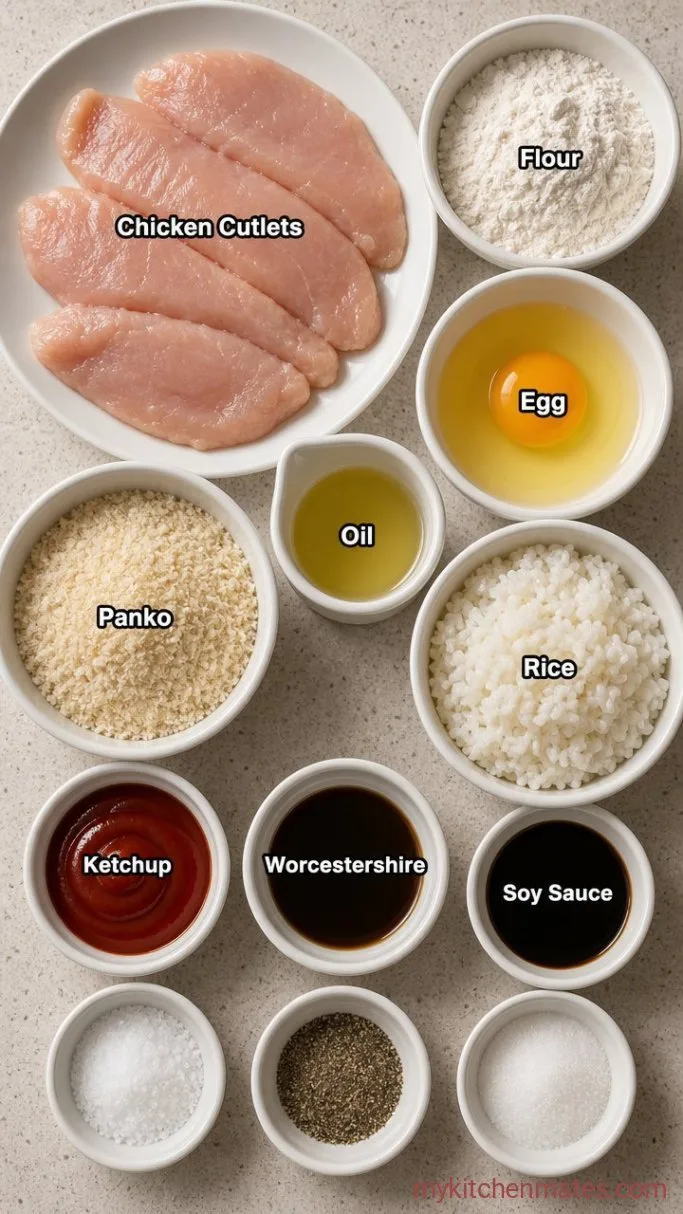
- 2 boneless skinless chicken breasts (about 1 lb total): each sliced horizontally into 2 thin cutlets, 4 cutlets total
- ½ tsp kosher salt: for seasoning the chicken
- ¼ tsp black pepper
- ¼ cup all-purpose flour: for dredging; any all-purpose works
- 1 large egg: beaten with 1 tbsp water for the egg wash
- 1 cup panko breadcrumbs: unseasoned is best here because the sauce brings the flavor
- Vegetable oil: for shallow frying, about ½ cup, or enough to come ¼ inch up the pan
- 2 cups cooked short-grain rice: warm, for serving
- 2 tbsp ketchup: the base of the sauce
- 1 tbsp Worcestershire sauce: adds depth
- 1 tsp soy sauce: for salt and umami
- 1 tsp granulated sugar: rounds out the tang
Variations and Substitutions
- Use chicken thighs: boneless, skinless thighs work just as well and stay even juicier. Pound them to an even thickness before breading.
- Gluten free: replace the flour with a 1-to-1 gluten-free blend and use gluten-free panko. The sauce is naturally gluten free if you use tamari instead of soy sauce.
- Extra heat: add a squirt of sriracha or a pinch of cayenne to the egg wash or the sauce.
- No panko: finely crushed cornflakes give a distinct crunch, though the texture won’t be quite as airy.
Crispy Tofu Katsu Curry is another reader favorite dinner worth making next.
How to Make Crispy Chicken Katsu Rice Bowls
Step 1: Season and Dredge the Cutlets
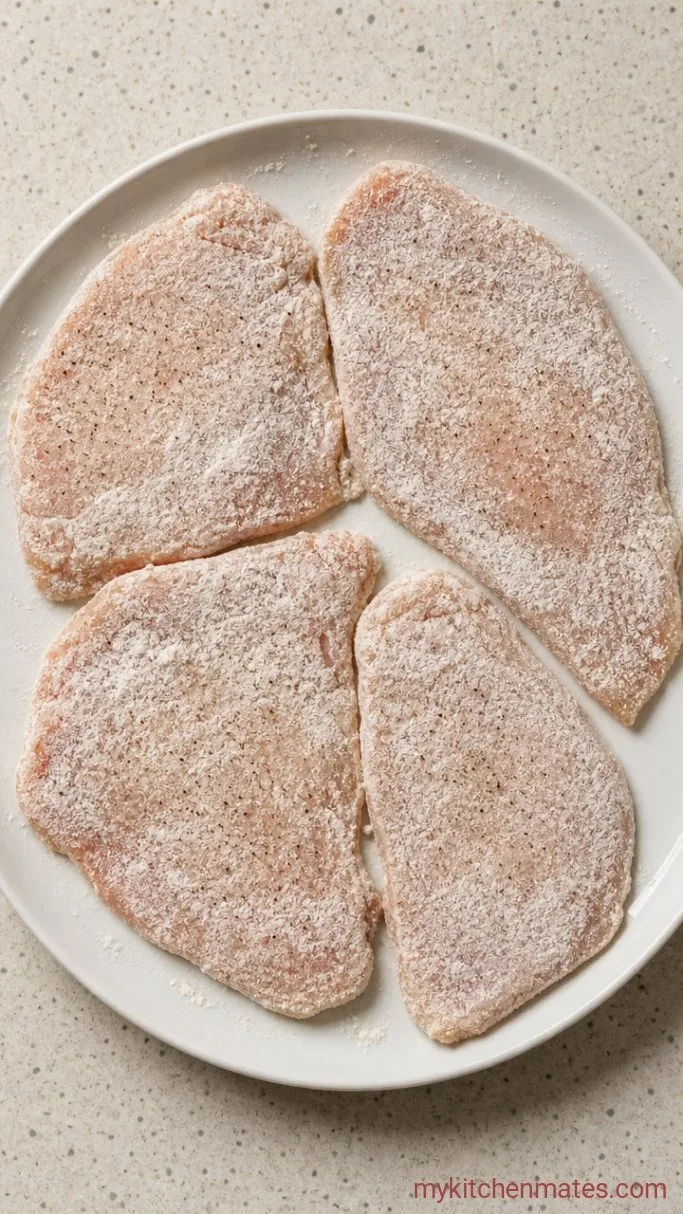
Pat the chicken cutlets dry and season both sides with the salt and pepper. Spread the ¼ cup flour on a plate. Working with one cutlet at a time, press it into the flour, shake off the excess, and set it on a clean plate while you prep the rest.
You’ll see a fine, even coating of flour clinging to the surface. That light layer helps the egg wash stick, so don’t be tempted to skip it.
Step 2: Bread with Panko
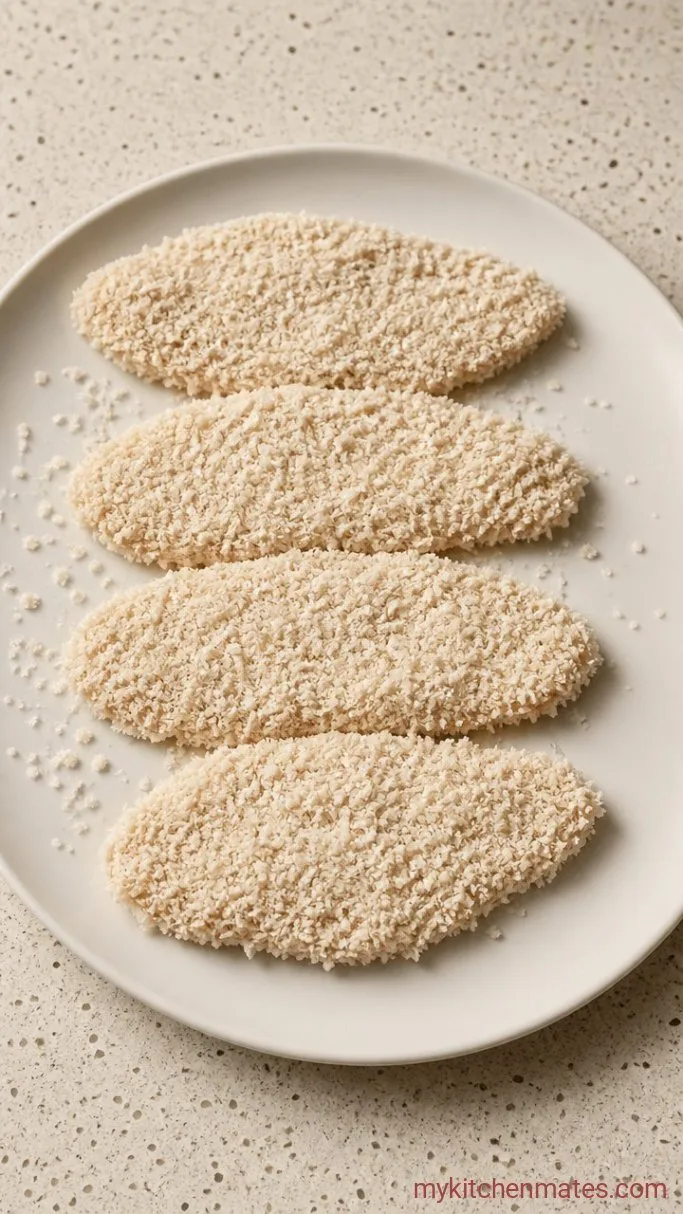
Set up your breading station: the plate of floured cutlets, a shallow bowl with the beaten egg and 1 tbsp water, and a second plate with the panko. Dip one cutlet into the egg, let the extra drip off, then lay it in the panko. Press the crumbs onto both sides with your fingers so they really adhere.
The panko should coat every inch, looking like a thick, shaggy shell. A firm press here is the difference between a patchy crust and a full crunch.
Step 3: Pan-Fry the Cutlets
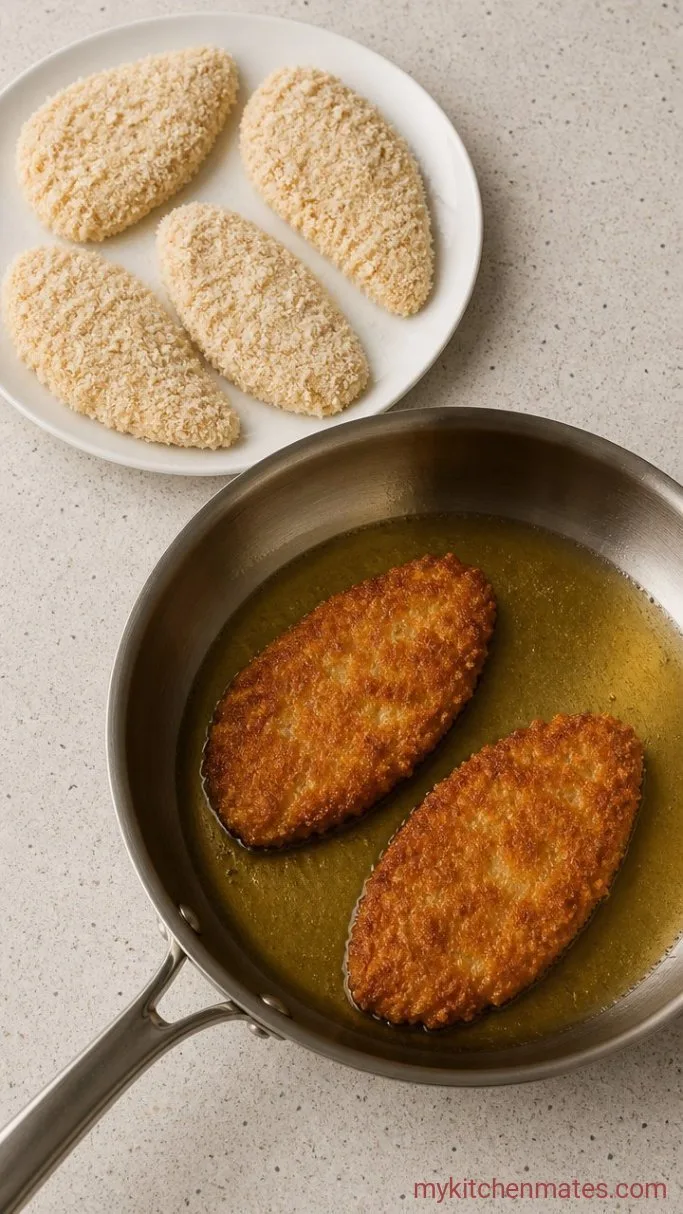
Pour enough vegetable oil into a large skillet to reach about ¼ inch up the sides, then set it over medium-high heat until the oil shimmers, roughly 2 minutes. Carefully lay 2 cutlets in the pan. They should sizzle as soon as they hit the oil. Fry for 3 to 4 minutes per side, until the crust is deep golden and the chicken is cooked through to 165°F (74°C) in the thickest part.
You’ll hear the sizzle quiet a bit as the crust sets, then turn the cutlets away from you so the oil doesn’t splatter back. Keep an eye on the color. If the panko browns too fast, nudge the heat down a notch. Transfer the fried cutlets to a wire rack set over paper towels to keep that crispness while you repeat with the remaining two pieces.
Step 4: Mix the Tonkatsu Sauce
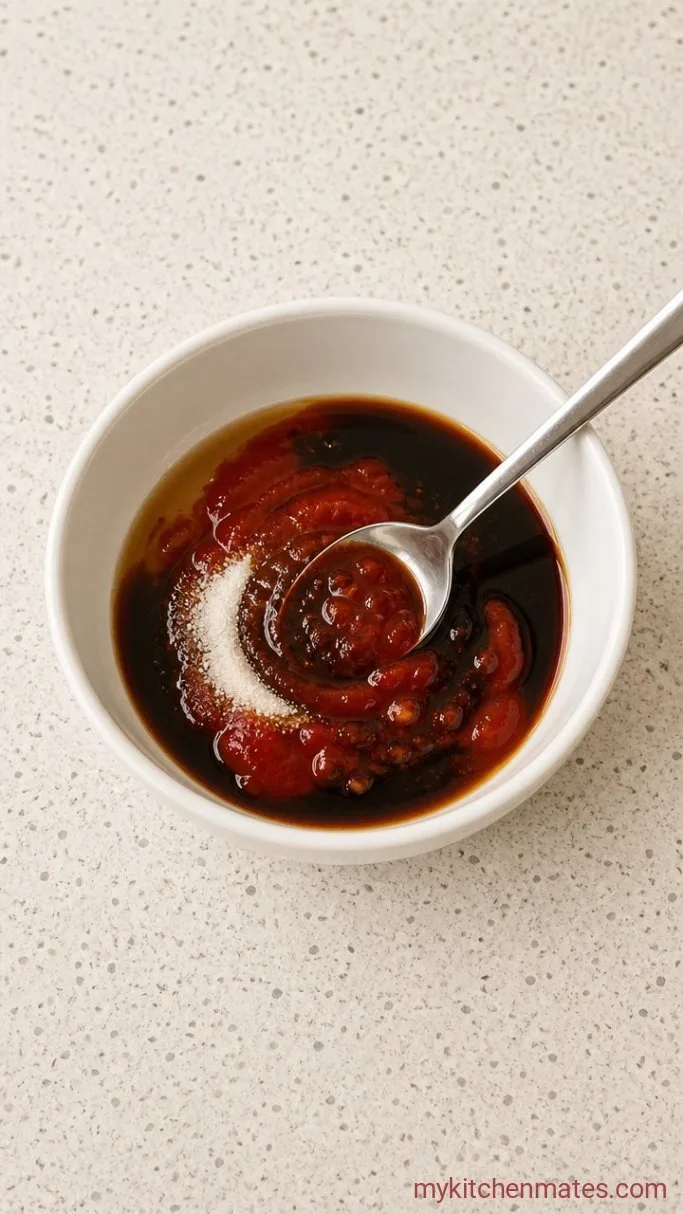
While the chicken rests, stir together the 2 tbsp ketchup, 1 tbsp Worcestershire sauce, 1 tsp soy sauce, and 1 tsp sugar in a small bowl. Taste it. It will be tangy and a little sharp, with enough sugar to take the edge off. You can always add a pinch more sugar if you like a sweeter sauce.
I often make a double batch and keep the extra in the fridge. It’s handy for drizzling over roasted vegetables or using as a dip for anything fried.
Step 5: Assemble the Rice Bowls
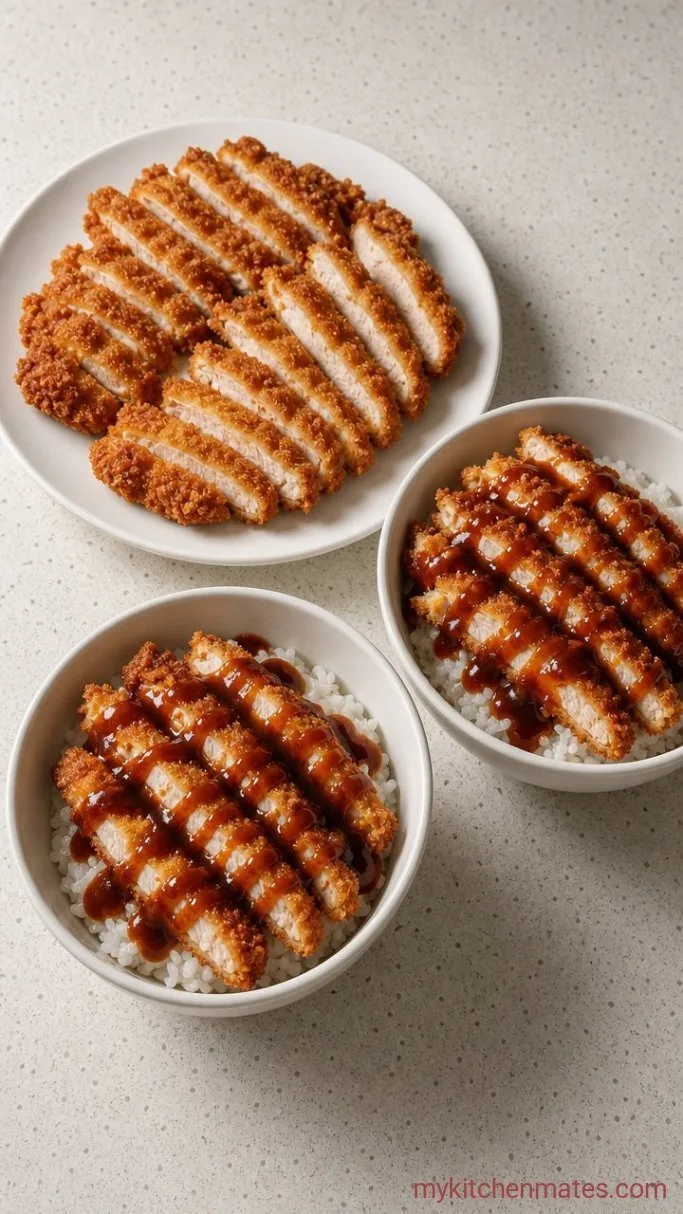
Spoon the warm rice into two deep bowls. Slice each chicken cutlet into thick strips and fan them over the rice. Drizzle the sauce right across the top, letting some pool by the rice. A handful of thinly sliced scallions or a sprinkle of toasted sesame seeds makes it look finished, but the bowl is already gorgeous without them.
Serve while the chicken is still hot, when the crust is at its crispest and the sauce is just beginning to soak into the top layer.
A Few Tips for Extra-Crispy Katsu
- Panko sticks better when you really press it on. Use a palm or the back of a fork and don’t rush this part.
- After breading, let the cutlets sit on a wire rack for 5 minutes before frying. This lets the coating hydrate slightly and cling better during cooking.
- Shallow frying works great for this recipe. You only need enough oil to come halfway up the cutlets, just flip with care.
- If you’re cooking in batches, keep the first batch warm on a rack in a 200°F (95°C) oven while you finish the rest.
Fry times by thickness:
| Cutlet thickness | Fry time per side |
|---|---|
| ¼ inch | 2 to 3 minutes |
| ½ inch | 3 to 4 minutes |
Storing Leftover Chicken Katsu
- Refrigerate: Store leftover cutlets in an airtight container for up to 3 days. Keep the rice and sauce separate so nothing turns soggy.
- Reheating: An oven or air fryer at 350°F (175°C) for 5 to 7 minutes brings the crunch back. A microwave will work in a pinch, but the crust softens.
- Serve cold: Sliced cold katsu over a crisp salad with extra sauce is a great next-day lunch.
What to Serve with Chicken Katsu Rice Bowls
A quick cucumber and sesame salad cuts the richness of the fried chicken and takes two minutes to toss together. Pickled ginger or a small pile of shredded cabbage with a squeeze of lemon adds brightness. For a soup on the side, a light miso broth with tofu and scallions turns the bowl into a full Japanese-style set meal.
Frequently Asked Questions
Can I bake the chicken instead of frying?
Yes, but the crust won’t be as deeply golden. Bake breaded cutlets on a greased wire rack at 425°F (220°C) for 15 to 18 minutes, flipping halfway, until the internal temp hits 165°F (74°C).
What is tonkatsu sauce made of?
It’s a Japanese-style brown sauce with ketchup, Worcestershire, soy sauce, and sugar, sometimes with a splash of rice vinegar or mustard. This homemade version gets close to the classic flavor with pantry staples.
Can I use chicken thighs?
Absolutely. Boneless skinless thighs stay juicier and need about the same frying time. Just pound them to an even thickness so they cook uniformly.
Is this gluten-free?
The sauce is naturally gluten-free if you use tamari instead of soy sauce. Swap in gluten-free flour and panko to make the whole dish gluten-free.
Chicken Katsu Rice Bowl Recipe
Ingredients
Method
- Season cutlets with salt and pepper, then dredge in flour, shaking off excess.
- Dip each cutlet in the beaten egg, then press firmly into the panko on both sides.
- Heat oil in a skillet over medium-high heat. Fry cutlets in batches for 3 to 4 minutes per side until deeply golden and cooked through. Drain on a wire rack.
- Stir together ketchup, Worcestershire, soy sauce, and sugar to make the sauce.
- Place rice in bowls, slice the chicken into strips, arrange over rice, and drizzle with sauce. Serve hot.
Notes
