
Cheetah Print Birthday Cake That’s Easier Than It Looks

A homemade birthday cake covered in cheetah print looks like it needs a pro, but a few simple tricks make it totally doable at home. Soft vanilla layers, sunny buttercream, and dark chocolate spots come together into something that feels as fun to make as it is to eat.
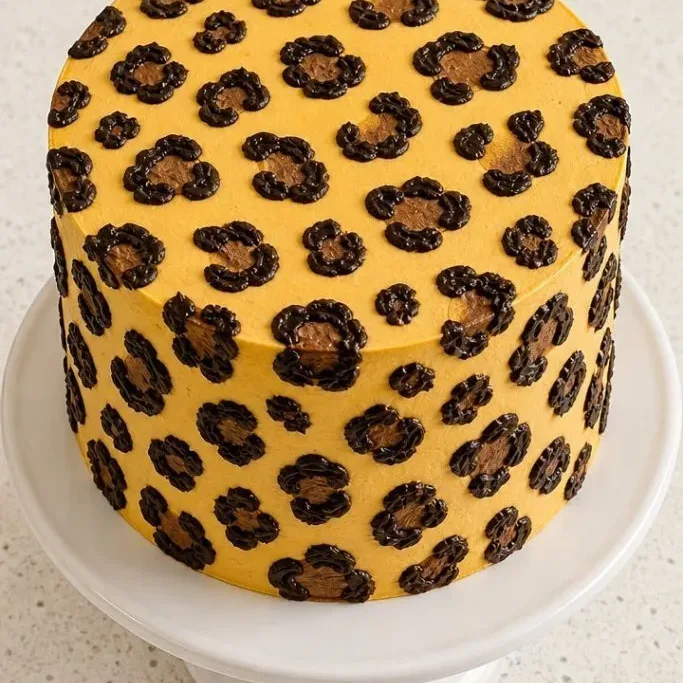
You don’t need special cutters or fondant, just buttercream, a little patience, and a zip-top bag. This is the kind of cake that gets a round of applause when you carry it to the table.
What Makes This Cheetah Print Cake a Keeper
The vanilla cake has a tight, tender crumb that stays moist even after a couple of days in the fridge, no dry birthday cake sadness. The buttercream is all real butter, so it tastes rich and creamy rather than just sweet.
The spots are made from a small batch of chocolate buttercream, piped with the same bag you use for everything else. They’re messy by design, which means any wobbly lines just look more like real cheetah markings.
Ingredients
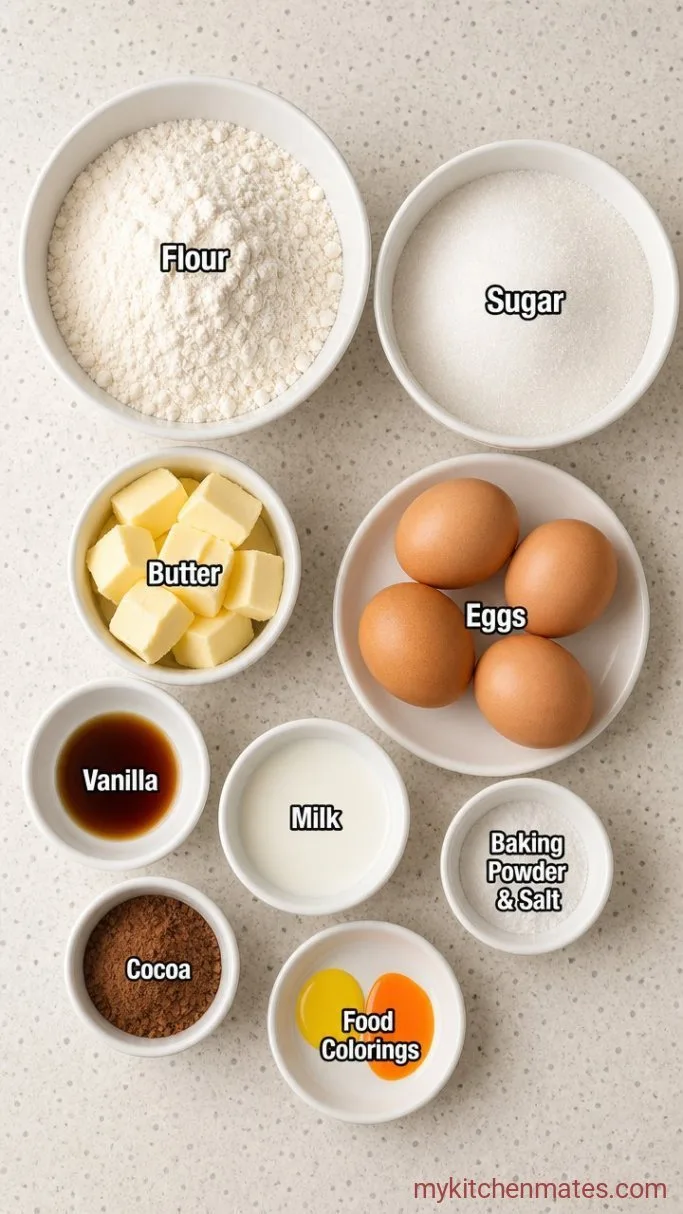
- 2 3/4 cups all-purpose flour: spooned and leveled
- 1 tbsp baking powder
- 3/4 tsp fine sea salt
- 1 cup unsalted butter, softened
- 2 cups granulated sugar
- 4 large eggs, room temperature
- 2 tsp vanilla extract
- 1 cup whole milk, room temperature
- 2 cups unsalted butter, softened, divided: 1 1/2 cups for the golden base, 1/4 cup for the chocolate spots
- 5 1/2 cups powdered sugar, divided
- 4 to 6 tbsp whole milk, divided
- 2 tsp vanilla extract
- Yellow and orange gel food coloring
- 1/4 cup unsweetened cocoa powder
Variations / Substitutions
- Swap the cake flavor: use a chocolate or funfetti cake recipe for the layers instead of vanilla. The print pops against any backdrop.
- Use black cocoa: for extra-dark spots, replace the regular cocoa with black cocoa. It will look even more dramatic.
- Gluten-free: substitute a 1-to-1 gluten-free flour blend for the cake. The frosting stays the same.
- Buttercream shortcut: if you are really short on time, you can use 2 batches of store-bought vanilla frosting, tint most of it golden, and stir cocoa into a small saved portion. Homemade sets firmer and pipes sharper, but this works in a pinch.
German Chocolate Sheet Cake is another dessert you’d probably love if you enjoy this cake.
How to Make Cheetah Print Birthday Cake
Step 1: Bake the Cake Layers
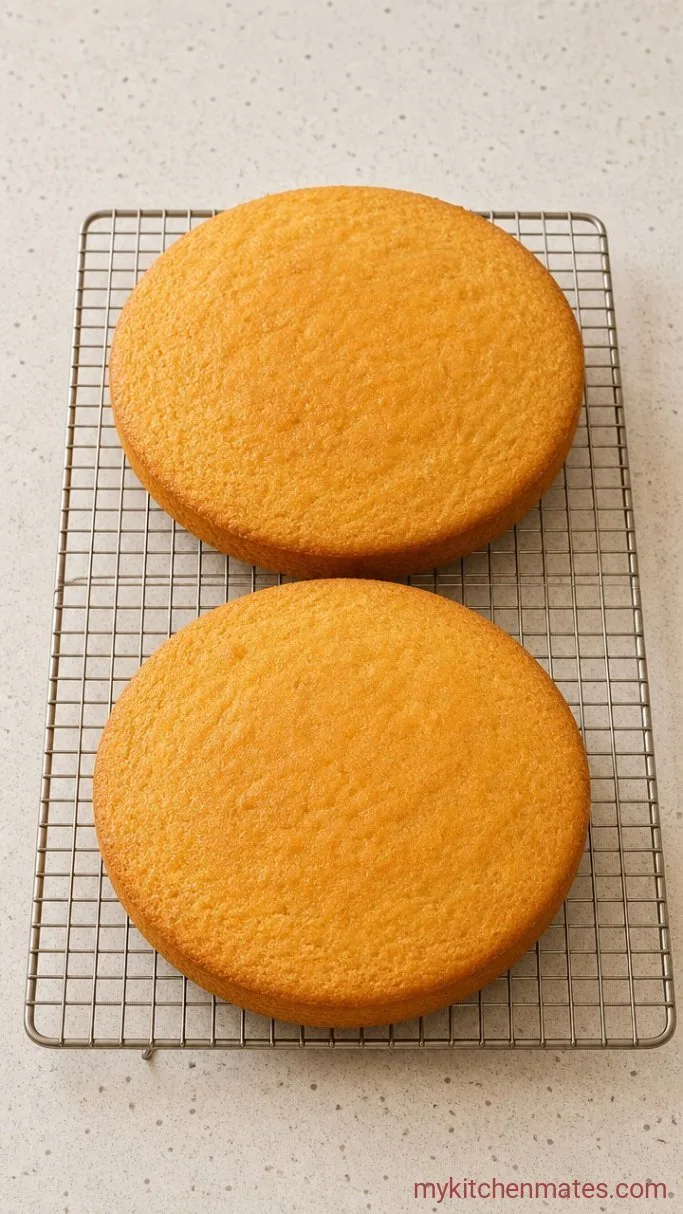
Preheat your oven to 350°F (175°C). Grease two 8-inch round cake pans and line the bottoms with parchment. In a medium bowl, whisk together the 2 3/4 cups flour, 1 tbsp baking powder, and 3/4 tsp salt. In a large bowl, beat the 1 cup butter and 2 cups sugar on medium speed until light and fluffy, about 3 minutes. Add the 4 eggs one at a time, beating well after each, then mix in the 2 tsp vanilla. With the mixer on low, add the flour mixture in three additions, alternating with the 1 cup milk, starting and ending with flour. Beat just until no streaks remain.
Divide the batter evenly between the two pans and smooth the tops. Bake for 22 to 25 minutes, until the centers spring back when lightly pressed and a toothpick comes out clean. Let the cakes cool in the pans for 10 minutes, then turn them out onto a rack to cool completely. The layers should be pale gold and pulling away from the sides just a little.
Step 2: Make the Buttercream
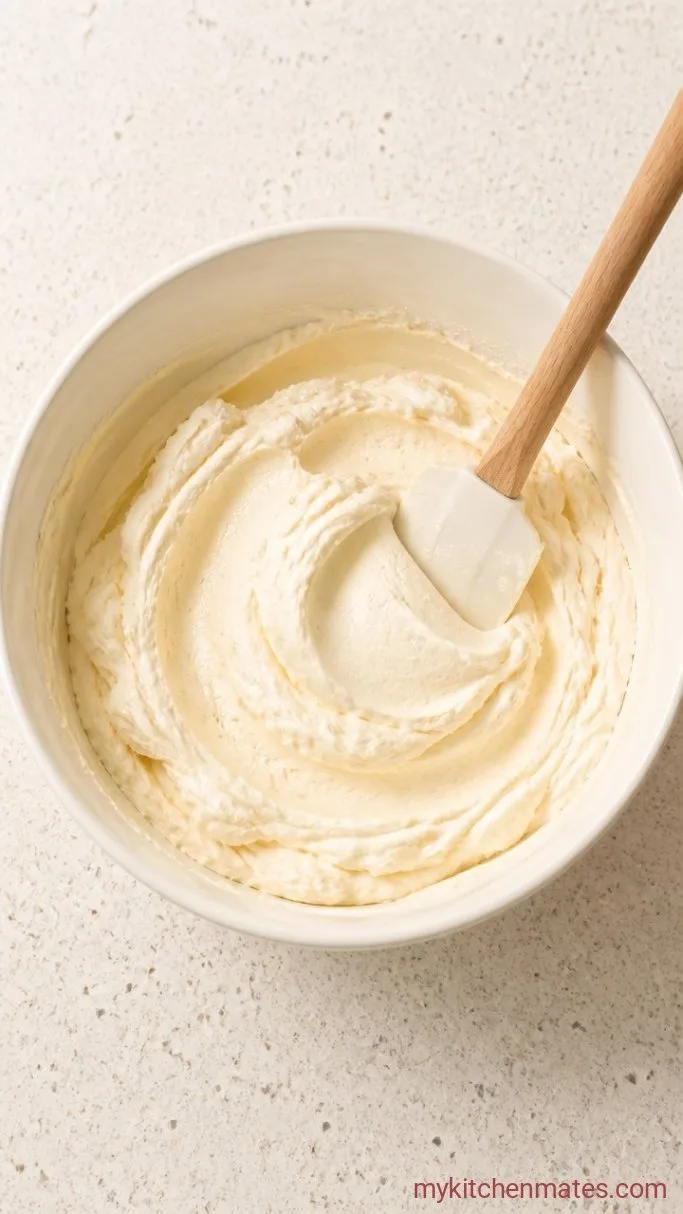
In a large bowl, beat 1 1/2 cups of the softened butter on medium speed until creamy, about 2 minutes. Gradually add 4 1/2 cups of the powdered sugar, 1 cup at a time, beating on low to combine. Pour in 2 tbsp of the milk and the 2 tsp vanilla, then increase the speed to medium and beat until the frosting is smooth and spreadable, another 2 to 3 minutes. If it feels too stiff, add another tablespoon of milk. Remove a heaping 1/2 cup of the plain white buttercream to a small bowl and set it aside for the spots.
Tint the remaining large batch of buttercream with yellow gel coloring, adding a tiny dab of orange at a time until it reaches a warm golden shade, like caramel. Beat until the color is even with no streaks. In the small reserved bowl, beat the remaining 1/4 cup butter, the 1 cup powdered sugar, the 1/4 cup cocoa powder, and 1 to 2 tbsp milk until a dark, smooth chocolate frosting forms. If it looks too light to read as black or deep brown against the golden cake, mix in an extra teaspoon of cocoa. The chocolate frosting should be thick enough to hold a shape when piped.
Step 3: Crumb Coat the Cake
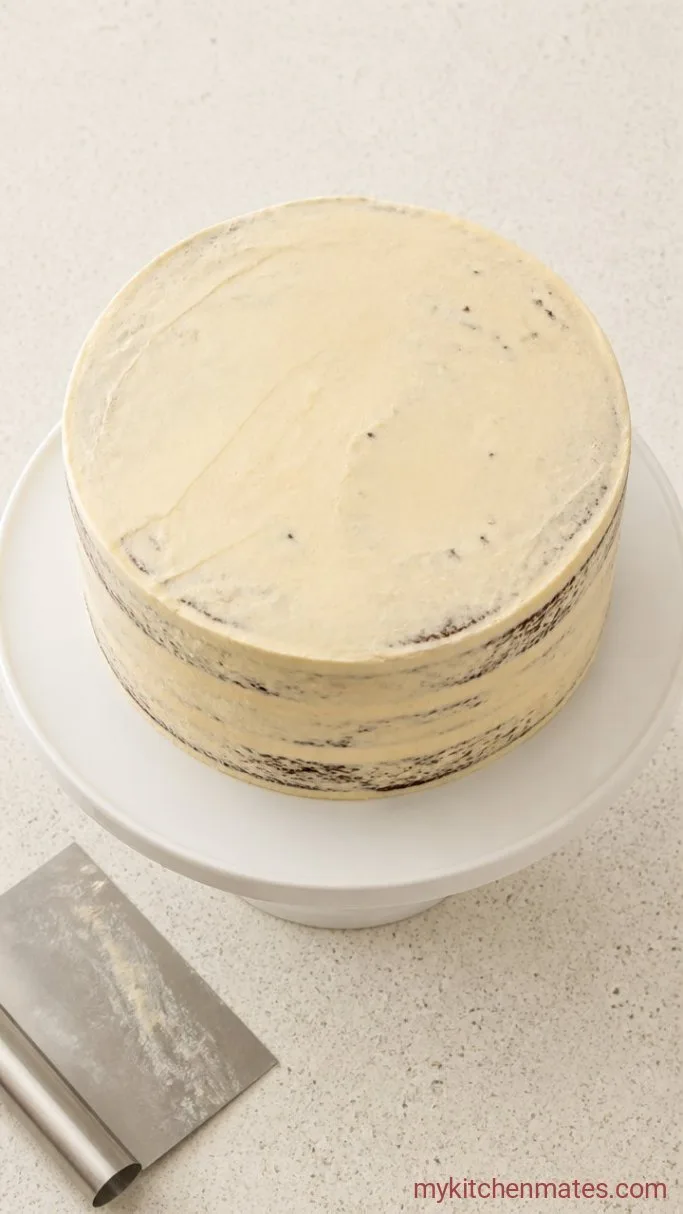
If the cake layers domed on top, use a serrated knife to level them so they stack flat. Place one layer on a serving plate or cake board and spread a generous scoop of golden buttercream on top. Set the second layer on, cut side down, then spread a very thin layer of the golden buttercream over the entire cake, top and sides. This crumb coat locks in any loose crumbs.
Pop the cake in the fridge for 15 minutes so the thin layer sets. The cake will look a little messy with crumbs peeking through, and that is exactly what you want before the final coat.
Step 4: Smooth on the Golden Base
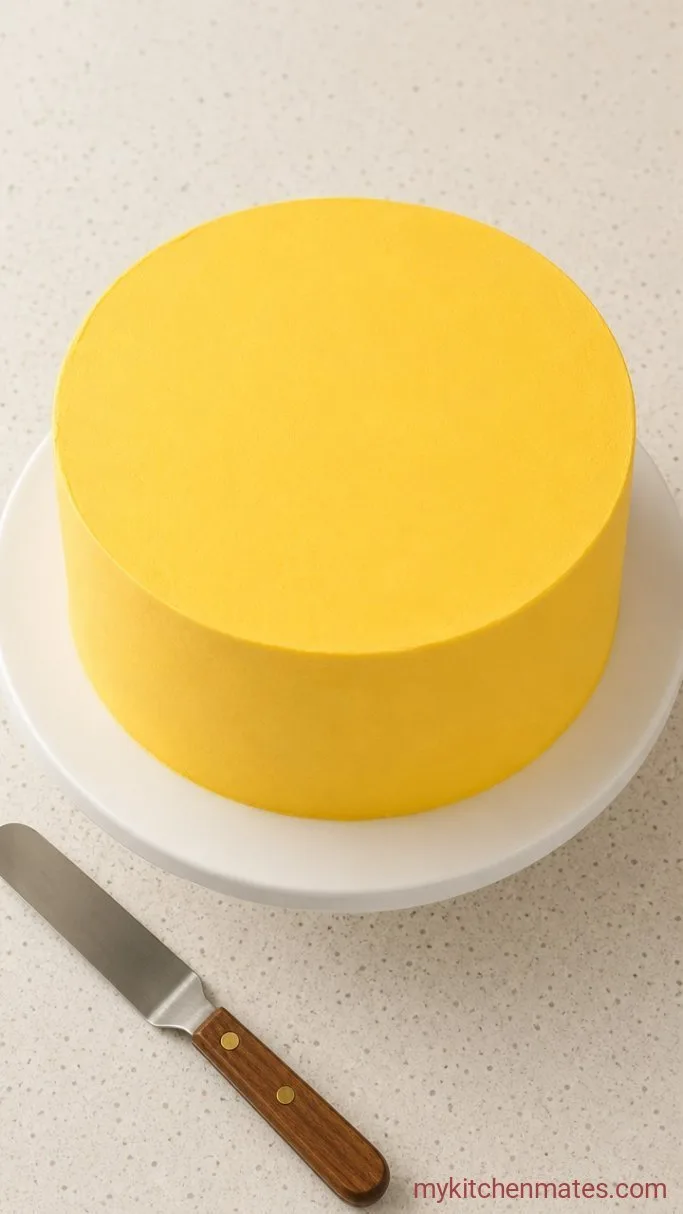
Pull the chilled cake from the fridge and pile the remaining golden buttercream onto the top. Use an offset spatula to push the frosting down over the sides, spreading it into an even, generous layer all around. For the smoothest finish, hold a bench scraper or a straight metal spatula against the side of the cake and rotate the plate in one direction, wiping the scraper clean as needed.
Run the spatula over the top edge to create a clean corner. The color will look vibrant now, and it will deepen just slightly after a short rest. If you want to be extra precise, chill the cake for another 10 minutes before moving on to the spots.
Step 5: Pipe the Cheetah Spots
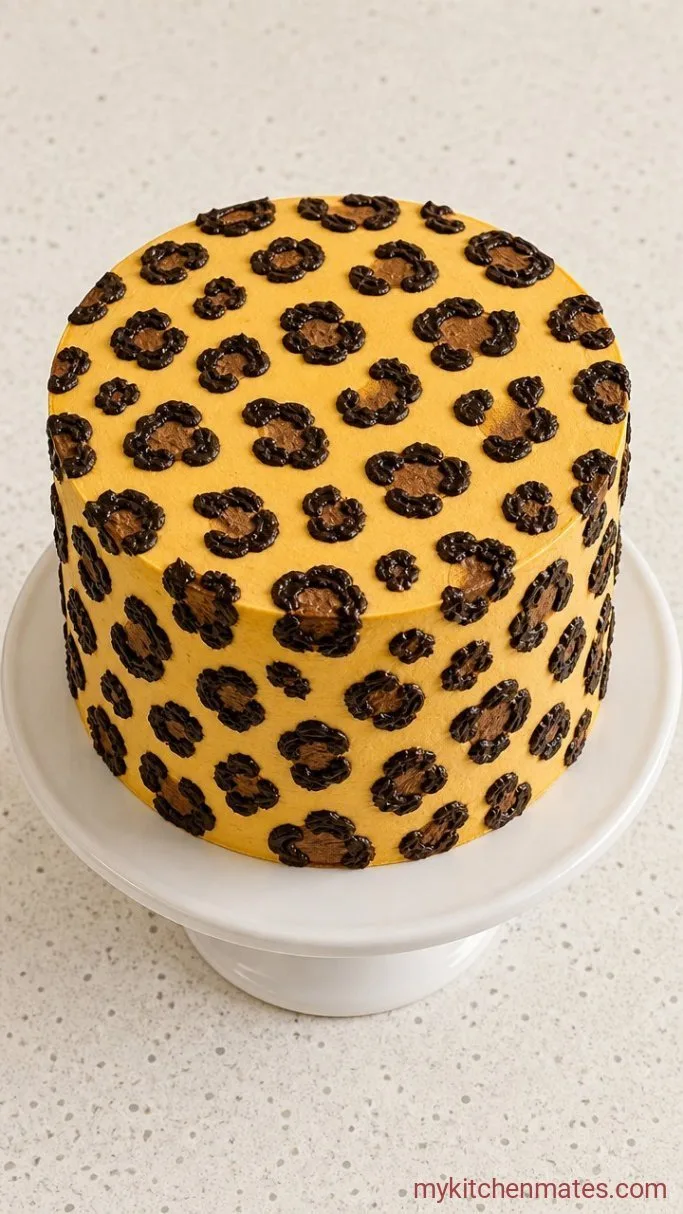
Scoop the dark chocolate buttercream into a piping bag fitted with a small round tip, or into a sturdy zip-top bag with the corner snipped off about 1/4 inch wide. Starting near the top, pipe small irregular ovals, clusters of two or three dots, and C-shaped arcs all over the surface of the cake. Leave gaps of golden frosting between them. Vary the size and angle so the pattern looks organic, like real cheetah markings. A few smaller broken spots around the larger ones sell the look.
Keep going until the sides and top have a balanced scattering of spots. Step back, admire your wild creation, and carry it to the table.
Tips for Getting Those Spots Right
- Use gel food coloring, not liquid, to tint the golden buttercream. Gel gives a bold shade without thinning the frosting, so your base stays sturdy.
- Work with chilled frosting. If the kitchen is warm, pop the cake back into the fridge anytime the buttercream starts to feel soft. A firm surface keeps the chocolate from dragging.
- Look at a photo of real cheetah spots before you pipe. The markings are solid dark centers with smaller, broken spots around them. Copy that pattern loosely for the most believable print.
- Go slow and stay irregular. Don’t try to make perfect ovals. The charm of this design is in the wonky, uneven shapes.
- Warm your bench scraper under hot water, wipe it dry, then run it around the cake for extra-smooth sides before piping.
Bake times for different pans:
| Pan Size / Type | Bake Time | Notes |
|---|---|---|
| Two 8-inch rounds | 22-25 mins | This recipe’s standard |
| Three 6-inch rounds | 20-22 mins | Great for a taller cake |
| 9×13-inch sheet pan | 28-32 mins | One layer, spots span wider |
| 24 cupcakes | 18-20 mins | Piping spots gets tricky; do a swirl instead |
Keeping the Cake Fresh
Refrigerate: Cover leftover cake loosely and keep in the fridge for up to 4 days. Bring slices to room temperature before serving for the best texture. Reheating: None needed, but if the buttercream feels firm, let the cake sit out for 30 minutes.
Frequently Asked Questions
Can I make this cake a day ahead?
Yes. Bake the cake layers and wrap them well in plastic once cool. Make the buttercream and store it in the fridge. Assemble and decorate the next day, letting the frosting come back to room temperature and re-whipping it for a smooth finish.
My spots are smudging. What went wrong?
The buttercream or the cake surface was too warm. Chill the whole cake for 15 minutes before piping the chocolate spots, and work quickly once you start.
Can I use canned frosting instead of homemade?
You can, but the spots will not hold crisp edges as well. Canned frosting is softer and can cause the chocolate to bleed slightly. Homemade buttercream sets firmer and gives you more control.
How do I get the golden color just right?
Mix yellow gel coloring into the buttercream first, then add the tiniest dab of orange, one drop at a time. The shade shifts quickly, so go slow. It should look like warm caramel or a golden retriever, not neon.
Cheetah Print Birthday Cake Recipe
Ingredients
Method
- Preheat oven to 350°F. Grease and line two 8-inch round cake pans. Whisk flour, baking powder, and salt. Cream 1 cup butter and sugar until fluffy. Add eggs one at a time, then vanilla. Alternate adding dry ingredients and milk, starting and ending with dry. Divide batter between pans, bake 22-25 minutes until a toothpick comes out clean. Cool completely.
- Beat 1 1/2 cups butter until creamy. Gradually add 4 1/2 cups powdered sugar, 2 tbsp milk, and 2 tsp vanilla. Remove 1/2 cup plain buttercream and set aside. Tint the large batch golden with yellow and a tiny dab of orange gel. In the reserved portion, beat in the remaining 1/4 cup butter, 1 cup powdered sugar, 1/4 cup cocoa, and enough milk to make a thick, pipable chocolate frosting.
- Level cake layers if needed. Place one layer on a plate, spread with golden buttercream, and top with the second layer. Apply a thin crumb coat of golden buttercream over the entire cake. Chill 15 minutes.
- Spread the remaining golden buttercream thickly over the cake and smooth the top and sides with a bench scraper.
- Transfer the chocolate buttercream to a piping bag fitted with a small round tip. Pipe irregular ovals, clusters, and broken spots all over the cake. Serve.
Notes
