
Easy Cat Bento Cake with Whipped Cream Frosting

A small vanilla cake that turns into a grinning cat face with just a few easy decoration moves. Soft cake, billowy whipped cream, and fresh strawberry ears make this far more cheerful than its short ingredient list suggests.
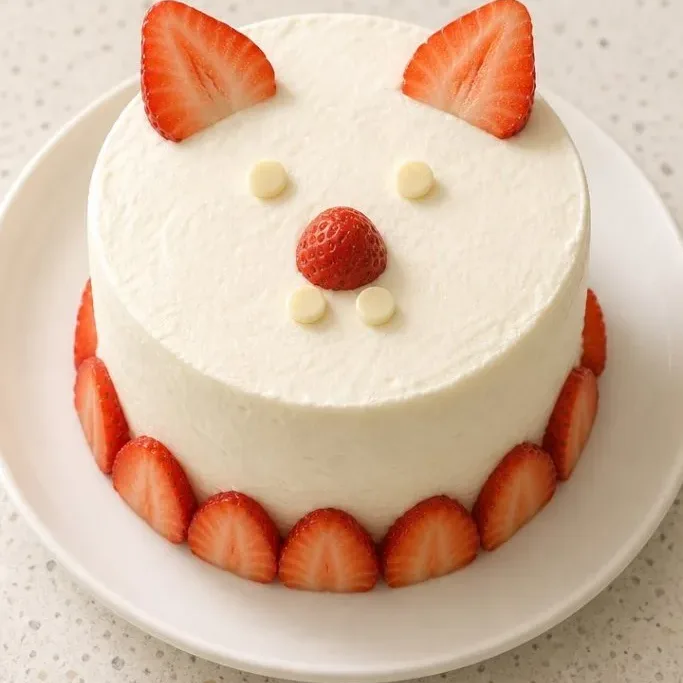
It bakes in two 6-inch pans so the layers cool fast, and the frosting comes together while the cake is in the oven. You get a homemade cat cake on the table in under an hour, and no special carving skills required.
Why This Cat Cake Is a Keeper
The cake itself is light and buttery without being fragile. Two thin layers mean every bite has that tender crumb-and-cream ratio.
The decoration is forgiving. A quick trim gives you a triangle for ears, and the face is just dollops of whipped cream and a couple of chocolate chips. Even if your piping is wobbly, it still reads as a cheerful cat.
Because it’s so small, there are no stale leftovers you feel guilty about. Four slices disappear fast, and the whole thing feels like a little treat rather than a weekend project.
Ingredients

- 1 ¼ cups (160 g) cake flour: spoon and level it, which keeps the crumb soft.
- ¾ cup (150 g) granulated sugar: standard white sugar works perfectly.
- 1 ½ tsp baking powder
- ¼ tsp fine sea salt
- ½ cup (120 ml) whole milk, at room temperature
- ¼ cup (60 ml) neutral oil: canola or vegetable oil; oil gives the cake an even, moist crumb.
- 1 large egg, at room temperature
- 1 ½ tsp vanilla extract
- 1 cup (240 ml) cold heavy whipping cream
- 2 tbsp powdered sugar
- 5 to 6 fresh strawberries: 2 for the ears, 1 for the nose, and a few for the collar if you like.
- 4 white chocolate chips: for the eyes and snout dots; mini chocolate chips also work.
Variations / Substitutions
- Use a boxed mix: a 340 g (12 oz) box of vanilla cake mix, plus the oil, eggs, and milk it calls for, baked in two 6-inch pans. The decoration stays the same.
- Switch the fruit: swap strawberries for thin peach slices or mango strips for the ears. Soft fruit holds up better than berries that weep.
- Cream cheese frosting: beat 4 oz cold cream cheese with the cream and powdered sugar for a tangier, firmer frosting that pipes sharper details.
- Make it chocolate: replace 2 tbsp flour with unsweetened cocoa powder to get a brown cat cake. Use white chocolate chips for the eyes instead.
- Dairy-free: use thick, unsweetened coconut cream instead of heavy cream and your favorite unsweetened oat milk in the cake. The ears will still hold.
Hello Kitty Bento Cake is another dessert you’d probably love if you enjoy this cake.
How to Make Cat Bento Cake
Step 1: Mix the Cake Batter

Set a rack in the middle of the oven and heat to 350°F (180°C). Grease two 6-inch round cake pans and line the bottoms with parchment. In a large bowl, whisk together the 1 ¼ cups cake flour, ¾ cup sugar, 1 ½ tsp baking powder, and ¼ tsp salt until evenly mixed. Make a well in the center and add the ½ cup milk, ¼ cup oil, the egg, and 1 ½ tsp vanilla. Stir with a whisk just until no streaks of flour remain—the batter will be thin, and that’s correct.
You’ll see a few tiny lumps, which is fine. Overmixing here makes the cake tough, so stop as soon as the dry bits disappear.
Step 2: Bake the Layers
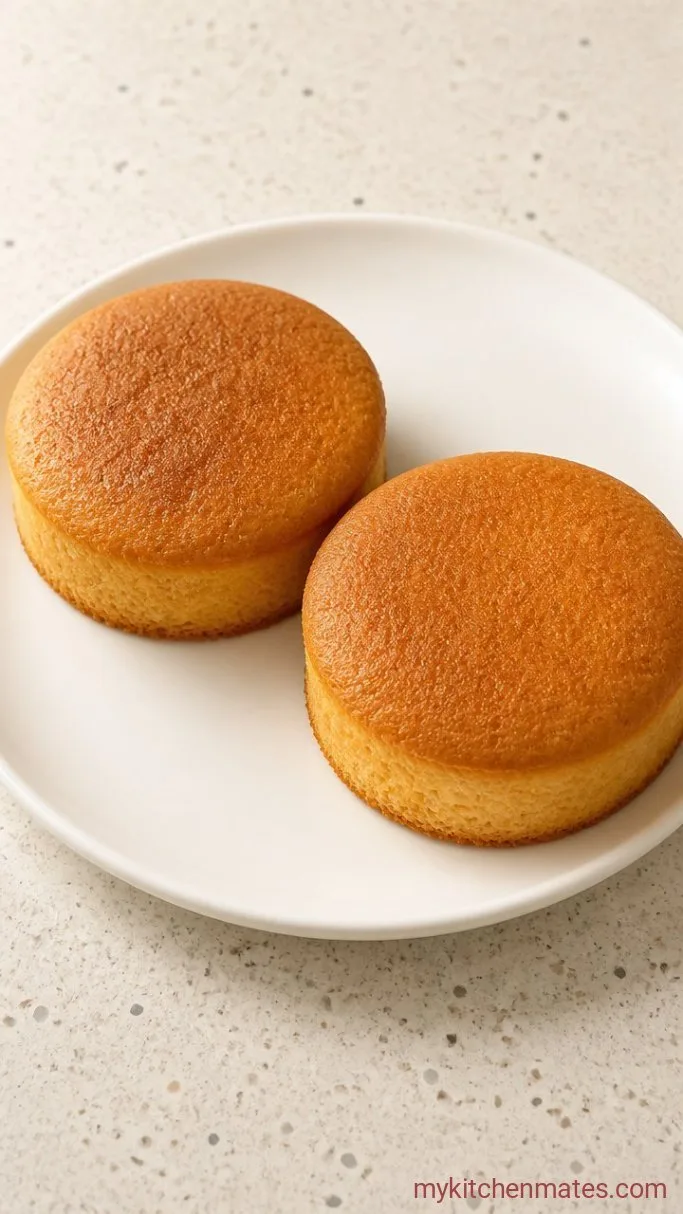
Divide the batter evenly between the two prepared pans. Tap each pan once on the counter to pop any large bubbles. Bake for 20 to 24 minutes, until a toothpick inserted in the center comes out with a few moist crumbs. The tops will look pale and barely golden at the edges.
The layers will pull away from the sides slightly when they’re done. Let them cool in the pans on a wire rack for 10 minutes, then turn them out, peel off the parchment, and cool completely. This is a good moment to pop the layers in the fridge for 15 minutes if you want to speed things up.
Step 3: Whip the Cream
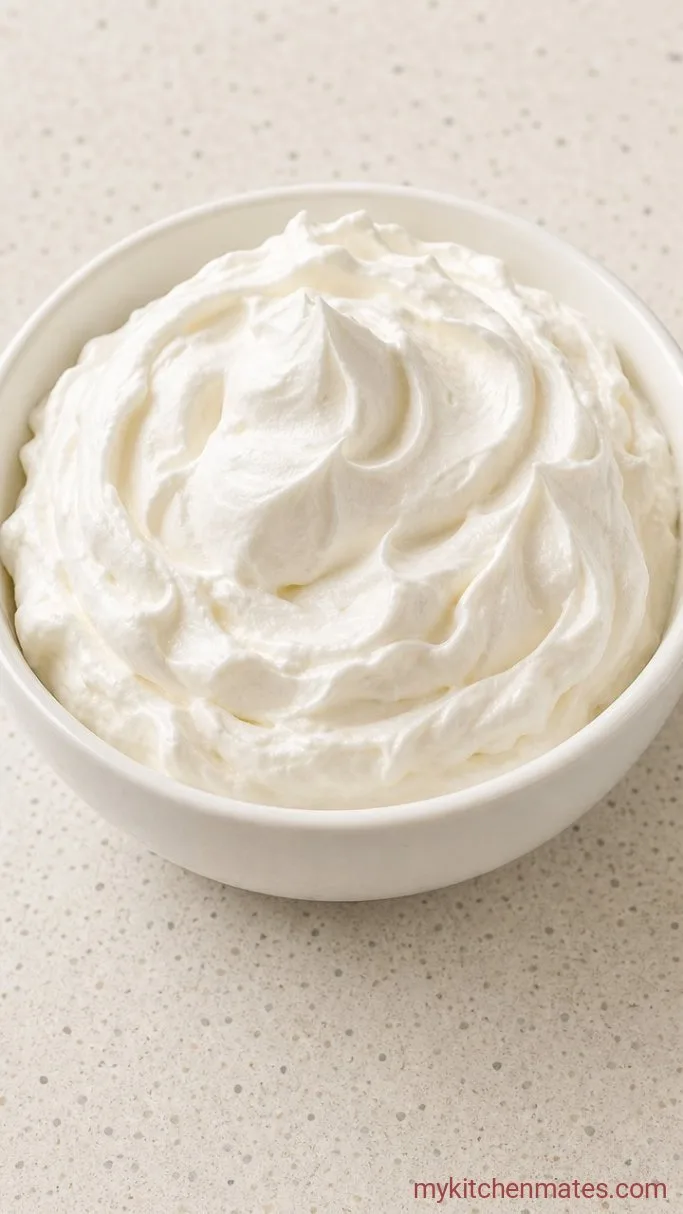
While the cake cools, pour the 1 cup cold heavy cream into a chilled bowl. Add the 2 tbsp powdered sugar and beat with a hand mixer on medium speed until soft peaks form, then turn to high for about 30 seconds until the cream holds stiff peaks that stand straight up when you lift the beaters. Keep it cold.
Stiff peaks give you a frosting that won’t slide off the cake. If you accidentally go too far and the cream looks grainy, fold in a splash of cold milk with a spatula to smooth it back out.
Step 4: Assemble and Decorate the Cat Face
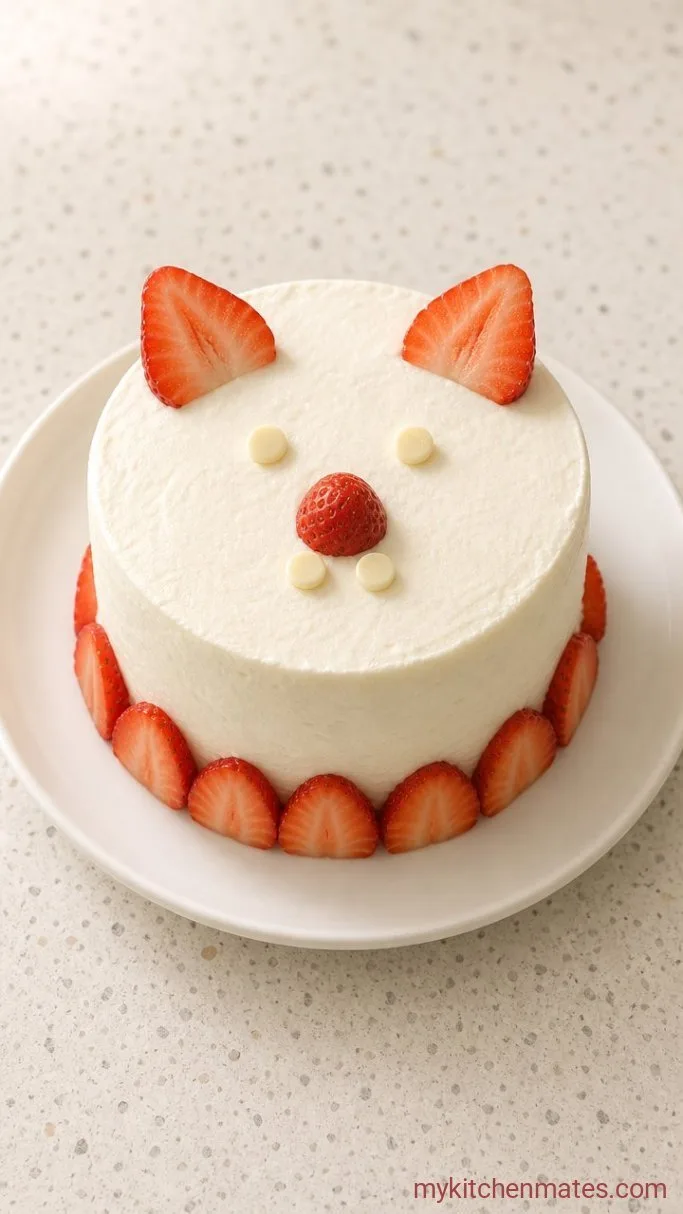
Place one cake layer on a plate or small board. Spread a generous ½ cup of whipped cream on top. Slice 2 strawberries into thin rounds and lay them side by side where you want the cat collar—that little pop of red under the chin. Place the second layer on top. Now take a small serrated knife and cut a 1-inch triangle from one side of the top layer. Lift that triangle and set it on the opposite edge as an ear. Repeat to cut a second triangle from the other side and place it as the other ear. The top layer will now have two pointed ears and a flat edge between them—the cat’s head shape.
Cover the whole top gently with the remaining whipped cream, leaving the ears a little exposed so the cake shows through. Press two white chocolate chips, pointy side down, for eyes. Slice the tip off a strawberry and place it as the nose, then use the back of a spoon to draw a little cream line under the nose and two whisker lines on each side. Chill for at least 1 hour before slicing so the ears hold their shape.
Tips for a Clean Cat Face
- If the cake layers dome, trim the tops flat with a long serrated knife before stacking. Flat surfaces keep the ears from breaking when you cut them.
- A cold bowl and cold cream beat up the stiffest peaks. Chill the beaters too if your kitchen is warm.
- For neater ears, trace the triangle shape on the top layer lightly with a toothpick before you cut.
- Leftover whipped cream can be piped around the ears in little rosettes if you want a fancier finish, but the spoon method already reads clearly as a cat.
You can bake this recipe in a single pan if that’s what you have.
| Pan size | Batter amount | Bake time |
|---|---|---|
| One 8-inch round | Full batch, spread evenly | 25 to 28 minutes |
| One 9-inch round | Full batch | 22 to 25 minutes |
| Cupcake tin (8 cupcakes) | Fill liners ⅔ full | 17 to 20 minutes |
A single layer means you’ll split the cake horizontally after baking and trim ears from the top half. The face proportions still work nicely.
Keeping Leftovers Fresh
Refrigerate: Cover the cake plate loosely with plastic wrap without touching the cream and store for up to 3 days. The strawberries will start releasing moisture after the first day, so the ears may soften a little.
Reheating: Don’t. It’s meant to be cold or cool room temperature.
Serve Cold: This cake tastes best after a chill. Pull it from the fridge 10 minutes before serving if you want the cream to soften slightly.
Frequently Asked Questions
Can I use a store-bought vanilla cake mix?
Yes, use a 340 g (12 oz) box prepared according to package directions, divide between two 6-inch pans, and bake about 18 to 22 minutes. The rest of the decoration stays identical.
How do I make clean cuts for the ears without the cake crumbling?
Use a thin serrated bread knife and saw gently without pressing down. Chilling the top layer for 20 minutes before cutting also firms the crumb and reduces crumbling.
What if I don’t have white chocolate chips for the eyes?
Semisweet mini chocolate chips or raisins both work. Piping two small dots of whipped cream as eyes and placing a tiny nonpareil on each looks cute too.
Can I make the whole cake a day ahead?
Assembled, the cake holds well overnight in the fridge if the strawberries are tucked inside the collar layer. The ears may absorb a little moisture, so plan to trim and place the ears just before serving.
Cat Bento Cake Recipe
Ingredients
Method
- Heat oven to 350°F (180°C). Grease two 6-inch round pans and line with parchment. Whisk flour, sugar, baking powder, and salt. Add milk, oil, egg, and vanilla; stir just until smooth.
- Divide batter between pans, tap once, and bake 20 to 24 minutes until a toothpick has moist crumbs. Cool in pans 10 minutes, then turn out and cool completely.
- Beat cold cream and powdered sugar to stiff peaks. Keep cold.
- Spread half the cream on one layer, add sliced strawberries for the collar, and top with the second layer. Cut two triangle ears from the top layer and place them pointing up. Cover top with remaining cream, add chocolate chip eyes, strawberry nose, and cream nose line and whiskers. Chill 1 hour before slicing.
Notes
