
Easy Cars Birthday Cake (No Fancy Pan)

This cars birthday cake is made from a single sheet cake you cut into a race car shape, with a simple buttercream finish and cookie wheels. It comes together without any specialty pans or complicated carving.
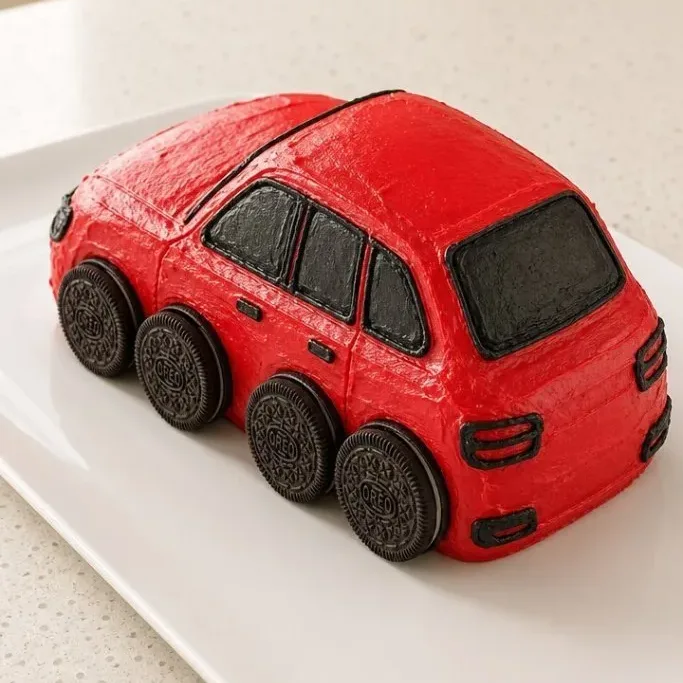
If you need a showstopping centerpiece that still tastes like a real homemade cake, this one gets the job done without a headache.
What Makes This Car Cake So Fun
The shape is built from a basic 9×13 rectangle. You cut off the corners to carve a windshield and a front bumper, then stack the scraps to build a spoiler. No templates to print, just a few straight cuts that anyone can manage.
The red buttercream is tinted with gel food coloring so the color stays bold without thinning the frosting. Every kid at the party will recognize the car immediately.
My favorite part is the wheels: chocolate sandwich cookies pressed right into the sides. They look exactly like thick tires and they stay put with a dab of frosting.
Ingredients
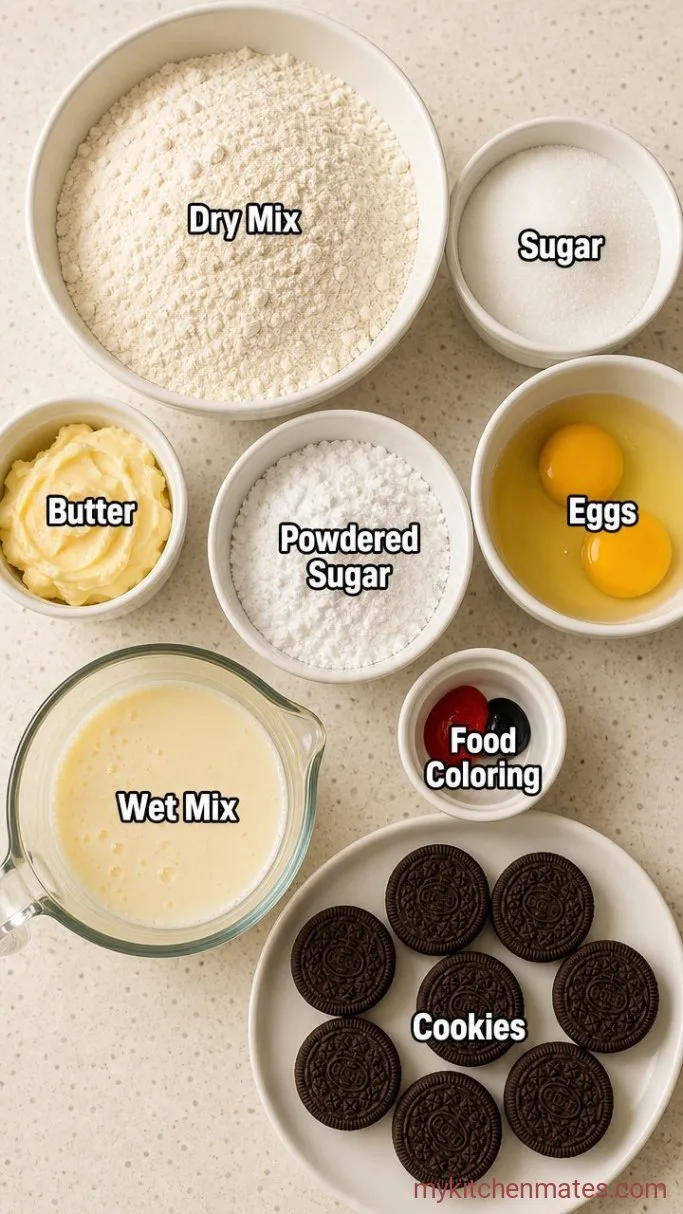
- 2 cups all-purpose flour: spooned and leveled, not scooped.
- 1 ½ cups granulated sugar: standard white sugar.
- 2 tsp baking powder: for lift.
- ½ tsp fine salt: balances the sweetness.
- 1 cup whole milk, at room temperature: helps the crumb stay tender.
- ½ cup vegetable oil: keeps the cake moist even after a day.
- 2 large eggs, at room temperature: they blend in more smoothly.
- 2 tsp vanilla extract: the flavor backbone.
- 1 ½ cups unsalted butter, softened: for the buttercream; use real butter, not margarine.
- 4 cups powdered sugar: sifted if it has lumps.
- Red gel food coloring: gel gives a rich red without ruining the frosting texture.
- Black gel food coloring: for the windows and tires.
- 8 chocolate sandwich cookies: Oreos or similar, for wheels.
Variations / Substitutions
- Swap the vanilla cake: use a chocolate cake batter instead, and tint the frosting a deep blue for a different car color.
- Dye-free frosting: skip the food coloring and frost it white, then use black licorice wheels or chocolate candies for details.
- Do a box mix: a 15.25-ounce box of white cake mix works in place of the flour, sugar, baking powder, and salt. Prepare it with the oil and eggs per package directions, then follow the rest of the recipe.
- No piping bag?: snip the corner off a zip-top bag for the windows and mouth. The lines do not need to be perfect.
No-Bake Pancake Birthday Cake is another dessert you’d probably love if you enjoy this cake.
How To Make Easy Cars Birthday Cake
Step 1: Bake the Cake
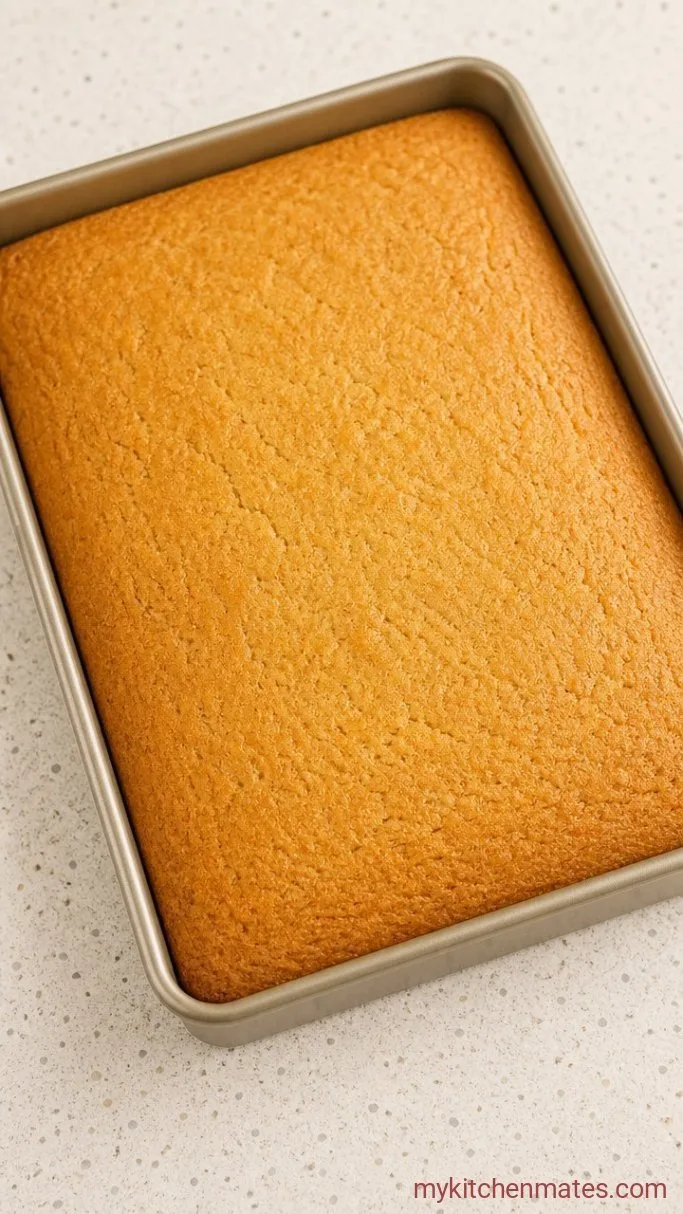
Preheat your oven to 350°F (175°C) and grease a 9×13-inch metal baking pan, then line the bottom with parchment. In a large bowl, whisk the 2 cups flour, 1 ½ cups sugar, 2 teaspoons baking powder, and ½ teaspoon salt until evenly blended.
Pour in the 1 cup milk, ½ cup oil, 2 eggs, and 2 teaspoons vanilla. Beat with a hand mixer on low just until no dry streaks remain, about 30 seconds. Scrape into the pan and smooth the top. Bake on the middle rack for 25 to 30 minutes, until a toothpick comes out clean and the top springs back when you press it lightly.
The cake will be pale gold and smell sweetly of vanilla. Let it cool in the pan for 10 minutes, then run a knife around the edge, flip it onto a rack, and cool completely before carving. A warm cake will crumble under the knife.
Step 2: Whip the Buttercream
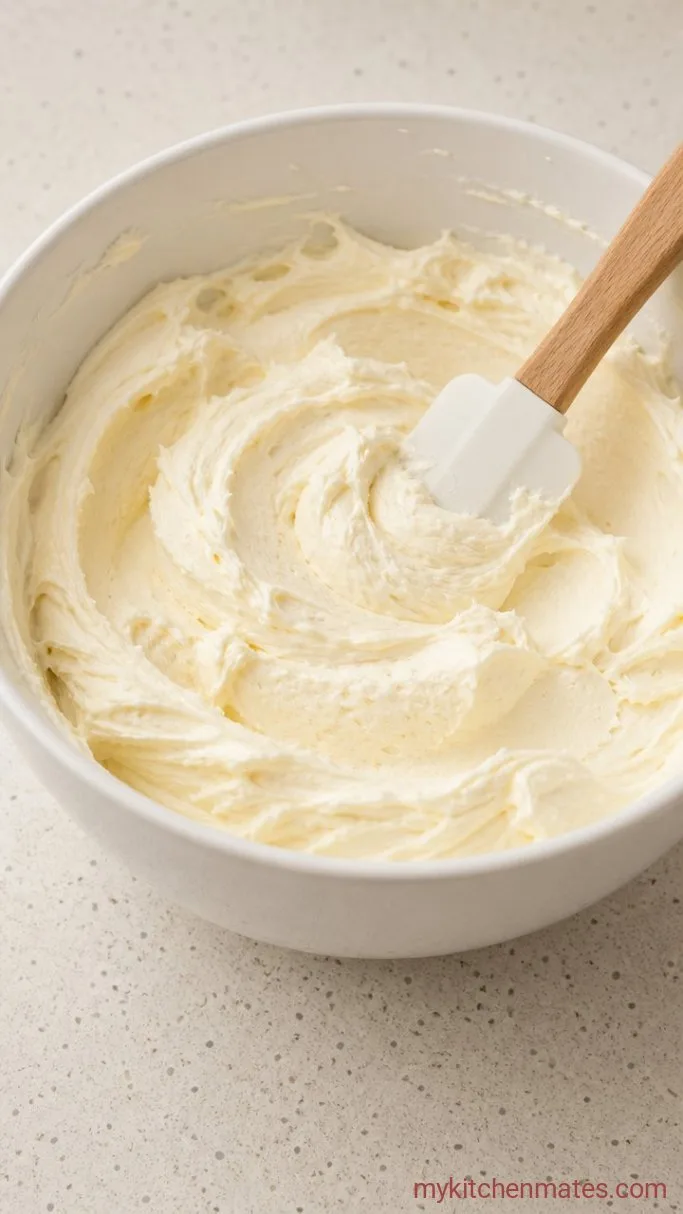
Beat the 1 ½ cups softened butter with an electric mixer until it turns pale and fluffy, about 3 minutes. Add the 4 cups powdered sugar one cup at a time, beating on low to start and finishing on high for 30 seconds after each addition.
Scrape down the bowl twice as you go. The frosting should be thick enough to hold a peak but still spreadable. If it feels stiff, beat in 1 tablespoon of milk. Divide the frosting into two bowls: put about ¾ cup into one bowl (for details) and the rest in another bowl for the red car body. Tint the large bowl with red gel coloring, a little at a time, until it is a bright car-race red. Tint the smaller bowl with black gel coloring.
Step 3: Carve the Car Shape
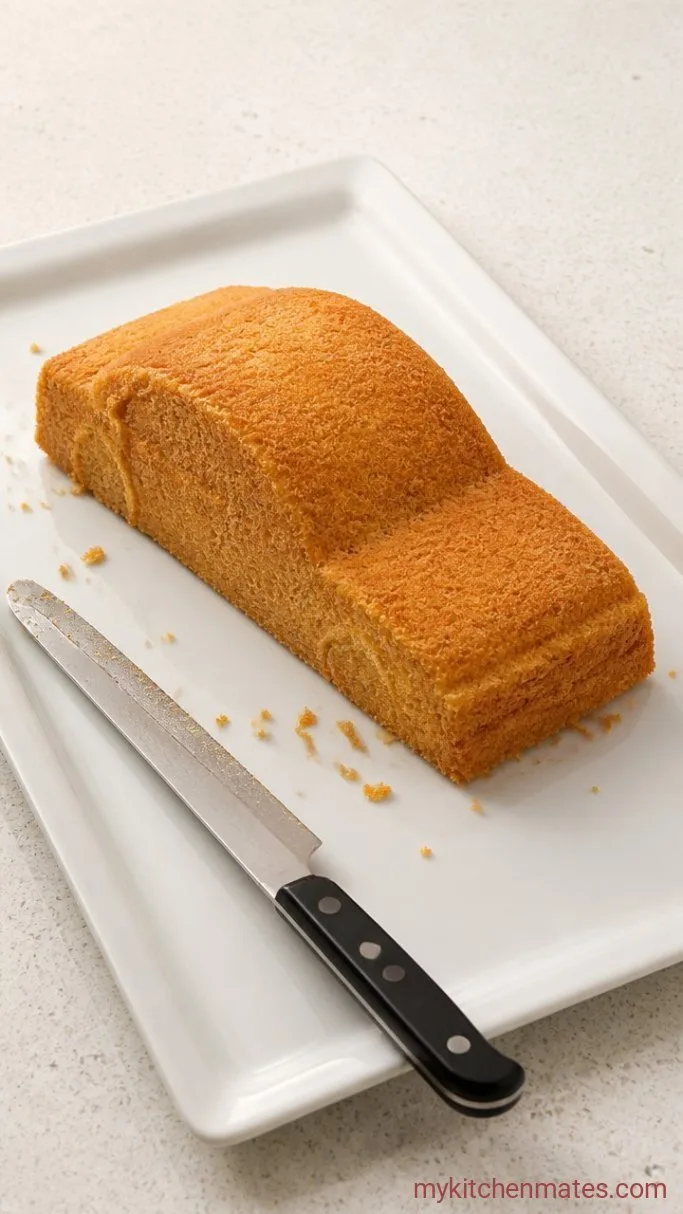
Place the cooled cake on a large cutting board or a clean piece of cardboard wrapped in foil. Using a serrated knife, slice a 2-inch strip straight off one long side of the cake. Cut that strip in half crosswise and set the pieces aside, they become the spoiler.
Now take the main rectangle and cut a shallow diagonal at one short end to form the windshield. On the opposite end, cut a small squared-off notch at each corner to shape the front bumper. Keep the cuts simple, four or five straight lines are all you need. Stack the two reserved strip halves on the back of the car with a smear of frosting in between to build a raised spoiler.
Step 4: Frost the Car
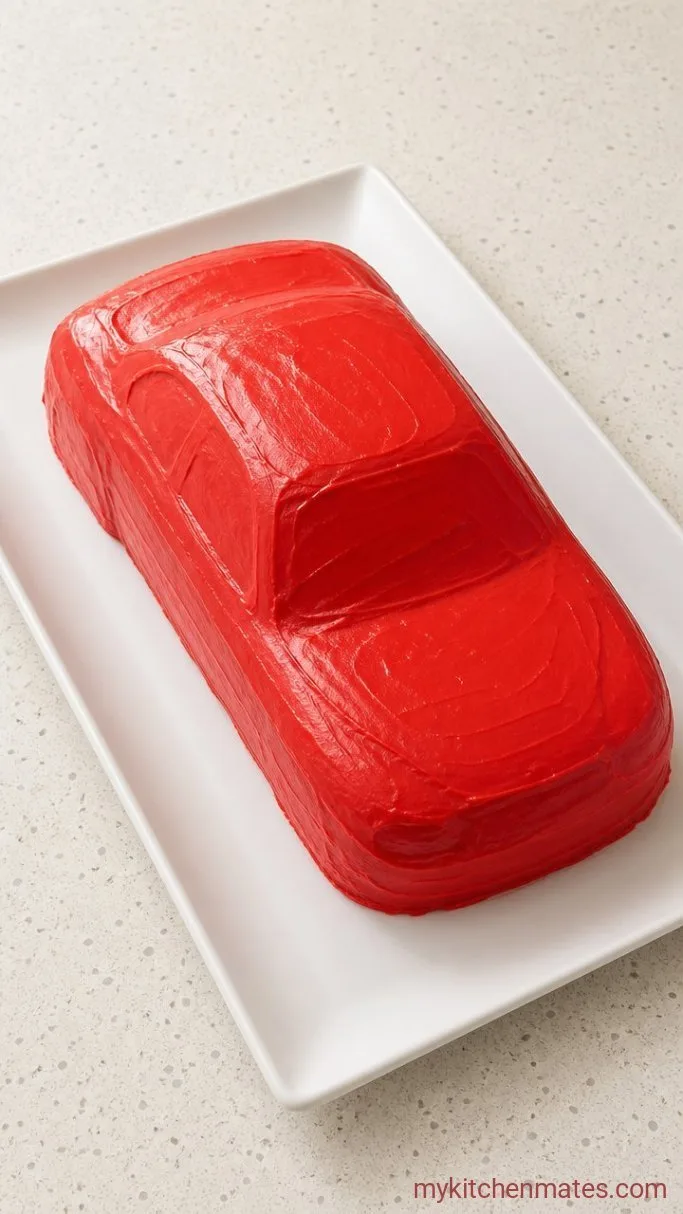
Spread a thin crumb coat of the red frosting over the whole cake, including the spoiler stack. Chill the cake for 20 minutes so that layer firms up. This traps the crumbs and makes the final coat smooth.
After chilling, slather on the rest of the red frosting with an offset spatula. Work from the center out, and smooth the top and sides in long sweeps. It does not have to be flawless — race cars have curves and edges that hide minor imperfections.
Step 5: Add the Details
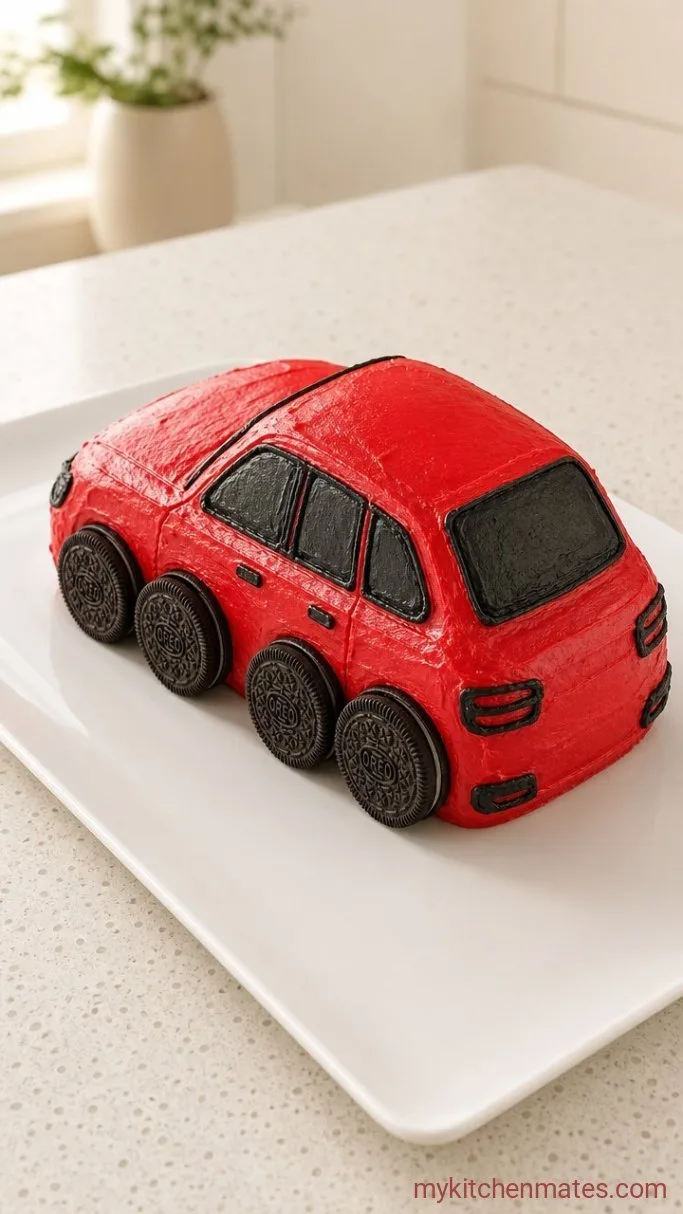
Spoon the black buttercream into a piping bag fitted with a small round tip, or use a zip-top bag with the corner snipped off. Pipe a windshield on the front slope, two window outlines on the sides, and a grinning mouth on the hood.
Press 4 chocolate sandwich cookies onto each side for the wheels, using a dab of black frosting as glue. If wanted, pipe a black number on the side door or a checkered stripe across the hood. Serve the cake at room temperature so the buttercream is soft and the cookie wheels stay crunchy.
Tips for Shaping and Decorating the Cake
- Chill the cake before carving: even an hour wrapped in plastic in the fridge makes the cuts razor-clean with fewer crumbs.
- Use a serrated bread knife: it saws through the cake without compressing it, so the shape holds up.
- Grab gel, not liquid, food coloring: gel gives a vibrant red without thinning the frosting. Liquid coloring will make the buttercream soupy and pastel.
- Build a sketch first: draw the car profile on a piece of paper the same size as your cake, then use it as a visual guide while you cut, no template needed.
- Keep the scraps: any offcuts that are not used for the spoiler make perfect snack bites with leftover frosting.
Keeping Your Car Cake Fresh
- Refrigerate: cover the cake loosely with plastic wrap and store in the fridge for up to 3 days. The buttercream will set firm, so let slices come to room temperature for 20 minutes before serving.
- Make ahead: you can bake the cake one day ahead, wrap it well, and keep it at room temperature. Frost and decorate the morning of the party so the colors and cookie wheels stay crisp.
Frequently Asked Questions
Can I use a box cake mix for this?
Yes. A standard white or vanilla 15-ounce box mix works. Prepare it in a 9×13 pan according to the package, using any oil and eggs it calls for, then follow the carving and decorating steps.
How do I make the red frosting really bright without using too much dye?
Gel food coloring is already concentrated, but for a deeper red, let the tinted frosting sit covered at room temperature for 15 minutes. The color intensifies as it rests.
What if I do not have gel food coloring?
Liquid food coloring will work, but you will need more drops to get a medium red and the frosting may soften. Beat in an extra ¼ cup of powdered sugar to thicken it back up before spreading.
Can I shape the car differently?
Of course. Some people like a longer hood or a taller spoiler. The basic idea is a rectangle with a sloping windshield and a notched front. Play with the cut lines on paper first to find a shape you like.
Easy Cars Birthday Cake Recipe
Ingredients
Method
- Preheat oven to 350°F (175°C), grease a 9×13-inch pan, line with parchment. Whisk flour, sugar, baking powder, and salt. Add milk, oil, eggs, and vanilla; beat until smooth. Bake 25 to 30 minutes until a toothpick comes out clean. Cool completely.
- Beat butter until fluffy. Gradually add powdered sugar, beating well until thick. Divide into ¾ cup for black and the rest for red. Tint each with gel coloring.
- Cut a 2-inch strip from one long side of the cake, cut it in half for the spoiler. Carve a diagonal windshield on one short end and notch the opposite corners for the front bumper. Stack the strip halves on the back with frosting to form a spoiler.
- Crumb coat the whole car in red frosting and chill 20 minutes. Frost with remaining red frosting, smoothing the top and sides.
- Pipe black windows, windshield, and a mouth onto the hood. Press 4 chocolate cookies onto each side for wheels, securing with a dab of black frosting. Serve at room temperature.
Notes
