
Easy Baked Teriyaki Chicken

This easy baked teriyaki chicken gives you glossy, sticky-sweet chicken straight from the oven, no grill or stovetop splatters needed. The sauce thickens and caramelizes while it bakes, coating every piece in that classic salty-sweet teriyaki glaze.
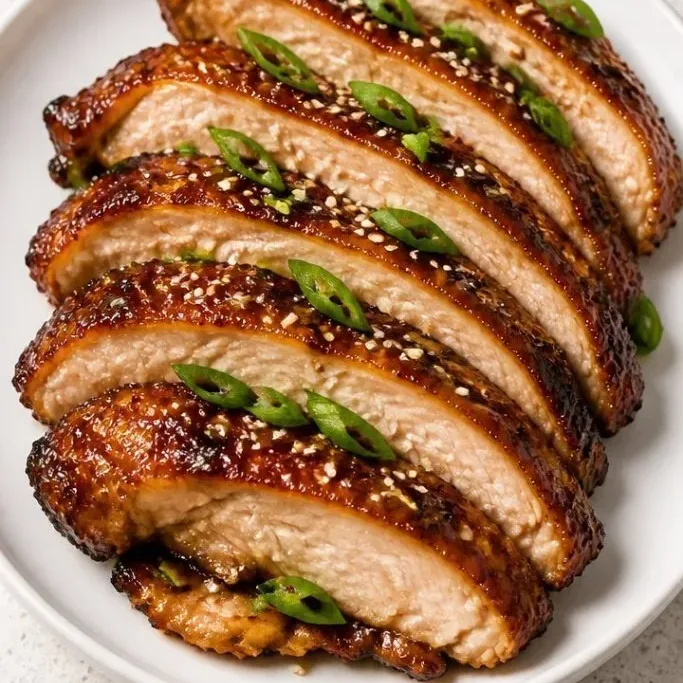
It’s the kind of dinner you can start on a Tuesday and have on the table in under an hour, with rice and a quick veggie on the side. Better than takeout, and you know exactly what went into it.
Why This Baked Teriyaki Chicken Works
I love this method because the oven does most of the work. The chicken stays tender and juicy, and the sauce reduces and gets sticky without any stirring or babysitting.
A final minute under the broiler gives you that shiny, lacquered finish that makes it look like you spent way more time on it. The homemade sauce is balanced: salty from soy, sweet from sugar and mirin, with fresh garlic and ginger that mellow in the heat. It’s the version I keep coming back to when I want teriyaki without firing up the grill.
Ingredients
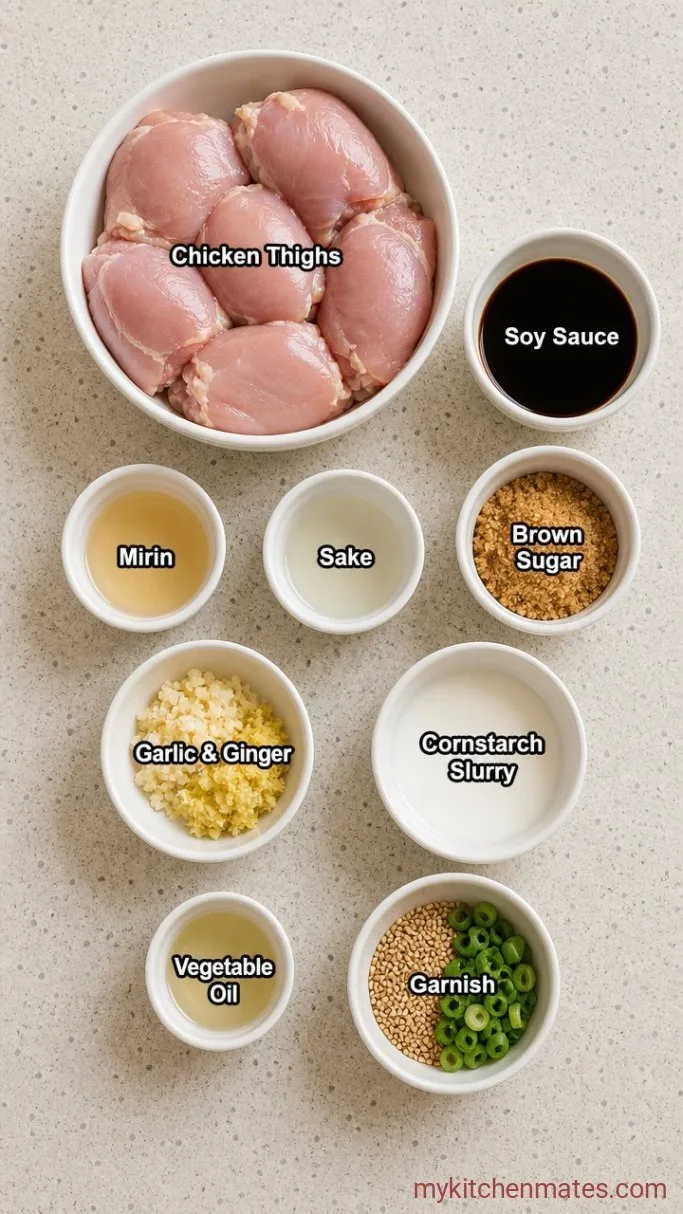
- 2 lbs boneless, skinless chicken thighs – stay juicy and don’t dry out in the oven
- 1/3 cup soy sauce – low-sodium works if you prefer less salt
- 1/4 cup mirin – sweet sherry; see substitutions if you don’t have it
- 2 tbsp sake or rice vinegar – adds depth; dry sherry is a good swap
- 2 tbsp brown sugar – melts into the glaze and helps it caramelize
- 2 cloves garlic, minced
- 1 tsp grated fresh ginger
- 1 tbsp cornstarch mixed with 1 tbsp water – for thickening the glaze later
- 1 tsp vegetable oil – for the baking dish
- Sesame seeds and sliced green onions, for serving
Variations and Substitutions
- Swap the protein – Boneless chicken breasts work; cut bake time to 20–25 minutes. Salmon fillets also bake beautifully in this sauce.
- Make it gluten-free – Use tamari instead of soy sauce. The rest of the ingredients are naturally gluten-free.
- No mirin? – Use an extra 2 tbsp of sake or rice vinegar plus 1 tbsp of sugar for a similar sweet note.
- Add some heat – Stir 1 tsp sriracha or a pinch of red pepper flakes into the sauce if you like a little kick.
Teriyaki Sauce makes this chicken even better, and it takes just minutes.
How to Make Baked Teriyaki Chicken
Step 1: Whisk the Teriyaki Sauce
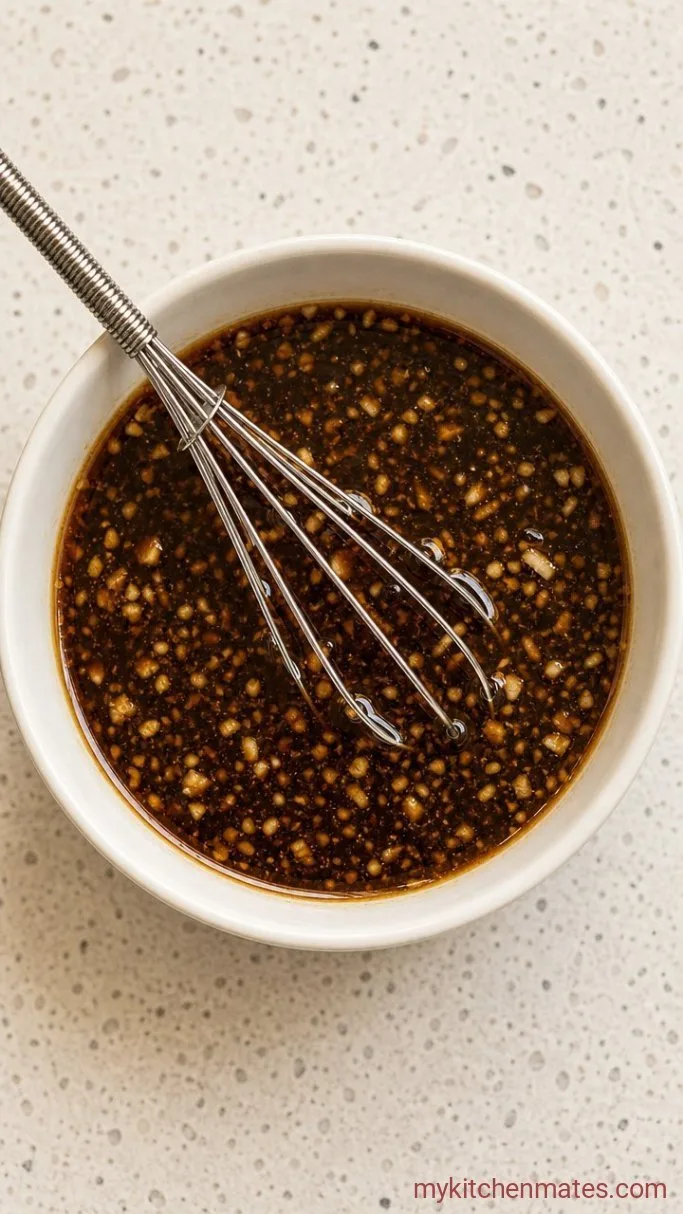
In a medium bowl, whisk together the 1/3 cup soy sauce, 1/4 cup mirin, 2 tbsp sake, 2 tbsp brown sugar, the minced garlic, and the grated ginger. Keep whisking until the sugar dissolves, about 30 seconds.
The sauce will look thin and the garlic and ginger will fleck through it. That’s exactly what you want. The flavors will bloom as the sauce bakes.
Step 2: Bake the Chicken
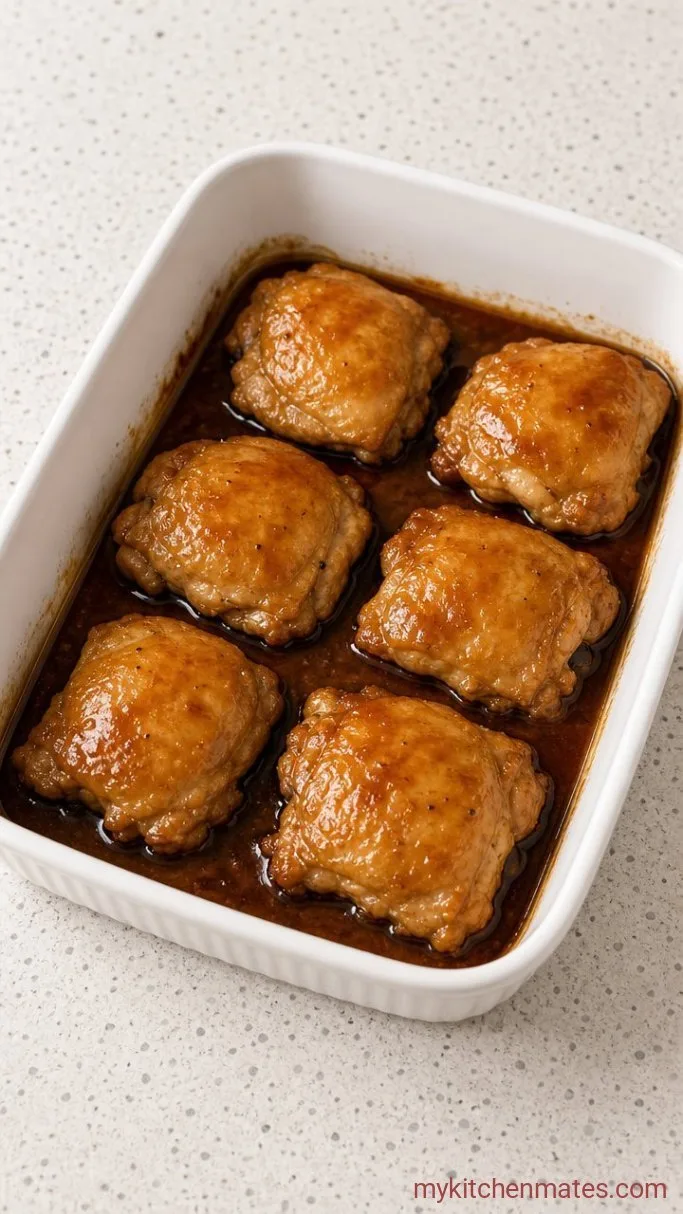
Preheat your oven to 400°F (200°C). Lightly oil a 9×13-inch baking dish with the 1 tsp vegetable oil, then arrange the 2 lbs chicken thighs in a single layer. Pour the sauce over the chicken, turning the pieces to coat them on both sides.
Slide the dish into the oven and bake for 25 to 30 minutes, basting the chicken with the pan juices halfway through. You’ll see the sauce bubbling and starting to darken around the edges. The chicken will look opaque and tender when it’s done.
Step 3: Thicken the Glaze
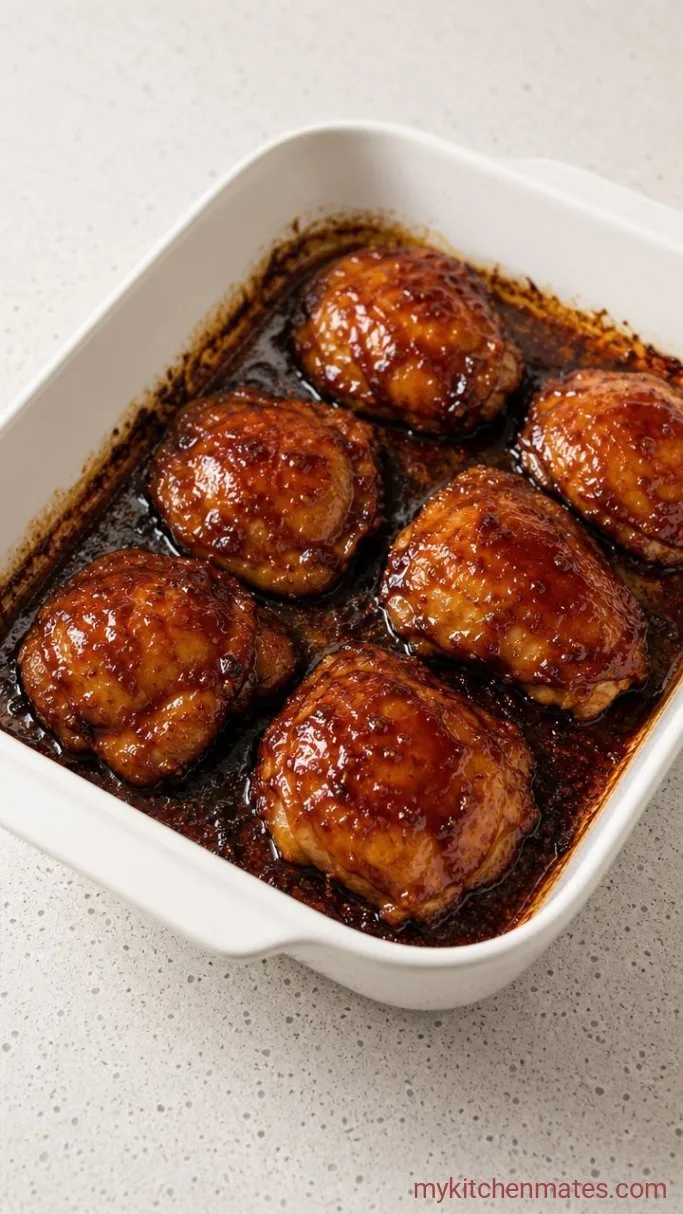
Use tongs to transfer the chicken to a plate and cover it loosely with foil to keep it warm. Pour the pan juices into a small saucepan and bring them to a simmer over medium heat. Stir the 1 tbsp cornstarch slurry again, then whisk it into the simmering liquid.
Cook, stirring constantly, for 3 to 5 minutes. The sauce will turn glossy and thicken enough to coat the back of a spoon. Don’t walk away here. Cornstarch-thickened sauces can go from perfect to paste quickly if they aren’t stirred.
Step 4: Broil for a Sticky Finish
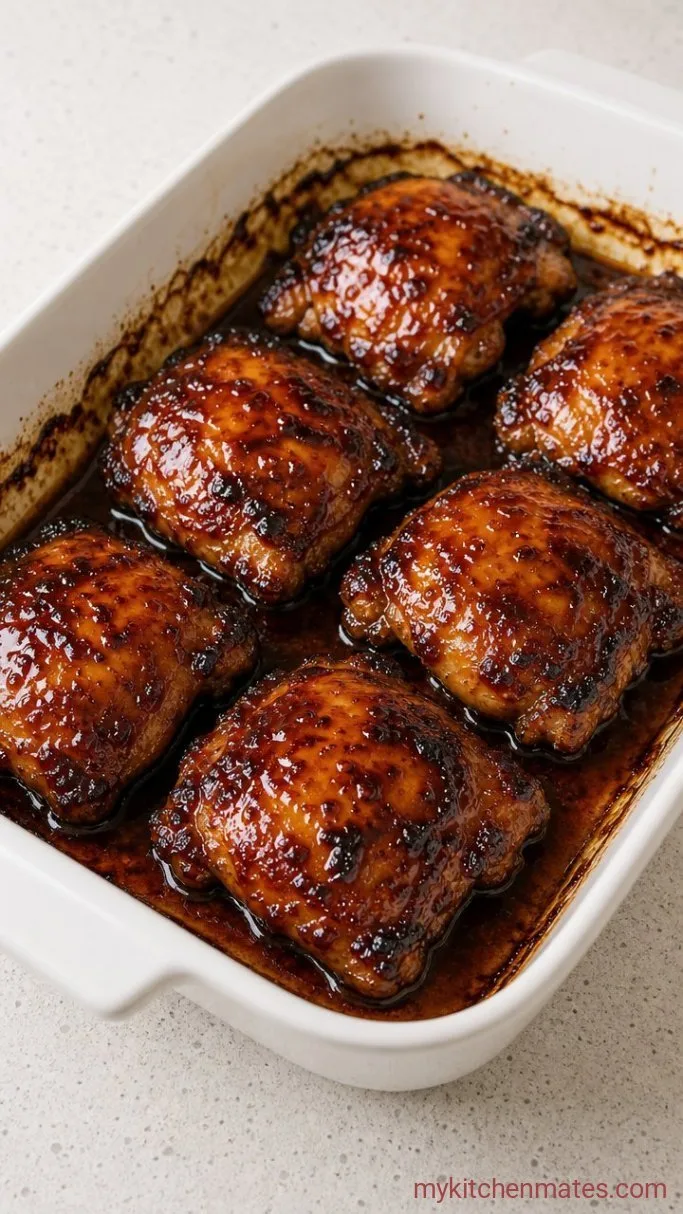
Return the chicken to the baking dish and pour the thickened glaze over the top, spooning it evenly across the pieces. Turn on the broiler and position an oven rack about 6 inches from the heat. Broil the chicken for 2 to 3 minutes, until the glaze bubbles and develops deep, shiny spots.
Keep a close eye on it. You want the glaze to set without burning. The high heat locks that lacquered look onto each piece of chicken.
Step 5: Slice and Serve
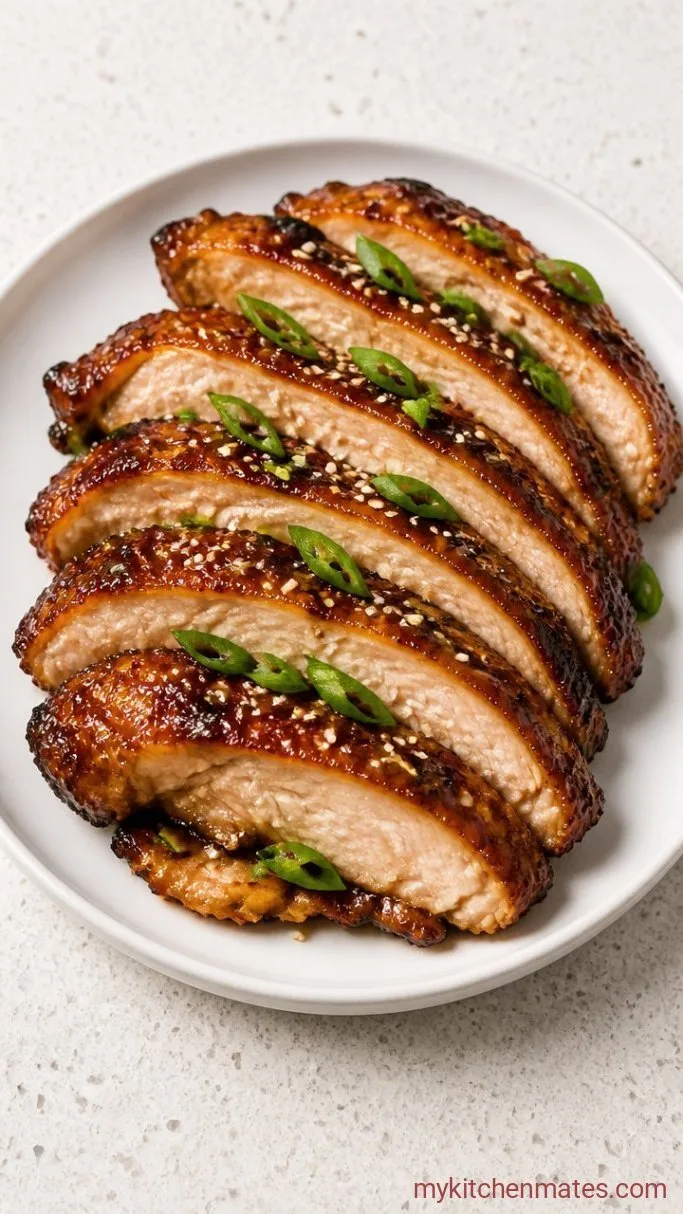
Transfer the chicken to a cutting board and slice it against the grain into thick strips. Pile the slices onto a platter or plates, spoon any remaining glaze from the dish over the top, and scatter sesame seeds and sliced green onions over everything. Serve while the glaze is still warm and sticky.
A Few Tips for the Best Baked Teriyaki Chicken
- Use chicken thighs for the juiciest, most forgiving result. Breasts work too but need a shorter bake time to stay tender.
- Don’t skip basting halfway through baking. That step layers the sauce onto the chicken and builds a deeper flavor.
- For the glossiest finish, broil at the end. Even a minute or two under the broiler transforms the texture of the glaze.
- Chicken is safe to eat at 165°F (74°C). Use an instant-read thermometer if you like the reassurance.
- Make a double batch of the sauce if your household drizzles extra over rice. The sauce keeps in the fridge for a few days and reheats beautifully.
Bake times by chicken cut:
| Chicken Cut | Approximate Time (at 400°F) |
|---|---|
| Boneless, skinless thighs | 25–30 minutes |
| Boneless, skinless breasts | 20–25 minutes |
Storing Leftover Teriyaki Chicken
- Refrigerate – Cool the chicken completely, then store it in an airtight container with any extra glaze for up to 4 days.
- Reheating – Warm the chicken gently in a skillet with a splash of water, or use the microwave. The glaze loosens up as it heats.
What Goes Well With Baked Teriyaki Chicken
Steamed jasmine rice is a must here. It soaks up all the extra glaze and rounds out the salty-sweet flavors. A quick cucumber salad or some steamed broccoli on the side keeps the meal fresh and easy. Stir-fried bok choy with a little garlic works well, too.
Frequently Asked Questions
Can I marinate the chicken overnight?
Yes. Combine the chicken and sauce in a zip-top bag or dish, then refrigerate for up to 24 hours. Pour everything into the baking dish when you’re ready to bake.
Can I double the recipe?
You can. Use a larger baking dish so the chicken isn’t crowded, or split it between two pans. Bake time may increase by 5 to 10 minutes. Use an instant-read thermometer to check that the thickest piece reaches 165°F.
Can I freeze leftovers?
Yes. Place the cooked chicken and sauce in an airtight container and freeze for up to 3 months. Thaw overnight in the fridge before reheating.
What if I don’t have a broiler?
You can skip the broiling step, but the glaze won’t be quite as sticky. Let the baked chicken rest for 5 minutes in the dish after you pour the thickened glaze over it. The extra oven heat will help set the glaze.
Baked Teriyaki Chicken Recipe
Ingredients
Method
- Whisk the soy sauce, mirin, sake, brown sugar, garlic, and ginger together until the sugar dissolves.
- Preheat the oven to 400°F (200°C). Oil a baking dish, arrange the chicken in a single layer, and pour the sauce over the top. Bake for 25 to 30 minutes, basting halfway through.
- Transfer the chicken to a plate. Pour the pan juices into a small saucepan, bring to a simmer, and whisk in the cornstarch slurry. Cook until thick, 3 to 5 minutes.
- Return the chicken to the baking dish, pour the thickened glaze over it, and broil for 2 to 3 minutes until sticky and shiny.
- Slice the chicken, spoon any remaining glaze over the top, and garnish with sesame seeds and green onions.
Notes
