
No-Chill Back to School Sugar Cookies That Hold Their Shape

These sugar cookies come together fast with no chilling and keep their clean cut-out edges in the oven. They taste buttery with a soft middle and barely crisp rim, and they are sturdy enough to pack in lunchboxes all week long.
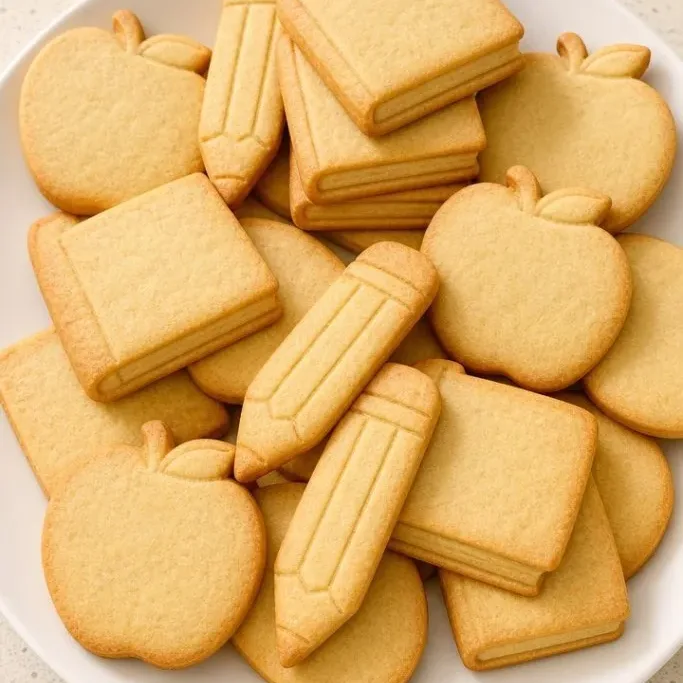
If you need a reliable cookie for after-school snacks or classroom treats, this is the one I reach for. The dough rolls smoothly straight from the mixer and bakes into the exact shape you cut, so you can make apples, pencils, or simple rounds without fuss.
Why These No-Chill Cookies Work
The butter stays cold enough to prevent spreading, but the mixing method makes the dough pliable right away. You do not have to wait for it to firm up in the fridge.
The result is a cookie that tastes like classic sugar cookie dough, with a light vanilla warmth and a texture that stays soft for days. The edges set up just enough to give a tiny snap before the tender center.
I keep this recipe around because it works the same every time. No puffy domes that collapse, no stars that turn into blobs. Just neat, sturdy cookies that taste like you spent way more time on them.
Ingredients
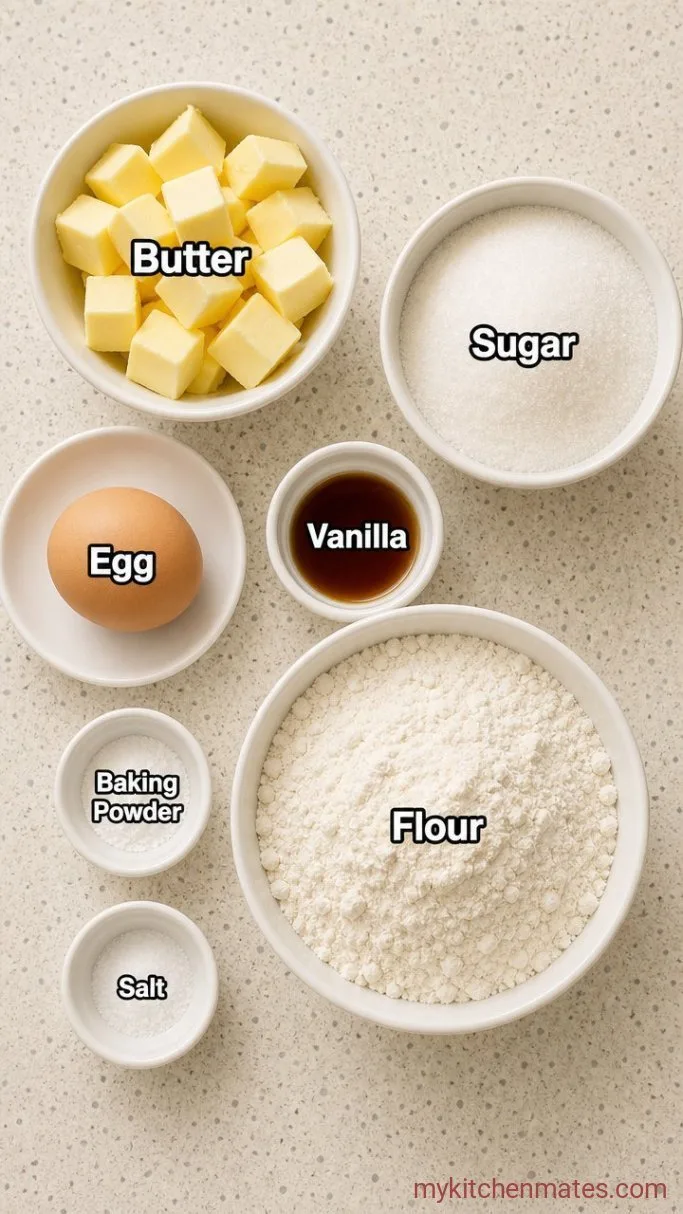
- 1 cup unsalted butter, softened: take it out of the fridge about 30 minutes before you start so it gives under a finger but is not greasy.
- 1 cup granulated sugar: plain white sugar gives a clean sweetness and helps the edges set.
- 1 large egg: cold from the fridge is fine here.
- 2 tsp vanilla extract: the pure stuff tastes brighter, but imitation works too.
- 2 1/2 cups all-purpose flour: spoon it into the measuring cup and level it off for the right density.
- 1/2 tsp baking powder: lifts the cookies just a little without puffing them out of shape.
- 1/4 tsp fine salt: offsets the sweet butter and makes the vanilla pop.
Variations
- Lemon or almond extract: swap half the vanilla for a different flavor. Almond extract is strong, so use only 1/4 tsp.
- Dairy-free: replace the butter with a solid vegan butter stick. The dough might feel a bit softer, but it still holds its shape.
- Whole wheat pastry flour: sub up to half of the all-purpose flour for a nuttier, slightly denser cookie.
- Sprinkles: press rainbow jimmies or colored sugar onto the tops before baking instead of decorating later.
Sparkly New Year’s Sugar Cookies are another reader favorite dessert worth making next.
How to Make Back to School Sugar Cookies
Step 1: Cream the Butter and Sugar
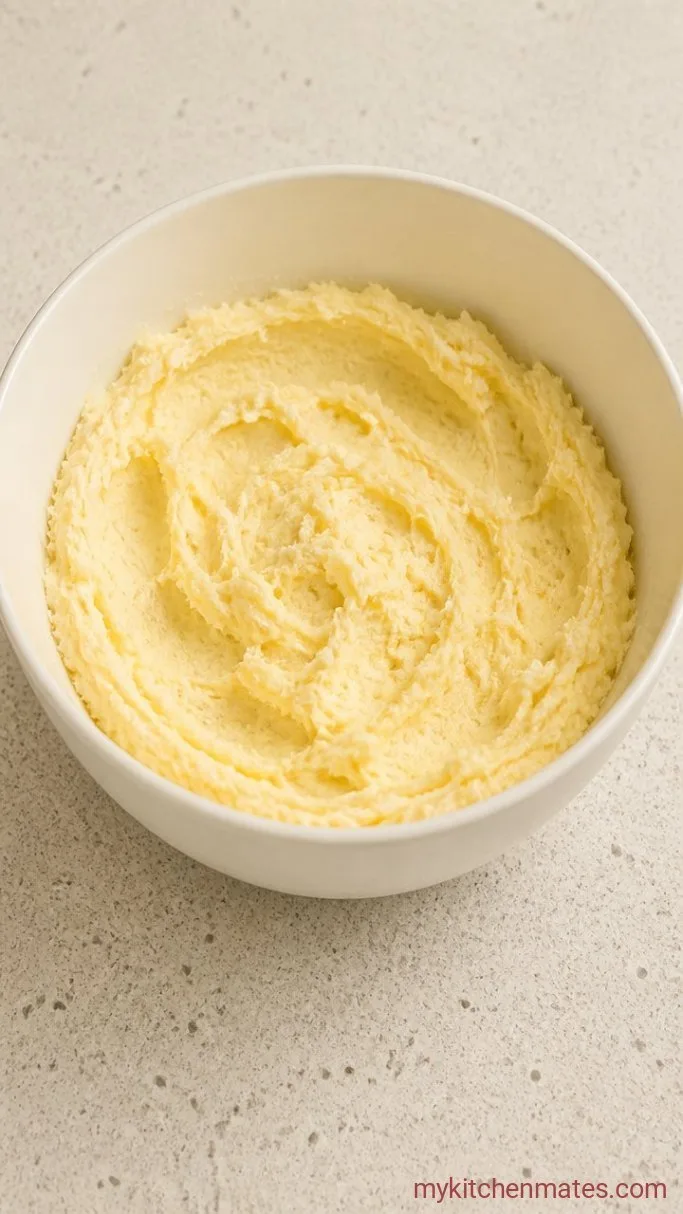
In a large bowl with a hand mixer or in the bowl of a stand mixer with the paddle attachment, beat 1 cup softened butter and 1 cup sugar on medium speed until the mixture looks pale and fluffy, about 2 to 3 minutes. Stop once and scrape down the sides of the bowl so no butter sits unblended.
The color should lighten to a pale ivory and the texture will feel like thick frosting. You are not trying to whip a lot of air in, just smooth everything together.
Step 2: Add the Egg and Vanilla
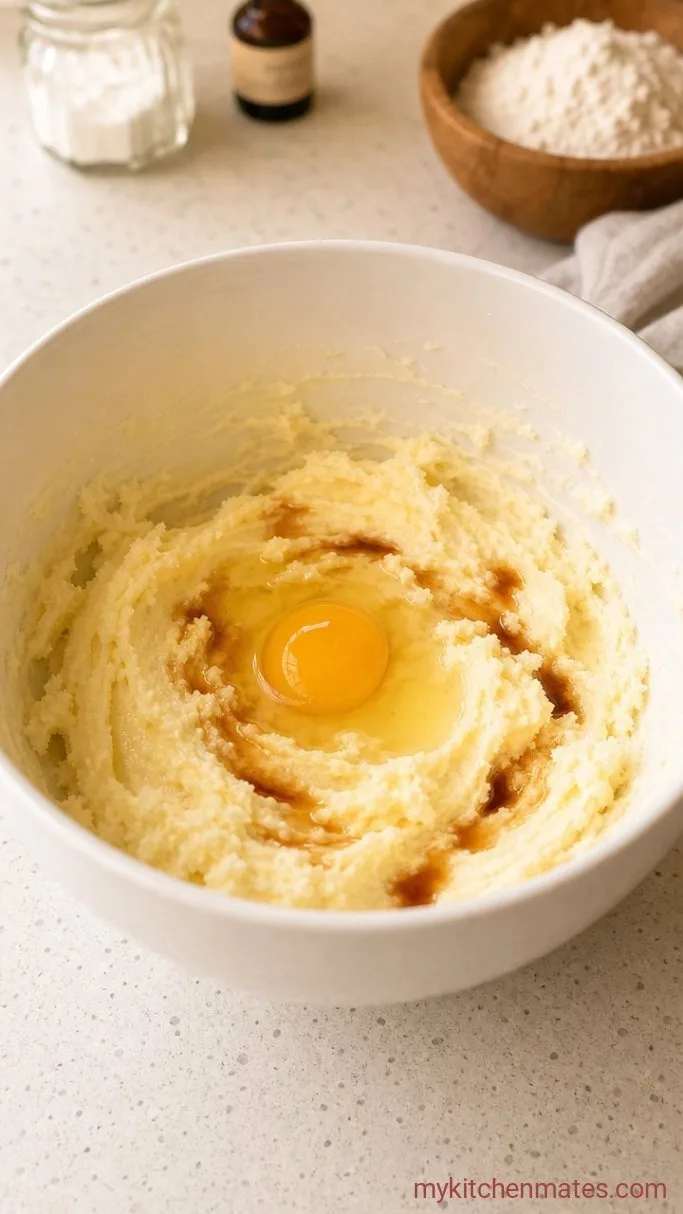
Crack in the 1 large egg and pour in the 2 tsp vanilla. Mix on low until the egg disappears into the butter, maybe 30 seconds. It might look curdled at first, then it will come together into a creamy mass.
If your butter was a touch too cold and the mixture looks grainy, keep mixing on low for another 30 seconds. It will smooth out.
Step 3: Mix in the Dry Ingredients
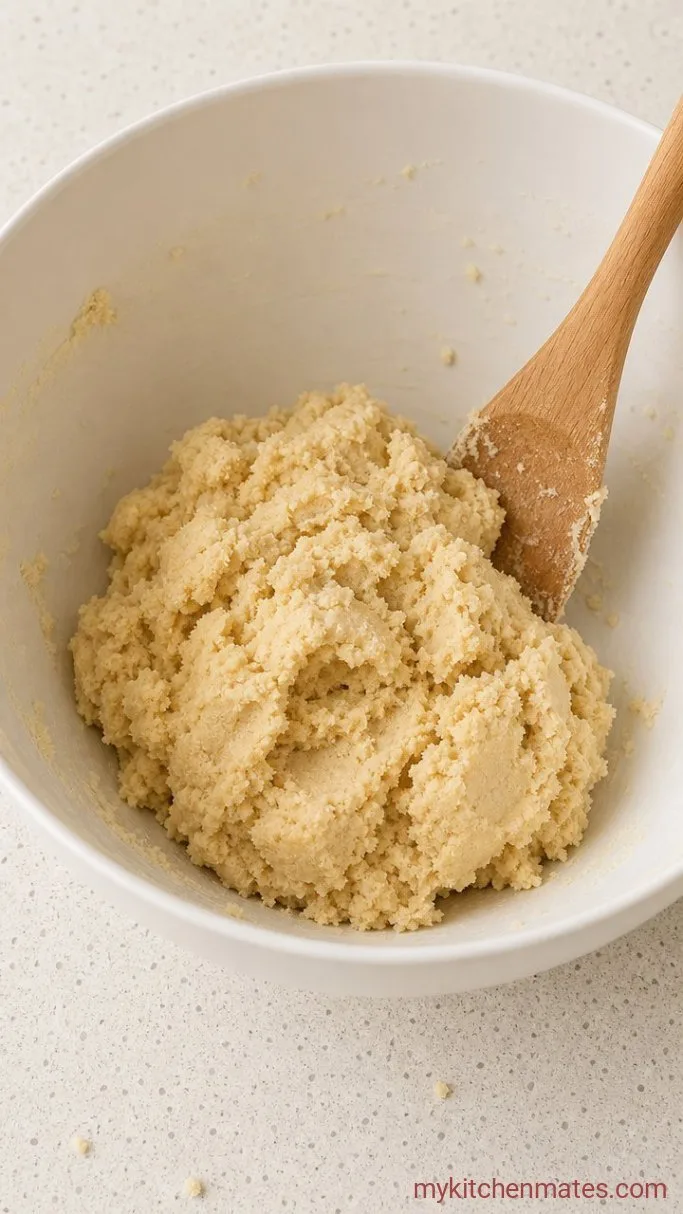
In a separate small bowl, whisk together 2 1/2 cups flour, 1/2 tsp baking powder, and 1/4 tsp salt. Add this dry mix to the butter mixture in two additions, mixing on low just until you no longer see streaks of flour.
Stop the mixer as soon as the dough clumps together. Overworking the flour makes the cookies tough, so finish with a few quick stirs with a spatula if needed. The dough will be soft but should hold together when you press a pinch between your fingers.
Step 4: Roll and Cut the Dough
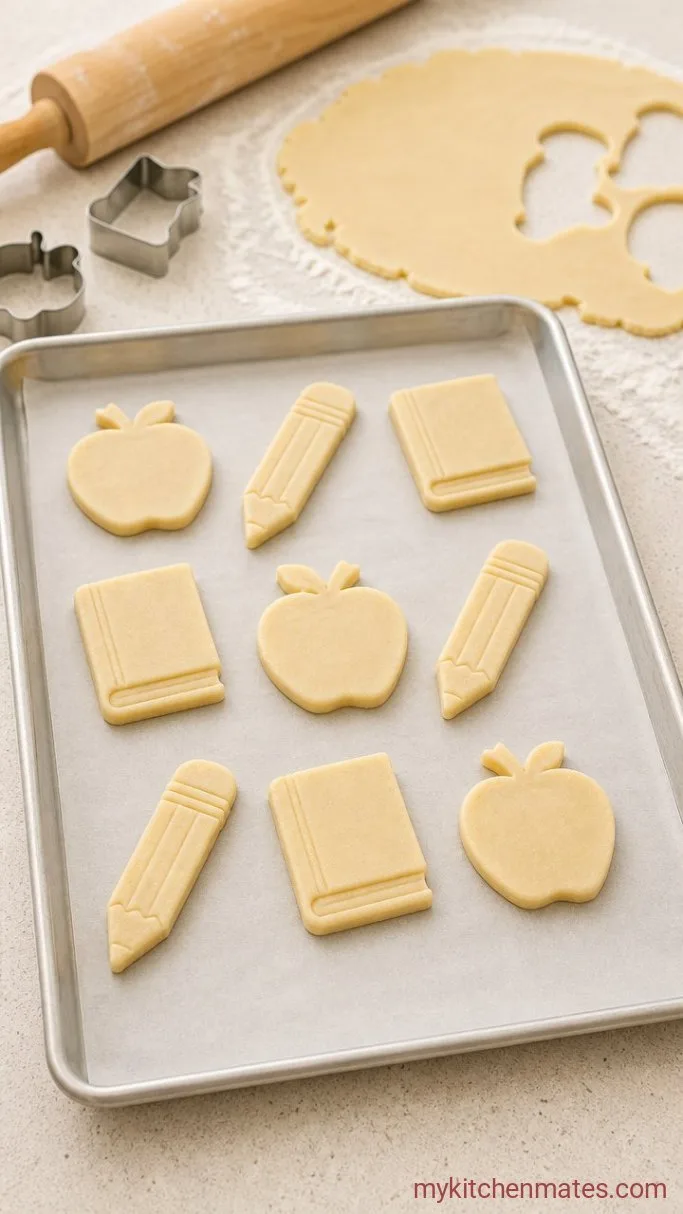
Lightly dust a sheet of parchment paper with flour and turn the dough out onto it. Pat it into a flat disc and place another sheet of parchment on top. Roll the dough out between the two sheets until it is about 1/4 inch thick, turning the parchment once to check for evenness.
Peel off the top parchment and use cookie cutters to stamp out shapes. Pull away the scraps and gather them, re-roll once, and cut again. Transfer the cut shapes to a baking sheet lined with new parchment, leaving about an inch between them.
Step 5: Bake and Cool
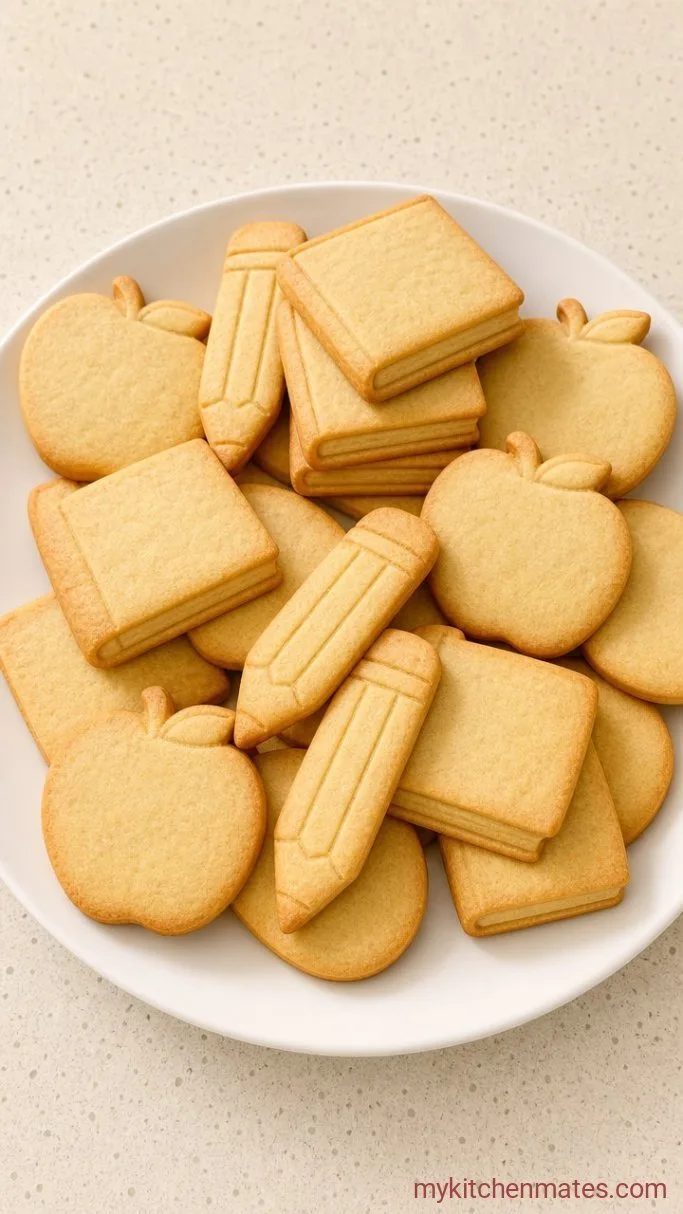
Slide the tray into a 350°F (175°C) oven and bake for 8 to 10 minutes, until the tops look dry and the bottom edges just start to take on a faint golden color. Do not let them brown all over if you want that classic pale sugar cookie look.
Let the cookies sit on the hot tray for 2 minutes, then move them to a wire rack to cool completely. Once cool, you can leave them plain or brush on a simple powdered sugar glaze and scatter sprinkles. Pack them snugly in an airtight container for the lunchbox stash.
A Few Tips for Perfect Sugar Cookies
- If your kitchen runs warm and the dough feels sticky while cutting, slide the whole sheet of cut cookies on the parchment onto a tray and pop it in the fridge for 10 minutes. It firms up fast without the usual long chill.
- For even thickness, use rolling pin rings or two 1/4-inch dowels on either side of the dough when you roll. The cookies will bake at the same rate and you avoid thin spots that burn.
- Use powdered sugar instead of flour for dusting the rolling surface if you want to avoid any extra raw flour taste on the baked cookie surface.
Bake times by thickness:
| Thickness | Bake Time at 350°F | Visual Cue |
|---|---|---|
| 1/8 inch (thin) | 6 to 7 minutes | Edges set with very light color |
| 1/4 inch (standard) | 8 to 10 minutes | Tops dry, bottom edge just golden |
| 3/8 inch (thick) | 10 to 12 minutes | Pale all over, slight puff in center |
Storing and Packing Cookies
- Refrigerate: Layer baked cookies between sheets of wax paper in an airtight container. They keep well for up to 5 days at room temperature and a few days longer in the fridge.
- Freeze: Freeze undecorated cookies in a zip-top bag for up to 2 months. Thaw at room temperature, then decorate if you like.
- Lunchbox tip: Tuck a small silica packet or a piece of bread crust in the container the night before to keep them fresh, then remove it in the morning before packing.
Frequently Asked Questions
Can I freeze the unbaked dough?
Yes. Press the dough into a disc, wrap it tightly, and freeze for up to a month. Thaw it overnight in the fridge, then roll and cut as usual. No re-chilling needed.
Why do my sugar cookies sometimes spread into shapeless blobs?
Usually the butter was too warm when creaming, or the dough got overworked and greasy. Keep the butter cool to the touch, and if the dough feels oily, chill the cut shapes for 10 minutes before baking.
Do I really not need to chill the dough?
If you follow this method and handle the dough lightly, no chilling is necessary. The dough is stiff enough from the start to hold a clean cut without extra fridge time.
Can I make these gluten-free?
Yes. Use a 1-to-1 gluten-free baking flour that contains xanthan gum. The texture will be a little more crumbly, so press the cut shapes down gently before baking.
How do I get bright white cookies with no browning at all?
Bake at 325°F (160°C) instead of 350°F and add 1 to 2 minutes to the time. The lower heat keeps them totally pale, but the texture will be slightly softer.
Back to School Sugar Cookies Recipe
Ingredients
Method
- Beat butter and sugar on medium speed until pale and fluffy, about 2 to 3 minutes.
- Mix in egg and vanilla on low until smooth, about 30 seconds.
- Whisk flour, baking powder, and salt in a small bowl. Add to butter mixture in two additions, mixing on low just until a soft dough forms.
- Roll dough between two sheets of floured parchment to 1/4 inch thick. Cut shapes and transfer to a parchment-lined baking sheet.
- Bake at 350°F (175°C) for 8 to 10 minutes, until tops are dry and bottom edges are faintly golden. Cool on a wire rack.
Notes
